Give your friends £10 off their first order!
Refer a FRIEND








A project from our live show MIGHTY MONDAY - Join Toni for her detailed papercrafting sessions - Broadcast 25th November 24 · 25/11/2024 · watch it from 9:45
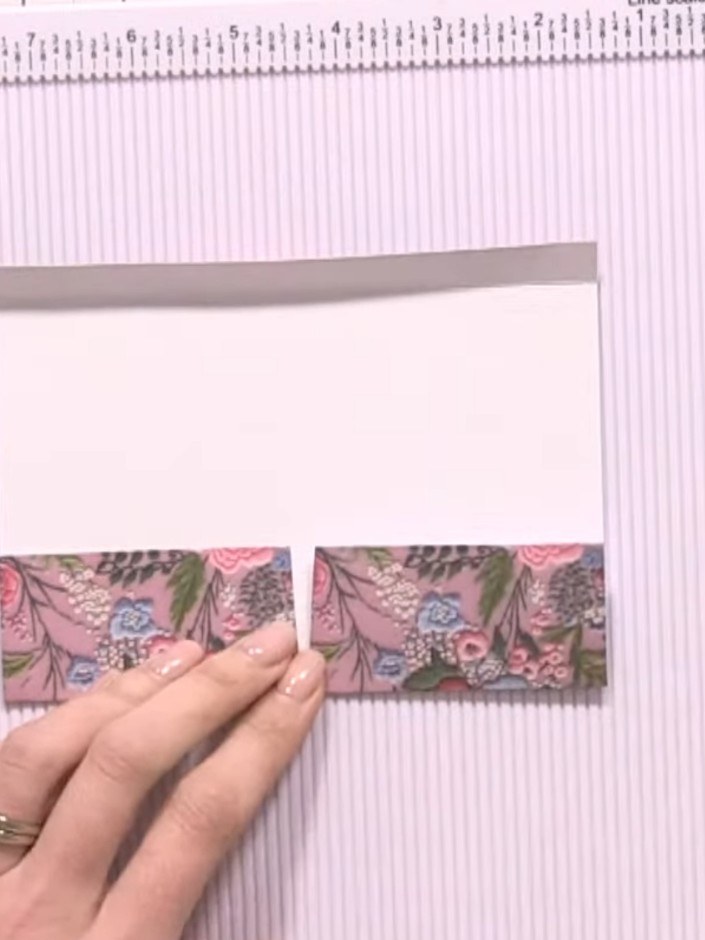
Create a versatile 6x6 album page featuring two side-opening pockets. This elegant page uses pale pink cardstock with decorative floral patterned paper strips, incorporating a hinged spine design. The two flap pockets open from the left and right, providing perfect storage for small cards, tags or memorabilia within your scrapbook album.
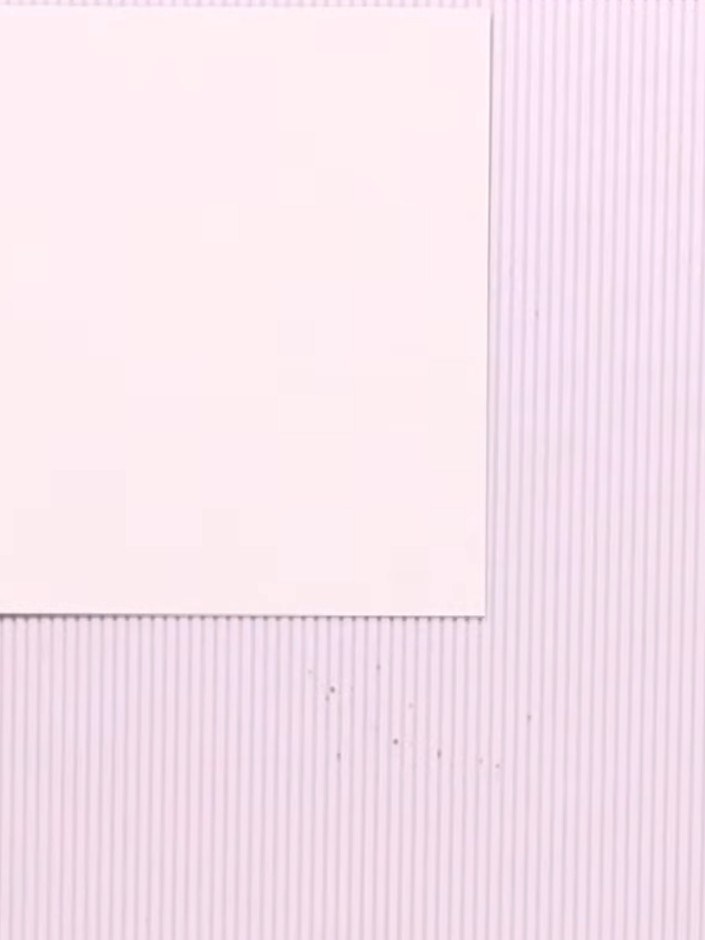
Take a 6x6 inch paper from your pad and score a half-inch line along one edge using your scoring board to create your hinge.
▶ watch this step (9:45)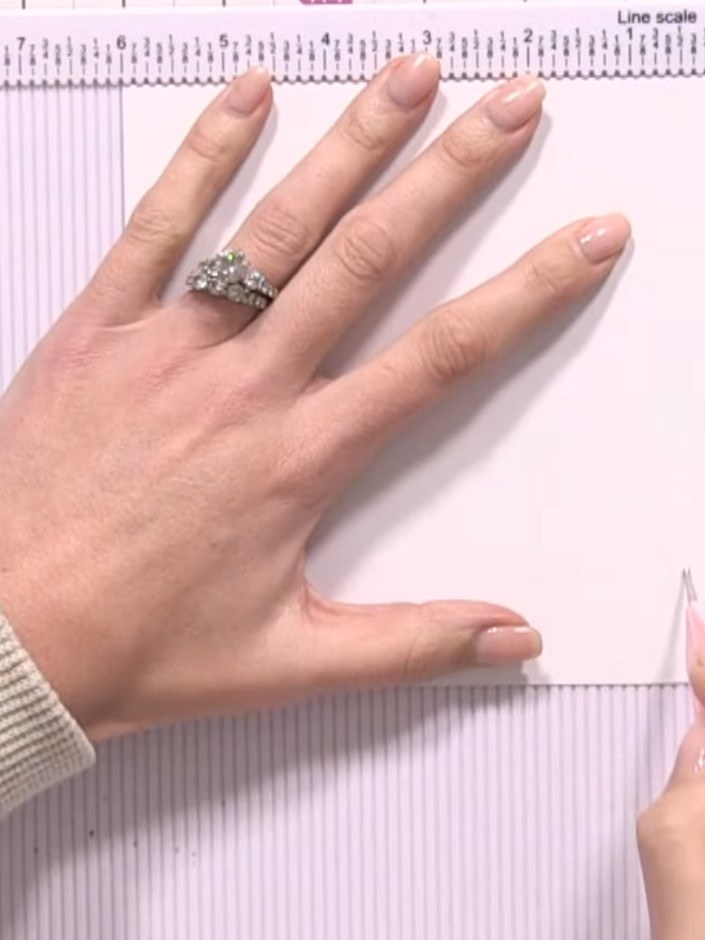
Turn the white cardstock and use your scoreboard to score at 1.5 inches from the edge to create the fold line for your pocket.
▶ watch this step (10:00)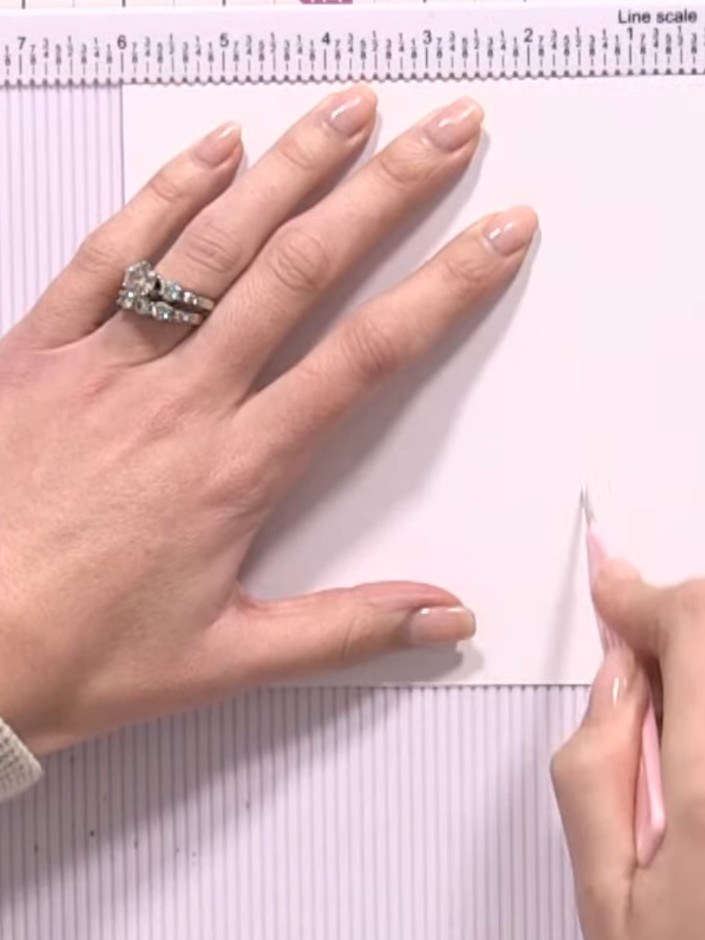
Score the top flap at the 3-inch mark in the centre to create a fold line that divides it in half.
▶ watch this step (10:15)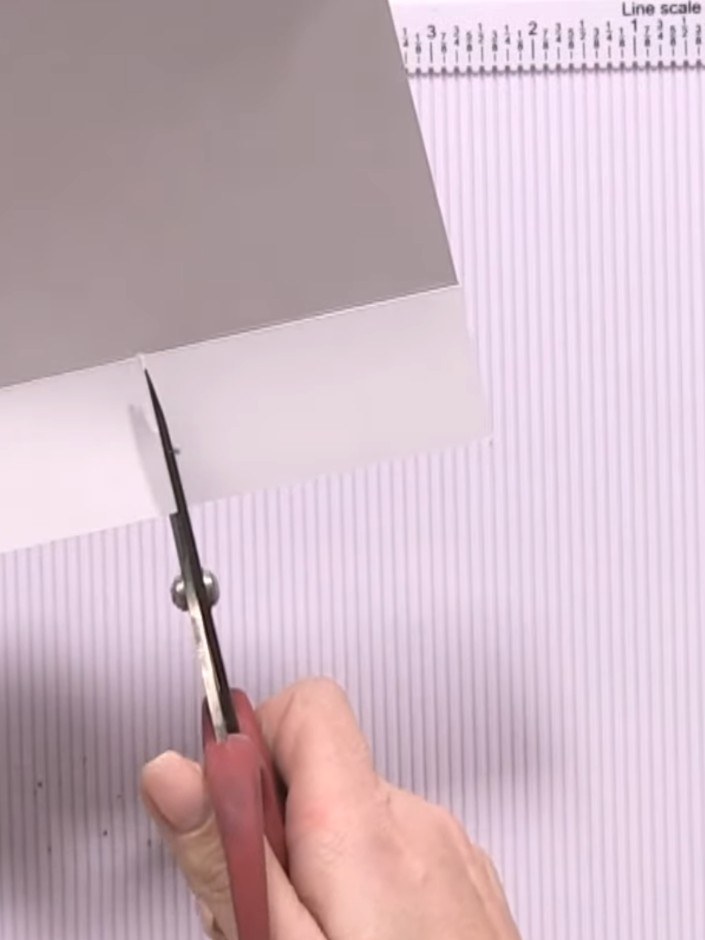
Cut straight down the centre line from the top edge to the middle point of the white card.
▶ watch this step (11:00)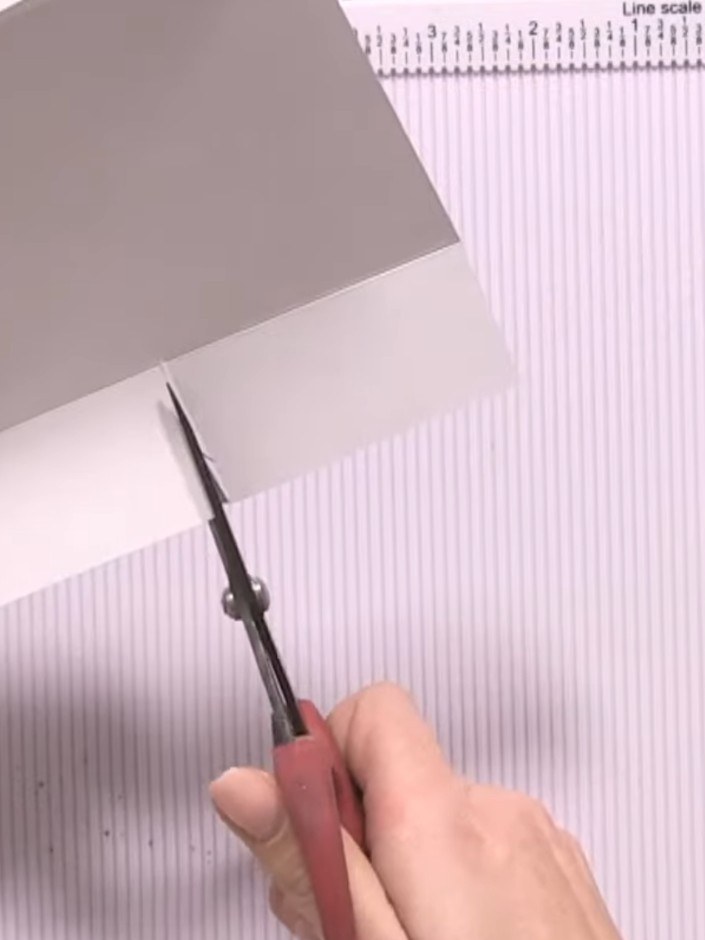
Trim away small triangular sections from the cut edges of the white card pieces to remove bulk and create neat corners.
▶ watch this step (11:15)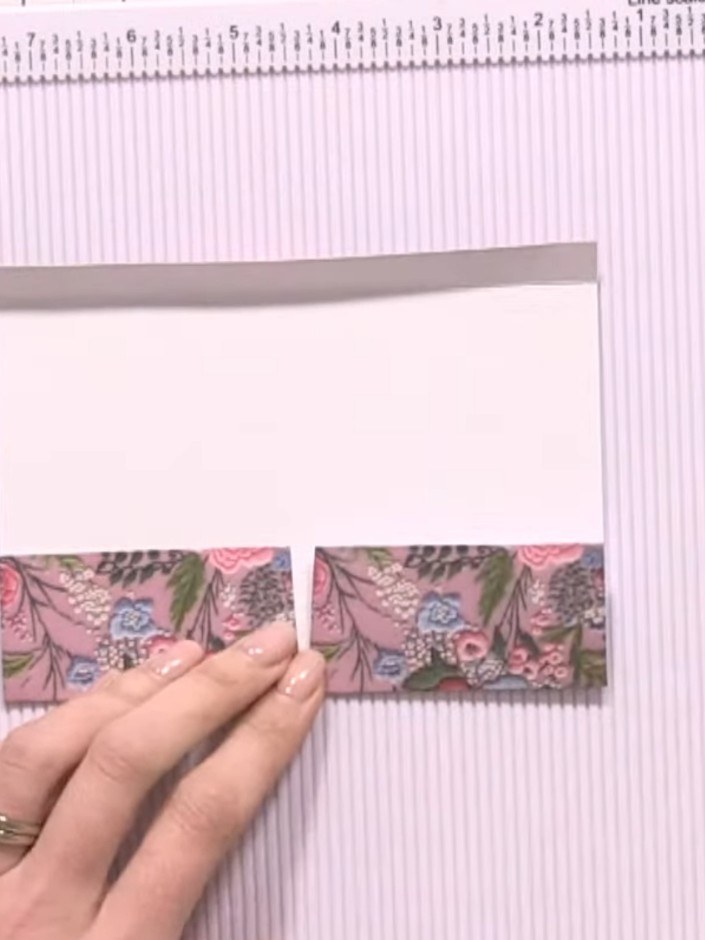
Position the two decorative paper strips side by side on the white card base. Score all fold lines firmly with your scoring tool to ensure crisp creases.
▶ watch this step (11:30)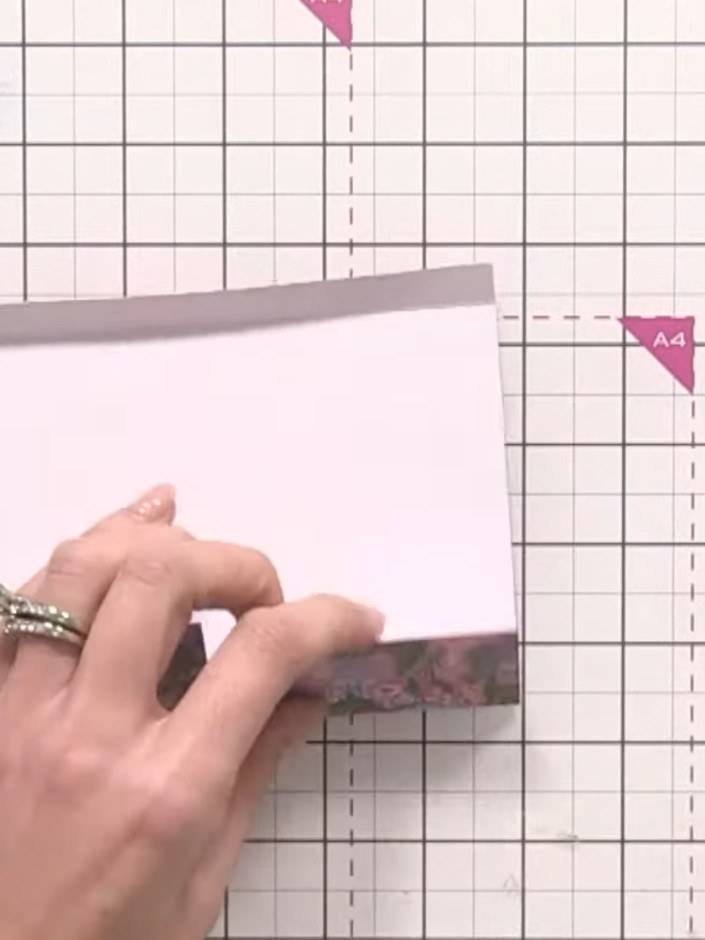
Fold the two flaps with the floral pattern inward to create your side pockets. Use adhesive to secure the flaps in place.
▶ watch this step (11:45)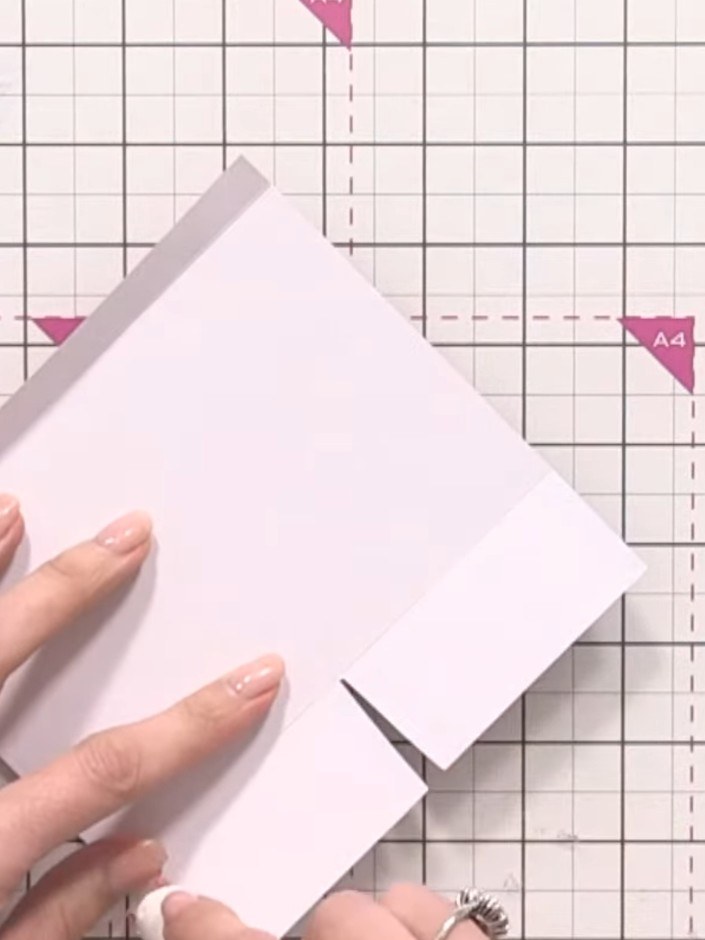
Apply glue or tape along the side edges of the pocket to seal it closed. Press firmly to ensure a secure bond.
▶ watch this step (12:00)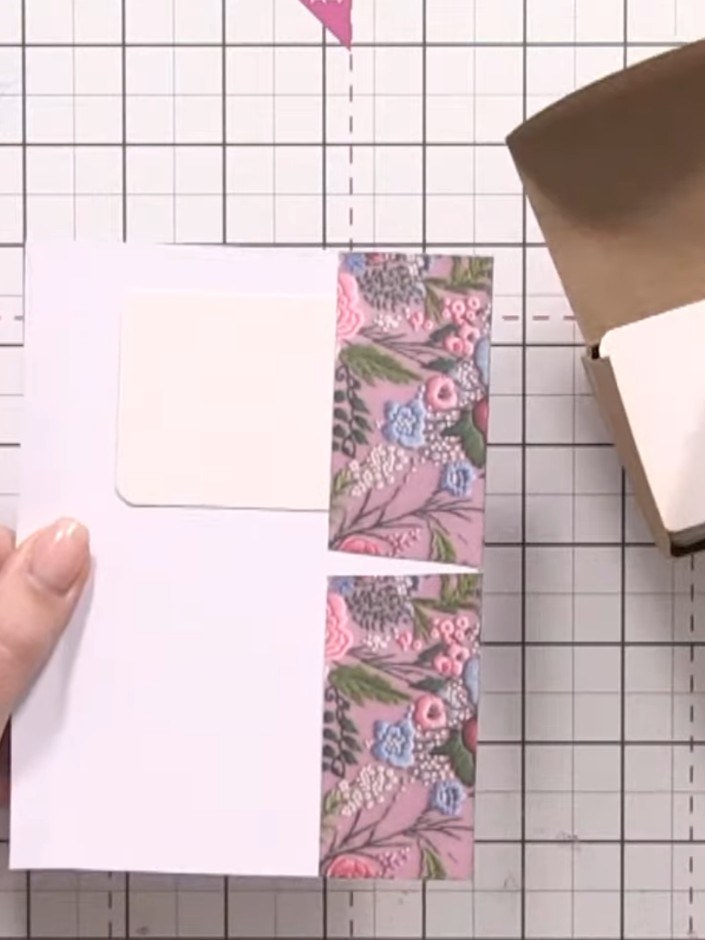
Use a 1-inch circle punch to punch a circle at the top of each pocket opening to create a finger pull for easy access.
▶ watch this step (12:15)Written up from the show itself. See every guide from our shows · free how-to guides · watch live on My Telly

