Give your friends £10 off their first order!
Refer a FRIEND








Prices change straight away. Every language is our own translation, not Google.
A project from our live show ONE DAY SPECIAL - Join Toni for her brand new launch - Broadcast 13th December 24 · 13/12/2024
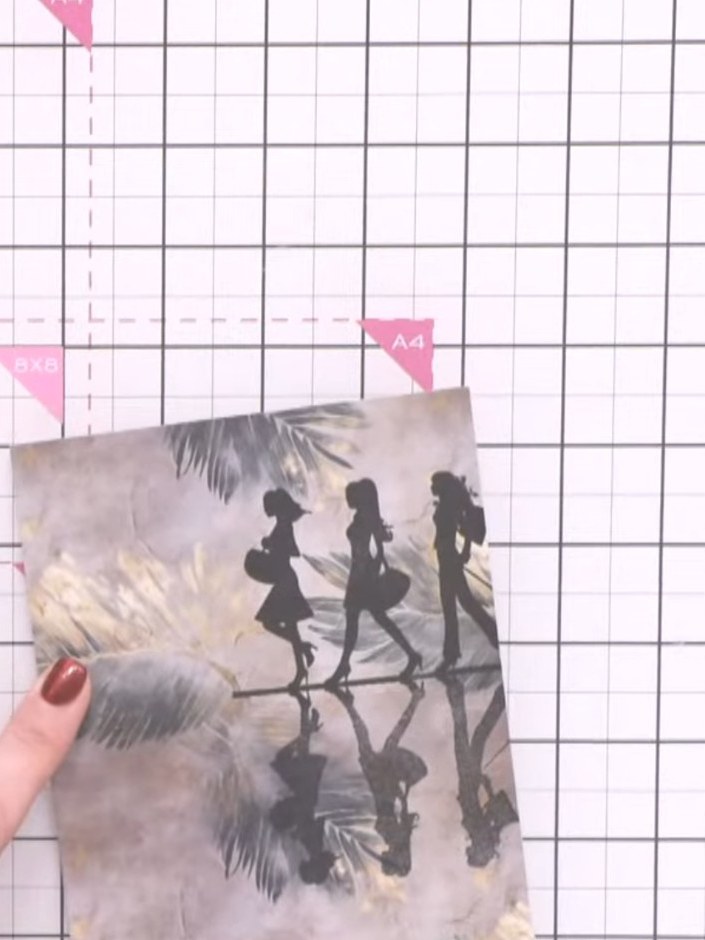
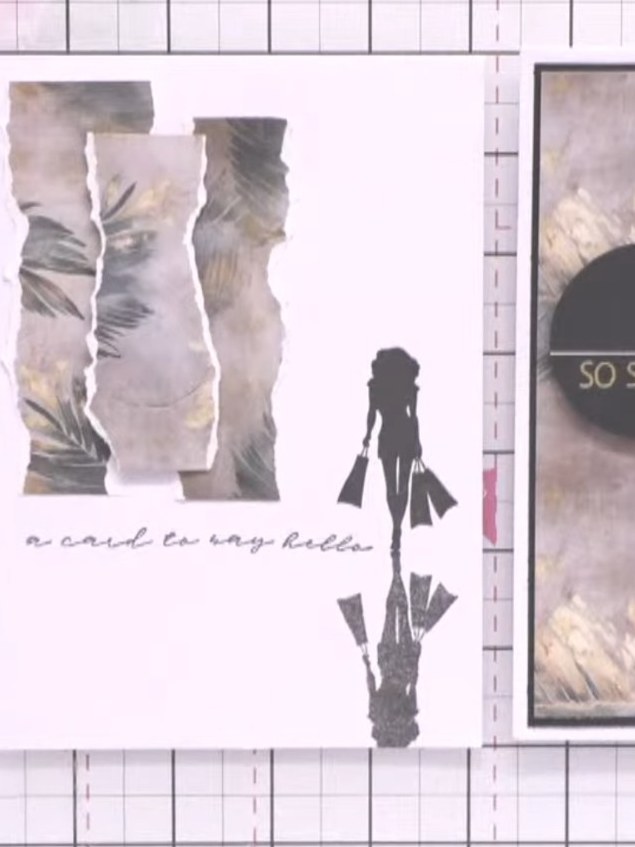
Create a striking monochromatic card featuring a single lady silhouette from the Reflection stamp set. This contemporary design uses torn paper scraps from previous projects, layered with 3D foam pads for dimension, and finished with a simple sentiment strip. The black and white colour scheme gives this card a clean, elegant look that's perfect for making the most of your leftover materials.
 1
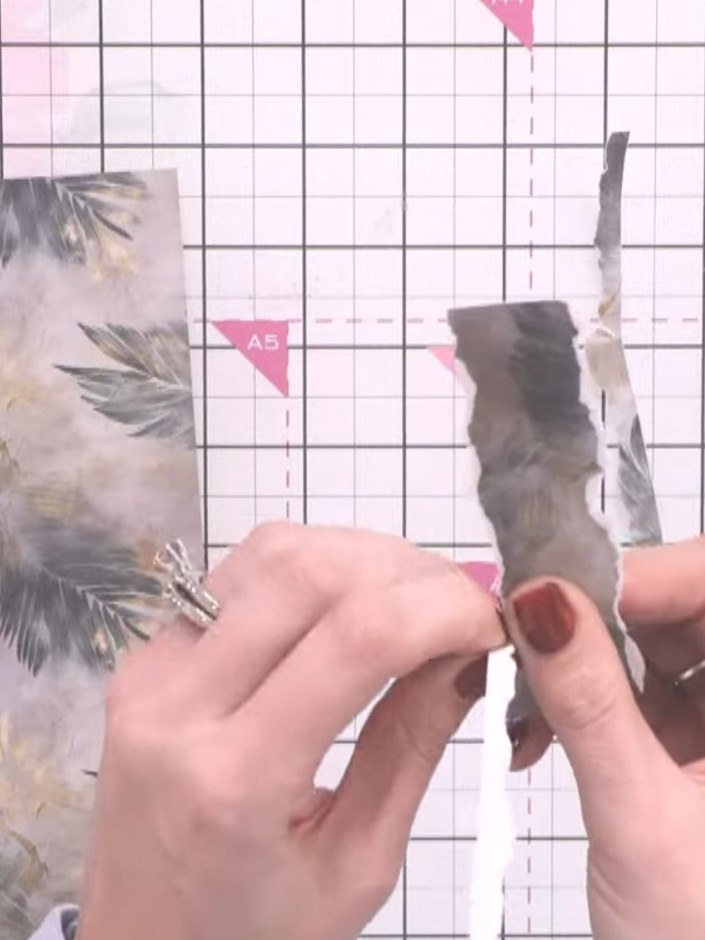
Tear strips of leftover patterned paper and white paper to create organic, rough edges. Pull the paper forward as you tear to reveal the white core of the cardstock.
 2
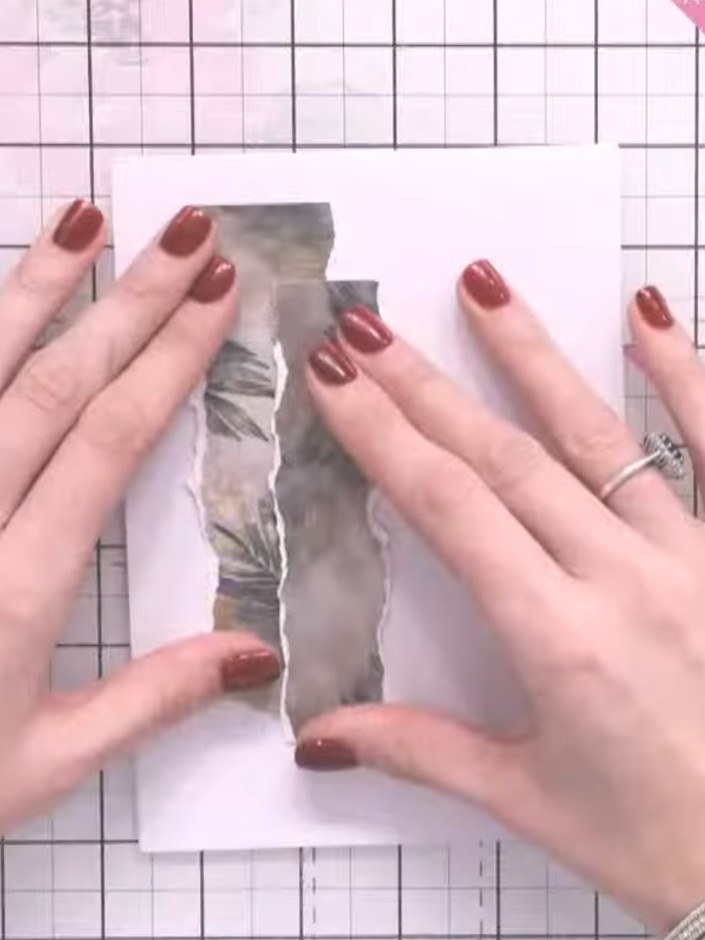
Ink just the top portion of the Reflection stamp with black ink to capture a single lady figure. Press the inked stamp onto white cardstock.
 3
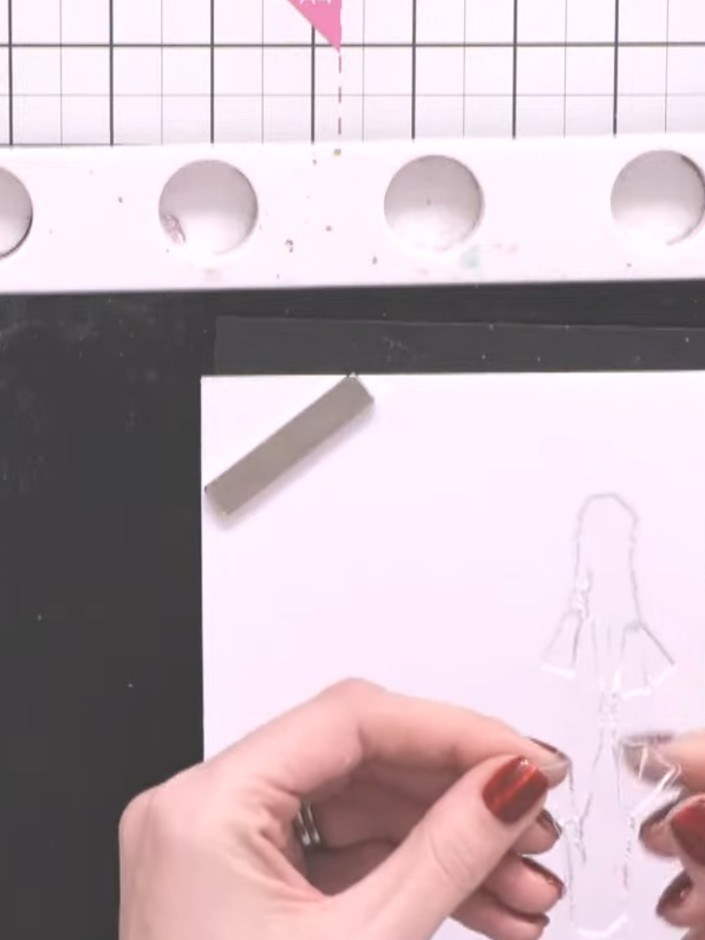
Stamp the lady image from the Reflection stamp set onto the upper portion of a white top-folding card using black ink. Position the stamped image towards the top of the card to allow space for the reflection effect below.
 4
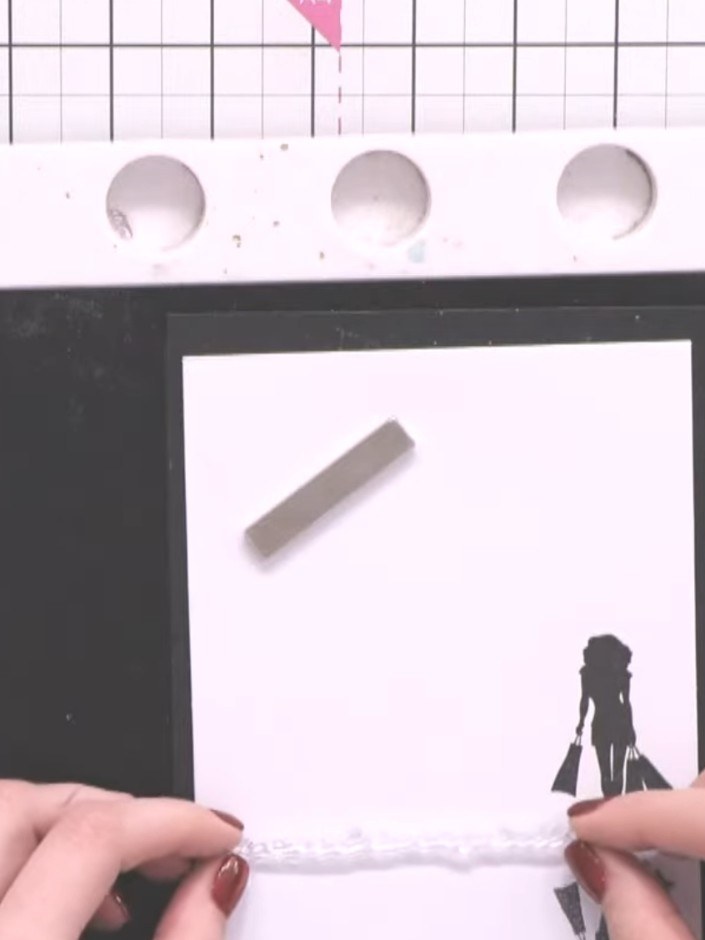
Stamp a long thin sentiment such as 'Hello' in black ink below the lady silhouette image on the white card panel.
 5
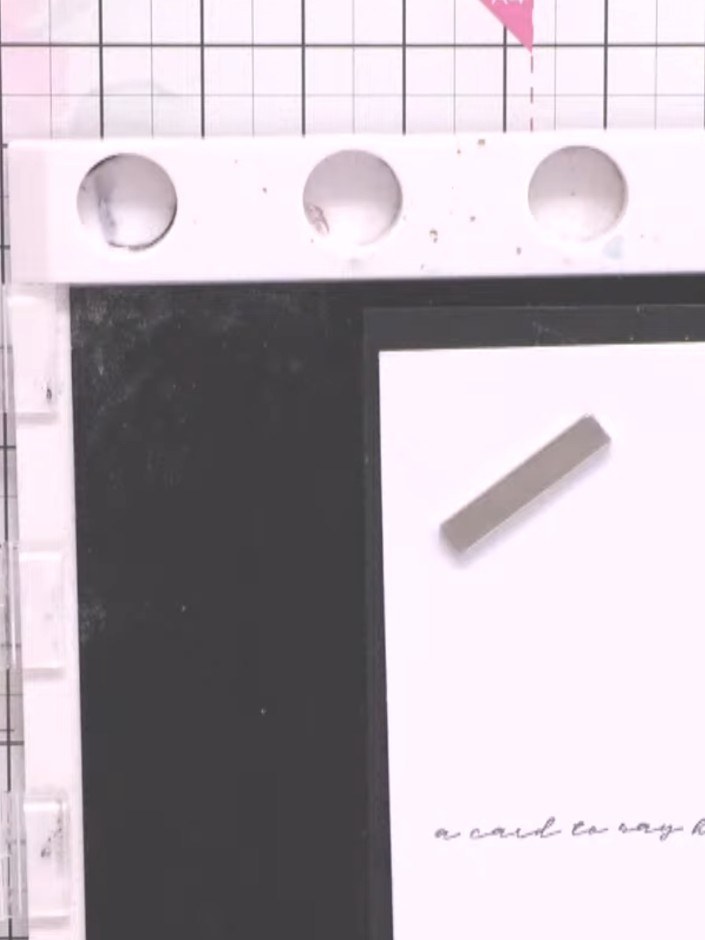
Position one torn paper strip flat onto the white card base, placing it horizontally beneath the stamped silhouette image. Ensure the strip is aligned with the design before adhering.
 6
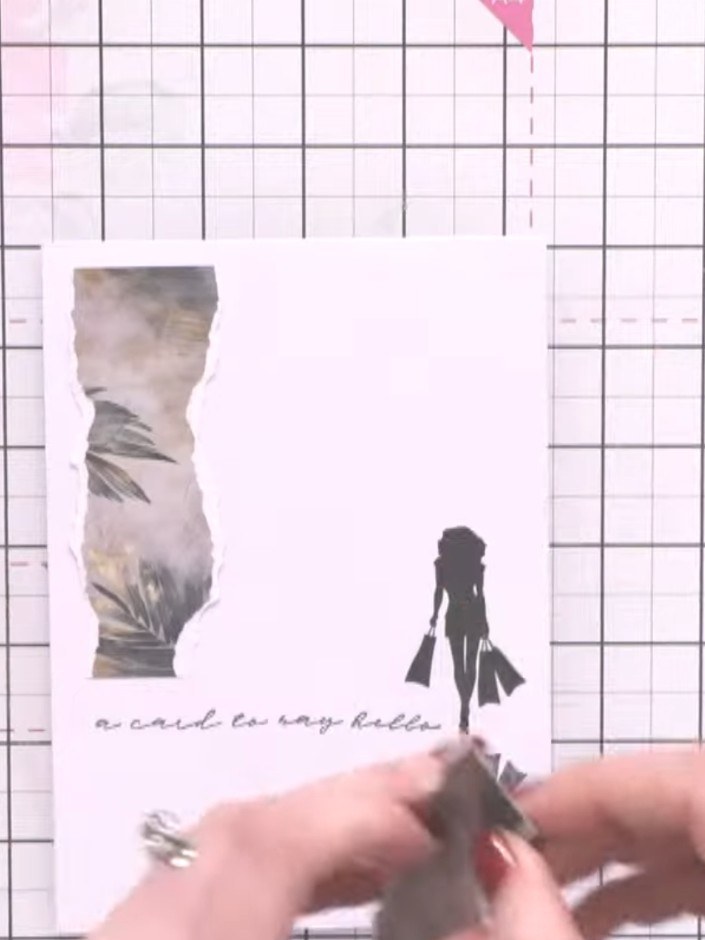
Attach a second torn paper strip featuring the feather design to the card using 3D adhesive pads to create dimension and visual interest. Position it at an angle above the first strip.
 7
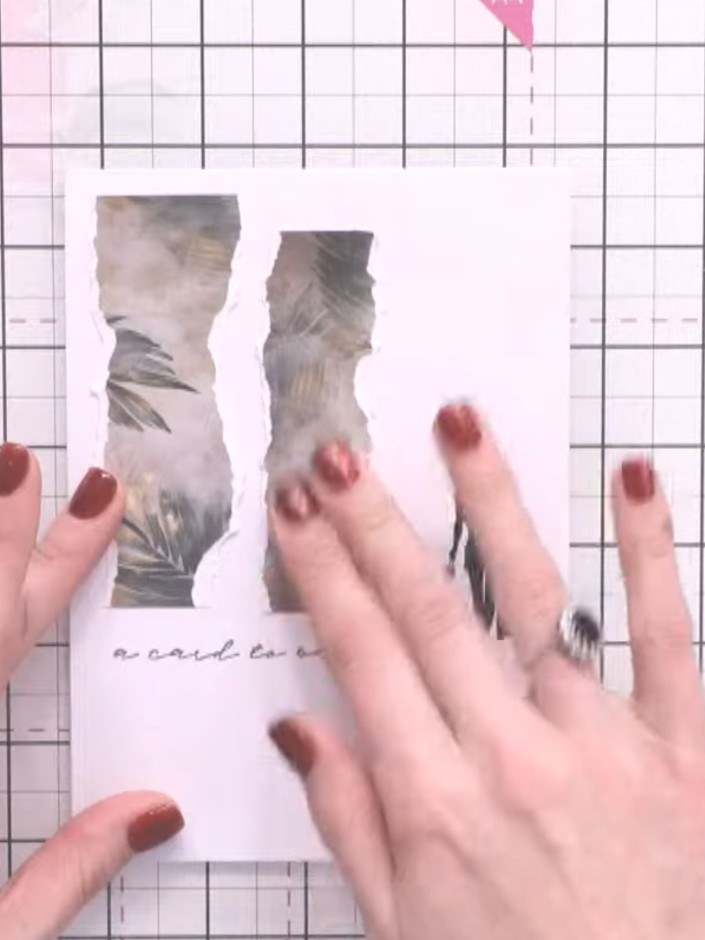
Layer a third torn paper piece on top of the previous layers using 3D foam pads to create depth and dimension in your design.
 8
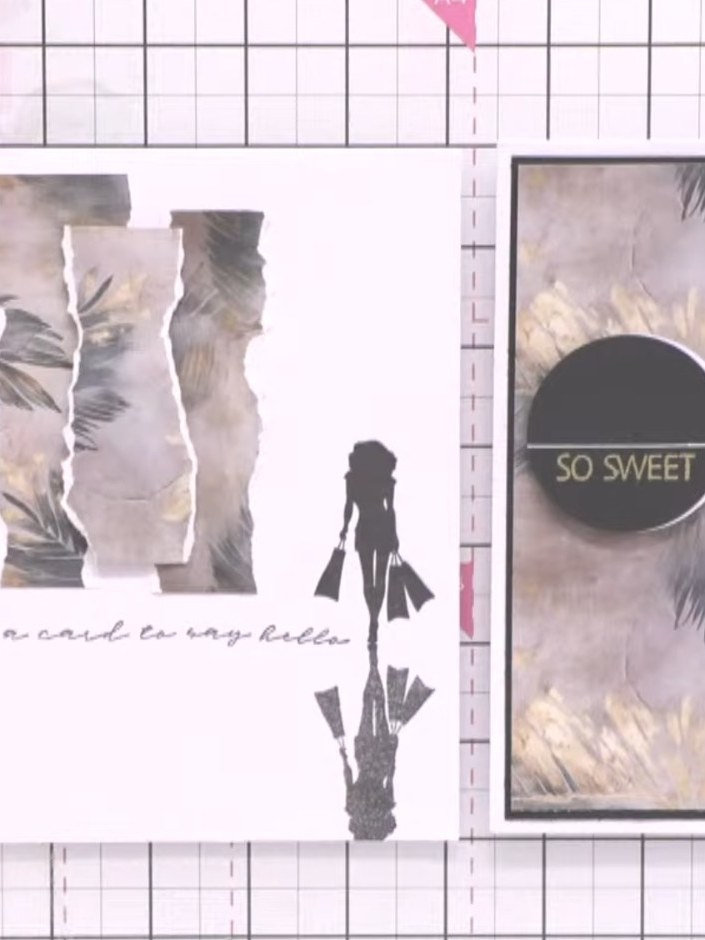
Check that all elements are securely adhered to the card front. Ensure the torn paper pieces, silhouette figures, and sentiment circle are well positioned and the overall design is balanced.
Share your make with the Stamps By Me community - and keep this guide for next time.
Written up from the show itself. See every guide from our shows · free how-to guides · watch live on My Telly · the previous layout