Give your friends £10 off their first order!
Refer a FRIEND








Prices change straight away. Every language is our own translation, not Google.
A project from our live show MIGHTY MONDAY - Join Toni for her detailed papercrafting sessions - Broadcast 16th December 24 · 16/12/2024
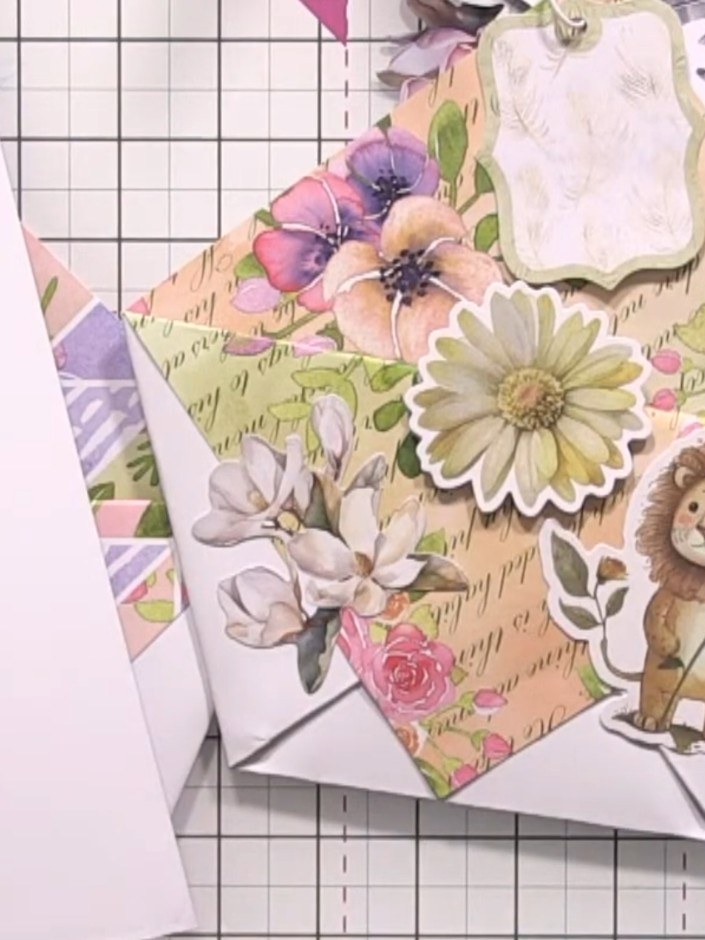
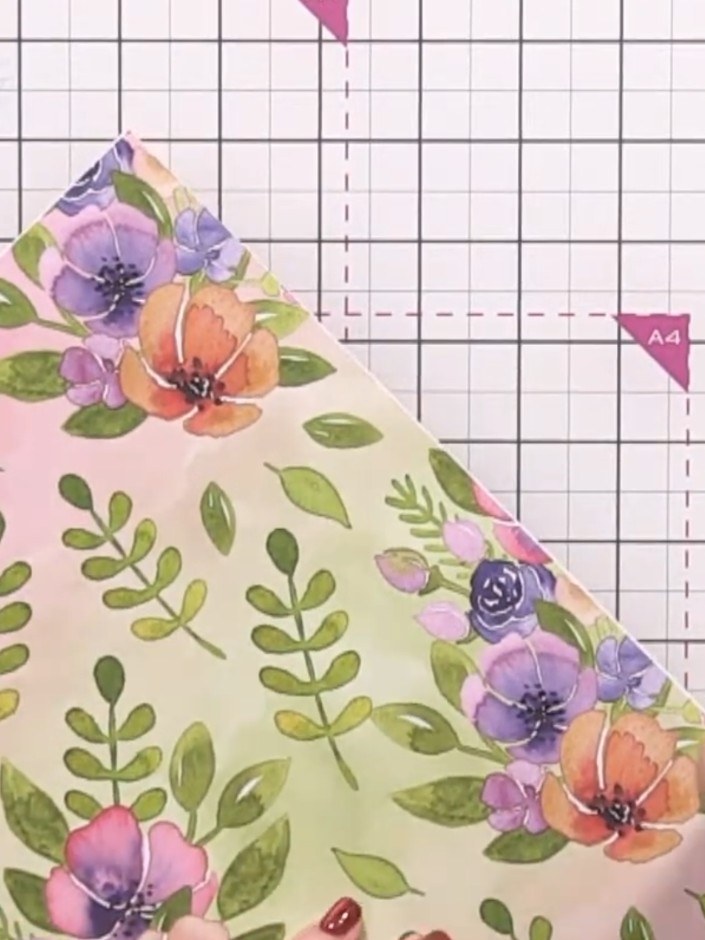
Create an elegant folded paper wallet from a single 12x12 inch sheet of patterned cardstock. This charming design features beautiful floral prints in soft purples, pinks and greens, and uses simple origami-style folding techniques to form a secure pocket envelope. Perfect for presenting gift cards, money, or small keepsakes with a handmade touch.
 1
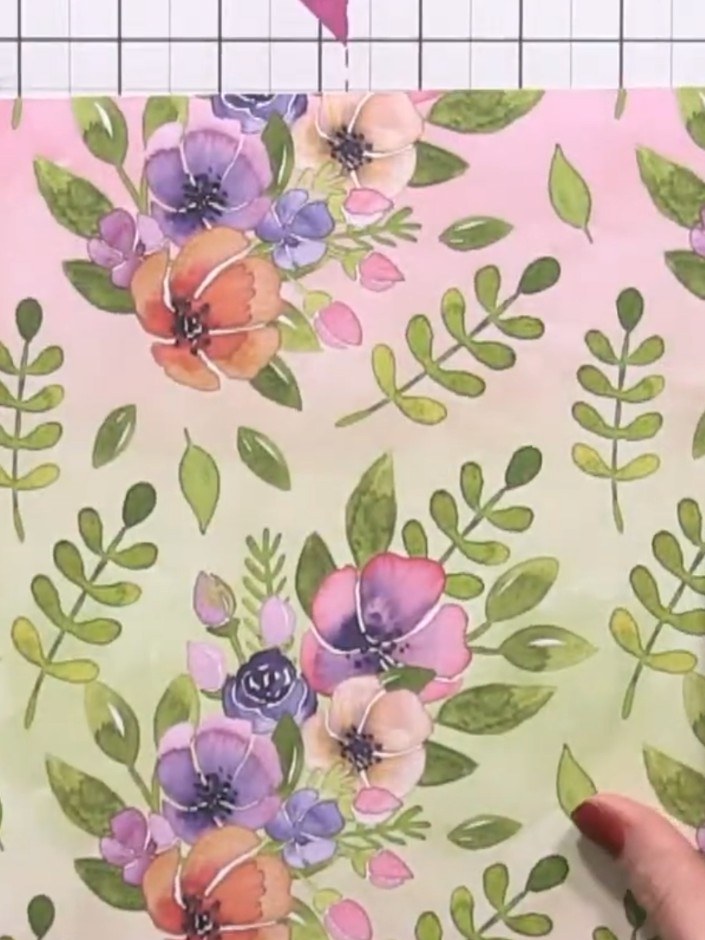
Select a 12x12 inch square piece of patterned paper from your collection. Place the decorative paper on your cutting mat with the pattern facing up.
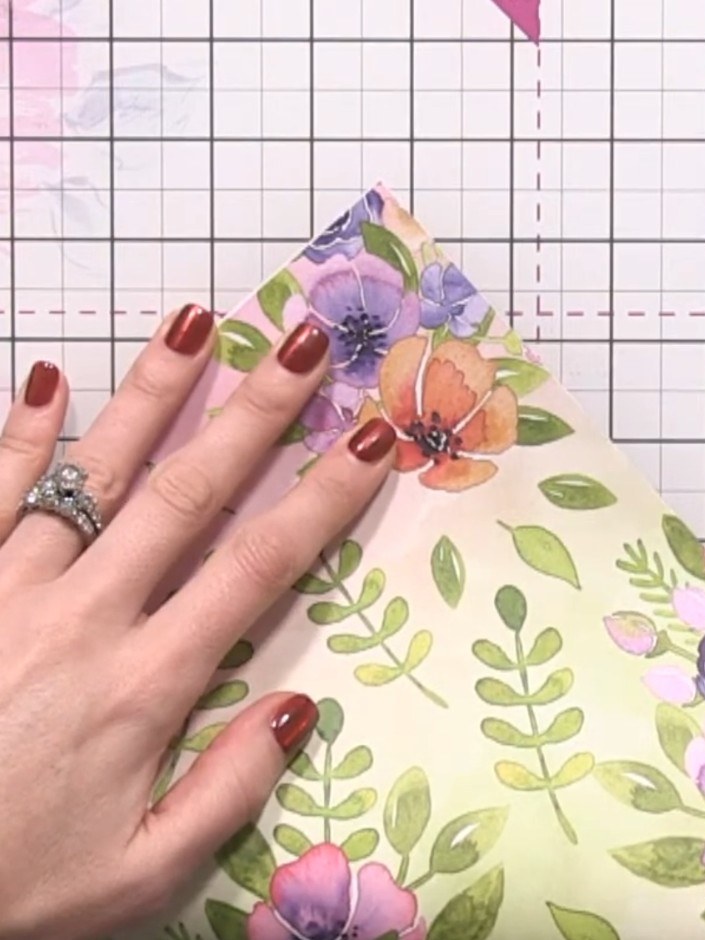 2
Fold the paper corner to corner diagonally, lining up the corners as straight as possible to create a triangle shape.
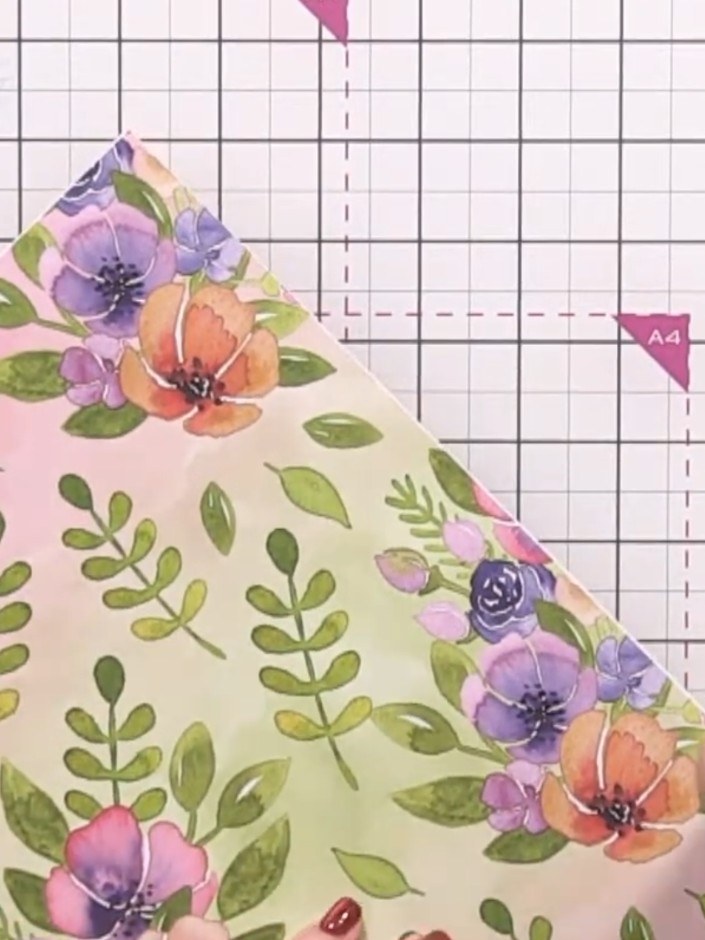 3
Give the fold a good crease along the entire edge, running your fingers firmly along the folded edge to ensure a sharp, crisp crease.
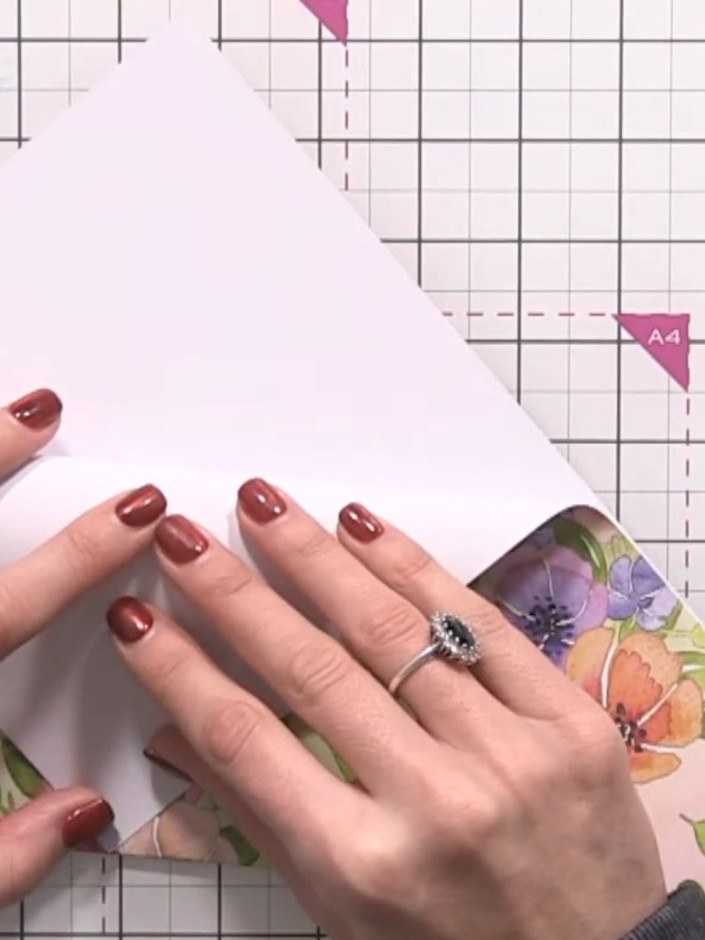 4
Pull the top point of the folded paper down to align with the centre line. Press firmly along the fold to create a sharp crease.
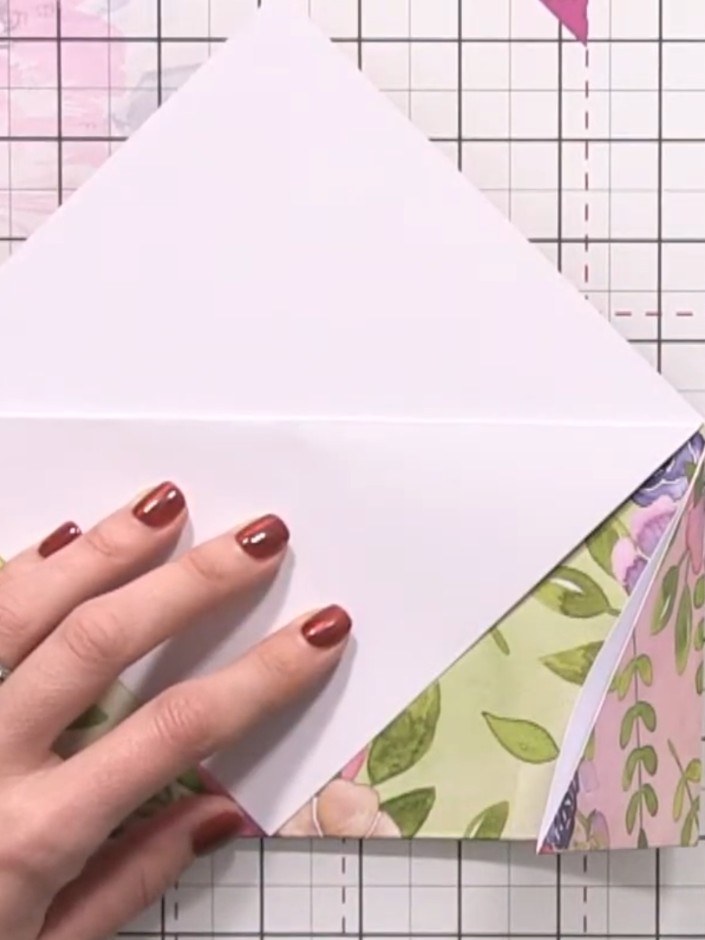 5
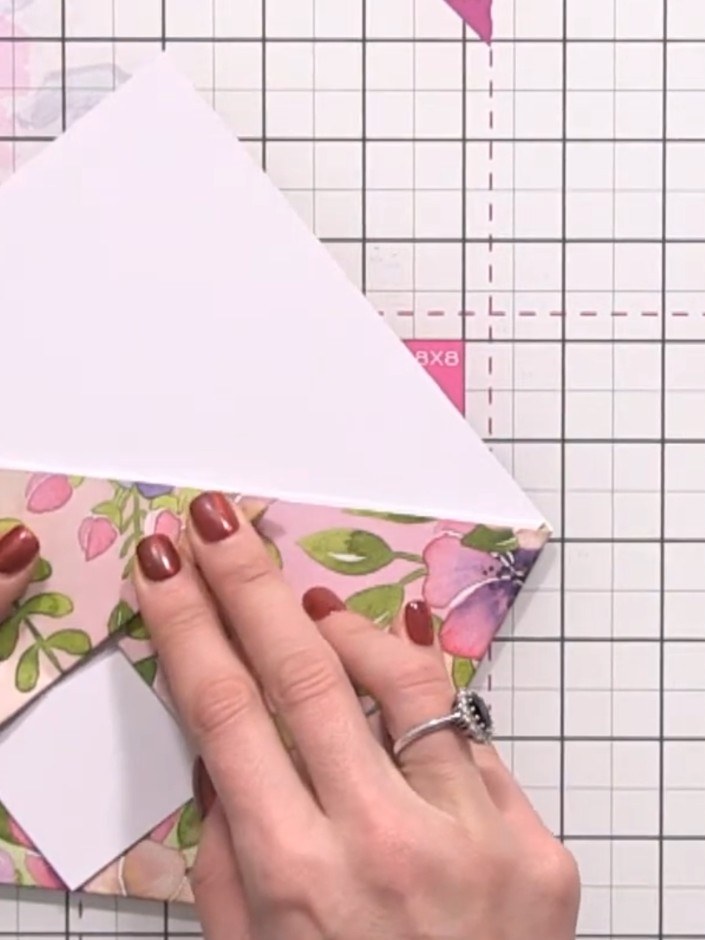
Fold the bottom left corner up to meet the crease line you just made. Press down firmly to score that fold.
 6
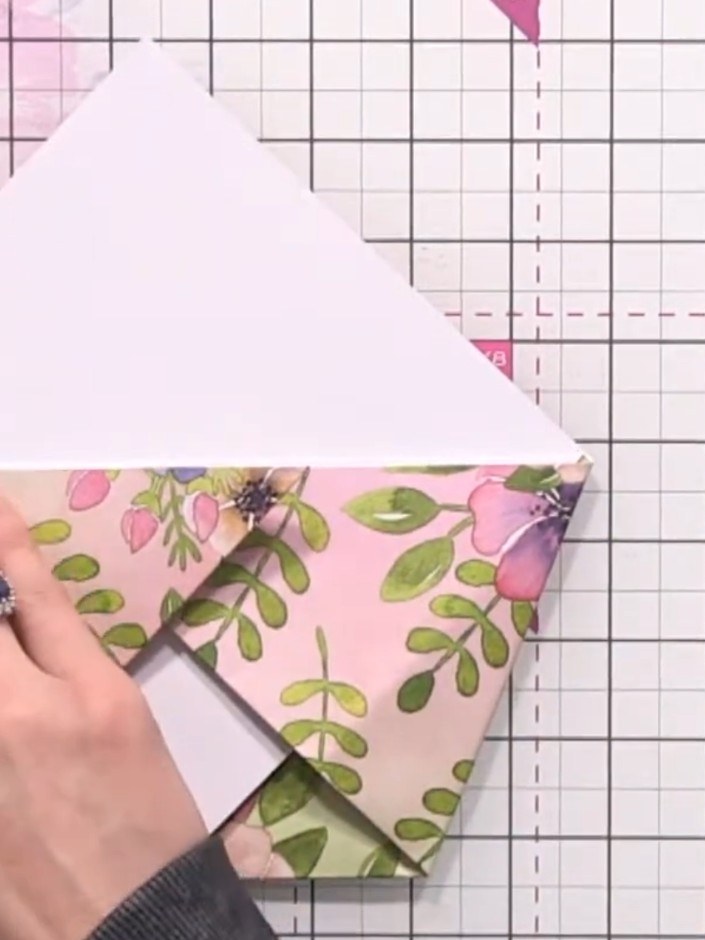
Fold the bottom right corner of the floral paper up to align with the top edge, creating a symmetrical triangular pocket shape. Press firmly to crease the fold.
 7
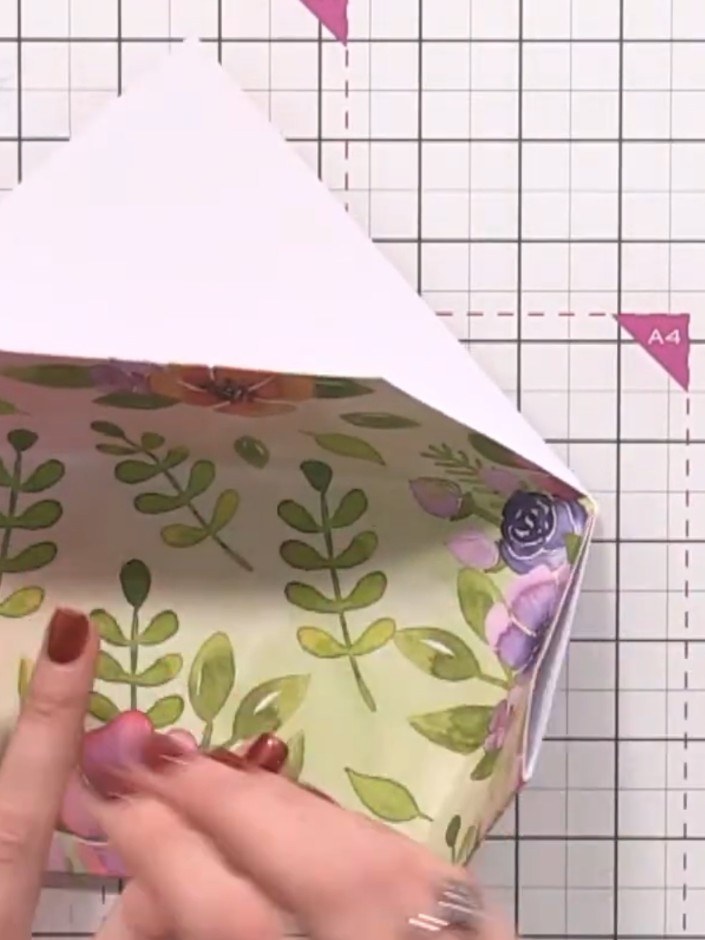
Open up the folds to reveal the pocket inside. The floral patterned paper should now show a square pocket formation with the white card insert visible.
 8
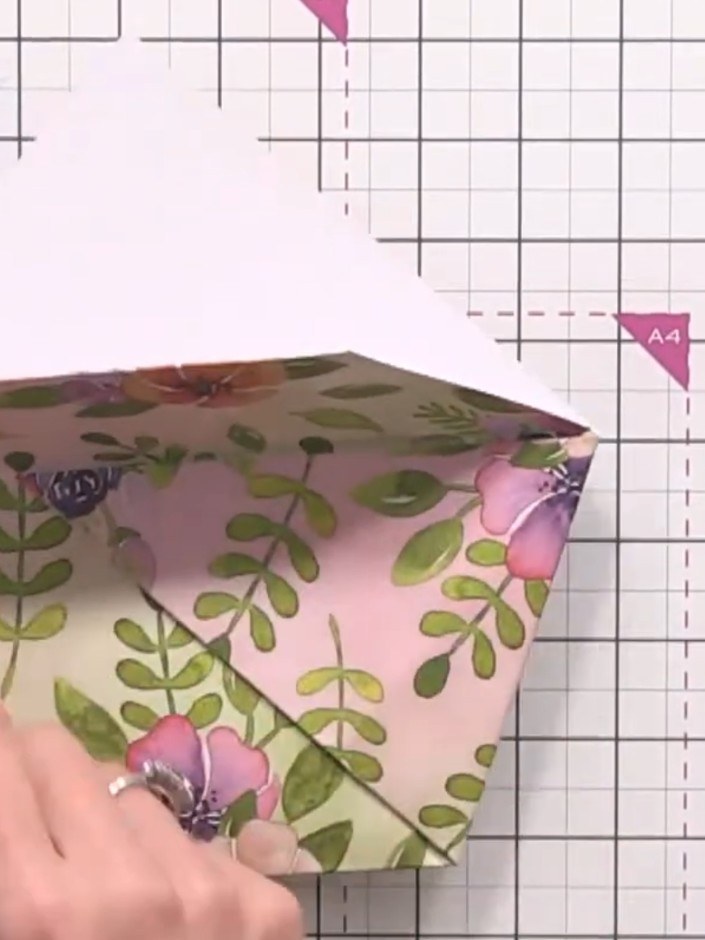
Push the side flaps upwards and secure them down with glue or tape to complete the pocket structure of the wallet.
 9
Fold the front flap upwards to display the floral pattern on the exterior of your gift wallet. Press firmly along the fold to create a crisp edge.
Share your make with the Stamps By Me community - and keep this guide for next time.
Written up from the show itself. See every guide from our shows · free how-to guides · watch live on My Telly · the previous layout