Give your friends £10 off their first order!
Refer a FRIEND








A project from our live show MY PODCAST - Catch my latest updates broadcast 3rd February 2025 · 03/02/2025 · watch it from 59:00
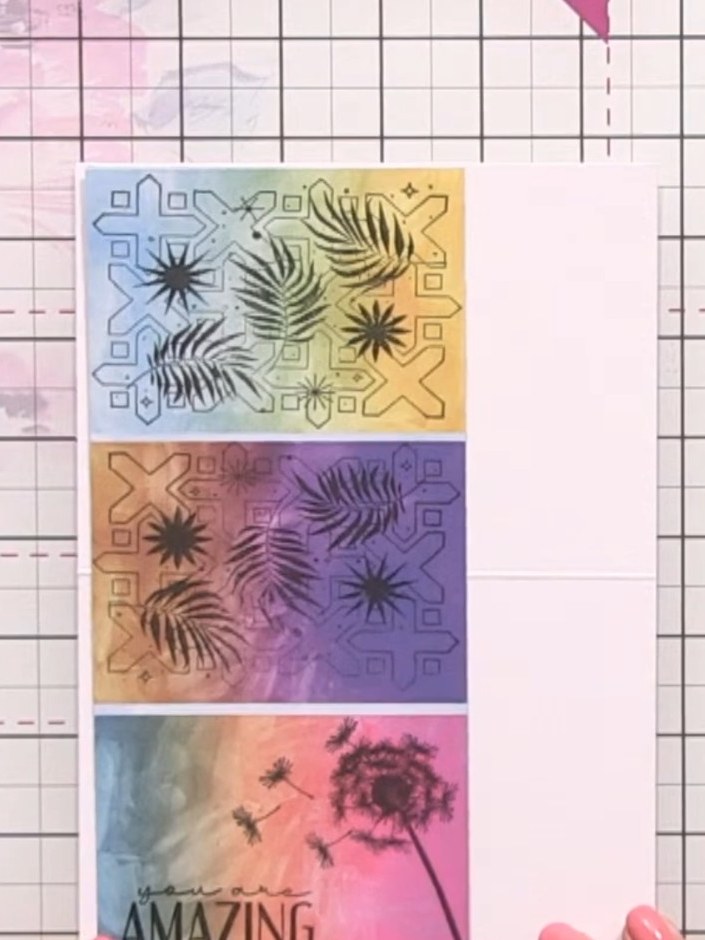
Create a stunning slimline card featuring beautiful decorative tile stamps in vibrant ombre colours. This project combines tropical leaf and geometric patterns stamped across rainbow gradient panels, finished with a dandelion motif and 'AMAZING' sentiment. The main techniques include stamping with layered patterns and working with ombre ink blends to achieve a striking multi-coloured effect.
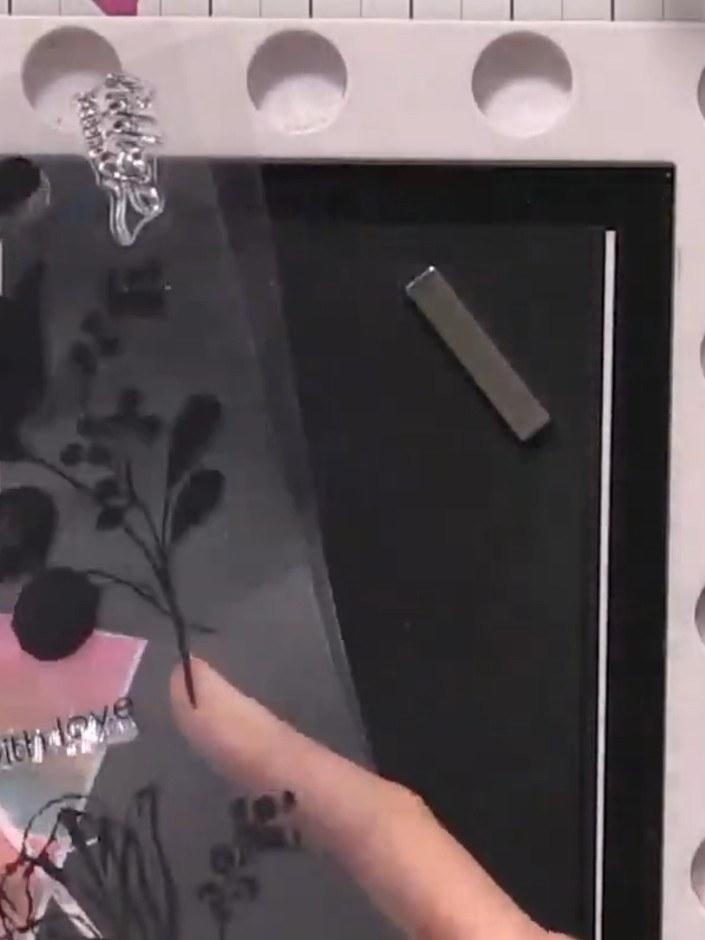
Select one of the decorative tile stamps from the collection. The stamps feature various floral and geometric designs that can be used to create your card.
▶ watch this step (1:00:15)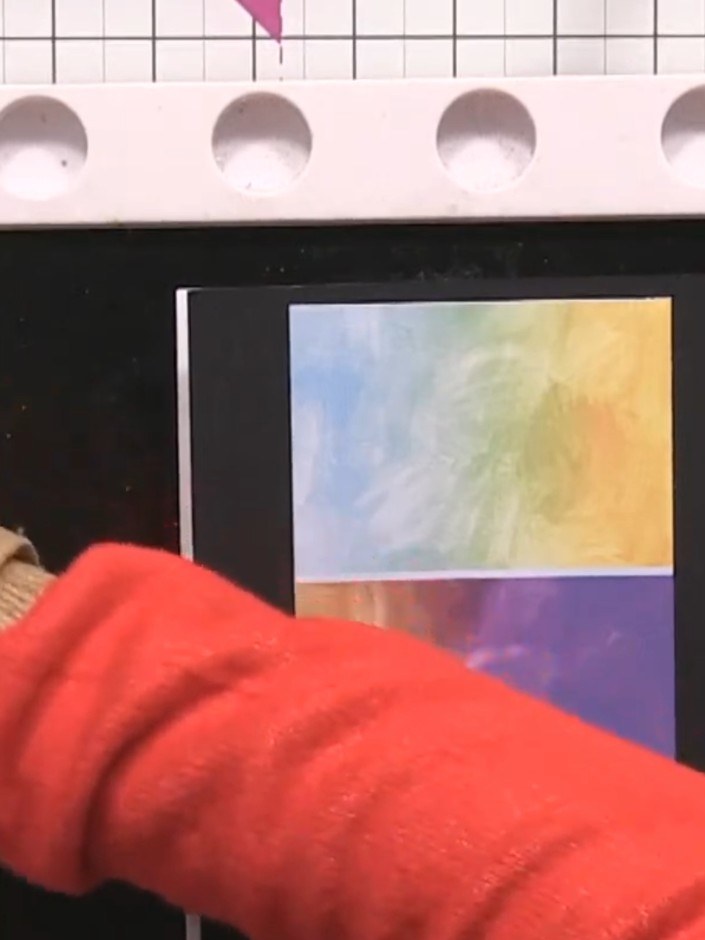
Ink up the tile stamp with your chosen ink colour, ensuring even coverage across the entire stamp surface.
▶ watch this step (1:04:00)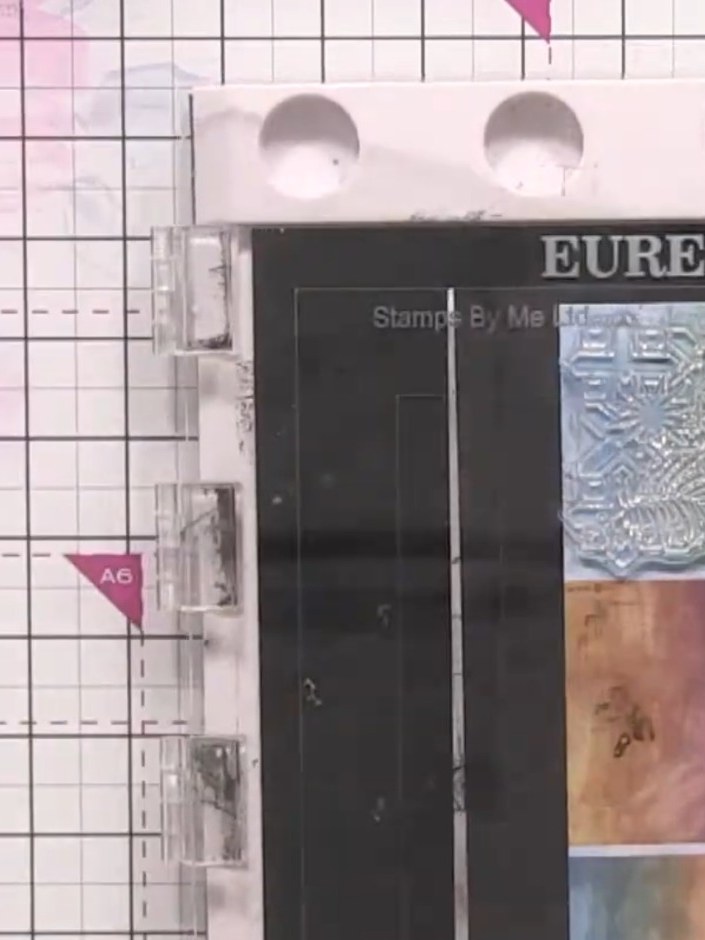
Stamp the tile design onto your card or paper using the Eureka 101 stamping platform, pressing down firmly to create a crisp image. The stamped image will show the decorative pattern in the colours from your vellum collection.
▶ watch this step (1:04:30)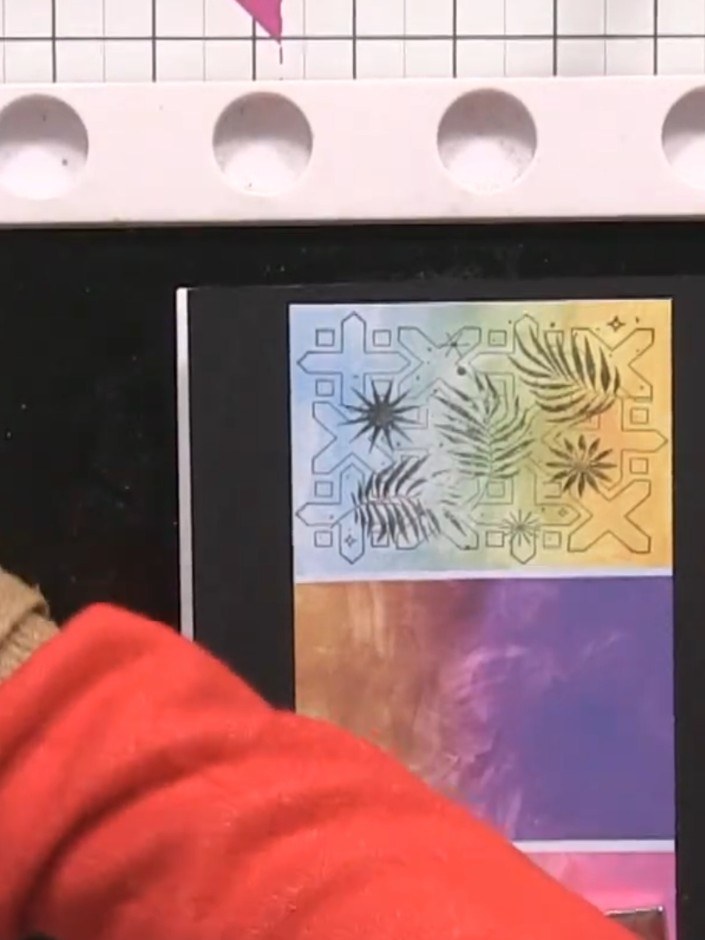
Repeat the stamping process to create a row of three tiles across the card front, maintaining even spacing between each stamped image.
▶ watch this step (1:05:00)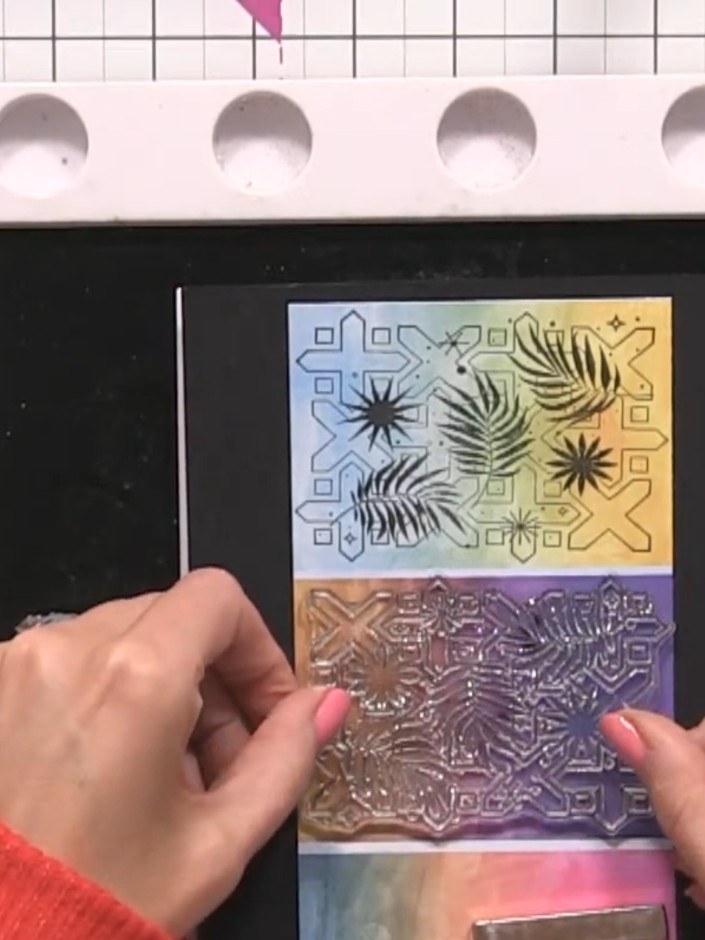
Trim the stamped panel to size, keeping the decorative tiles as the central design feature on your card front.
▶ watch this step (1:05:30)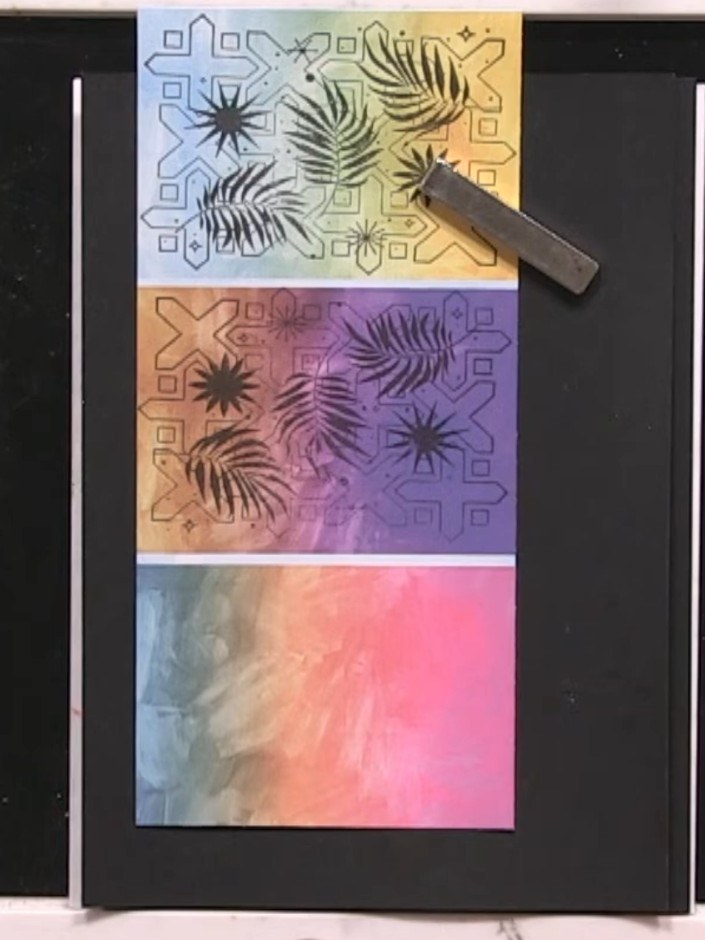
Mount the trimmed panel onto a black card blank using adhesive. Position the panel centrally on the card front to create a neat border all around.
▶ watch this step (1:06:00)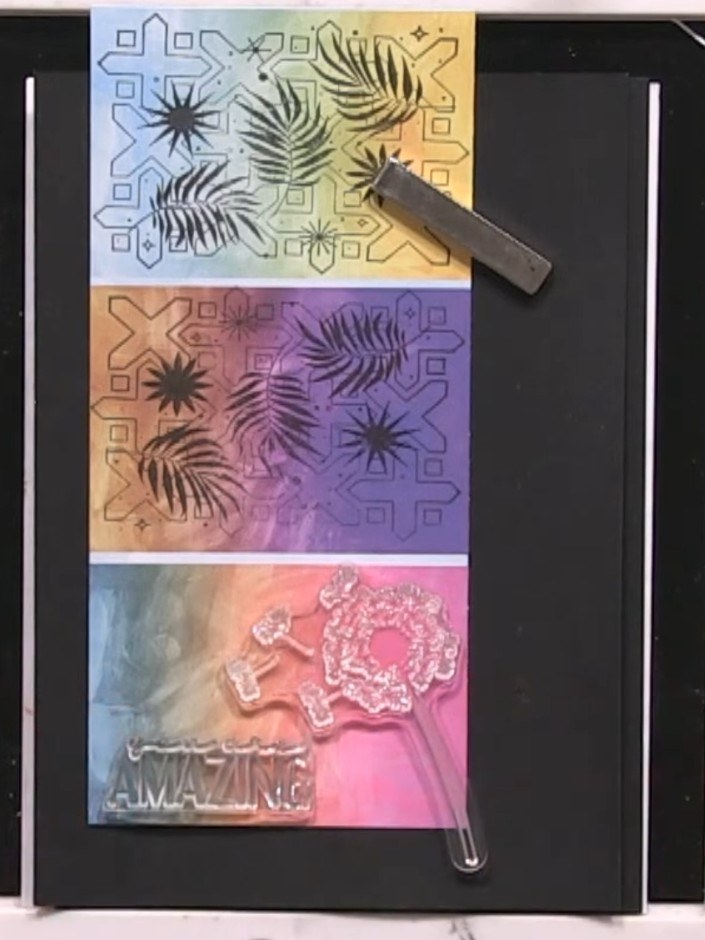
Add a sentiment stamp to the lower portion of the card to complete your design. Position the 'AMAZING' stamp on the blue-pink gradient area below the decorative wreath element.
▶ watch this step (1:06:30)Written up from the show itself. See every guide from our shows · free how-to guides · watch live on My Telly