Give your friends £10 off their first order!
Refer a FRIEND








Prices change straight away. Every language is our own translation, not Google.
A project from our live show MY PODCAST - Catch my latest updates broadcast 3rd February 2025 · 03/02/2025
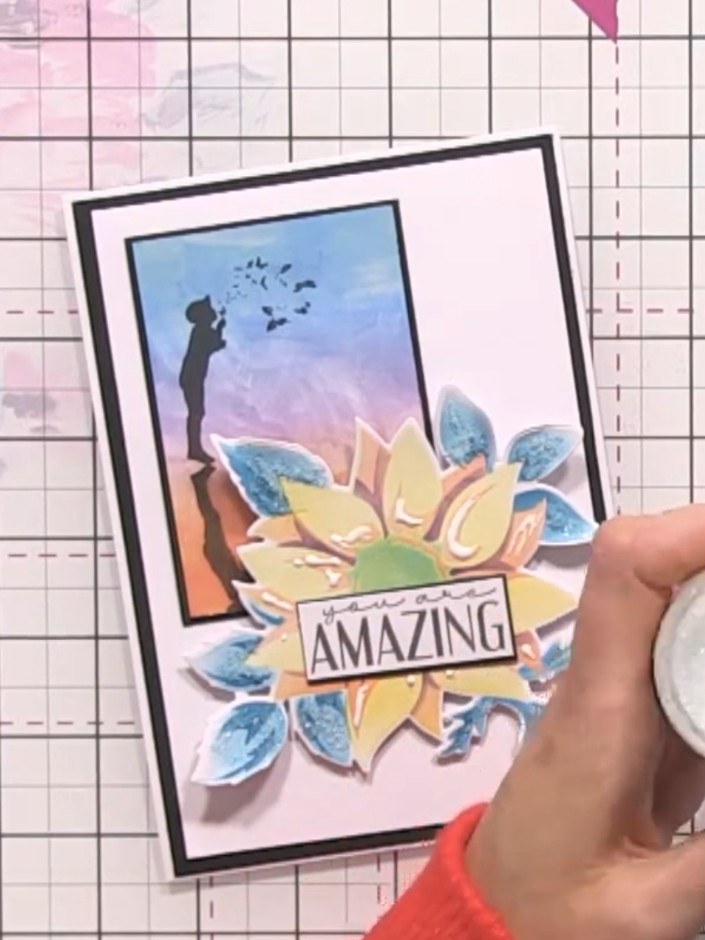
Create a beautiful layered card featuring a charming street scene with built-in reflection effects. Using specially designed reflection stamps, you'll layer a colourful image of buildings and figures onto coordinating papers to create wonderful depth. The finished card showcases vibrant colours including blues, greens, and warm tones, with a sophisticated dimensional topper and coordinating sentiment.
 1
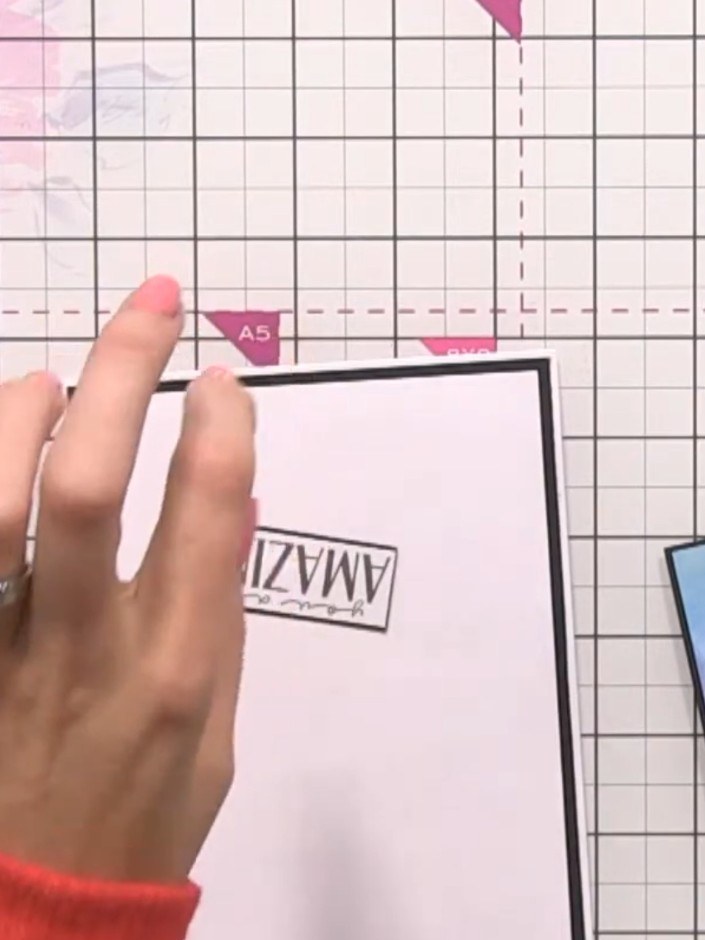
Stamp the reflection image onto the coloured gradient card using midnight ink. Position the 'You are Amazing' sentiment stamp on white card and stamp it clearly.
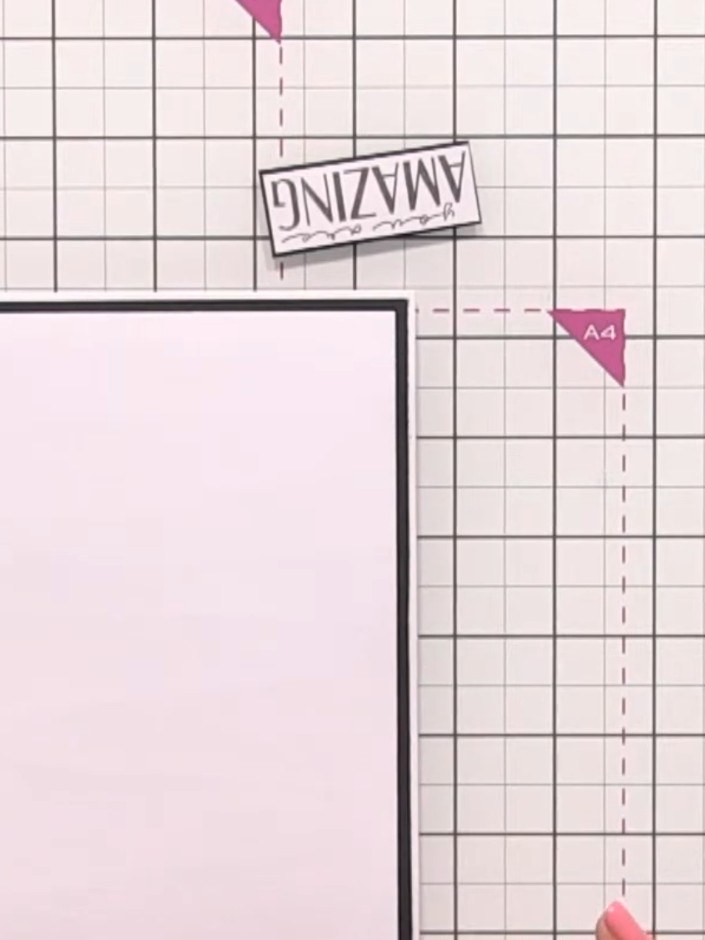 2
Notice how the reflection is built into the stamp design. The silhouette figure and its reflection are part of the same stamp image, so you only need to stamp once to create the complete effect.
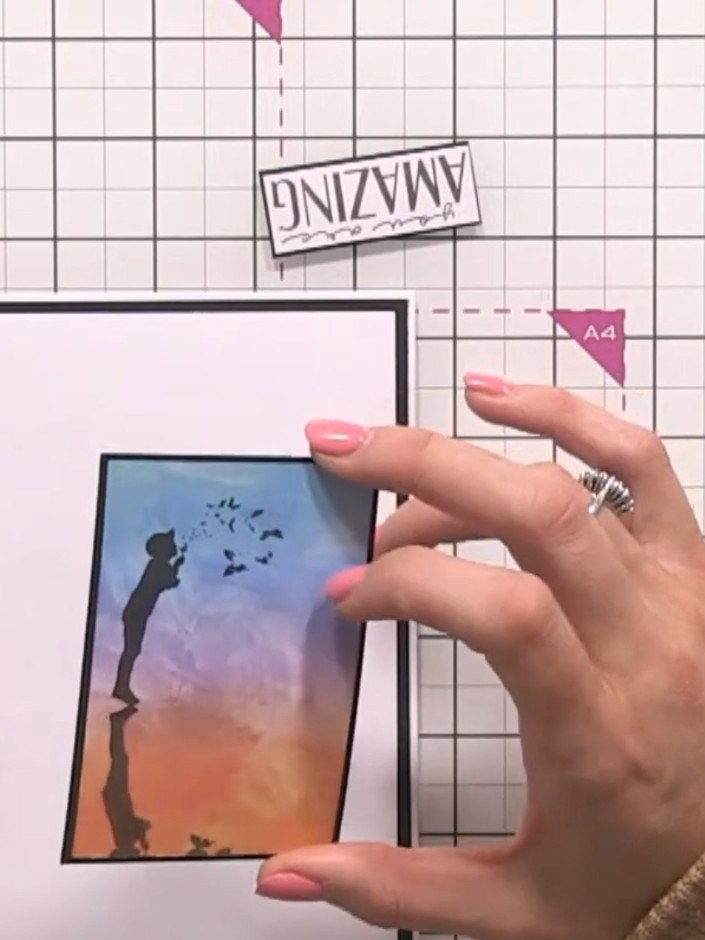 3
Stamp the same image again on a separate piece of white card. This time, create a shadow effect by making the top darker with blue tones and the bottom lighter with orange tones, keeping the silhouette dark throughout.
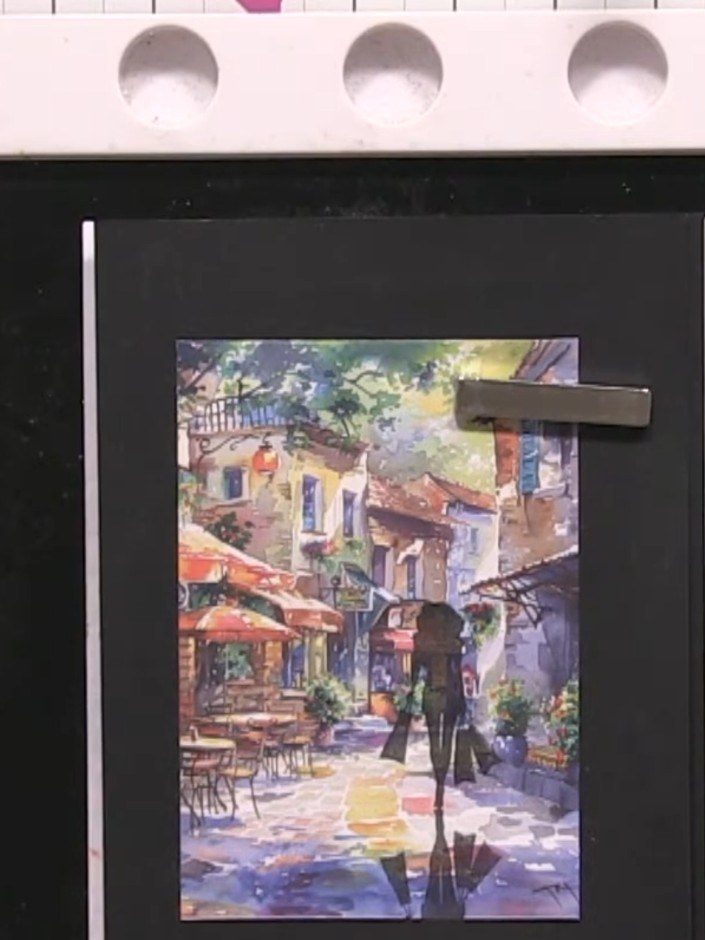 4
Cut out the stamped image carefully using scissors or a craft knife. Trim neatly around the edges of the printed scene to create your topper piece.
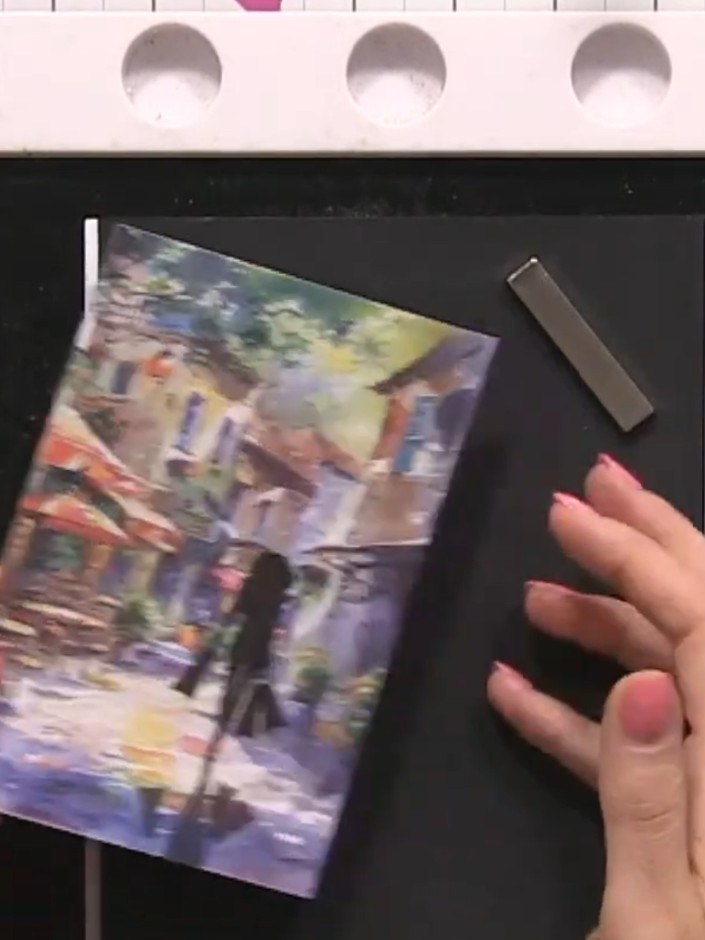 5
Select a coordinating paper from the Peaceful Moment collection to use as your card base or background. Choose a design that complements the street scene image you'll be using for the topper. Attach the stamped image to the front of the card using foam pads to create dimension. Position the topper centrally on the card base. Stamp or add a sentiment to complete your card. Position it on the front of the card where desired to finish your layered topper design.
Share your make with the Stamps By Me community - and keep this guide for next time.
Written up from the show itself. See every guide from our shows · free how-to guides · watch live on My Telly · the previous layout