Give your friends £10 off their first order!
Refer a FRIEND








Prices change straight away. Every language is our own translation, not Google.
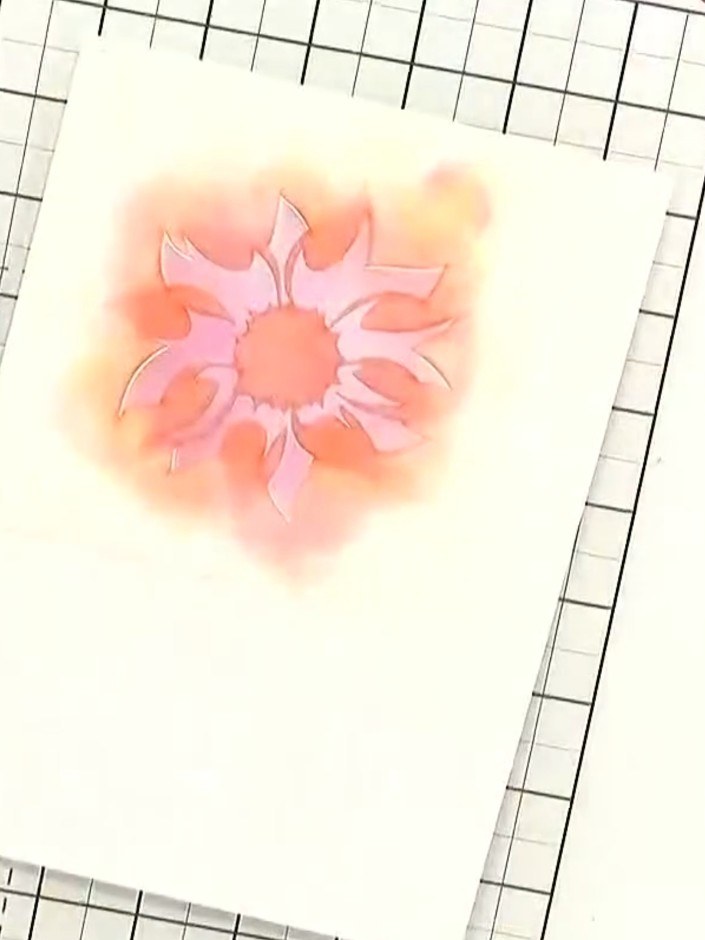
A project from our live show IDEAL WORLD - Join Toni and Yiannis for the latest Stamps By Me product launch - Broadcast Wed 12th March 25 · 12/03/2025
Create a beautiful layered watercolour flower card using a numbered stencil system. Build up delicate pink and coral petals with purple accents to form an elegant floral design. The technique uses precisely aligned stencils with registration marks to achieve a professional multi-layered watercolour effect.
 1
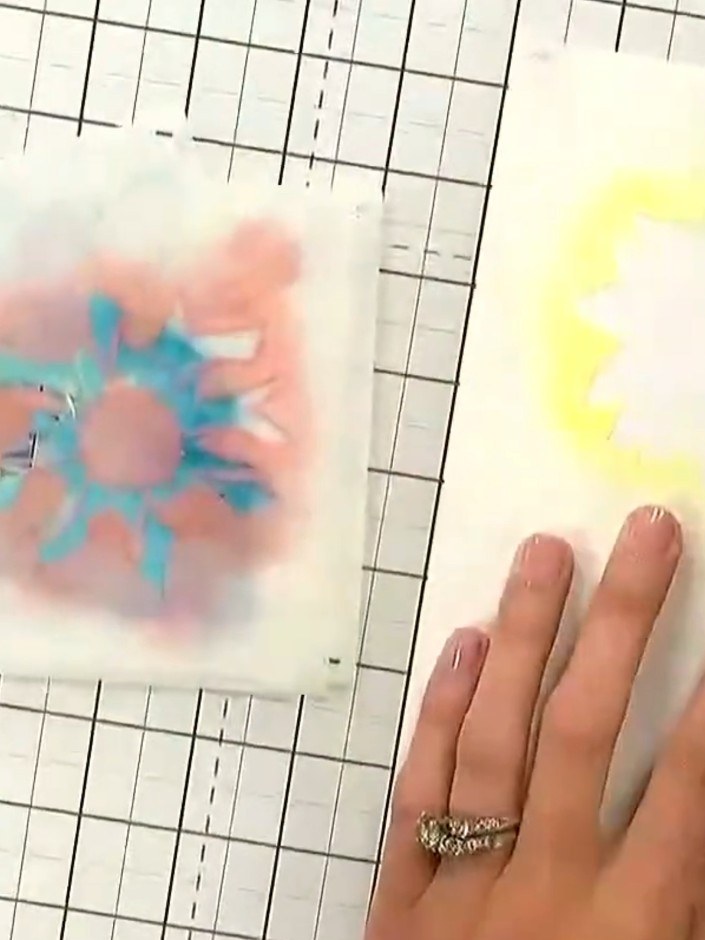
Place your white card stock on the craft mat. Position the first stencil from the numbered layering system over the card, holding it steady with one hand.
 2
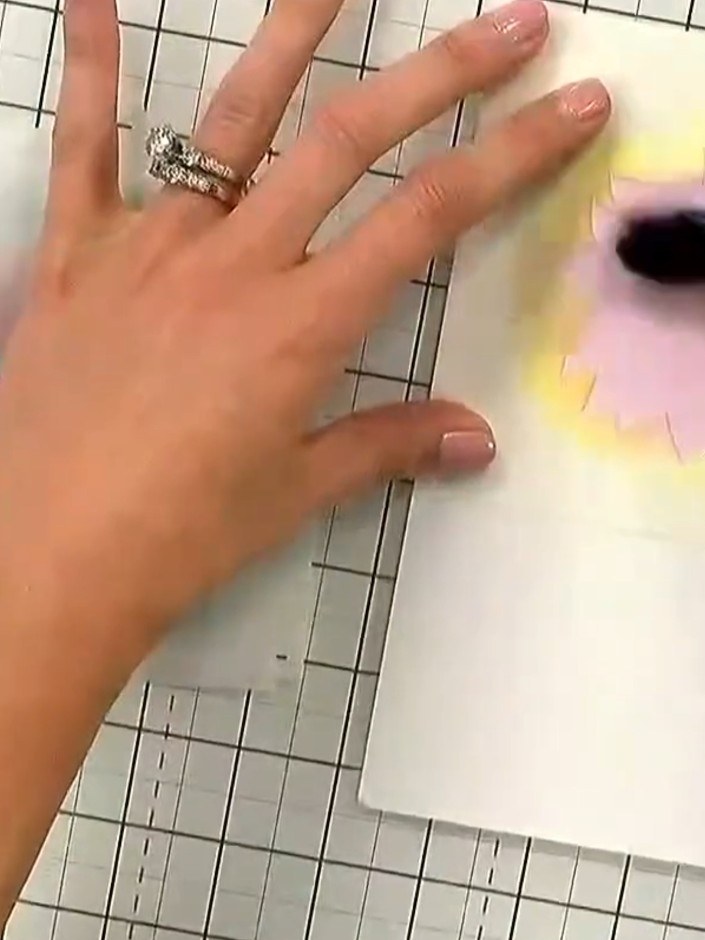
Position the first stencil (marked number 1) onto your white card base. Use the small heart registration marks in the corners to align the stencil correctly on the card.
 3
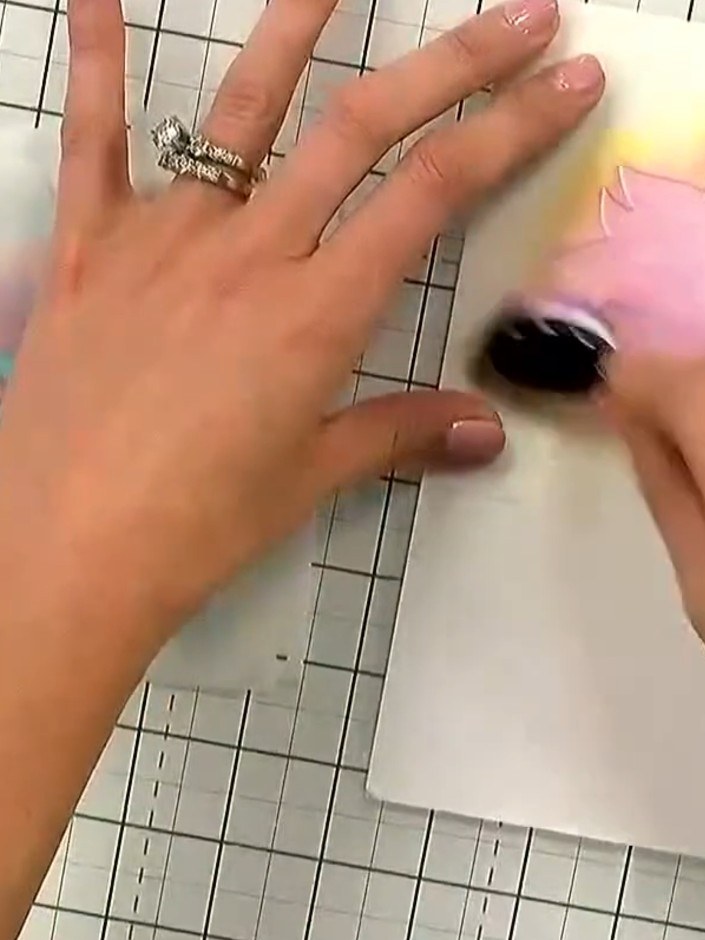
Apply pink ink through the flower stencil using a blending brush, working the colour over the petals to create the first layer of the flower design.
 4
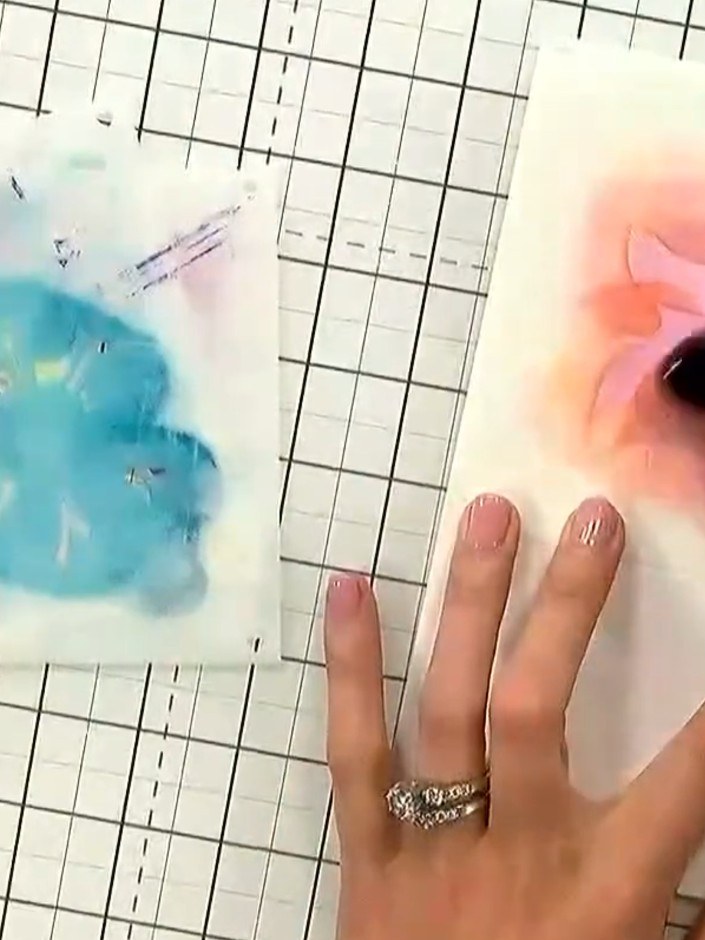
Remove the first stencil carefully. Position the second layering stencil over the card, aligning it using the same heart registration marks to ensure proper placement.
 5
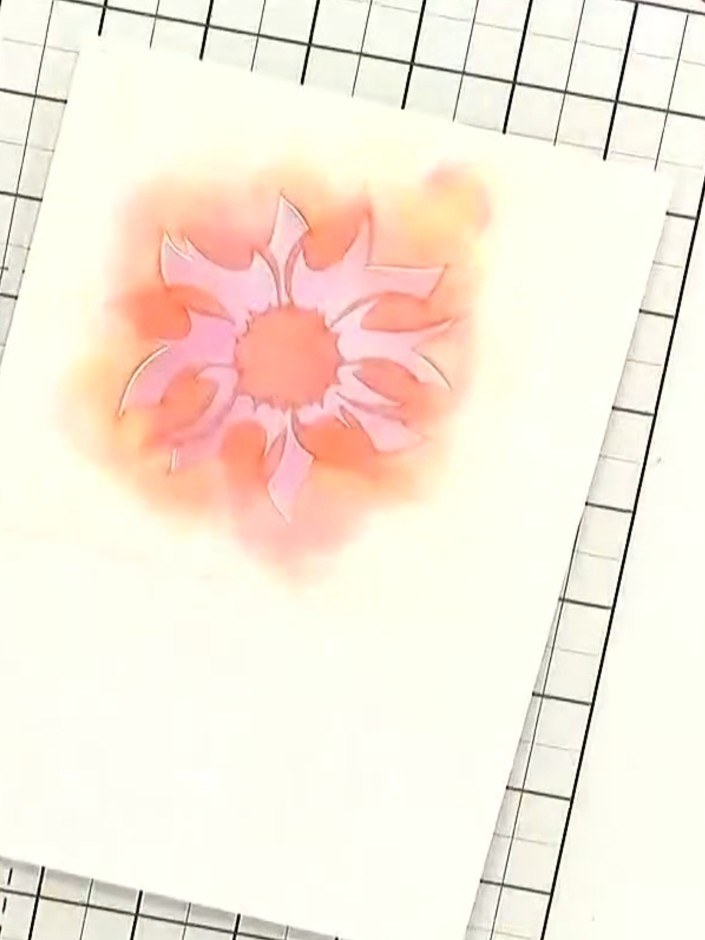
Apply a second colour (yellow or orange) through stencil number 2 over the first layer to build up the flower design. Use a brush to dab the colour through the stencil openings.
 6
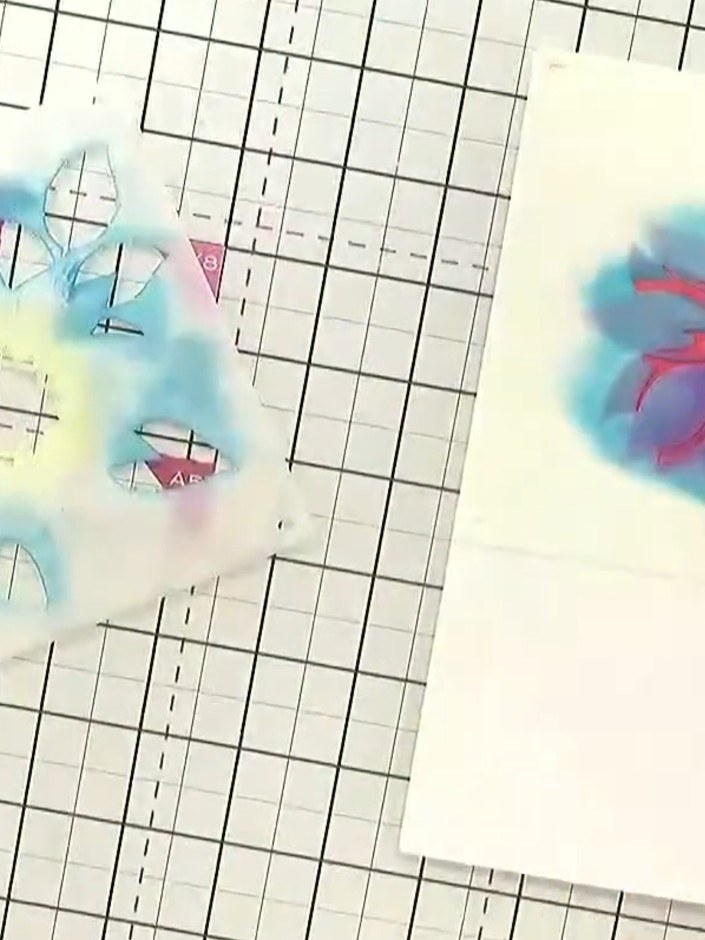
Continue building up the layered flower design by applying stencils 3, 4, and 5. Use different colours for each layer, allowing the design to develop depth and dimension as you work through the remaining stencils.
 7
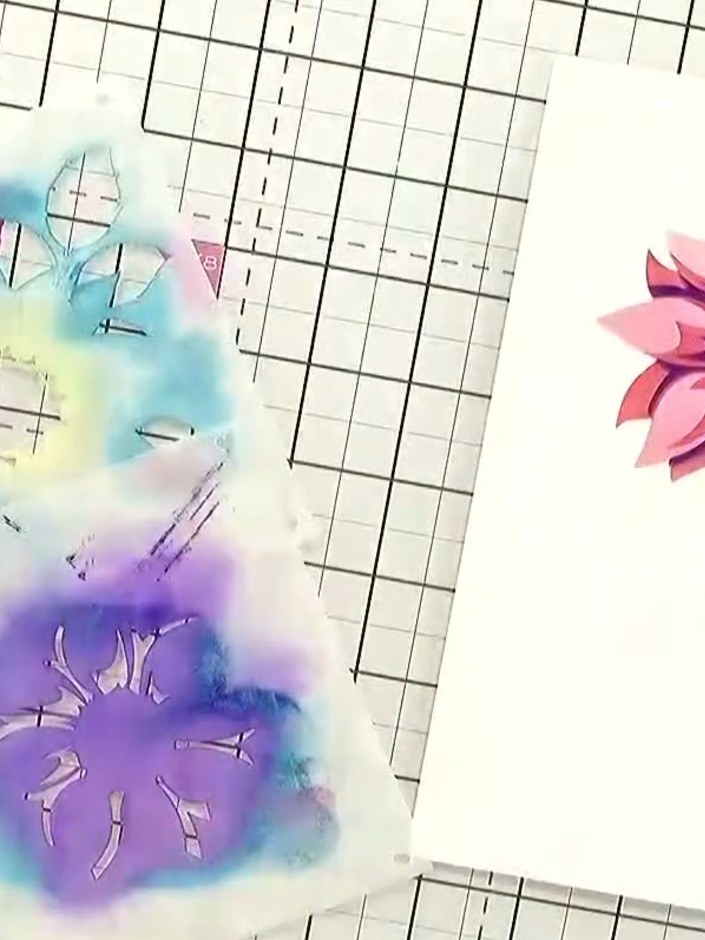
Allow the inks to blend naturally where colours overlap, creating a watercolour effect. The blue and purple inks will merge together on the card, producing soft colour transitions typical of watercolour painting.
 8
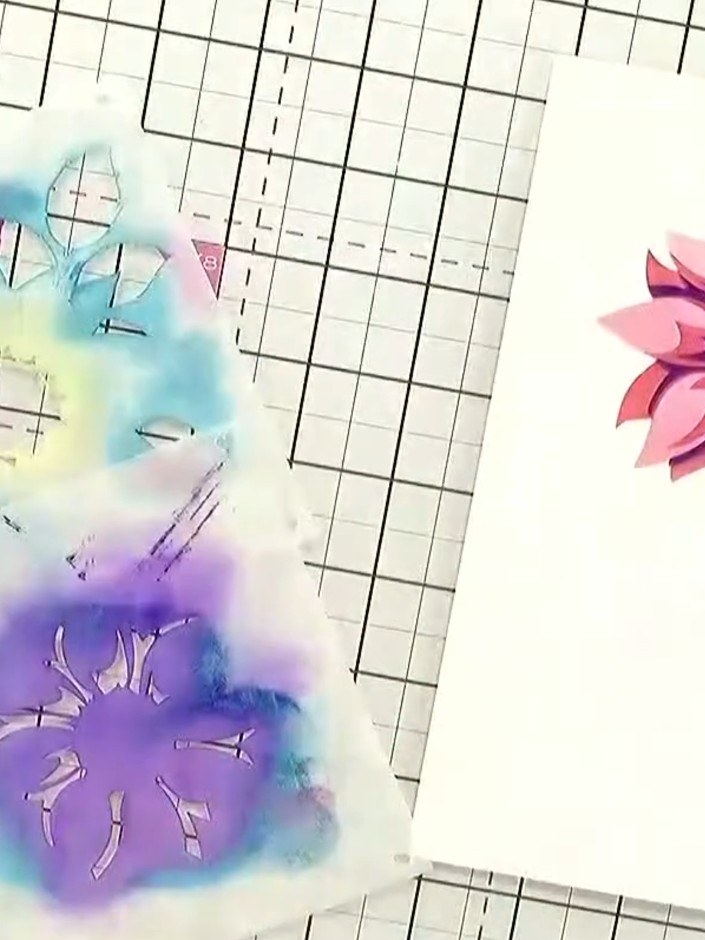
Once all stencilled layers are dry, arrange the layered flower elements on your card base. Add any final embellishments or sentiments to complete your watercolour flower card.
Share your make with the Stamps By Me community - and keep this guide for next time.
Written up from the show itself. See every guide from our shows · free how-to guides · watch live on My Telly · the previous layout