Give your friends £10 off their first order!
Refer a FRIEND








Prices change straight away. Every language is our own translation, not Google.
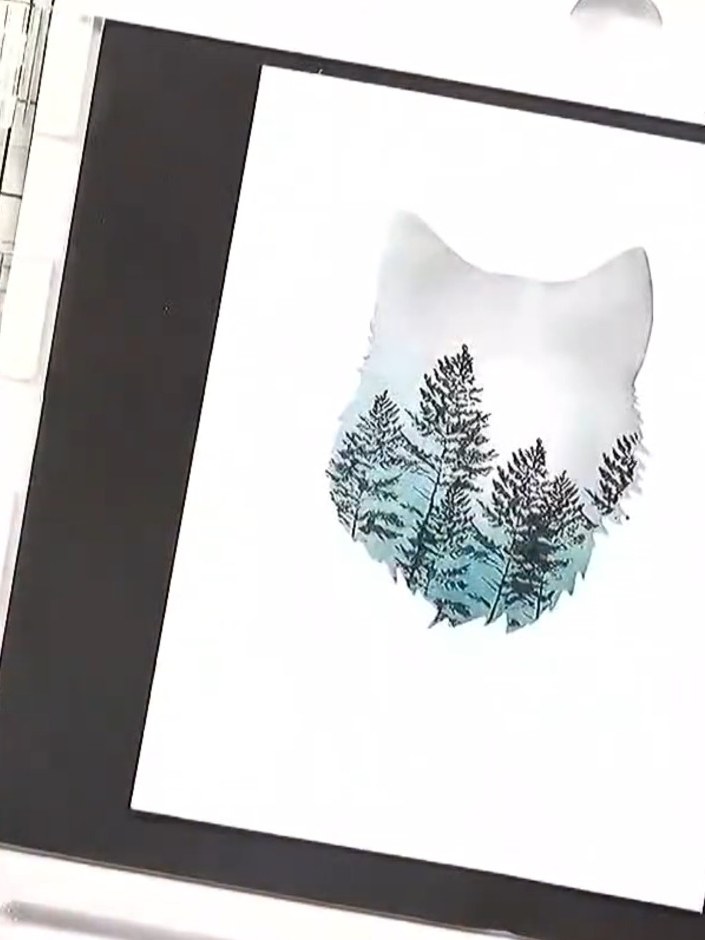
A project from our live show IDEAL WORLD - Join Toni and Yiannis for the latest Stamps By Me product launch - Broadcast Wed 12th March 25 · 12/03/2025
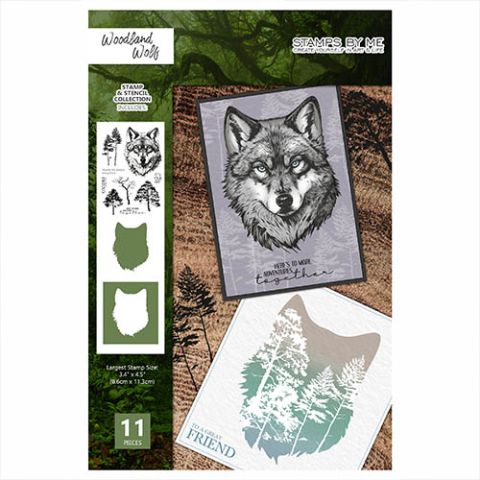
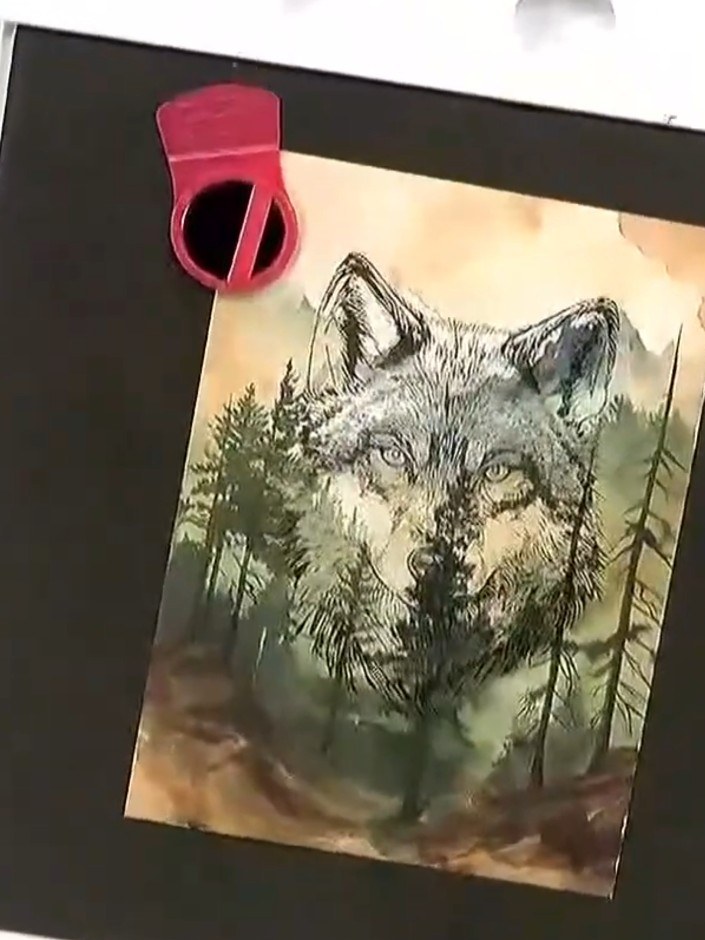
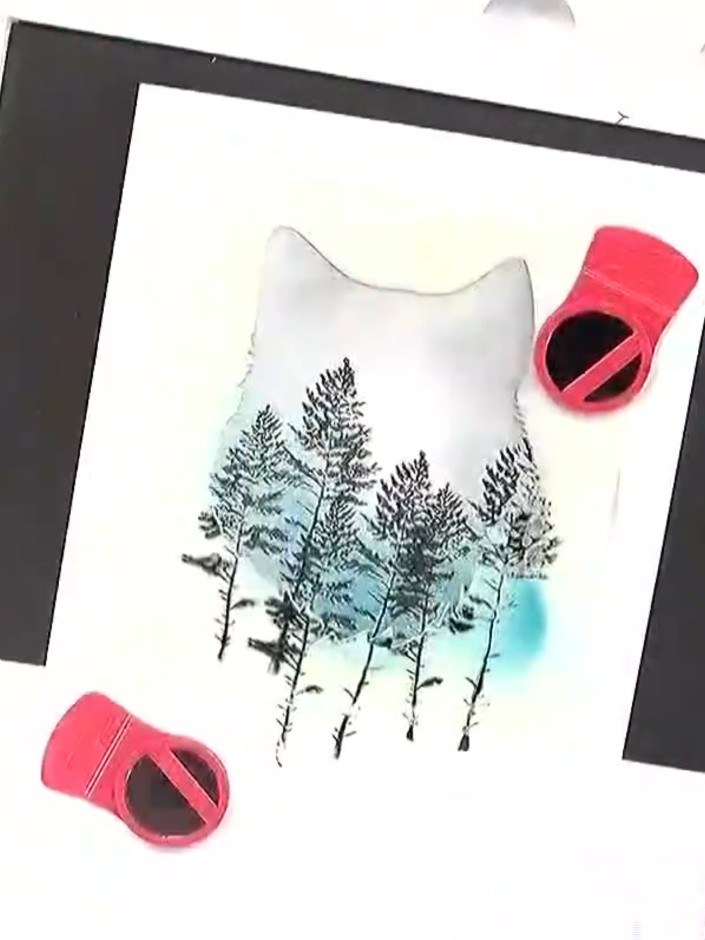
Create a stunning woodland forest landscape card featuring a wolf silhouette filled with layered tree designs. Using partial stamping techniques with black ink and subtle blue watercolour accents, you'll build up a scenic forest scene with depth and dimension. The finished piece showcases evergreen trees stamped within the wolf shape, creating an artistic and atmospheric nature-themed card.
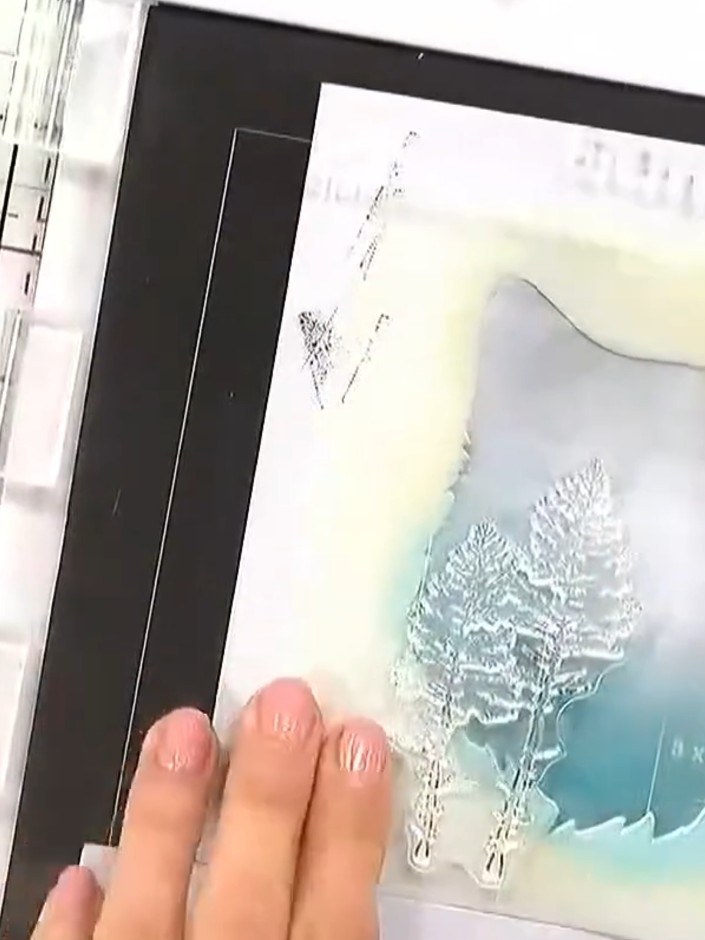 1
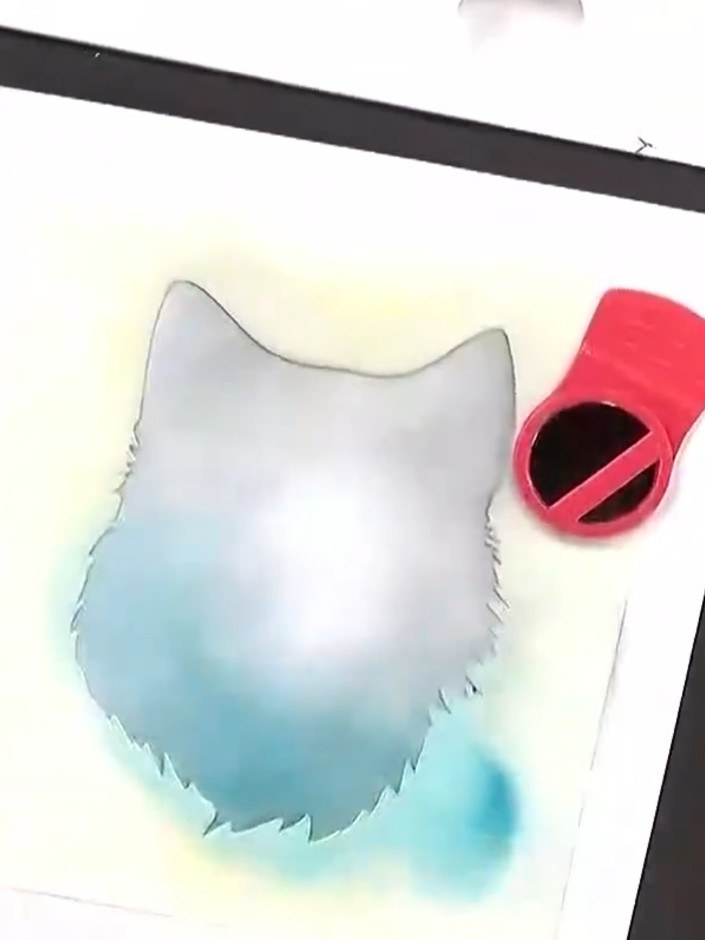
Use the exterior stencil from the Woodland Wolf set to create a silhouette on your white card base. Apply grey or teal ink through the stencil to build up a landscape scene with trees and foliage.
 2
Apply a contrasting colour such as teal to the bottom portion of the stamped silhouette using the blending tool. Blend upwards to create a horizon line effect, leaving the top portion lighter.
 3
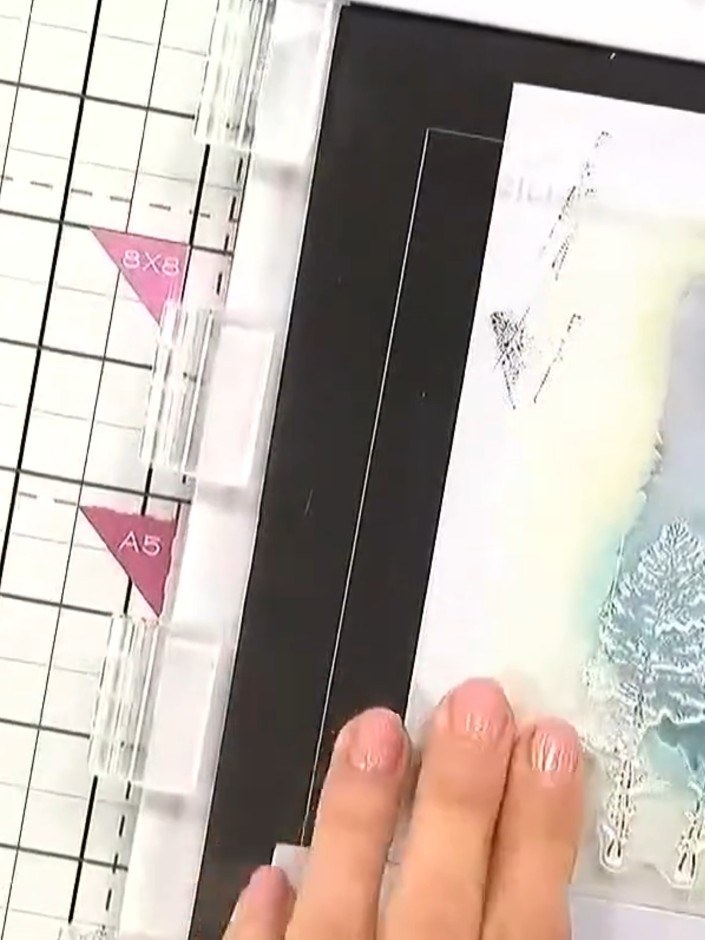
Using a transparent stamp, stamp a tree image within the fox silhouette so you can see the placement clearly. Position the tree stamp over the coloured area and press firmly to transfer the image.
 4
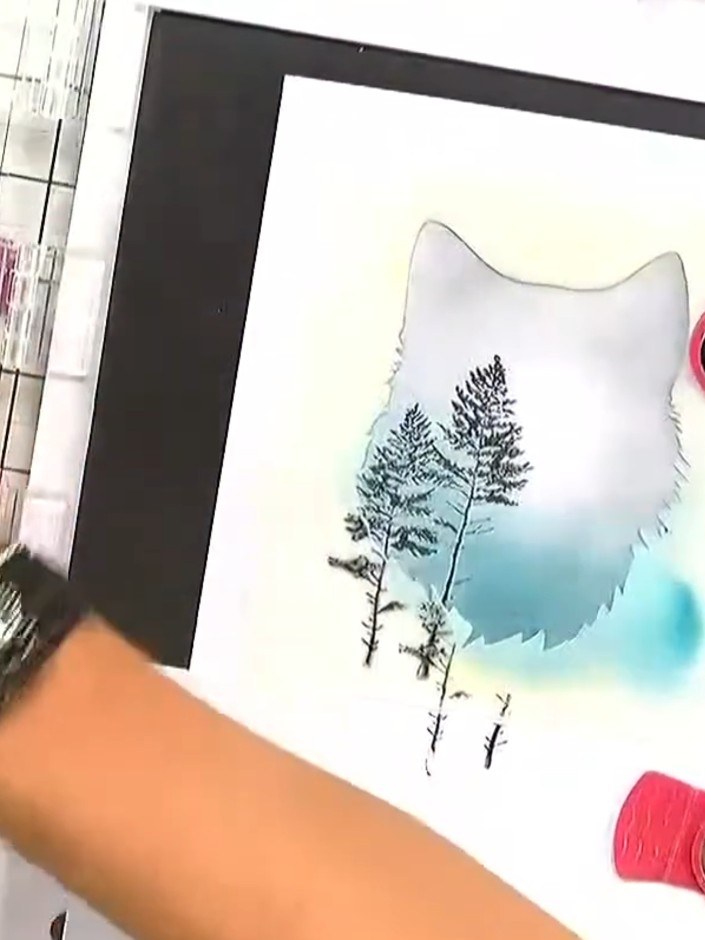
Position the tall tree stamp at the bottom of the fox silhouette, using only the lower portion of the stamp. Ink and stamp the partial tree image to create additional forest detail within the silhouette.
 5
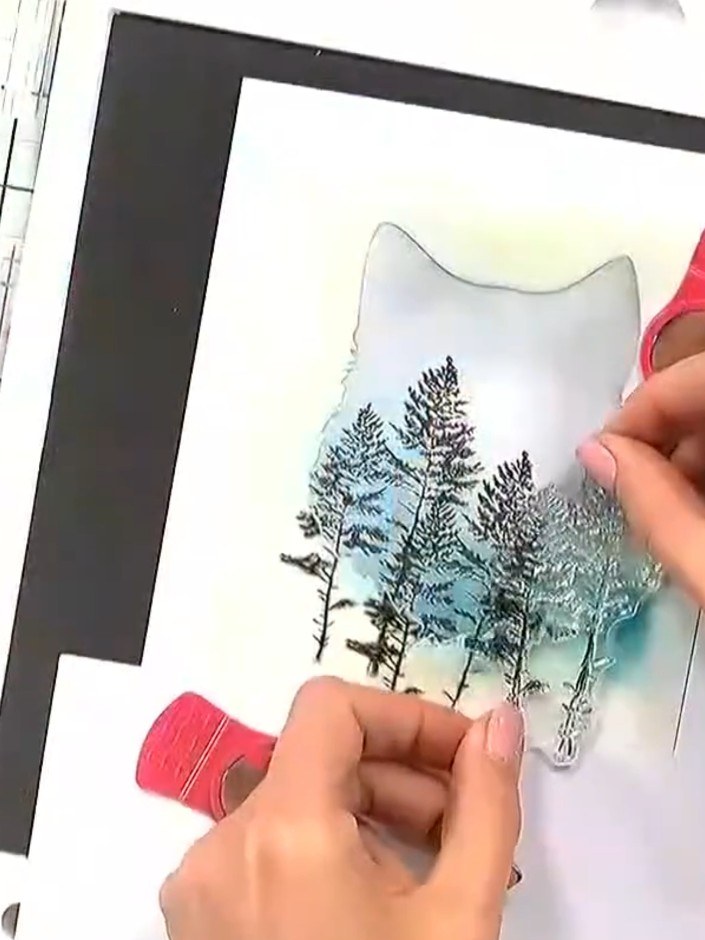
Stamp additional trees at varying heights within the silhouette using the tree stamps. Build up a forest landscape effect by layering the trees to create depth and dimension.
 6
Stamp the tree images onto the white card using black ink. Position the trees over the coloured background to create strong contrast. Allow the stamped images to dry completely.
 7
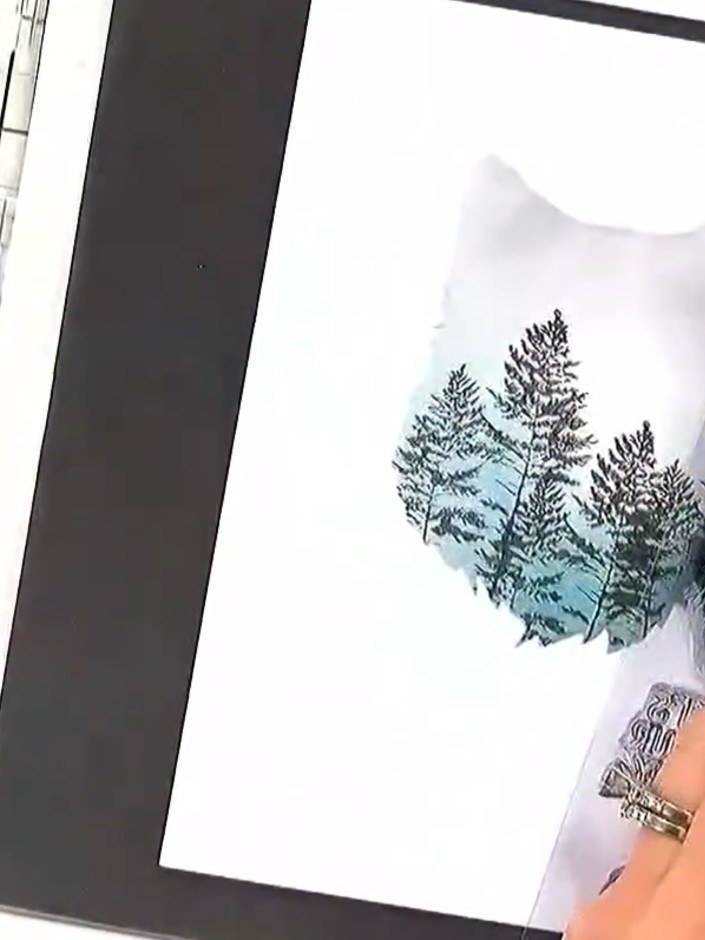
Select a sentiment stamp from the Woodland Wildlife collection and stamp it at the bottom of the card to complete your design. Position it centrally below the forest scene.
Share your make with the Stamps By Me community - and keep this guide for next time.
Written up from the show itself. See every guide from our shows · free how-to guides · watch live on My Telly · the previous layout