Give your friends £10 off their first order!
Refer a FRIEND








Prices change straight away. Every language is our own translation, not Google.
A project from our live show IDEAL WORLD - Join Toni and Yiannis for the latest Stamps By Me product launch - Broadcast Wed 12th March 25 · 12/03/2025 · watch it from 52:00
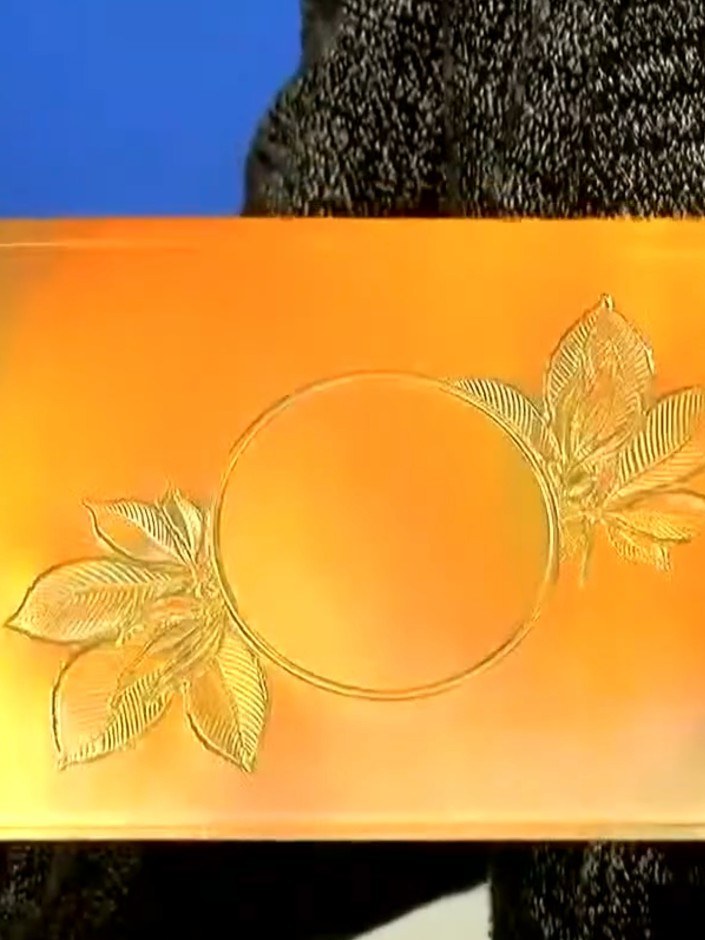
Create an elegant embossed card featuring a beautiful raised floral design on metallic card stock. The deep green background with copper-toned embossed leaves and berries creates a luxurious, opulent finish. Using a 3D embossing folder and die cutting machine, you'll achieve a stunning letterpress effect with dimensional detail.
 Stamps By Me - High Definition 3D Embossing Folder - Blossom with Grace - 051122ASEE IT
 Stamps By Me 8.5 Inch Die Cutting & Embossing Machine - 170724ASEE IT
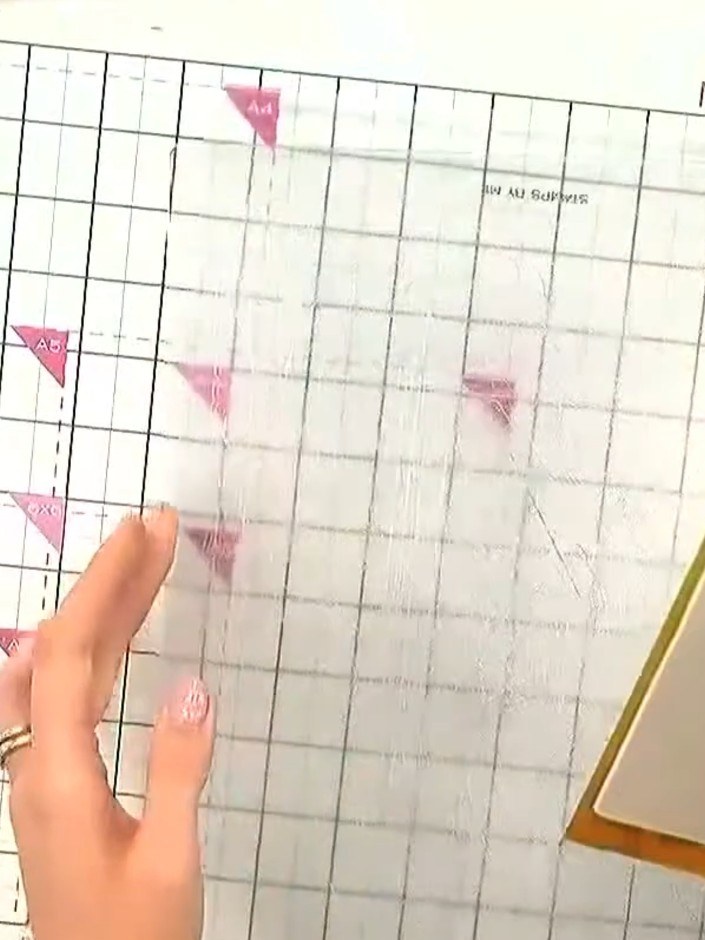
Place a piece of metallic card stock into the embossing folder, ensuring it is centred. The card should fit completely within the folder's embossed design area.
▶ watch this step (52:00)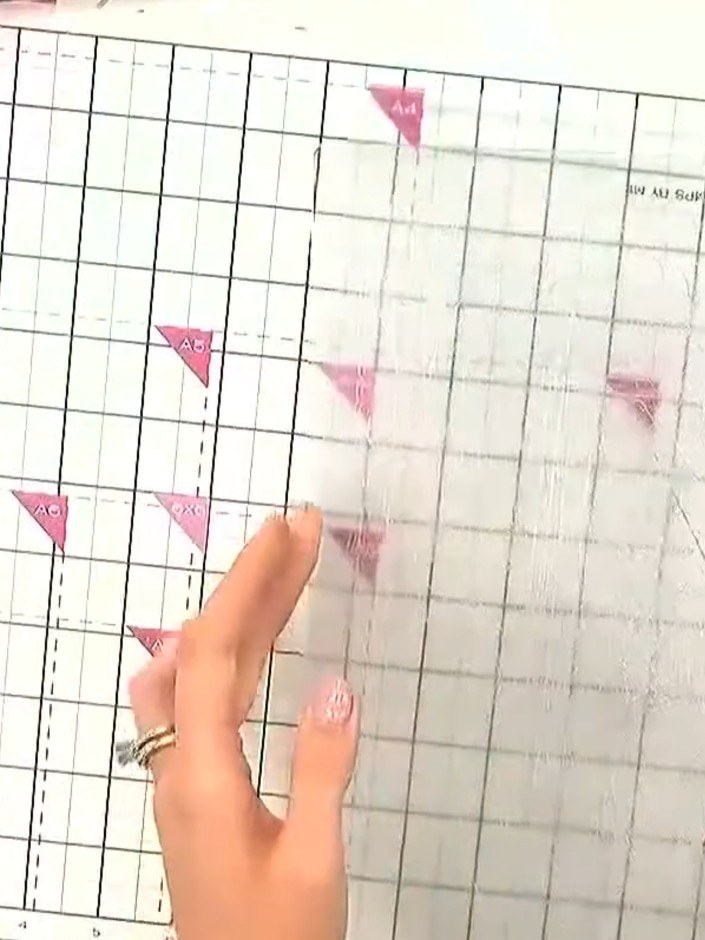
Place your card inside the embossing folder, then insert the folder into the die cutting and embossing machine. Position the folder with the card between the plates ready to run through the machine.
▶ watch this step (52:30)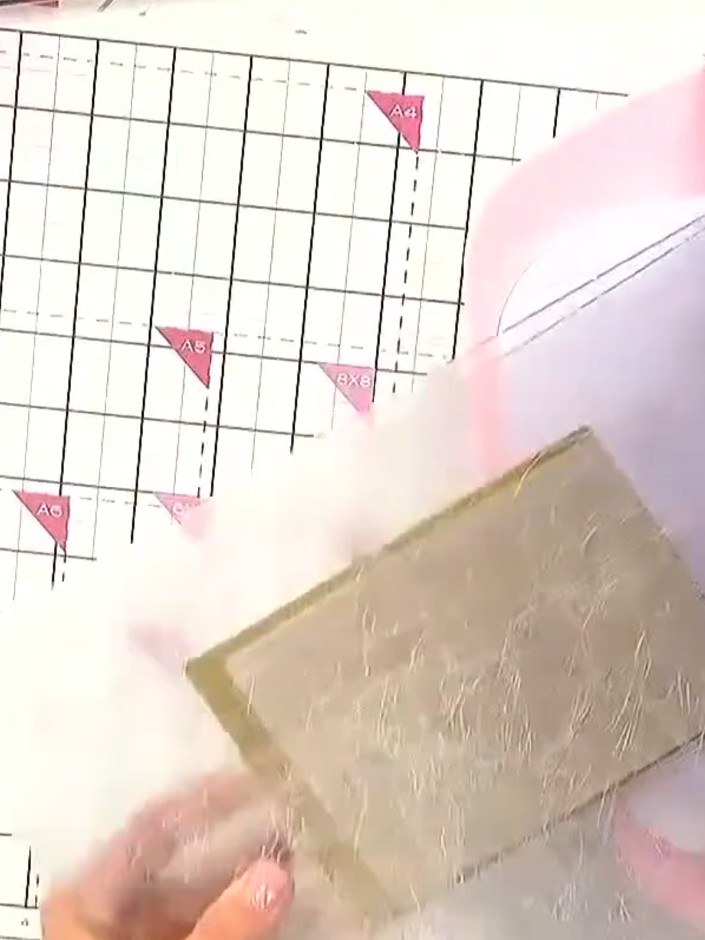
Turn the handle of the die cutting and embossing machine smoothly and steadily to feed the card sandwich through the rollers. Continue turning until the entire sandwich has passed through the machine.
▶ watch this step (53:00)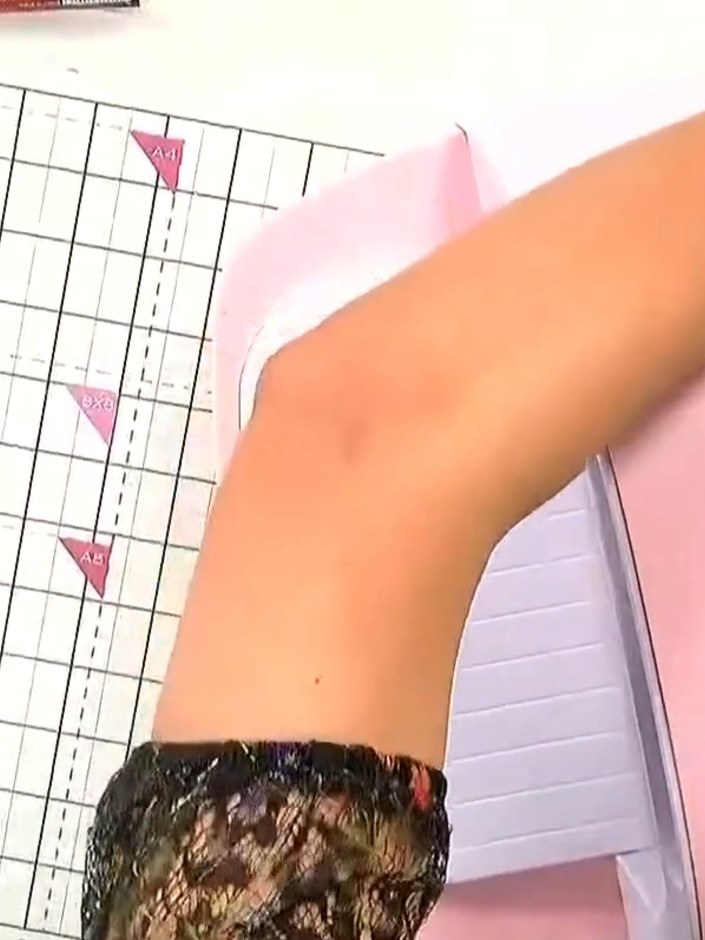
Carefully remove the embossing folder containing your card from the die cutting machine. Open the folder to reveal your embossed design.
▶ watch this step (53:30)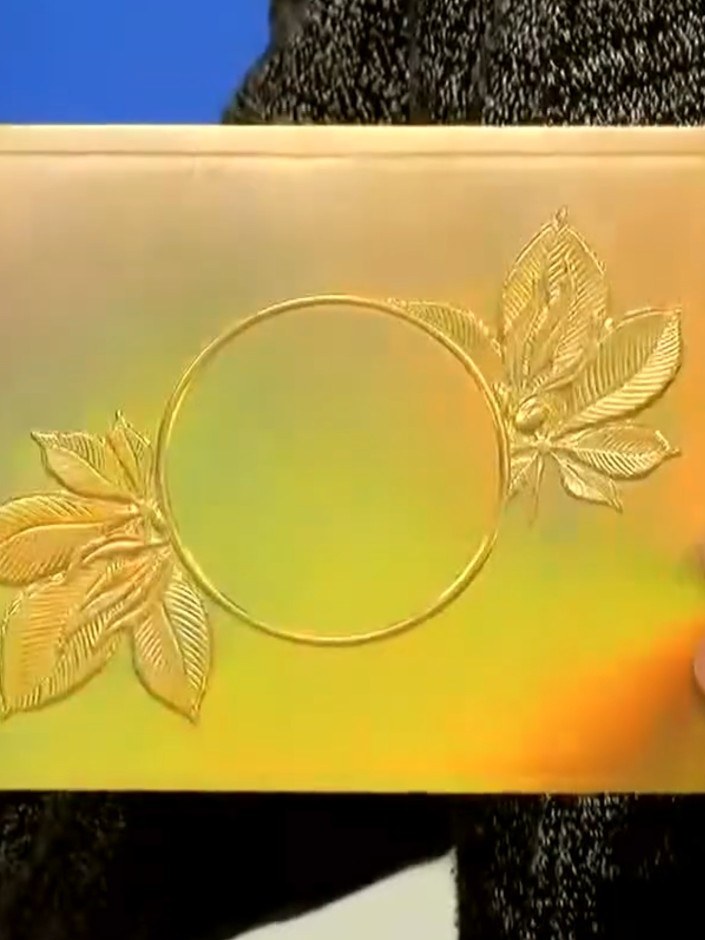
Open the embossing folder carefully to reveal the raised, embossed design on your card. The metallic card will now show the beautiful blossom pattern with a letter-pressed effect.
▶ watch this step (54:00)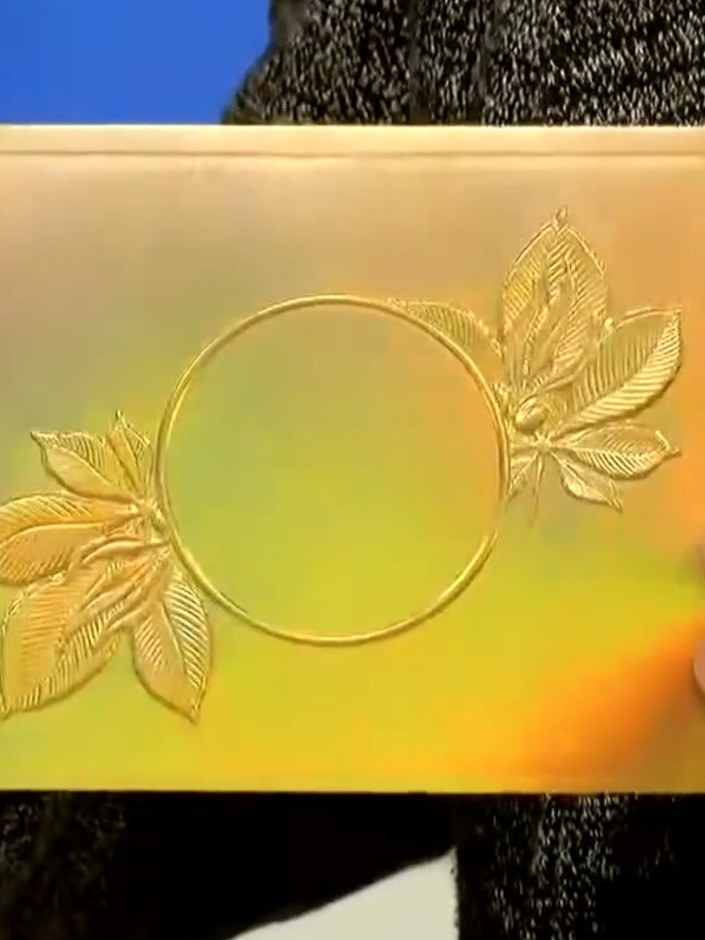
Trim the edges of the embossed card neatly to tidy up any uneven borders. Hold the card firmly and trim carefully to create clean, straight edges around the design.
▶ watch this step (54:30)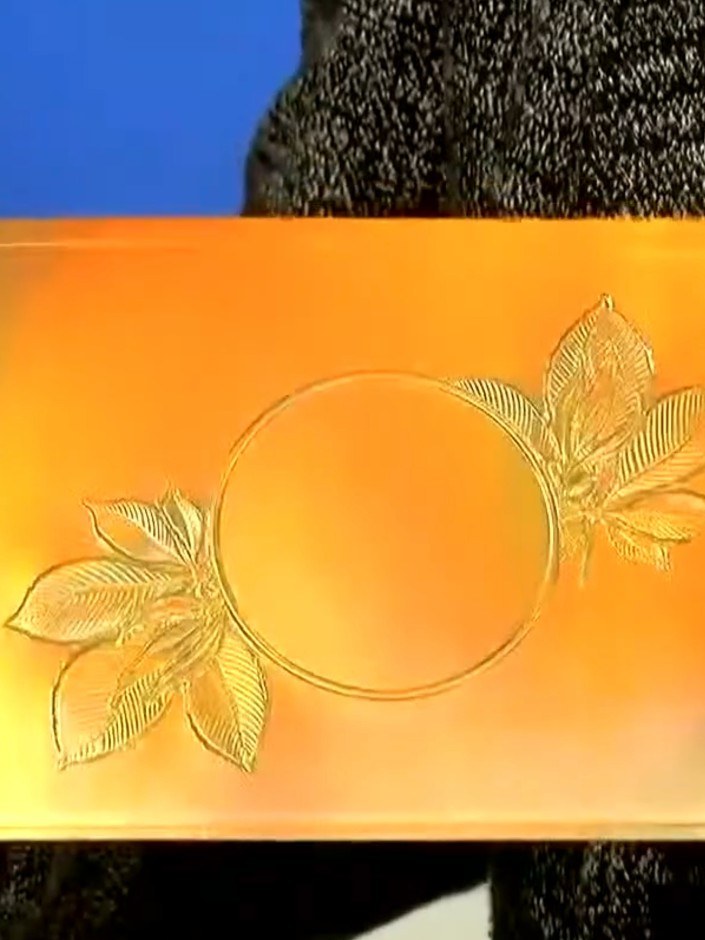
Mount your embossed metallic panel onto a card blank using adhesive. The embossed design with the circular frame and leaves creates an elegant focal point for your finished card.
▶ watch this step (55:00)Written up from the show itself. See every guide from our shows · free how-to guides · watch live on My Telly


