Give your friends £10 off their first order!
Refer a FRIEND








Prices change straight away. Every language is our own translation, not Google.
A project from our live show IDEAL WORLD - Join Toni and Yiannis for the latest Stamps By Me product launch - Broadcast Wed 12th March 25 · 12/03/2025 · watch it from 41:45
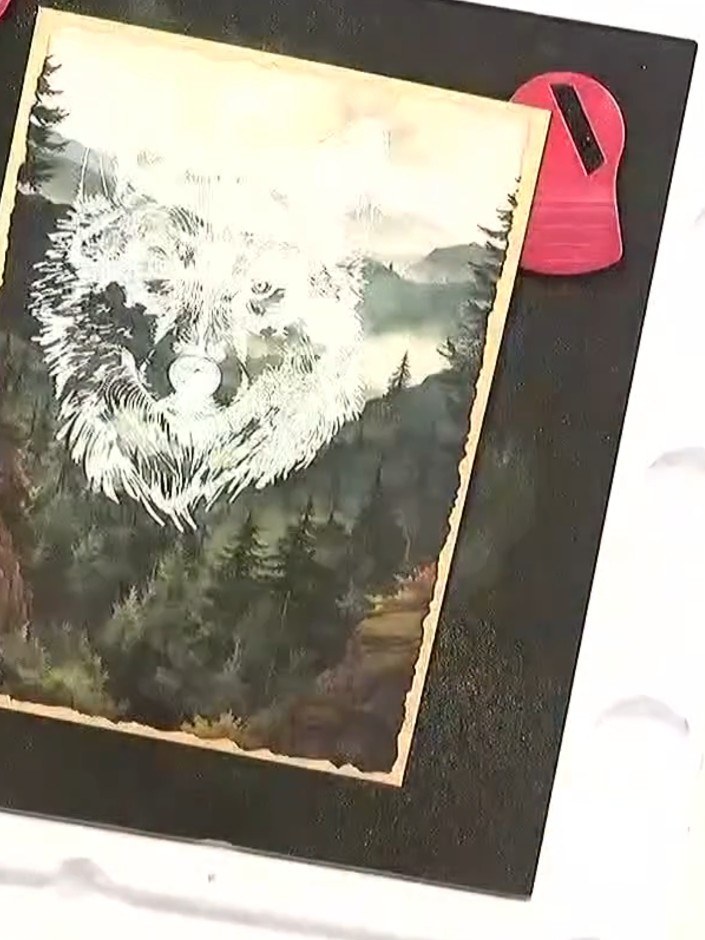
Create a stunning woodland card featuring a majestic white wolf embossed against a forest backdrop. Using heat embossing with white powder, you'll achieve a glossy, raised 3D effect that brings the wolf design to life with striking detail. The finished piece combines the natural beauty of woodland scenery with the dramatic impact of heat-embossed wildlife art.
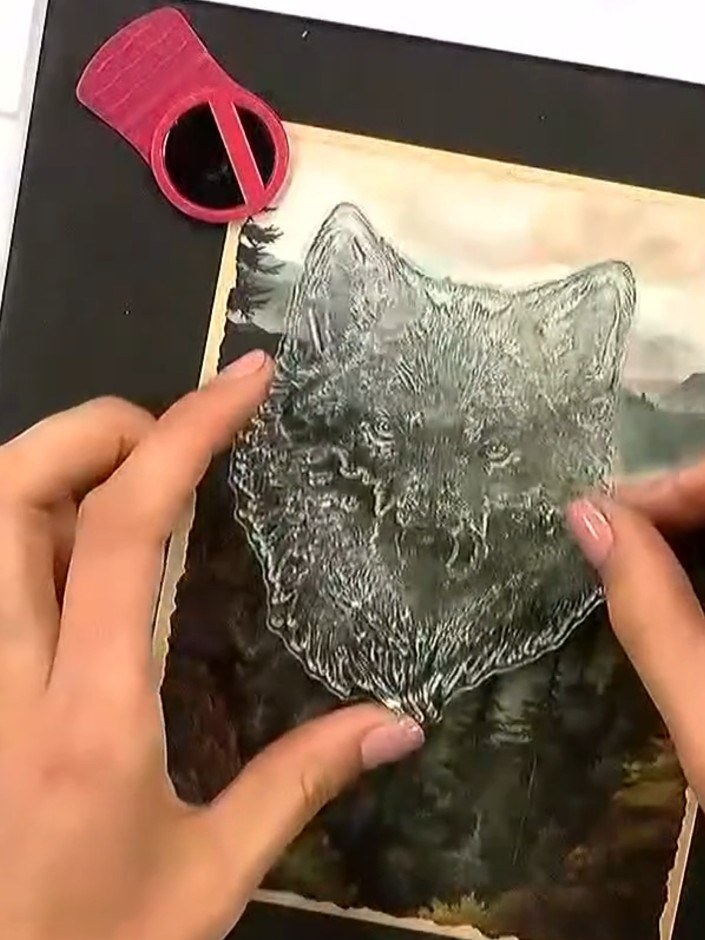
Use a sticky ink pad to stamp the wolf design from the Woodland Wolf stamp set onto your card stock. Press firmly to ensure good coverage of the image.
▶ watch this step (42:00)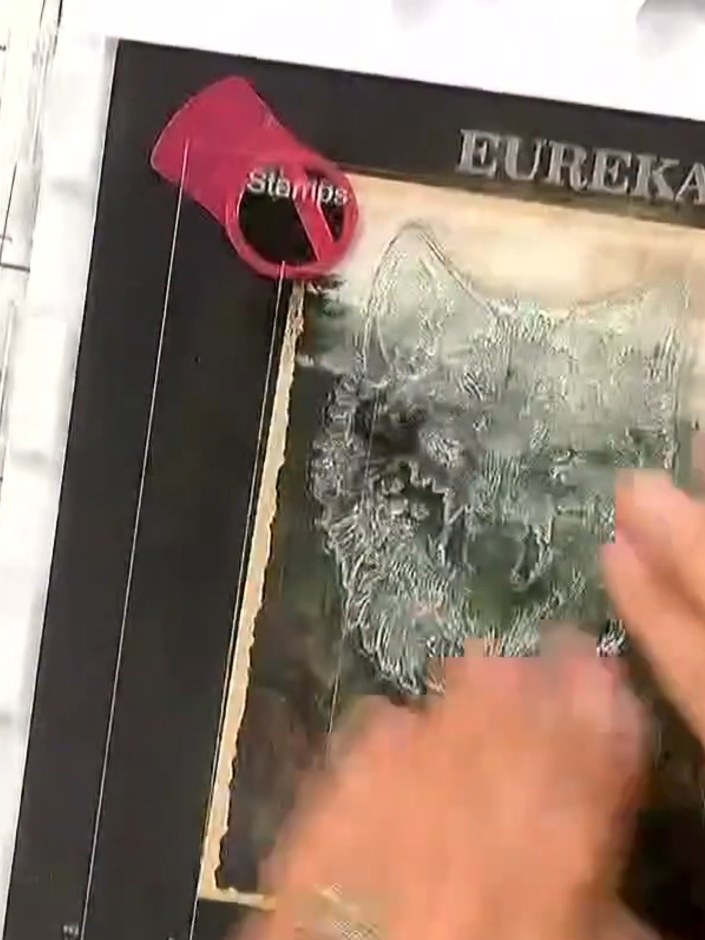
Immediately sprinkle white embossing powder over the wet stamped ink, ensuring the entire wolf image is covered. Tap off the excess powder.
▶ watch this step (42:30)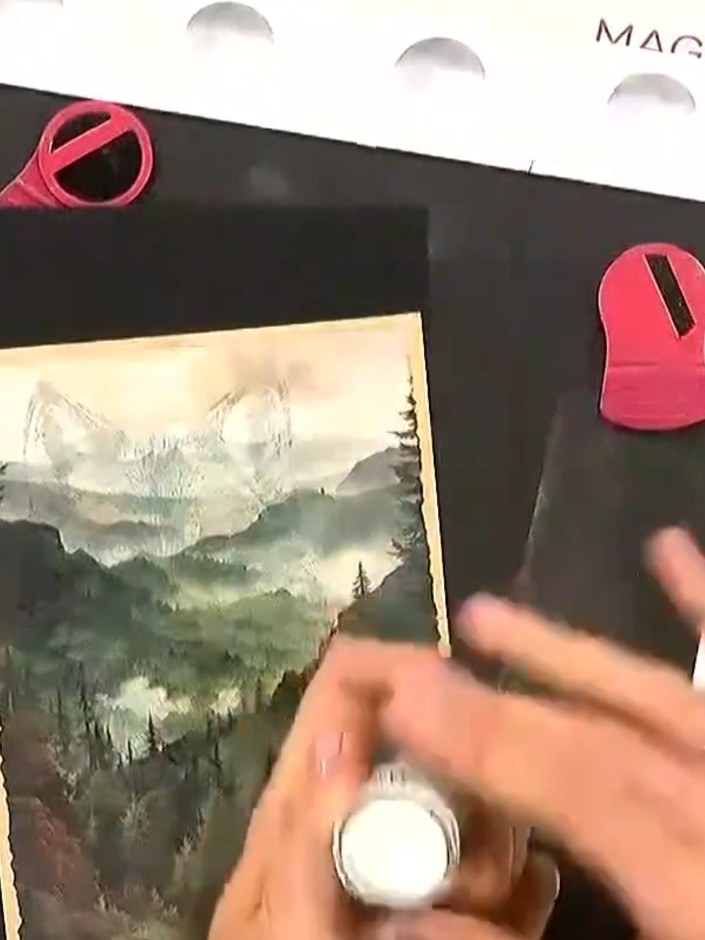
Use an anti-static bag to brush over the stamped image, removing excess embossing powder from the black card. This leaves the white powder only on the stamped wolf design.
▶ watch this step (42:45)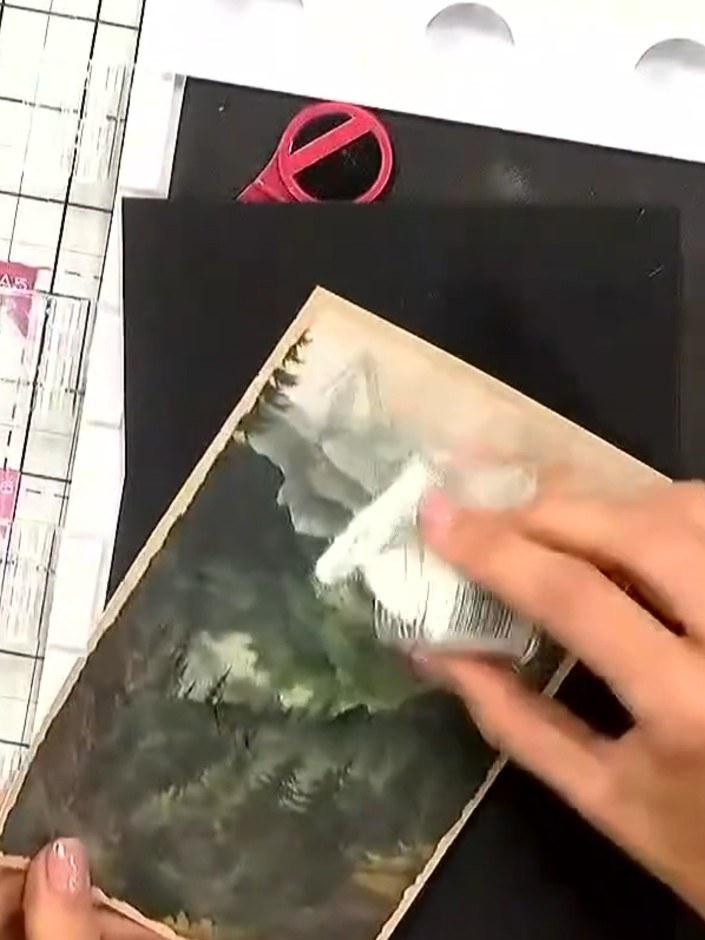
Turn on your heat tool and allow it to warm up for a few seconds before using it to melt the embossing powder on your stamped image.
▶ watch this step (43:15)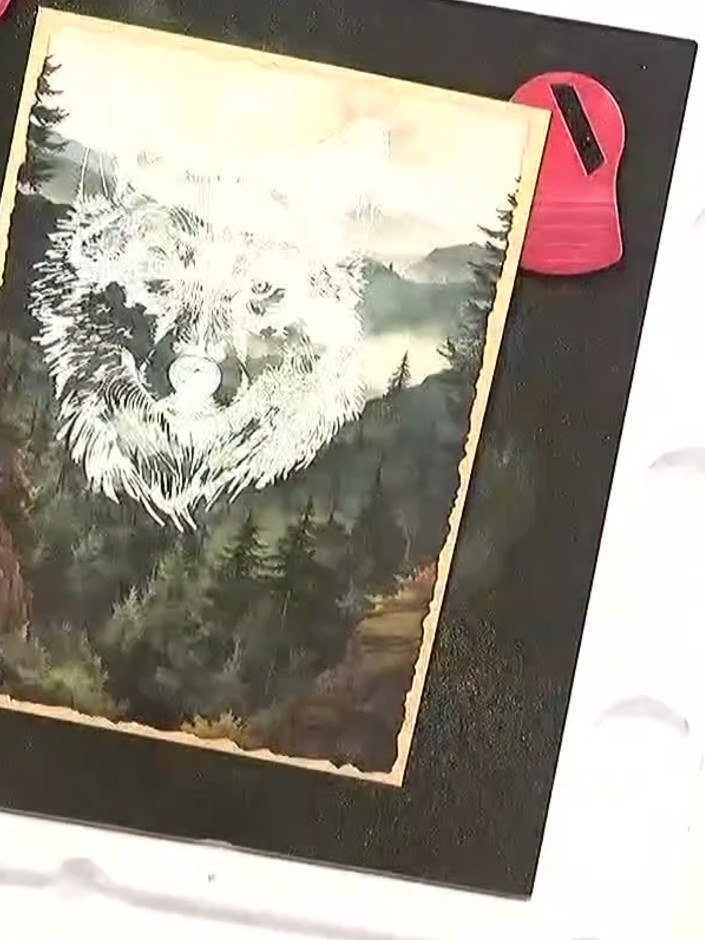
Hold the heat tool a short distance above the card and move it gently over the embossed design until the white powder melts and fuses to create a raised, glossy finish on the wolf image.
▶ watch this step (44:00)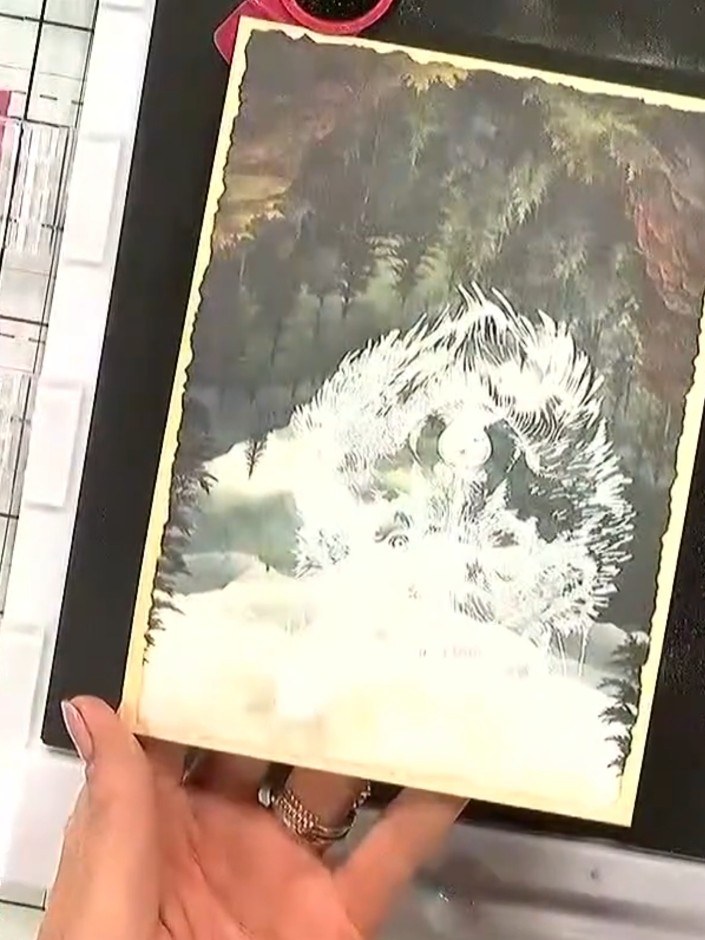
Allow the card to cool completely before handling to set the embossed design. The white embossed wolf image should be fully set and raised on the dark background.
▶ watch this step (45:00)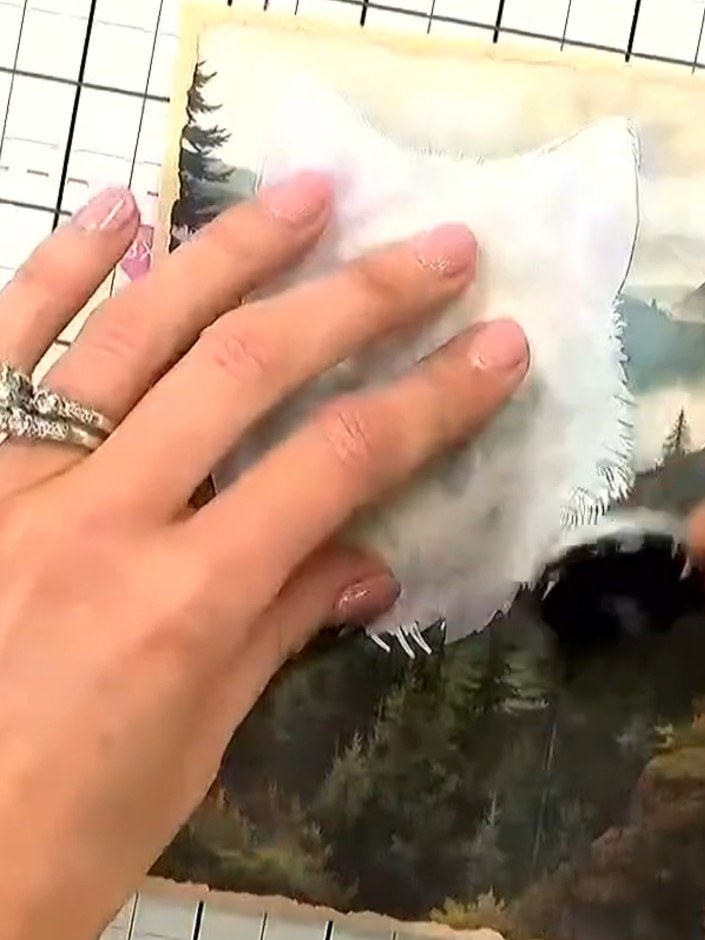
Position the wolf stencil mask over your heat embossed wolf image. Using a white ink pad and blending tool, gently add a halo effect around the edges of the stencil to create additional dimension and highlight the wolf.
▶ watch this step (47:30)Written up from the show itself. See every guide from our shows · free how-to guides · watch live on My Telly



