Give your friends £10 off their first order!
Refer a FRIEND








Prices change straight away. Every language is our own translation, not Google.
A project from our live show ONE DAY SPECIAL - Join Toni for her brand new launch - Broadcast 4th April 2025 · 04/04/2025
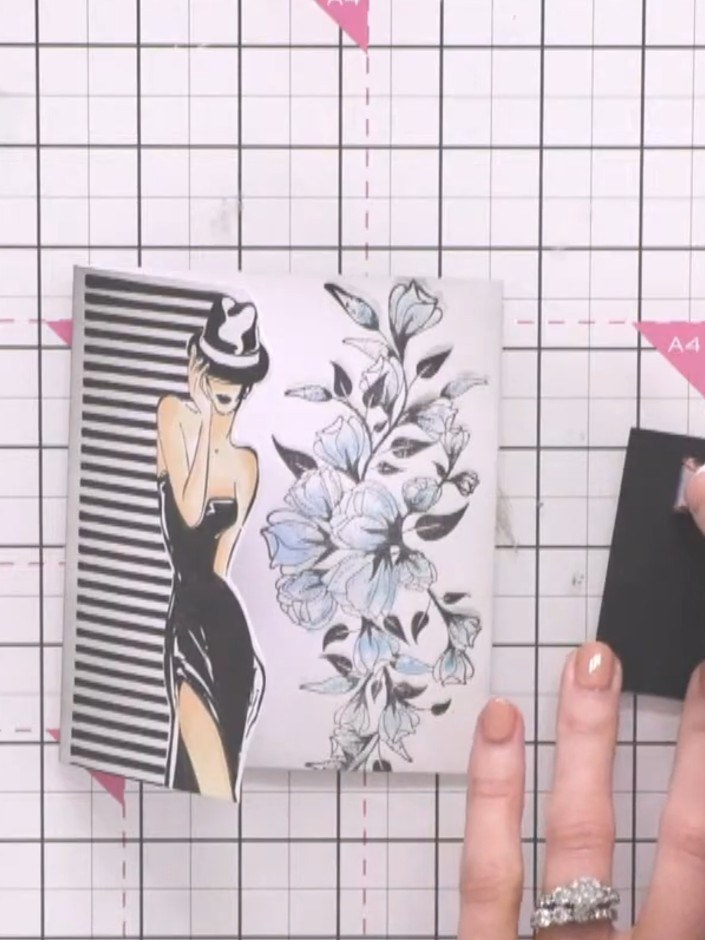
Create an elegant landscape card featuring a sophisticated lady stamp from the Imala collection, beautifully enhanced with soft watercolour skin tones and delicate floral details in blue. This contemporary design combines layered stamping, second-generation sentiment work, and black ink edge blending for an artistic, fashion-forward finish.
 1
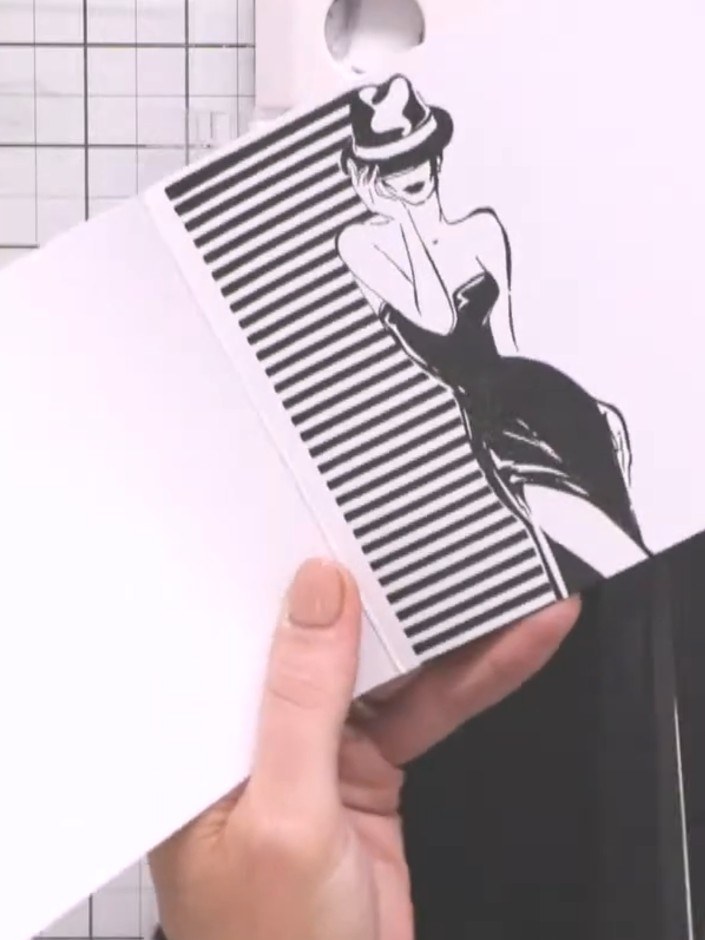
Fold a white card blank landscape. Stamp the lady image from the Anything stamp set down the right-hand side of the card front using black ink. Carefully cut around the lady's outline with scissors, leaving a small white border to create a shaped card edge.
 2
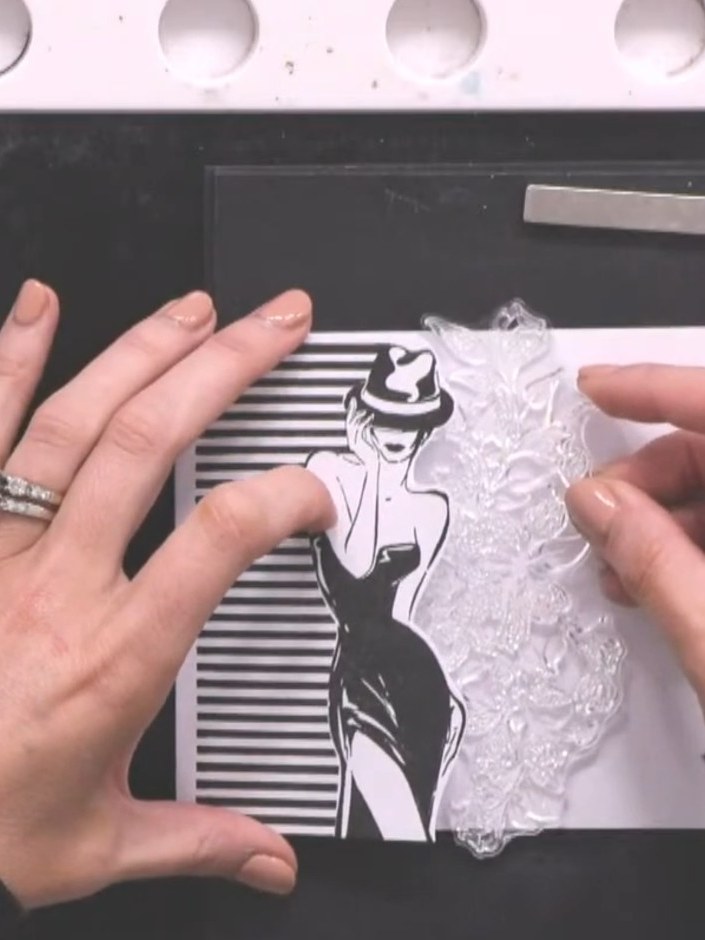
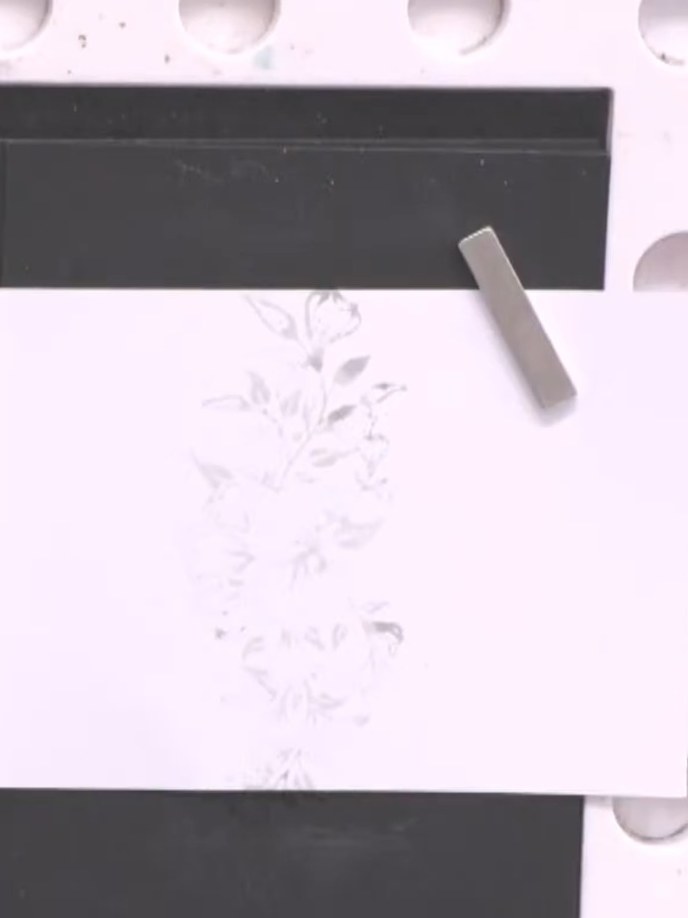
Stamp the floral element onto the card using no-line watermark ink, positioning it to follow and complement the lady's body shape.
 3
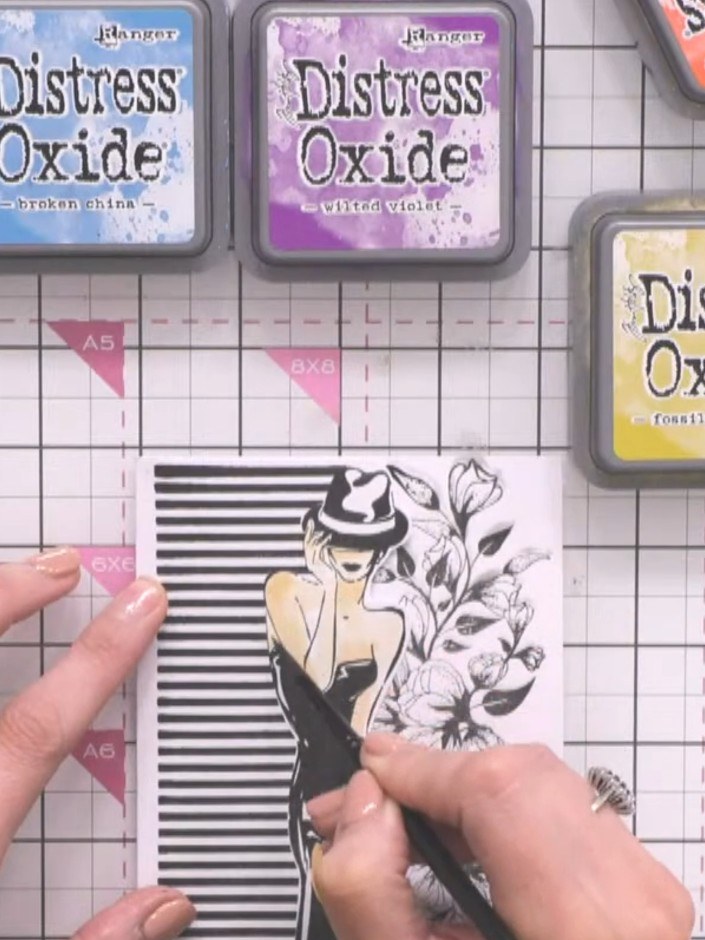
Apply a light wash of yellow-toned watercolour to paint the lady's skin tone, leaving white space on the chest and shoulders for highlights.
 4
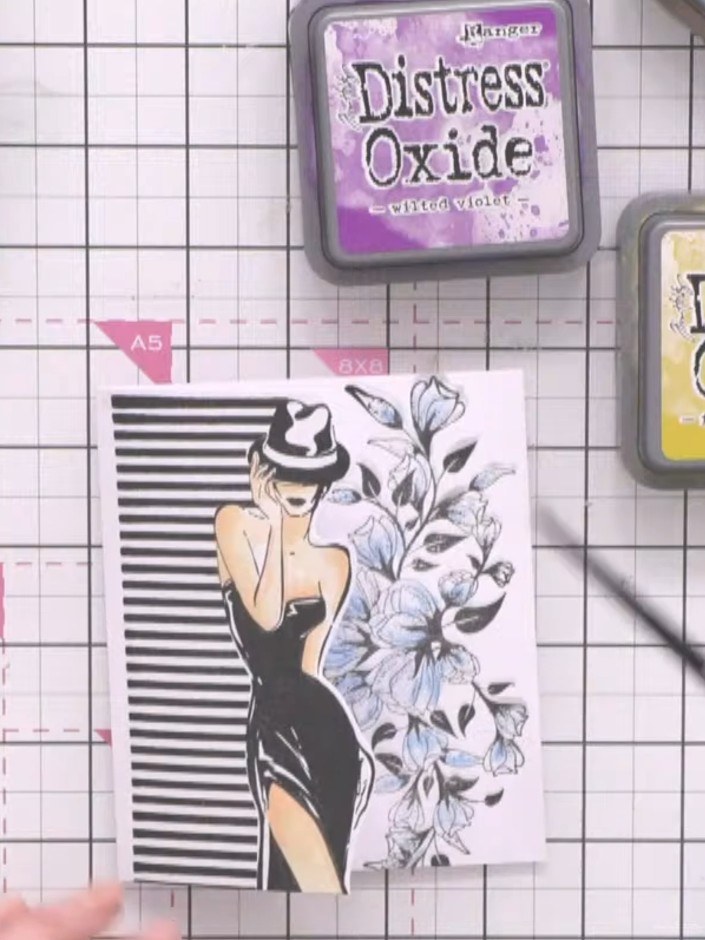
Apply a second layer of darker yellow Distress Oxide ink to add shadow and definition under the neck, shoulders and dress hem of the lady figure. Apply a light teal wash over the floral elements. Add darker teal to the edges and centres of the petals for depth and definition.
 5
Using a blending brush, blend black Distress ink around the outer edges of the card to create a smokey effect.
 6
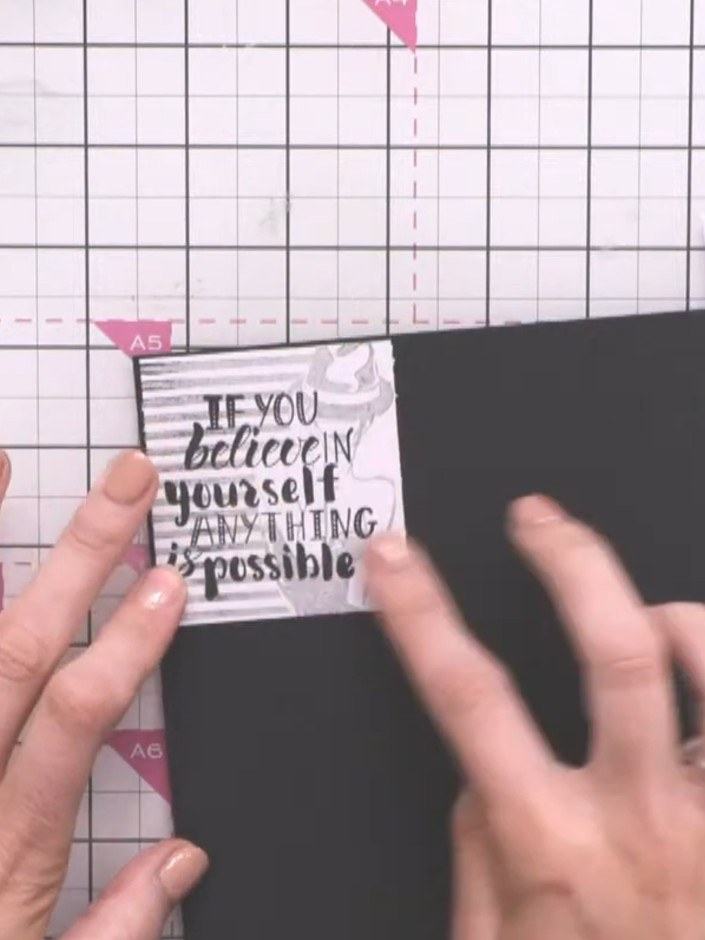
Stamp the sentiment 'If you believe in yourself, anything is possible' in black ink onto white card. Position the stamp carefully to ensure a clear impression.
 7
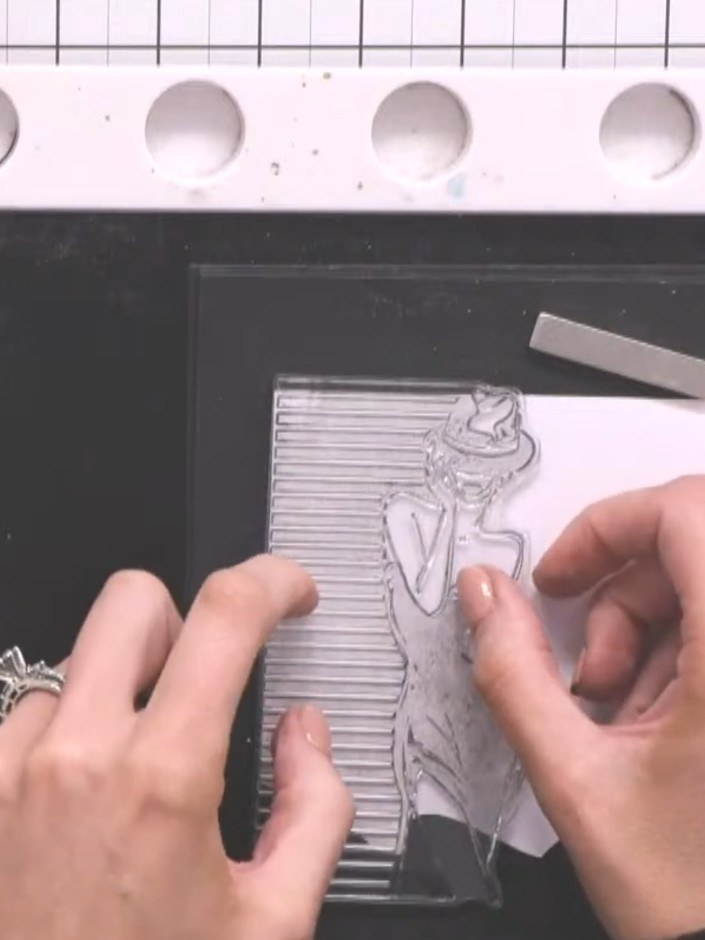
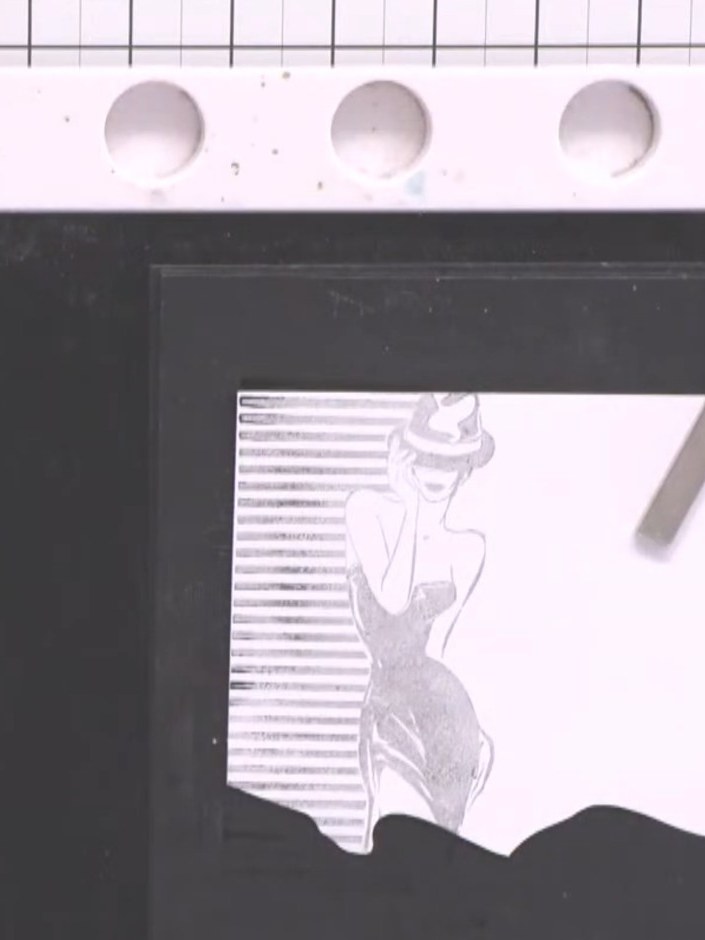
Stamp the lady and stripes image again onto the white sentiment backing card using lighter ink to create a second-generation stamped effect.
 8
Cut the sentiment backing into a rectangular mat and layer it onto the main card so the sentiment sits over the floral area.
Share your make with the Stamps By Me community - and keep this guide for next time.
Written up from the show itself. See every guide from our shows · free how-to guides · watch live on My Telly · the previous layout


