Give your friends £10 off their first order!
Refer a FRIEND








Prices change straight away. Every language is our own translation, not Google.
A project from our live show MY PODCAST - Catch my latest updates broadcast 7th April 2025 · 07/04/2025
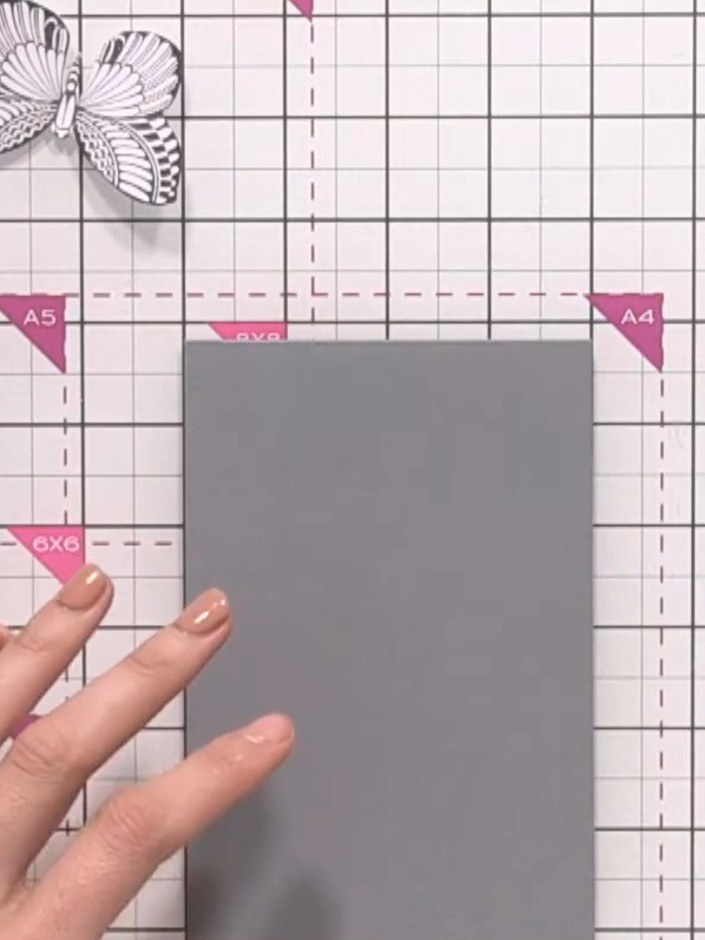
Create a sophisticated mini card featuring an intricate mandala-style butterfly design heat-embossed in gold on grey cardstock. The delicate butterfly motif is complemented by a 'Grateful' sentiment circle and layered decorative elements in grey and white tones. This elegant project uses heat embossing and die-cutting techniques to achieve a beautiful dimensional effect.
 1
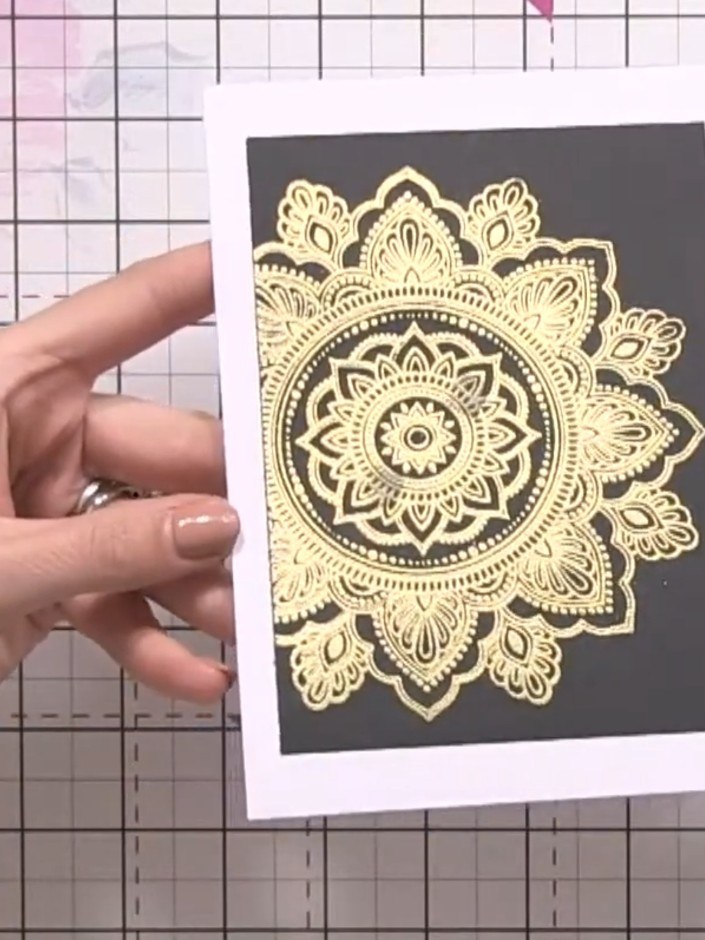
Stamp the Serendipity mosaic design onto black card stock using gold ink. Heat emboss the stamped design to create a raised, metallic finish.
 2
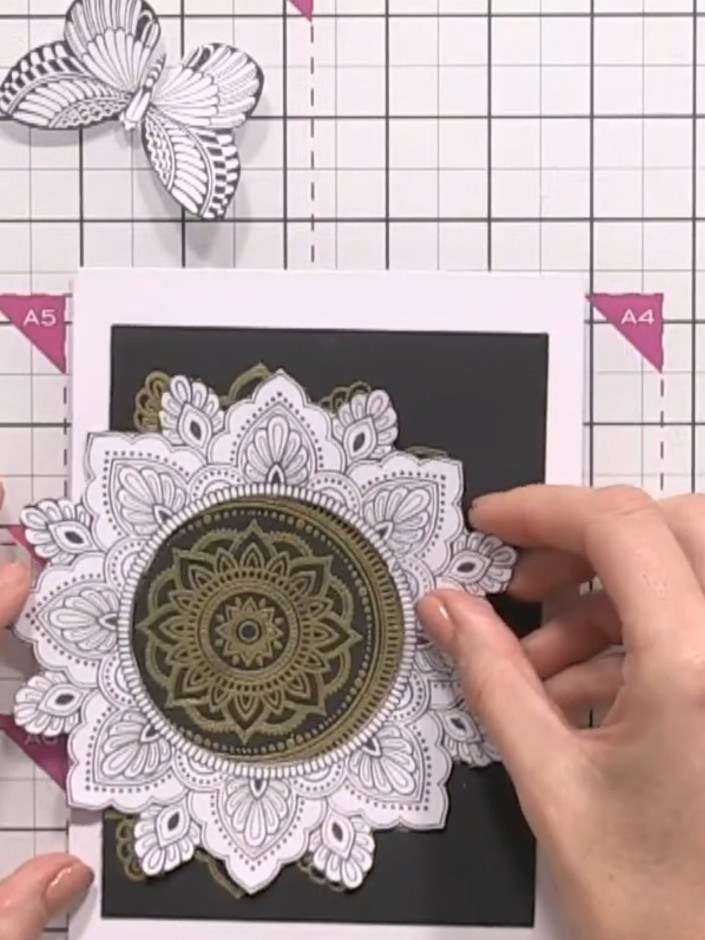
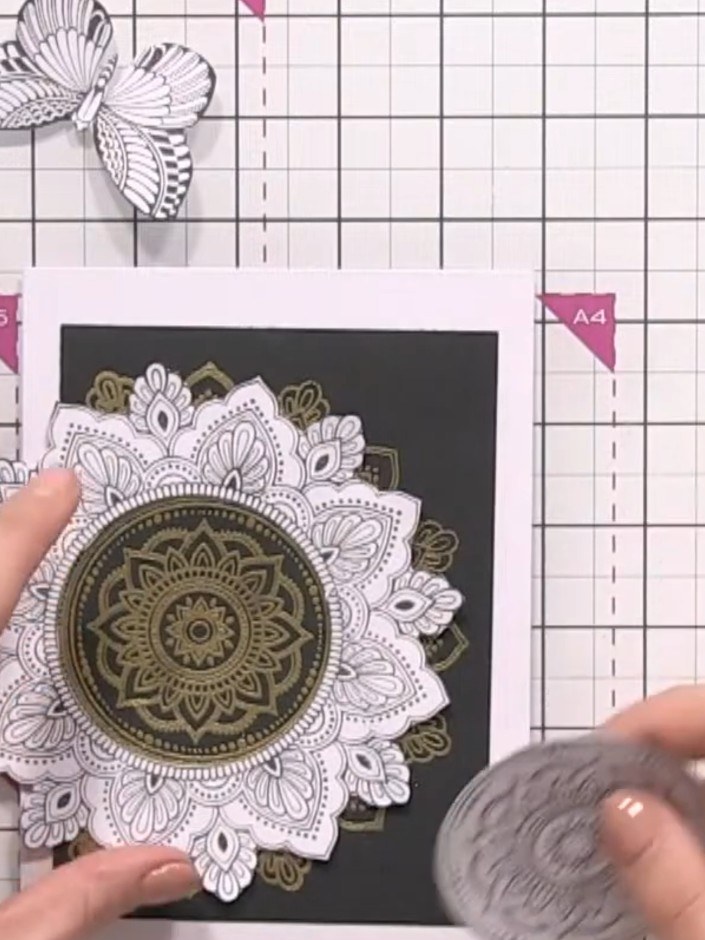
Heat-emboss the stamped mandala design with gold embossing powder using a heat tool. The gold embossing will add dimension and a metallic finish to the intricate pattern on the black cardstock.
 3
Use a circular die cut to cut away the centre of the embossed mandala design. Position the die over the white circular centre and run through your die-cutting machine to create an openwork effect.
 4
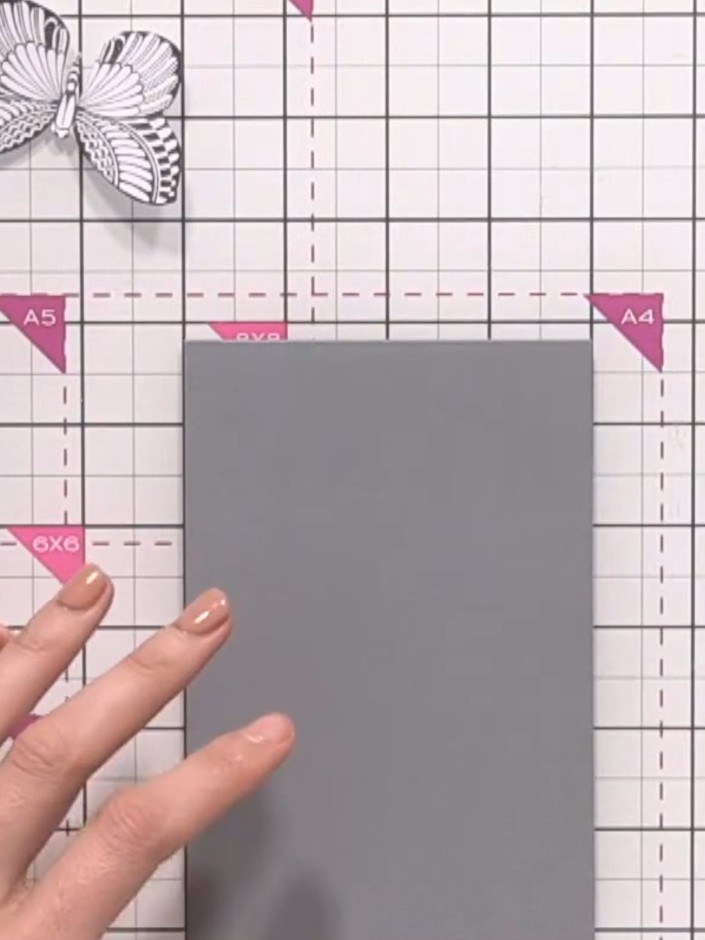
Cut a grey card blank in half to create a smaller card base. Position the floral panel on the grey card to check the size and placement.
 5
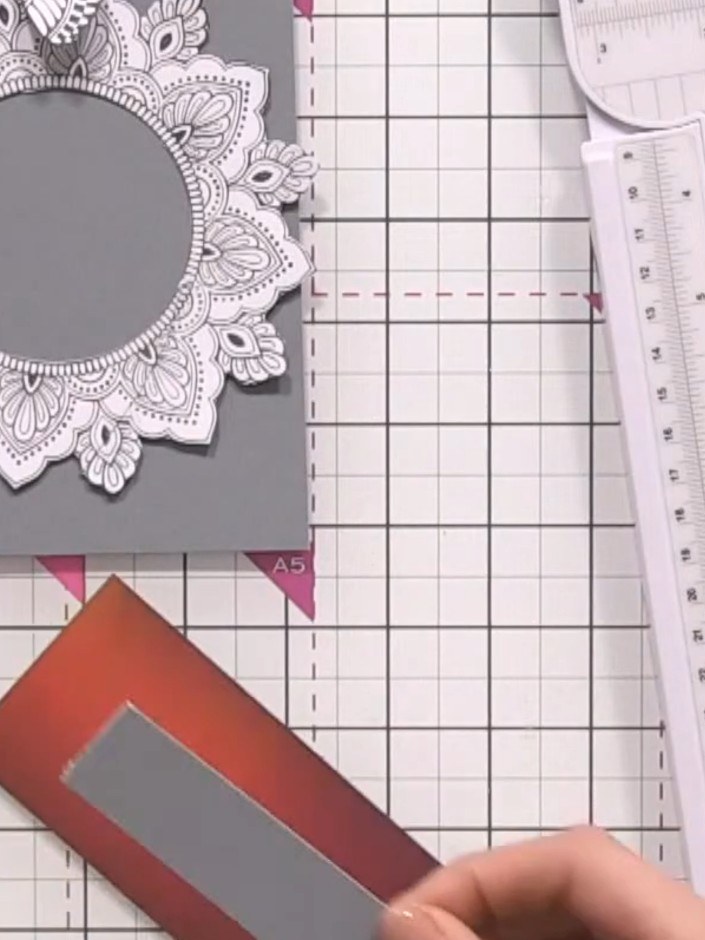
Cut a thin panel from the burgundy and grey patterned paper off-cut. Adhere this panel horizontally across the centre of the grey card base, creating a decorative band.
 6
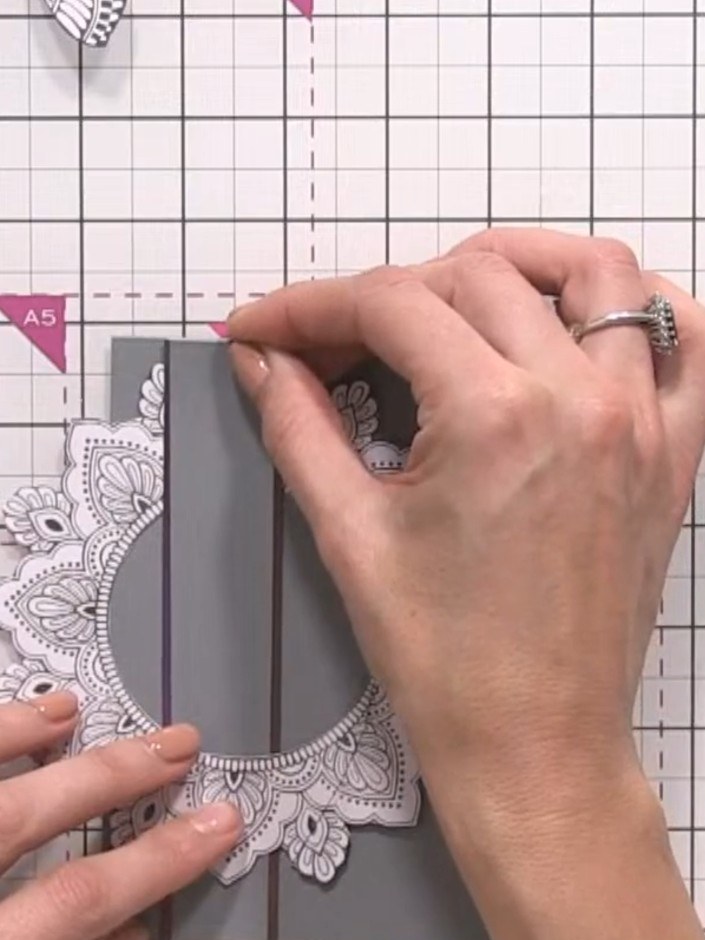
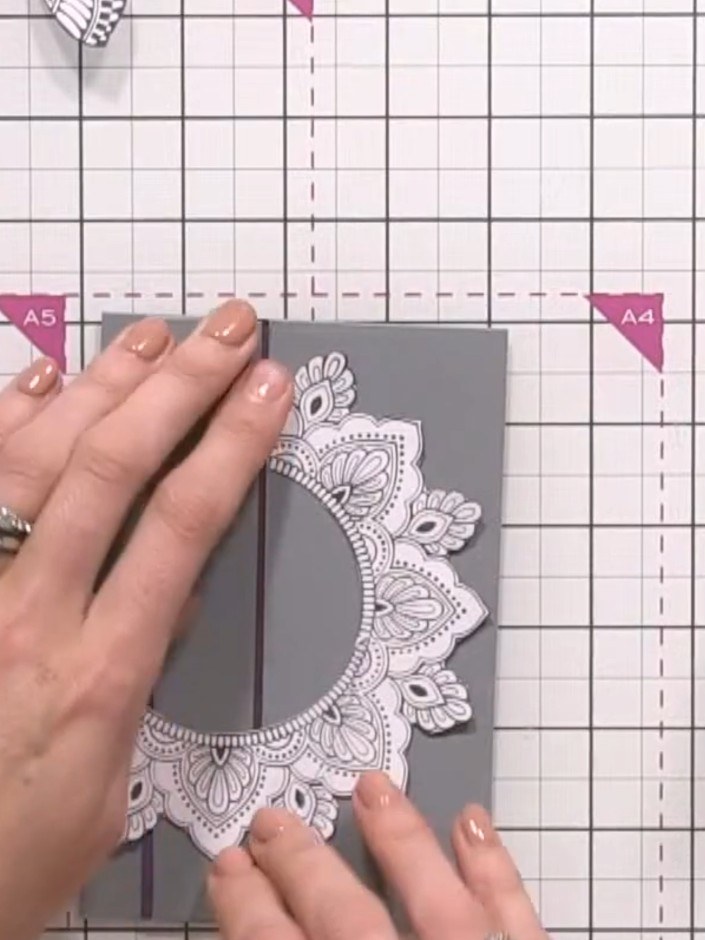
Trim away the excess patterned paper panel so it sits flush with the grey card edges. Use scissors or a trimmer to carefully cut along the edges of the card base.
 7
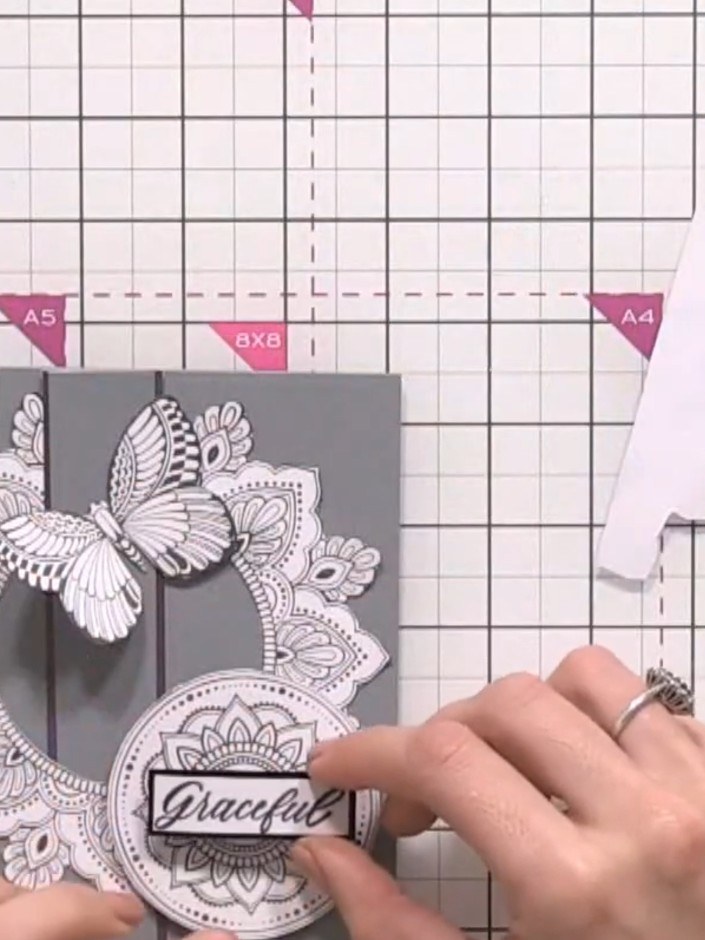
Adhere the die-cut embossed panel to the centre front of the grey card base, positioning it so the grey shows through the cut-out centre aperture.
 8
Stamp a sentiment inside the card to complete your design. Position the sentiment stamp centrally on the inside panel and press firmly to transfer the image.
Share your make with the Stamps By Me community - and keep this guide for next time.
Written up from the show itself. See every guide from our shows · free how-to guides · watch live on My Telly · the previous layout