Give your friends £10 off their first order!
Refer a FRIEND








A project from our live show IDEAL WORLD - Join Toni for the latest Stamps By Me product launch - Broadcast Wed 21st May 12 p.m. · 21/05/2025 · watch it from 35:00
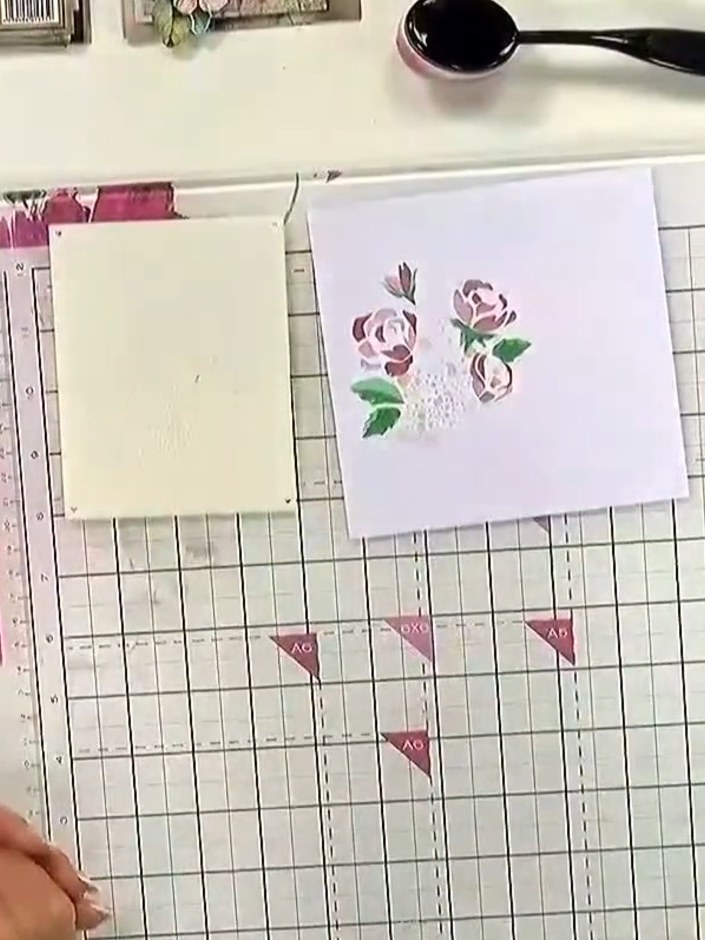
Create a beautiful layered card featuring delicate pink roses with a soft watercolour background. This elegant design combines stencilling, stamping, and die-cutting techniques to build up a multi-dimensional floral embellishment. The finished card showcases pretty pink and green tones with a romantic, vintage-inspired style.
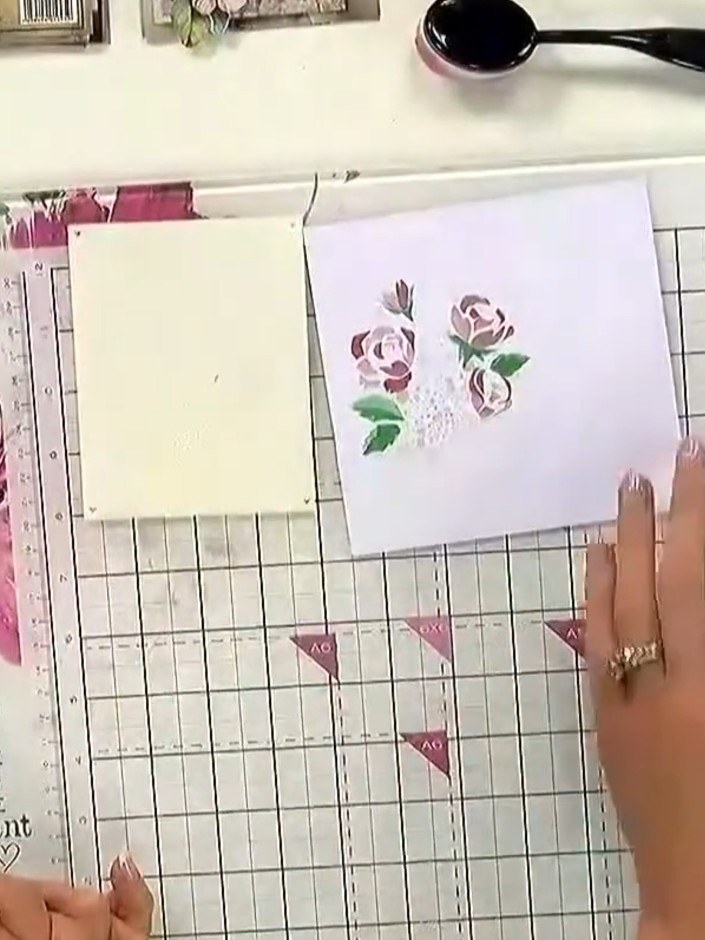
Create a stencilled background using your layering stencils and coloured inks. Position the stencil on your card base and apply ink through the design to build up layers of colour and pattern.
▶ watch this step (35:00)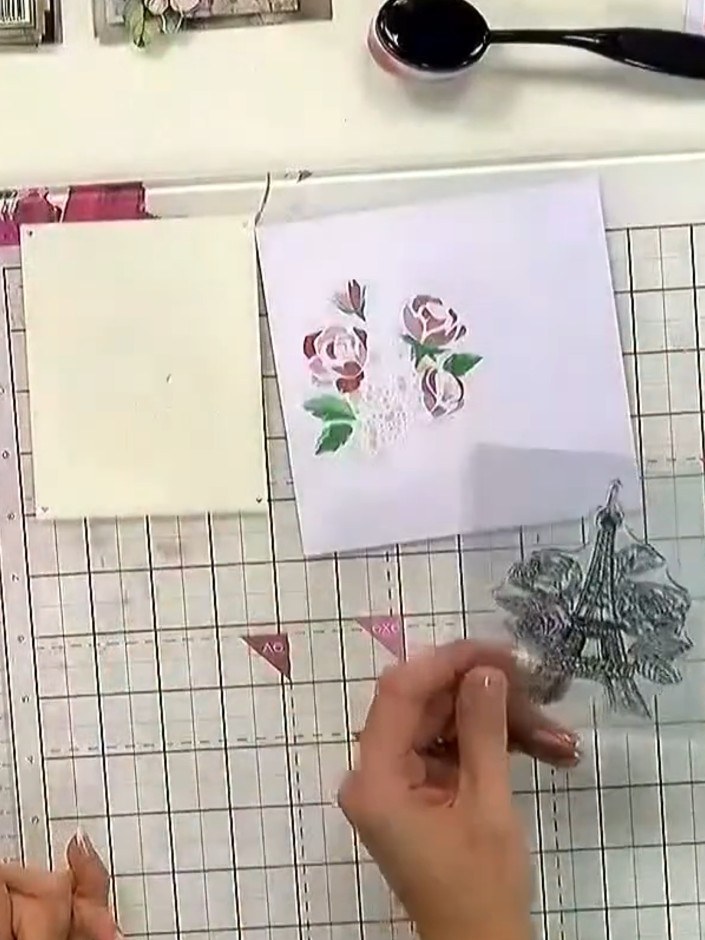
Press your chosen stamp firmly onto the ink pad to ink it up evenly. Ensure the entire stamp surface is covered with ink.
▶ watch this step (35:15)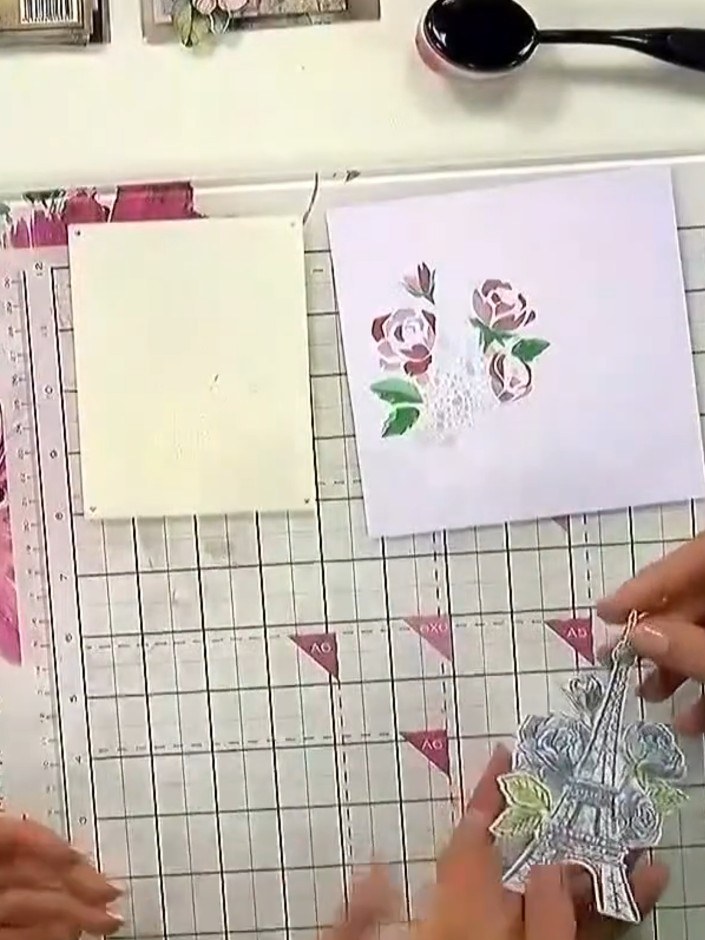
Stamp the Eiffel Tower design onto your stencilled background using the clear stamp, pressing down firmly and evenly to transfer the image.
▶ watch this step (35:30)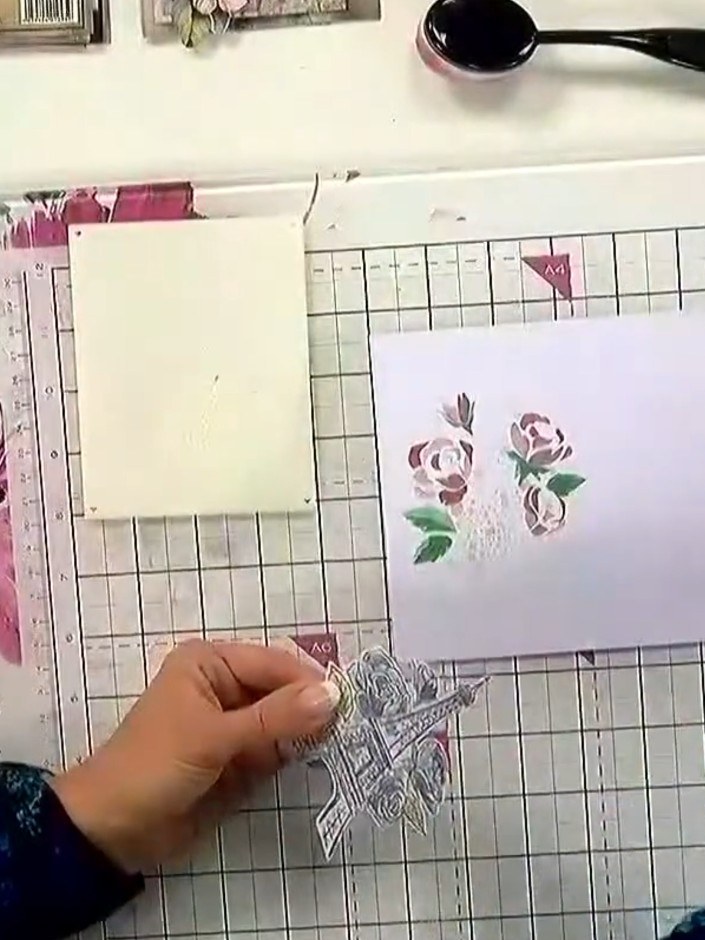
Allow the stamped ink to dry completely before proceeding to the next step.
▶ watch this step (35:45)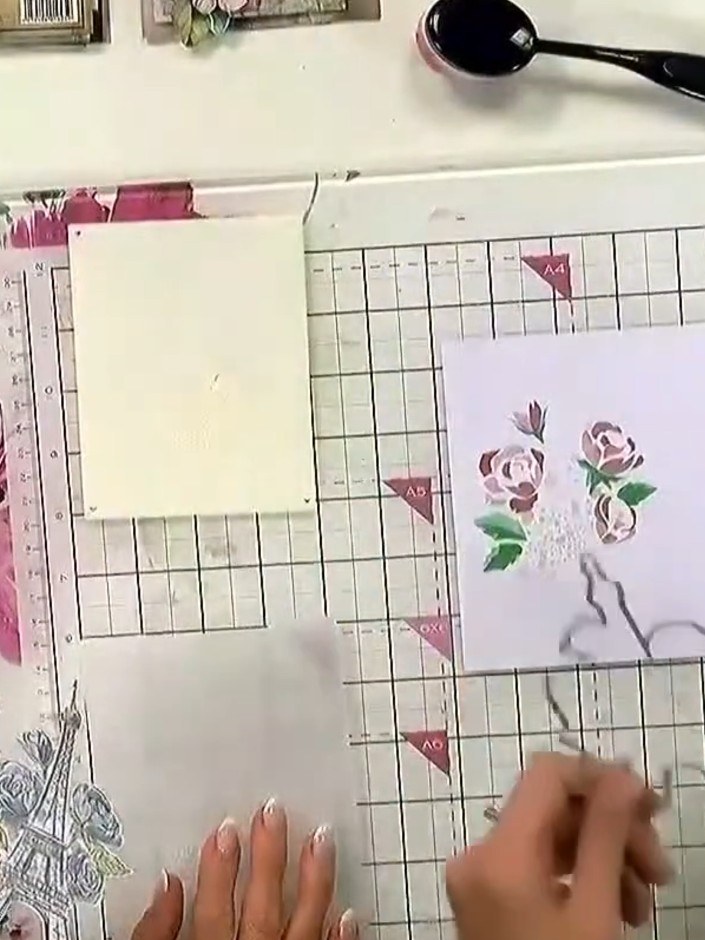
Position the matching die around your stamped floral design on the lilac card panel. Ensure the die is centred over the stamped image to cut it out accurately.
▶ watch this step (36:00)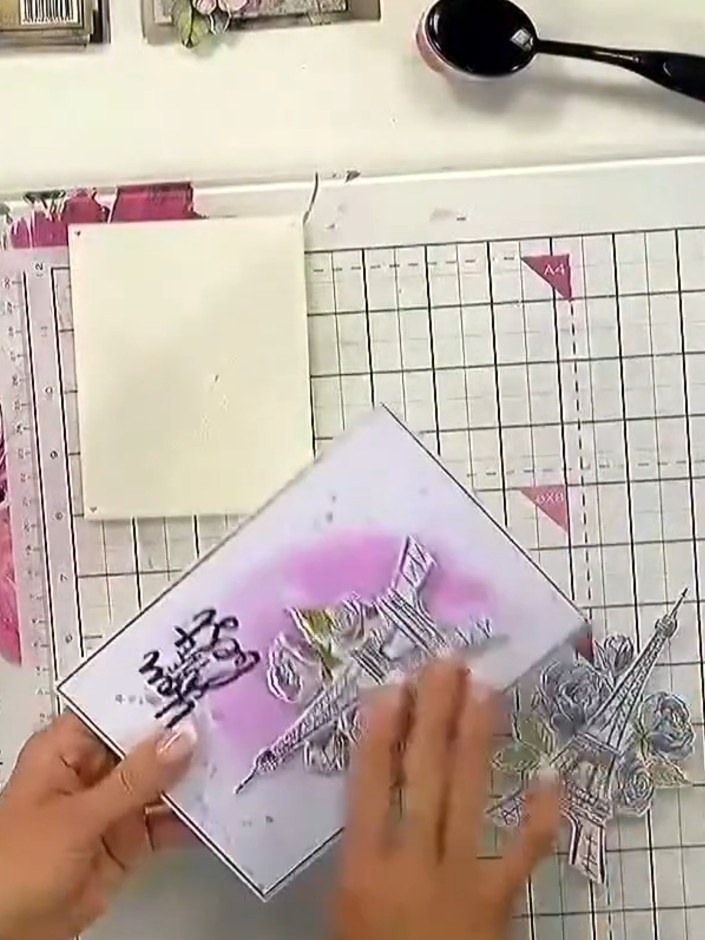
Run the stamped and die-cut design through your die-cutting machine to cut out the finished image from the card panel.
▶ watch this step (36:15)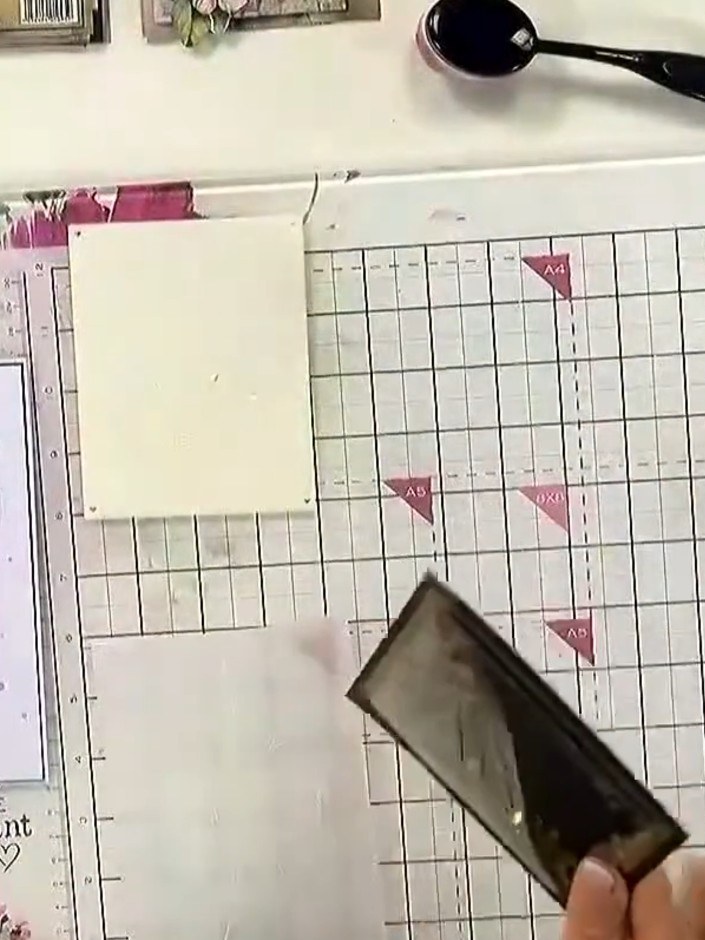
Mount the completed die-cut design onto your card base using adhesive tape or glue. Position the layered Eiffel Tower design centrally on the card front and press firmly to secure.
▶ watch this step (36:30)Written up from the show itself. See every guide from our shows · free how-to guides · watch live on My Telly