Give your friends £10 off their first order!
Refer a FRIEND








A project from our live show IDEAL WORLD - Join Toni for the latest Stamps By Me product launch - Broadcast Wed 21st May 12 p.m. · 21/05/2025 · watch it from 4:00
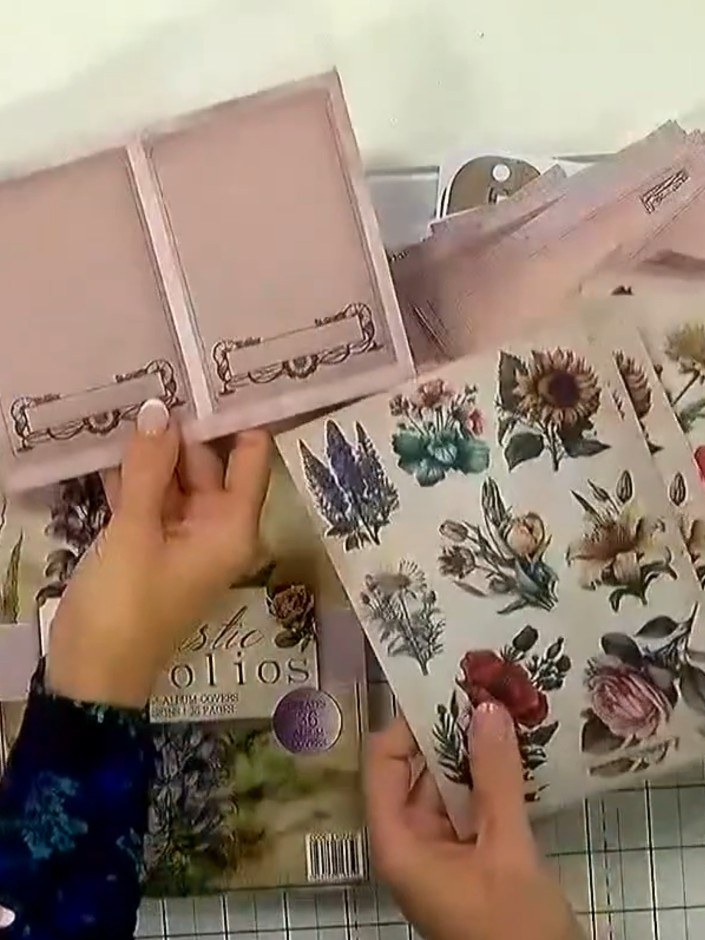
Create a charming handmade greeting card featuring layered die-cut floral embellishments and vintage-style sentiment tags. This quick and elegant card uses soft pink tones and botanical motifs from the Fantastic Folios collection. The simple layering technique allows you to craft a beautiful card with a romantic, vintage aesthetic perfect for any occasion.
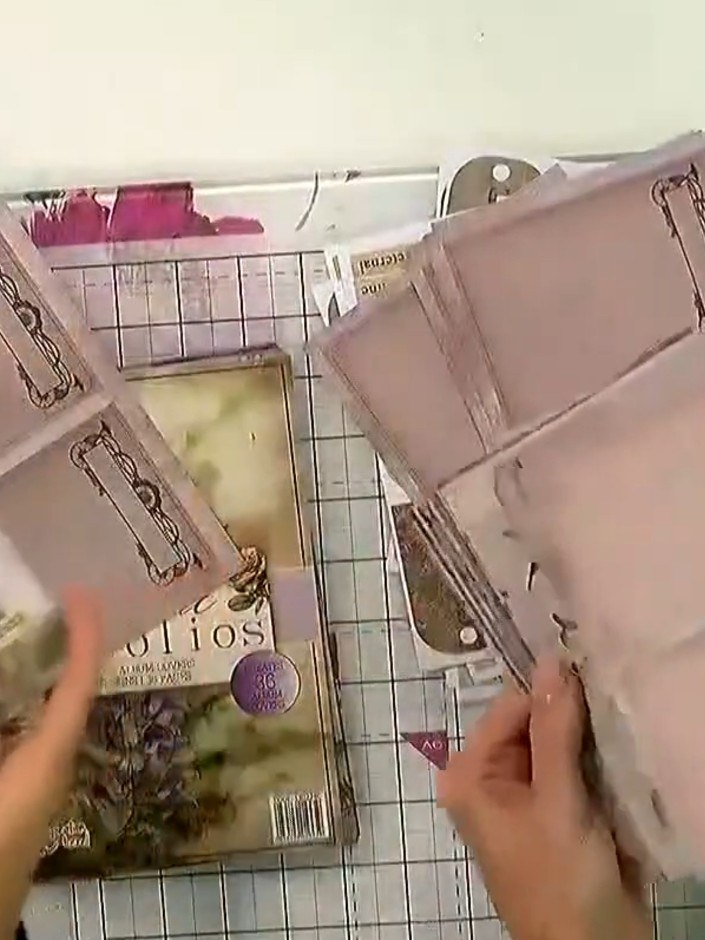
Select a card blank as your base. Choose from the available card blanks in coordinating colours that will complement your embellishments and die-cut elements.
▶ watch this step (4:00)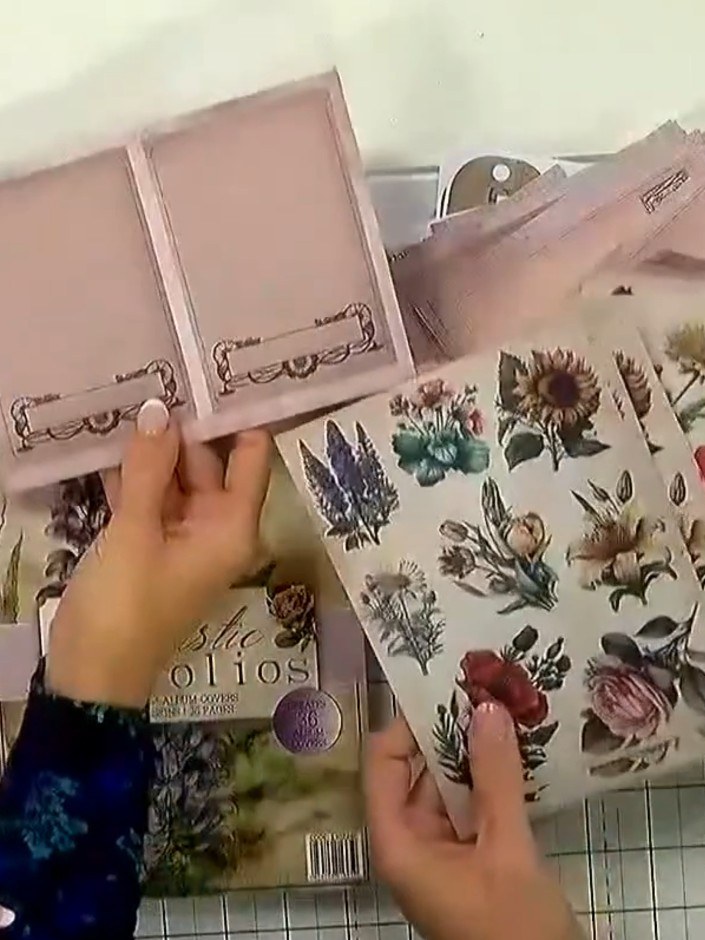
Cut out individual flower embellishments and sentiment words from the Fantastic Folios sheets using scissors. Select the floral images and decorative elements you wish to use for your card.
▶ watch this step (4:15)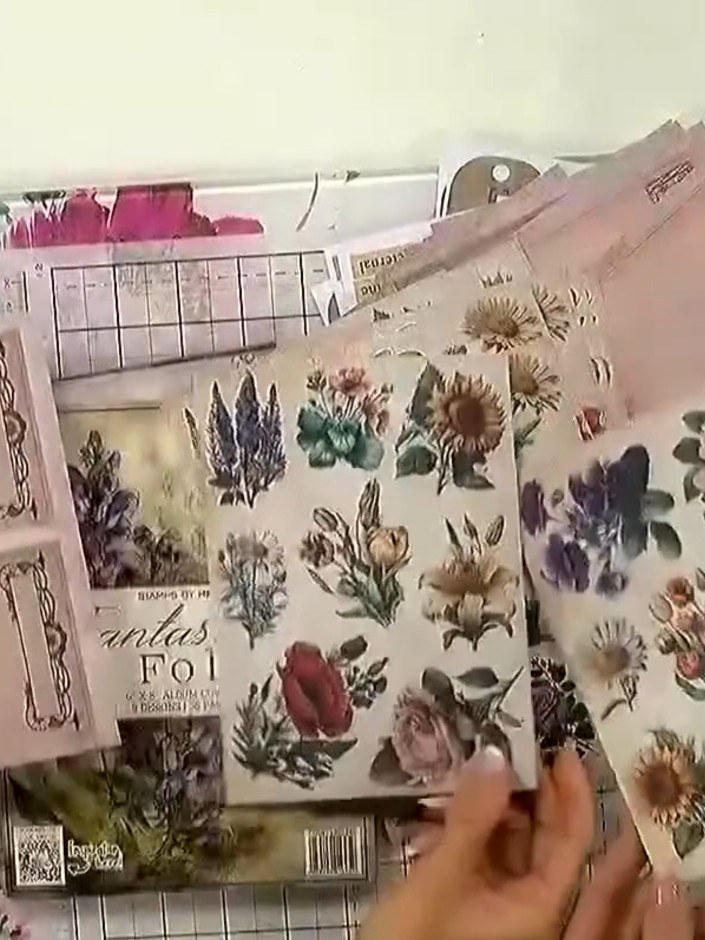
Arrange the cut-out floral images and sentiment pieces on your card base to plan your layout. Move the elements around until you're happy with the composition before adhering them.
▶ watch this step (4:30)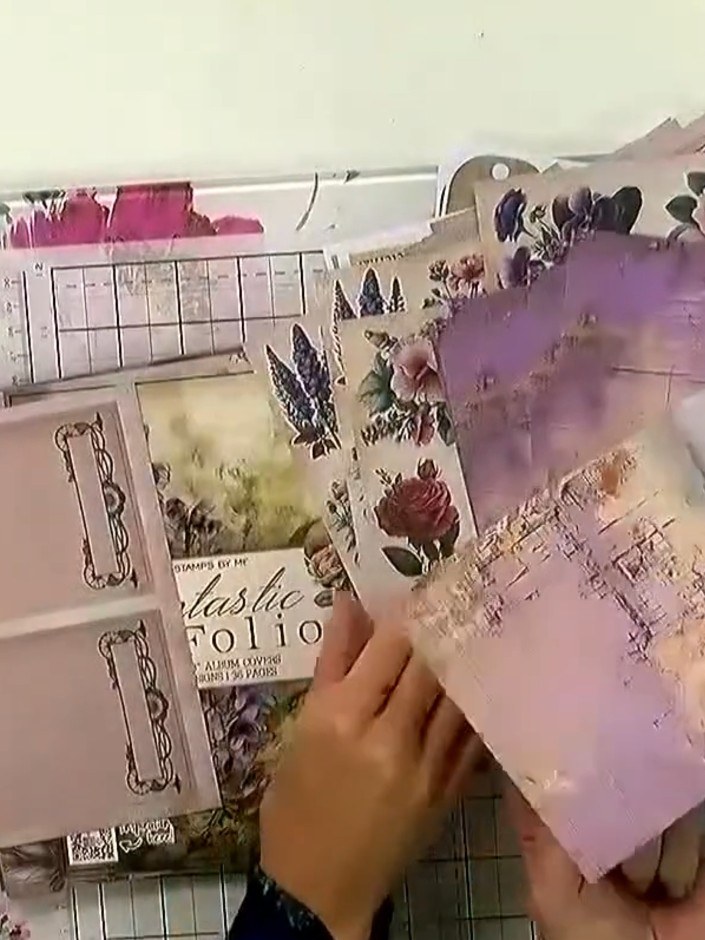
Apply tape or glue to the back of each embellishment. Turn over your die-cut elements and decorative papers and add adhesive to secure them to your card.
▶ watch this step (4:45)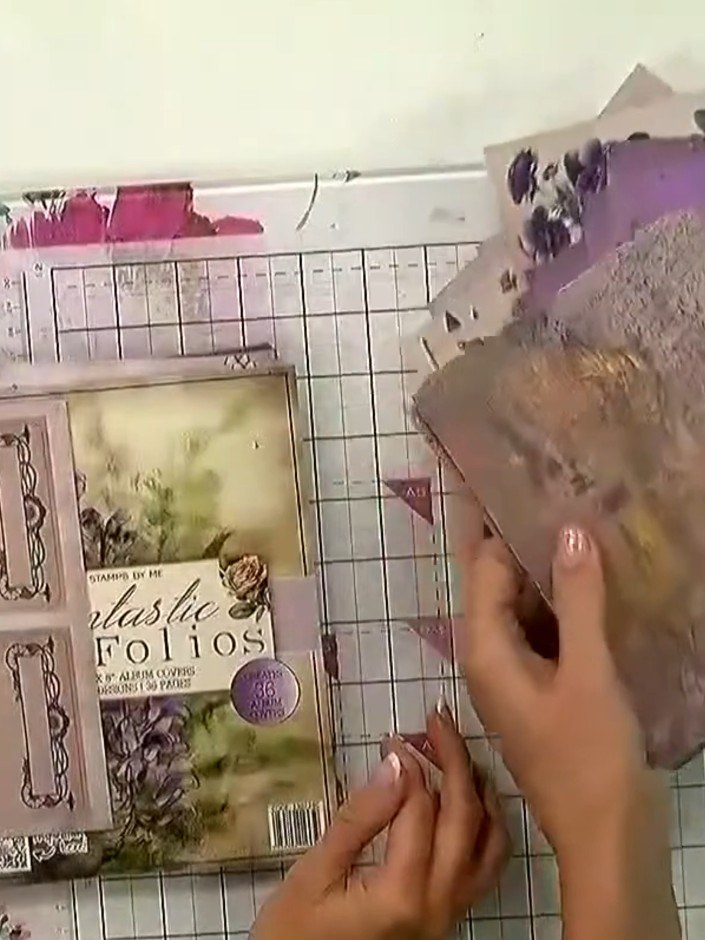
Stick the floral die-cut elements and sentiment tags onto the card front, layering them to create dimension. Position the purple and green watercolour flowers at the top, overlapping them with the decorative tags.
▶ watch this step (5:00)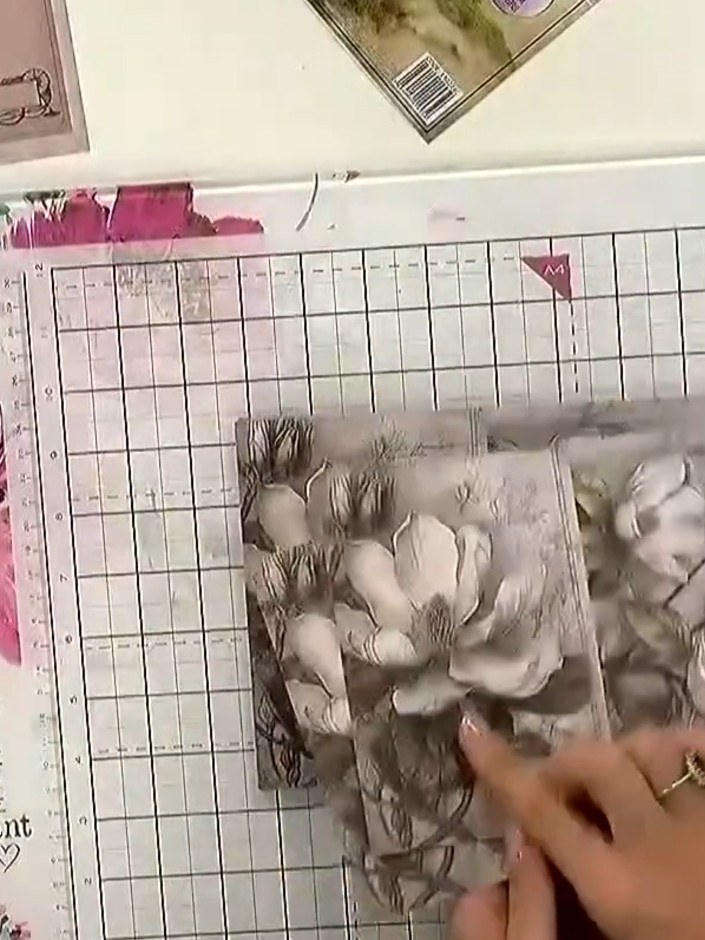
Add a small butterfly or other embellishment to your card for extra detail if desired. Position it where it complements your design and secure in place.
▶ watch this step (5:15)Written up from the show itself. See every guide from our shows · free how-to guides · watch live on My Telly