Give your friends £10 off their first order!
Refer a FRIEND








A project from our live show Create Together Club - 5 Days of Creativity - Broadcast Monday 9TH June 2025 · 09/06/2025 · watch it from 25:00
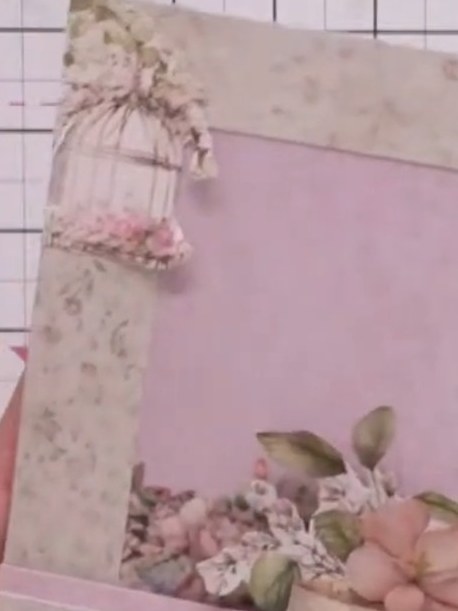
Create an elegant picture frame card featuring a beautiful floral teacup design in soft pinks and creams. This project uses a clever technique of layering coordinating paper strips to build a professional chamfered frame effect without any dies. The finished card has a vintage, shabby chic style with delicate embellishments including a miniature dress decoration.
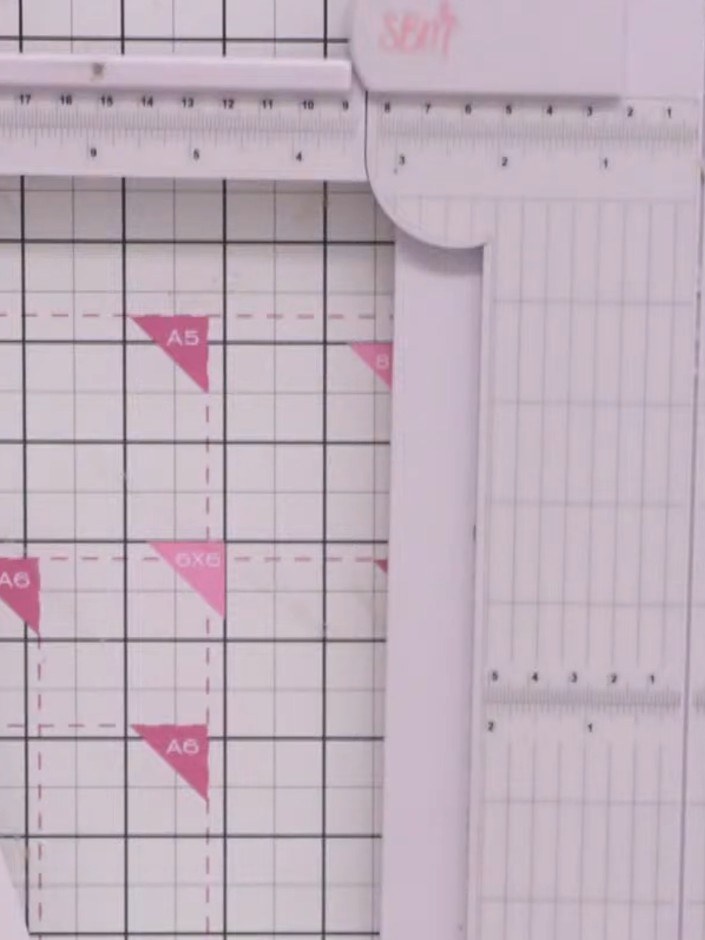
Cut four strips of coordinating paper, each measuring one inch (2.5 cm) wide. Use a paper trimmer or ruler and craft knife to ensure straight, even cuts.
▶ watch this step (25:15)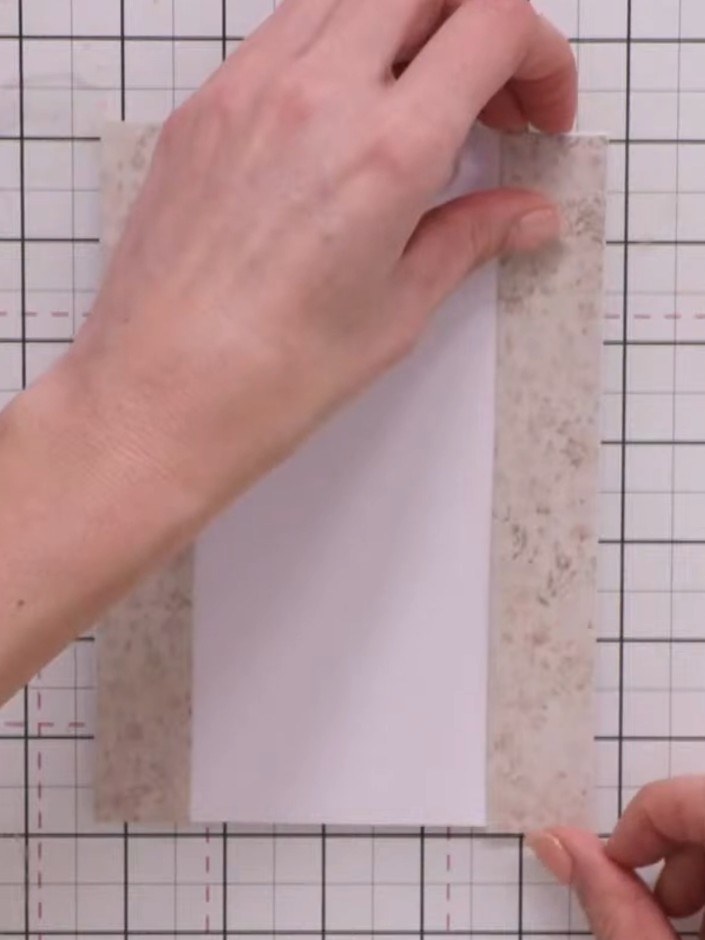
Position the first decorative paper strip vertically down the left side of your white card base. Secure it at the top and bottom corners with low-tack tape.
▶ watch this step (27:00)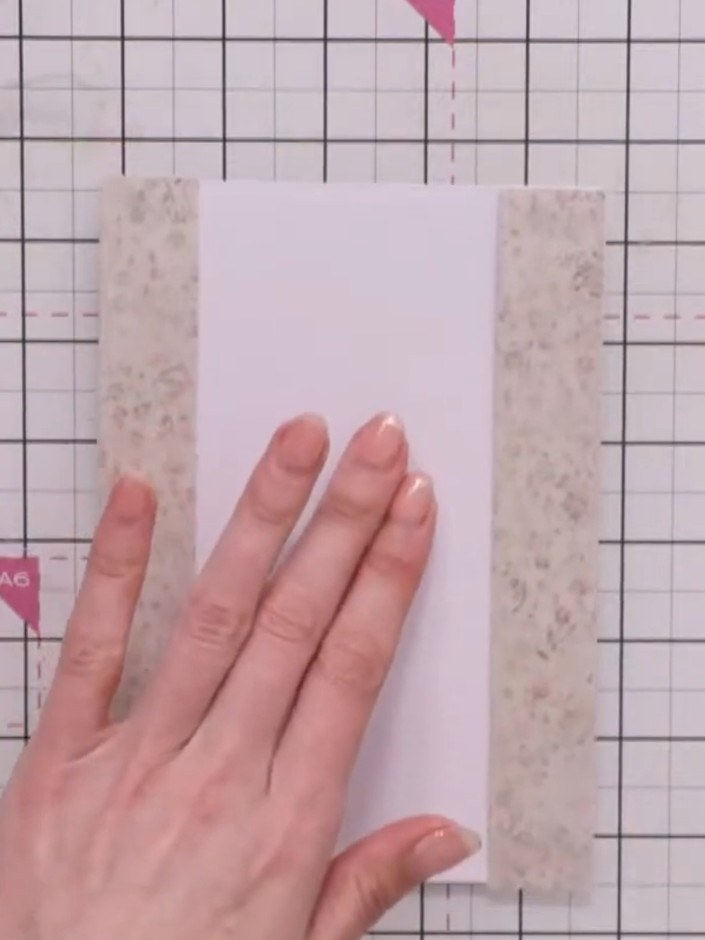
Position the second decorative paper strip down the right side of the card front, aligning it carefully with the edge. Secure it in place by taping at the top and bottom corners.
▶ watch this step (27:15)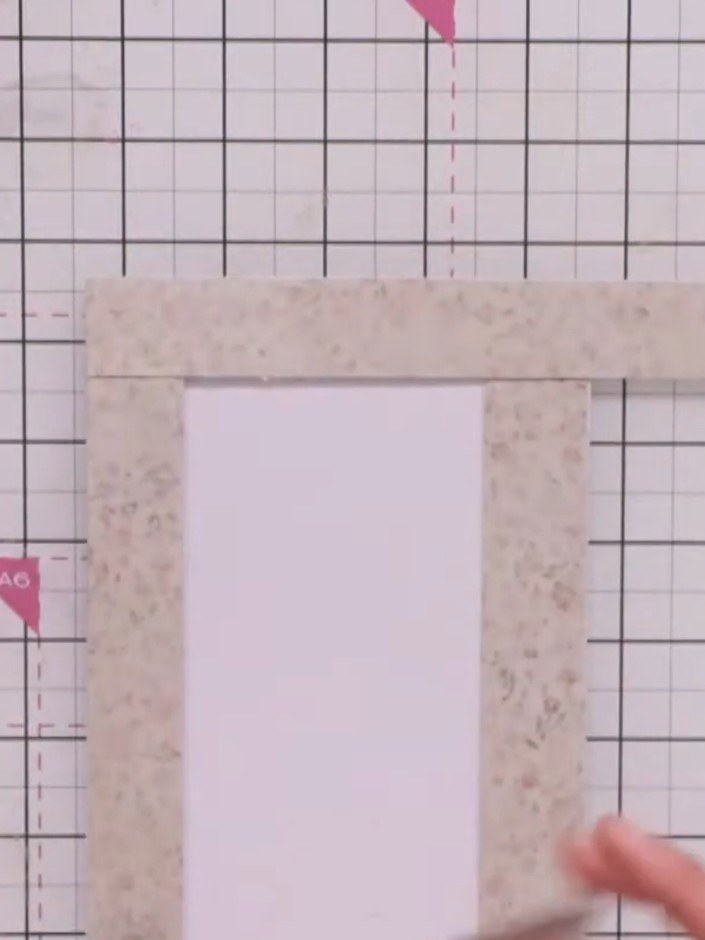
Place the third decorative strip across the top of the card frame, overlapping the two side strips. Secure in place with adhesive tape on the reverse.
▶ watch this step (27:30)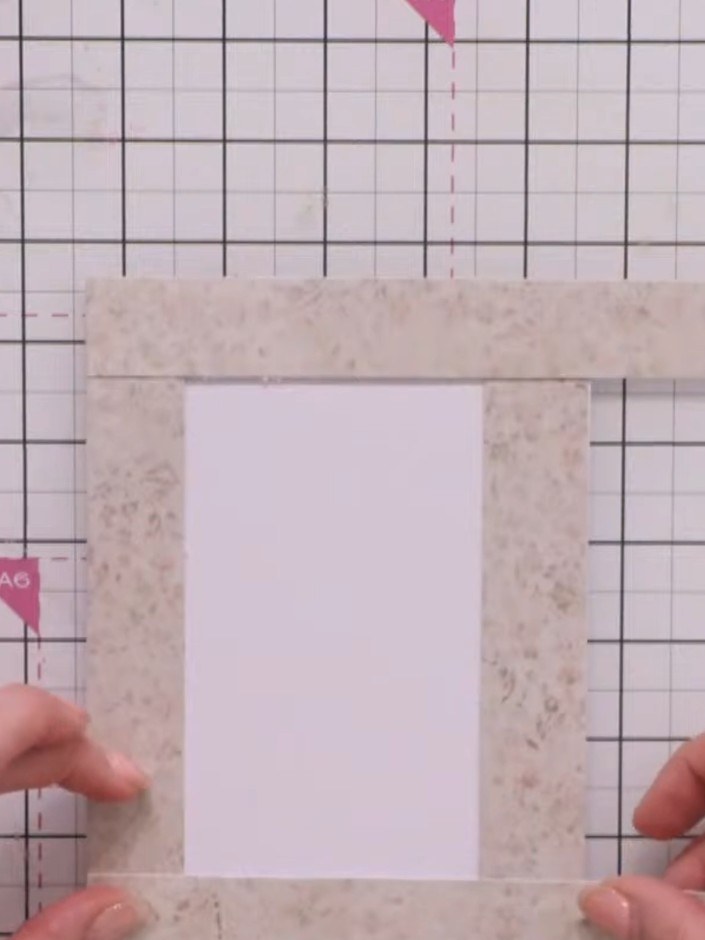
Position the fourth strip across the bottom of the frame, overlapping all other strips, and secure with tape. Take care when handling the delicate frame.
▶ watch this step (27:45)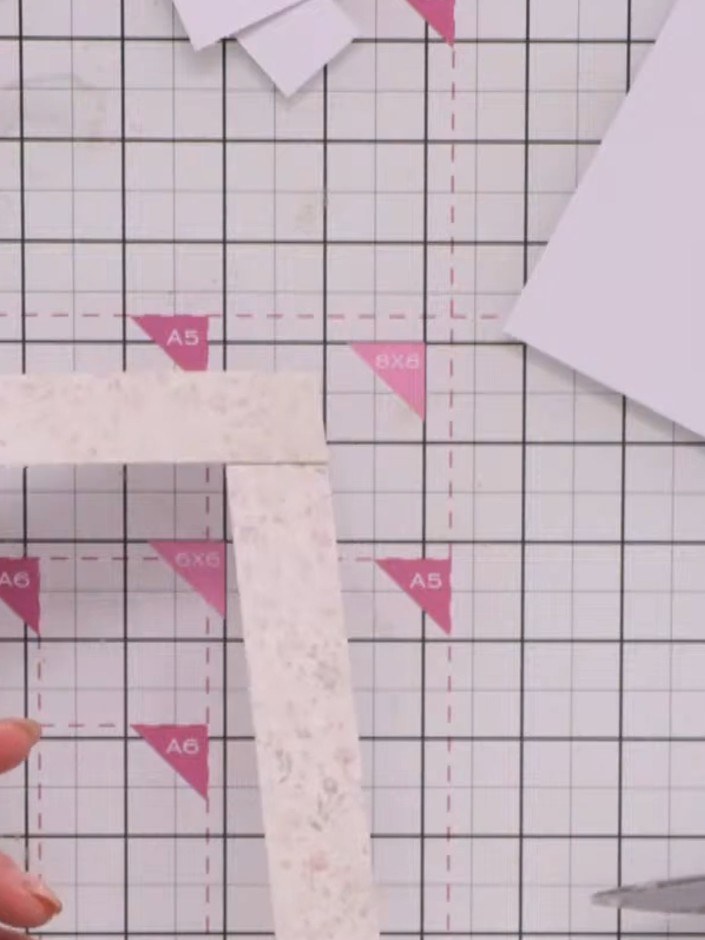
Trim away the excess patterned paper at the corners using scissors, cutting from the outer point to the inner point to create neat mitred corners.
▶ watch this step (28:15)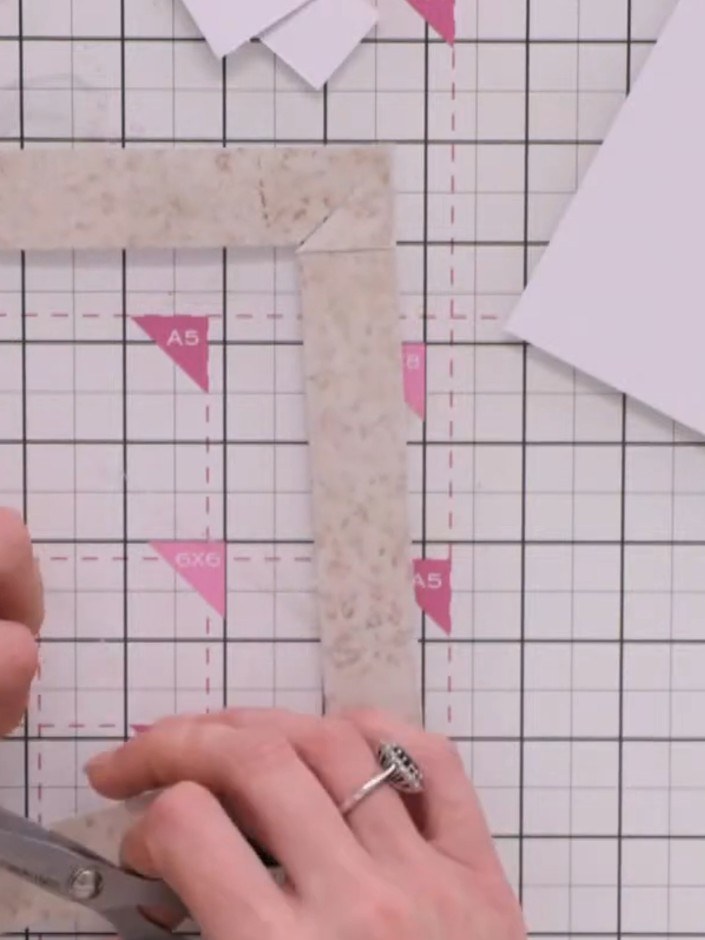
Remove the temporary tape pieces from the frame. Discard the trimmed corner pieces.
▶ watch this step (28:45)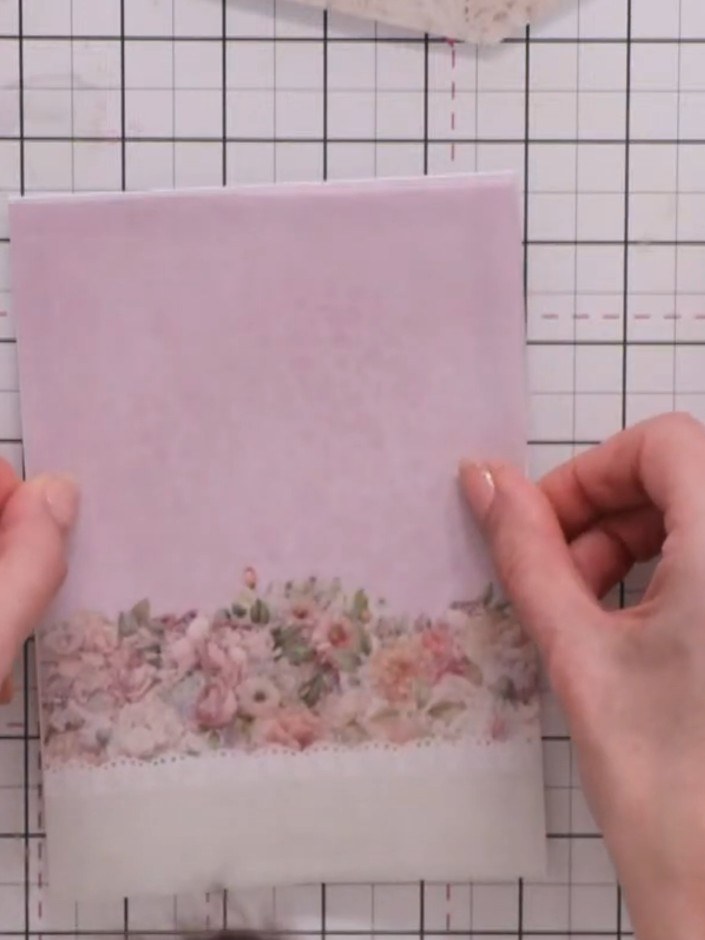
Adhere the completed frame to your card base using tape around the outer edges. Position the frame so the decorative floral border is at the bottom, ensuring the tape will be hidden beneath the frame.
▶ watch this step (31:15)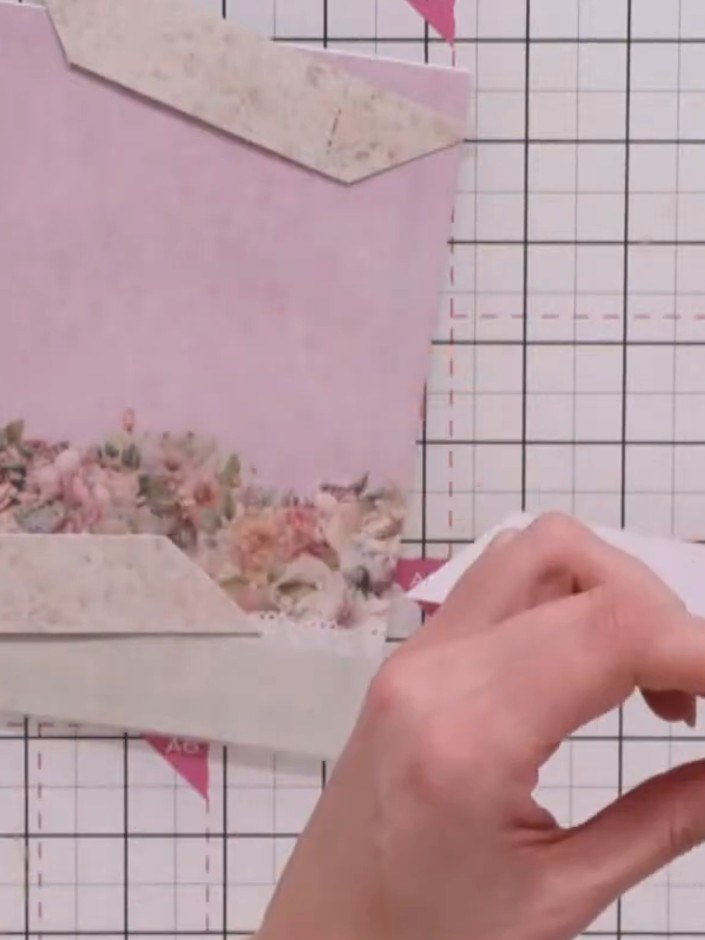
Add a vellum or coordinating paper insert inside the frame. Secure it flat to the card base with adhesive to complete your shamfered frame card.
▶ watch this step (31:45)Written up from the show itself. See every guide from our shows · free how-to guides · watch live on My Telly
