Give your friends £10 off their first order!
Refer a FRIEND








A project from our live show Create Together Club - 5 Days of Creativity - Broadcast Monday 9TH June 2025 · 09/06/2025 · watch it from 6:15
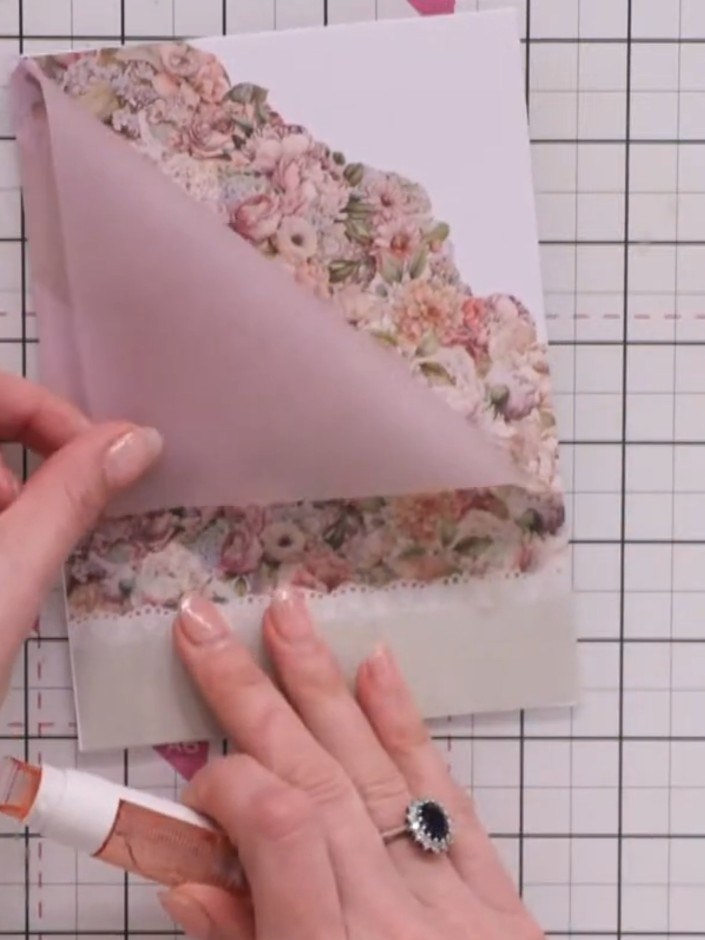
Create an elegant card featuring a vellum pocket with a decorative corner fold that reveals a layered dimensional feature behind it. The design uses soft pink tones with vintage floral imagery and a 'Crafty Sister' sentiment. This project combines vellum layering techniques with dimensional embellishments to create a sophisticated card with visual depth and interest.
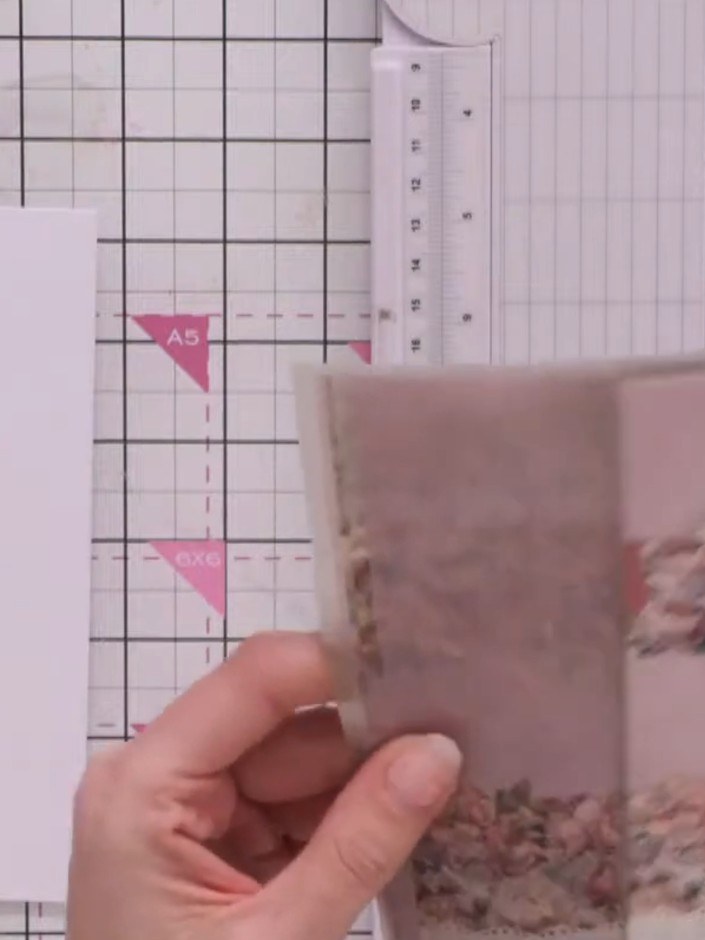
Select a piece of vellum that is approximately the same size as your card base and place it on your craft mat.
▶ watch this step (7:00)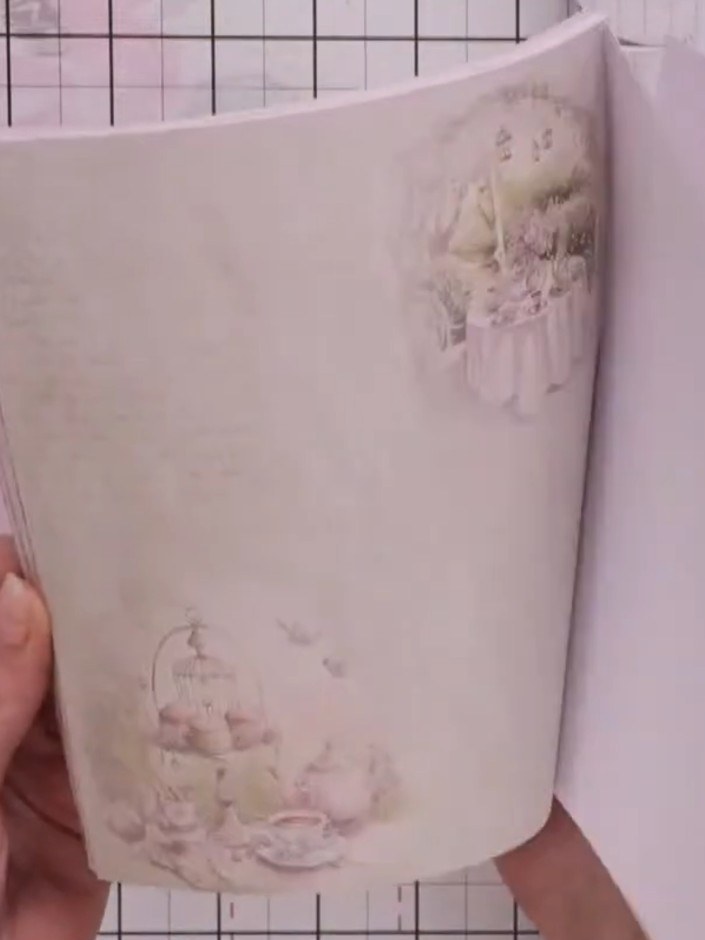
Fold back the top corner of the vellum sheet to create a pocket effect, revealing the decorative floral paper beneath.
▶ watch this step (7:45)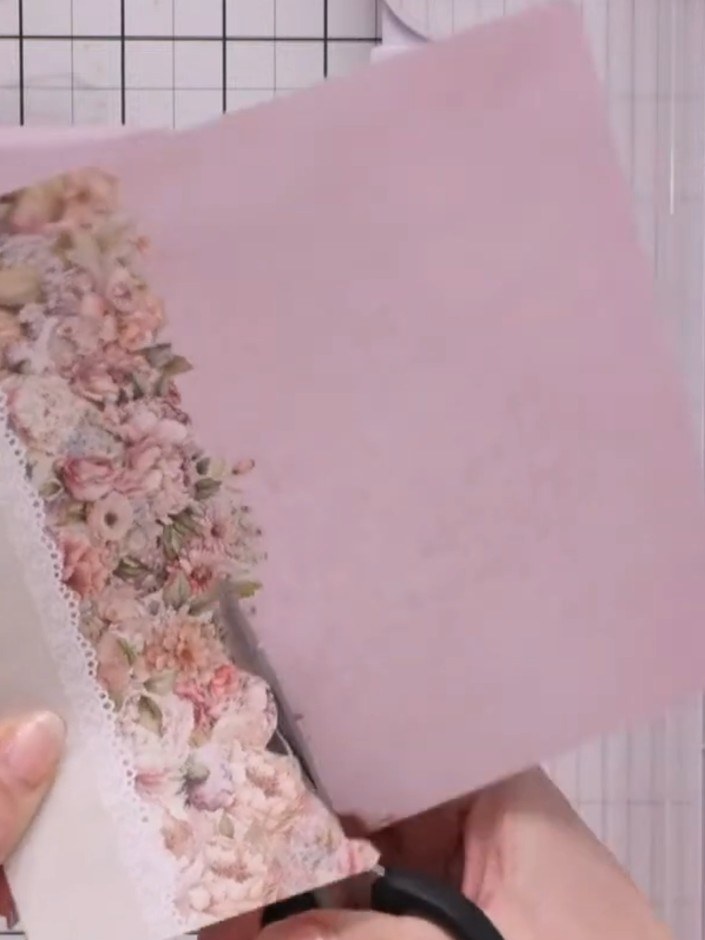
Roughly cut out a decorative floral paper element. Position it behind the vellum fold to create a feature panel showing through the translucent vellum.
▶ watch this step (8:15)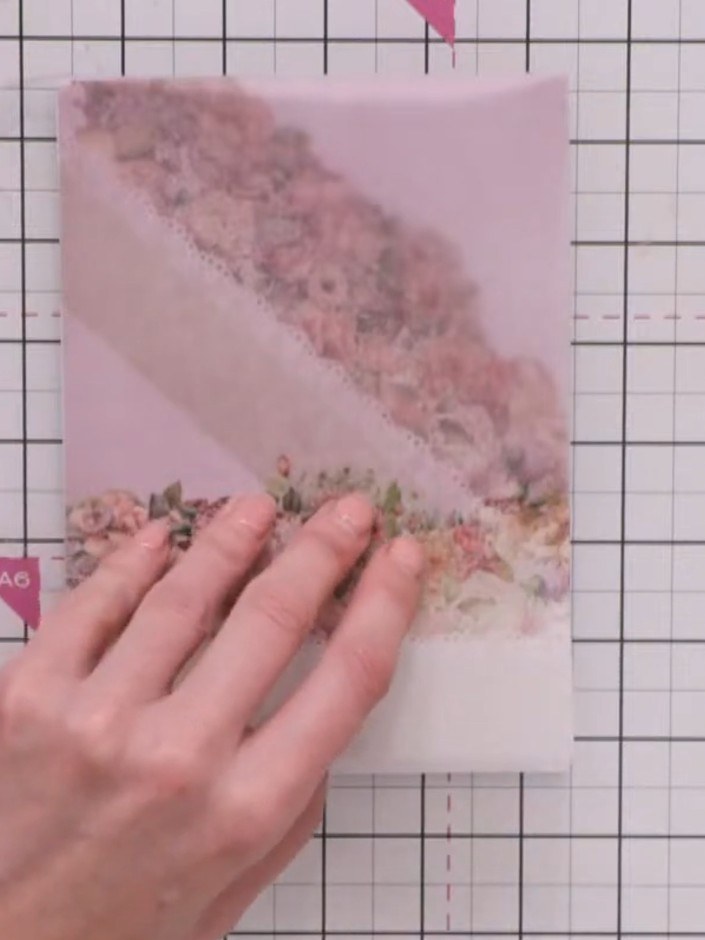
Secure the vellum pocket to the card base with small pieces of double-sided tape placed underneath the floral edges, positioning the tape where it will be hidden by the decorative elements.
▶ watch this step (10:45)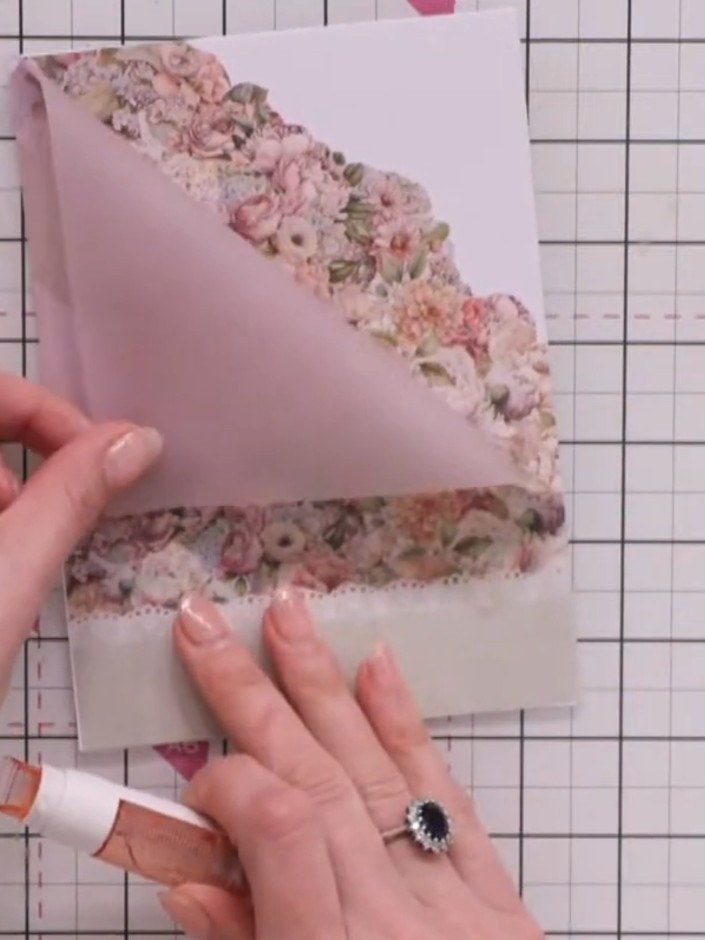
Apply foam pads to the back of the decorative floral elements inside the vellum pocket to add dimension. Use small pieces of tape temporarily to hold the elements in place whilst positioning.
▶ watch this step (11:30)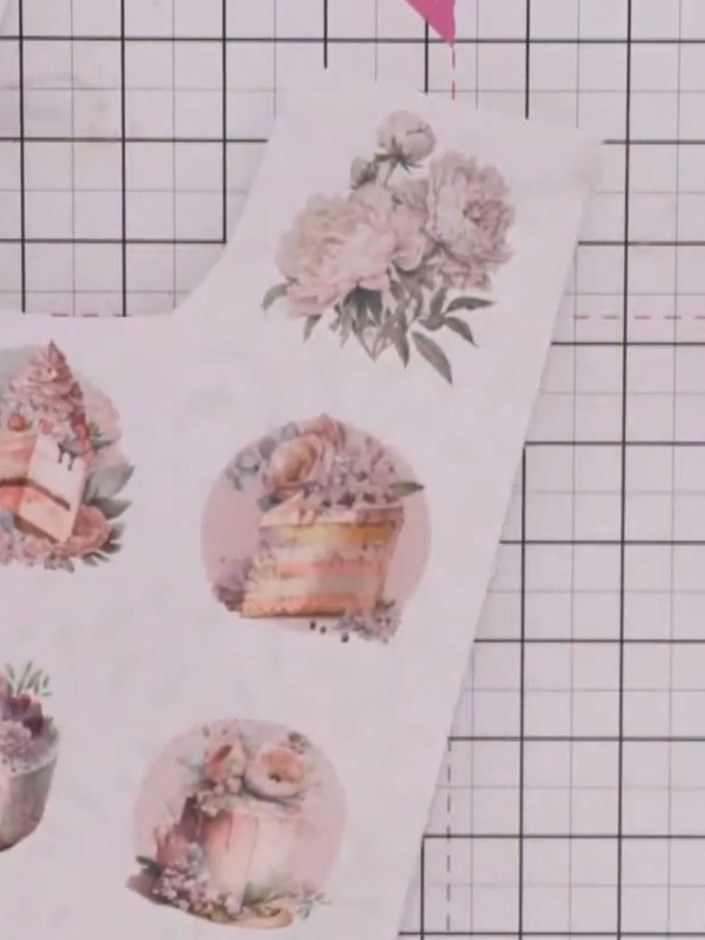
Fussy cut a decorative image element from the paper collection. Move the card rather than the scissors for smoother, more controlled cuts around the detailed floral and cake motifs.
▶ watch this step (13:30)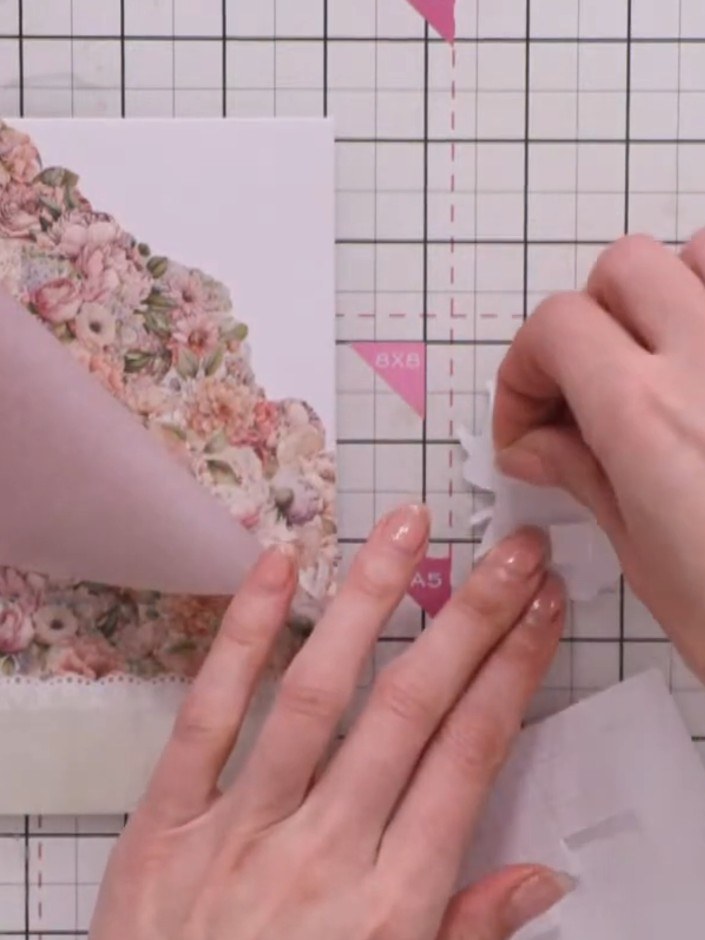
Adhere foam pads to the back of the fussy-cut floral element. Position and press the element inside the vellum pocket to create dimension.
▶ watch this step (16:00)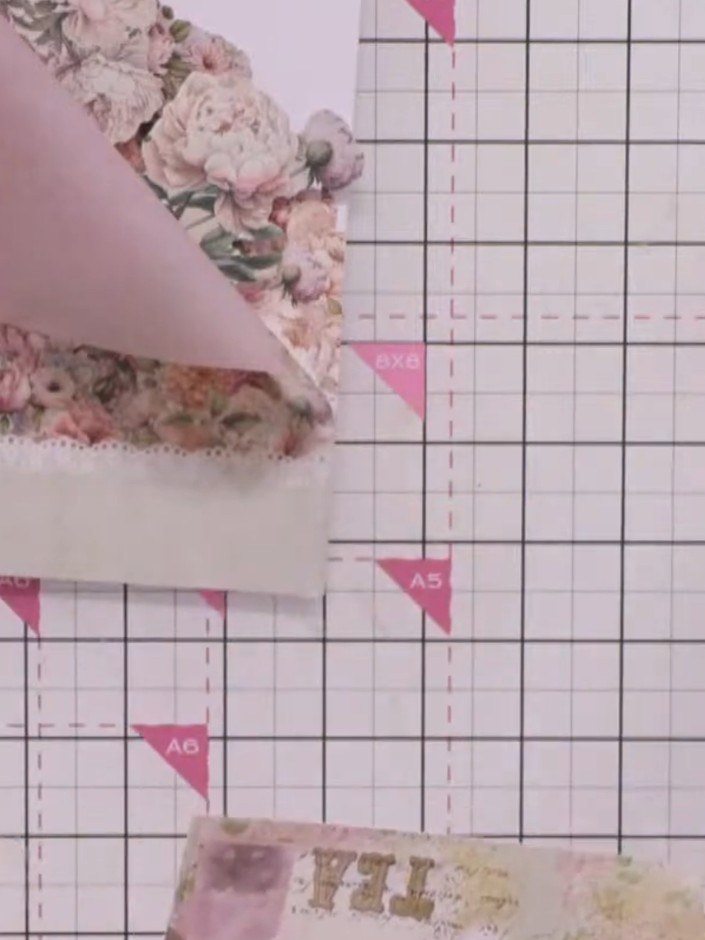
Cut a narrow strip of coordinating paper to create a border panel. This will hide any tape and construction marks on your vellum pocket.
▶ watch this step (17:15)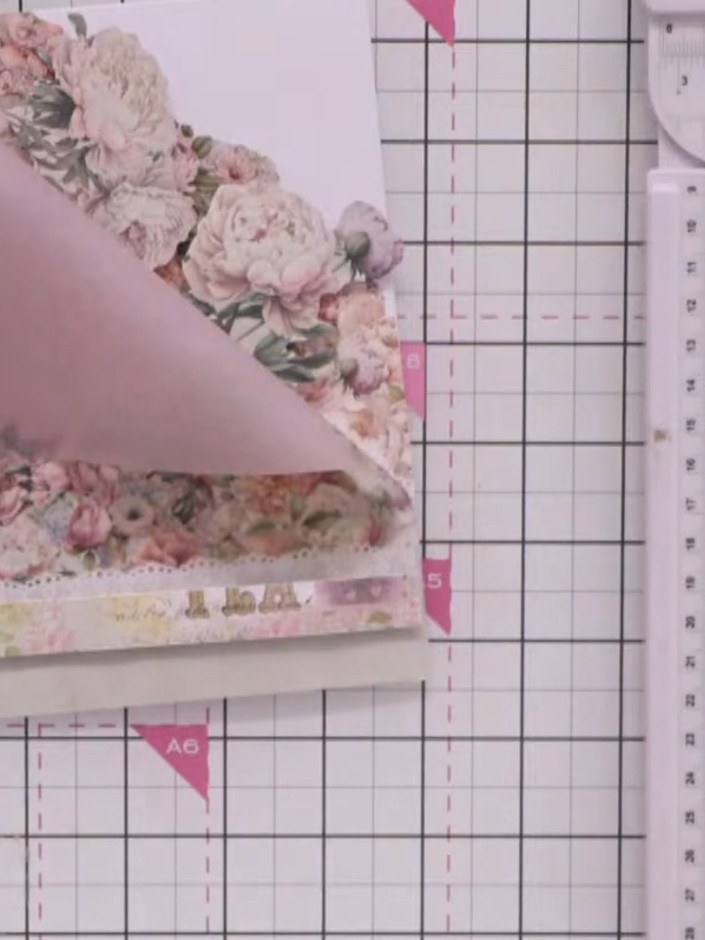
Position the decorative border strip along the bottom edge of the card to cover any visible construction. Secure in place with double-sided tape.
▶ watch this step (19:00)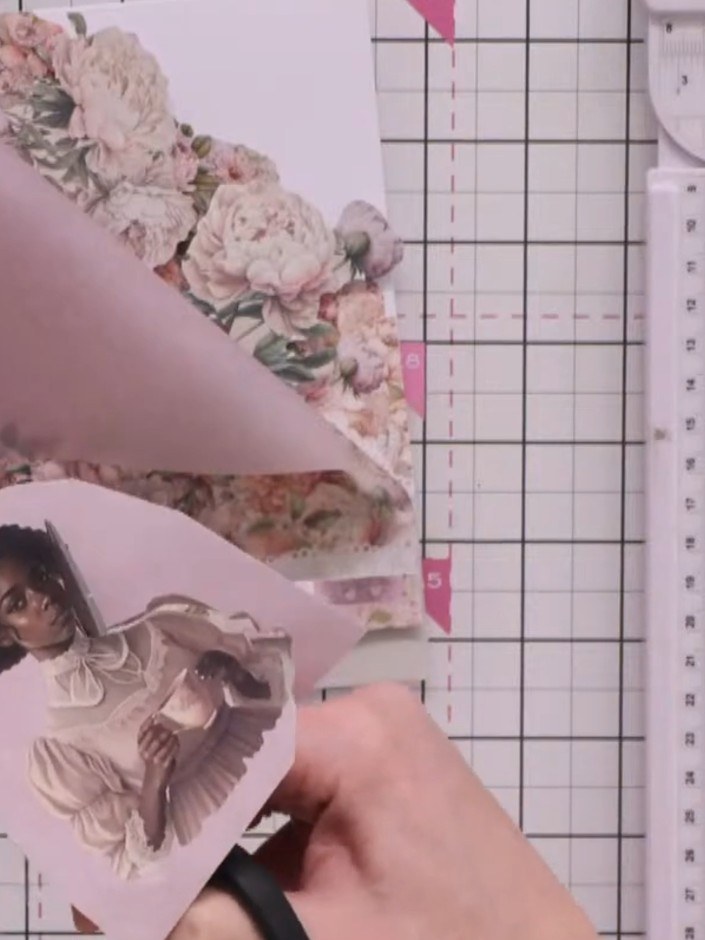
Cut out a focal image element from the decorative paper using scissors. Position and adhere the fussy-cut image over the border strip on the card front to create your dimensional focal point.
▶ watch this step (20:00)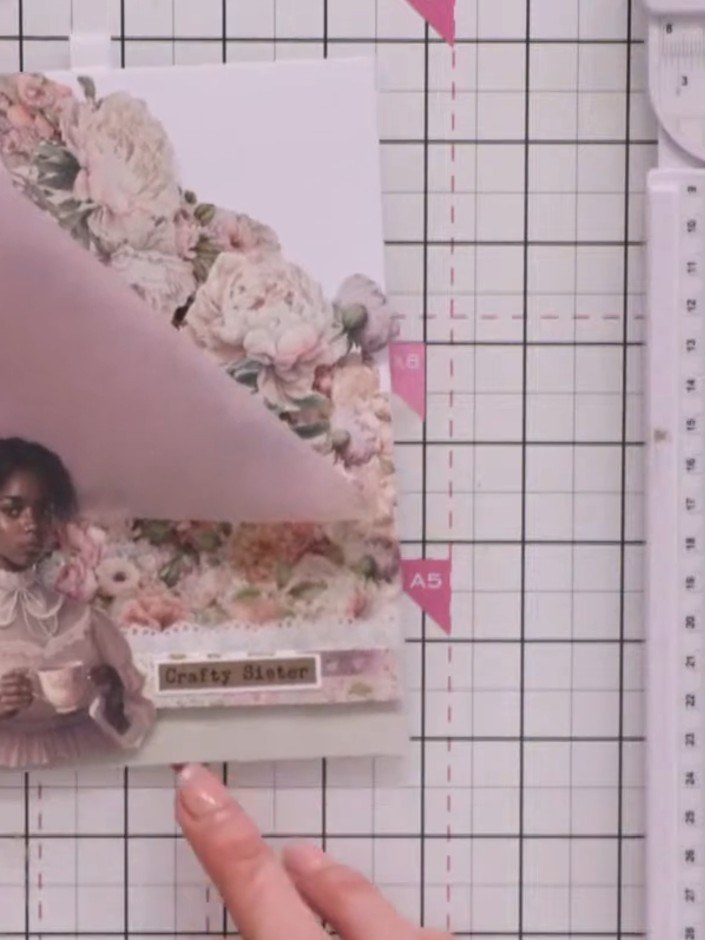
Add a small decorative flower element from your embellishment collection to enhance the main image on the card front.
▶ watch this step (22:15)Written up from the show itself. See every guide from our shows · free how-to guides · watch live on My Telly
