Give your friends £10 off their first order!
Refer a FRIEND








A project from our live show ONE DAY SPECIAL - Join Toni for her brand new launch - Broadcast 27th June 2025 · 27/06/2025 · watch it from 30:45
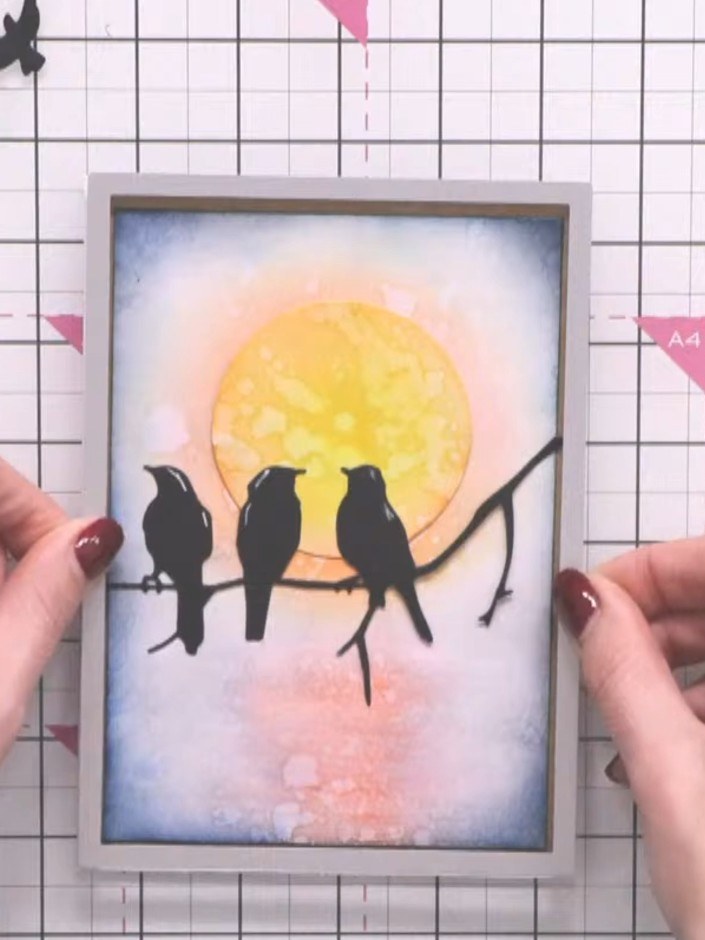
Create a stunning moonlit scene card featuring three silhouetted birds perched on a branch against a glowing golden moon. The background showcases a beautiful watercolour-style sunset in soft blues, peaches and pinks, achieved through ink blending techniques. This dimensional card combines die-cut elements with hand-painted details to create an atmospheric twilight scene.
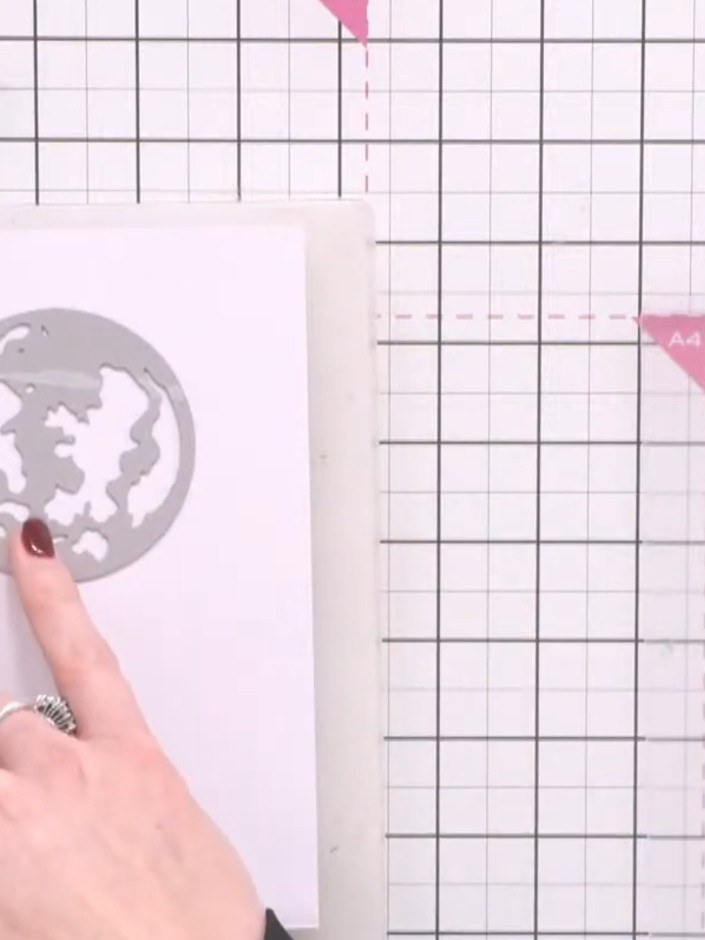
Cut a moon shape from white card using the circular moon die from the Moonlit Skies die set.
▶ watch this step (31:30)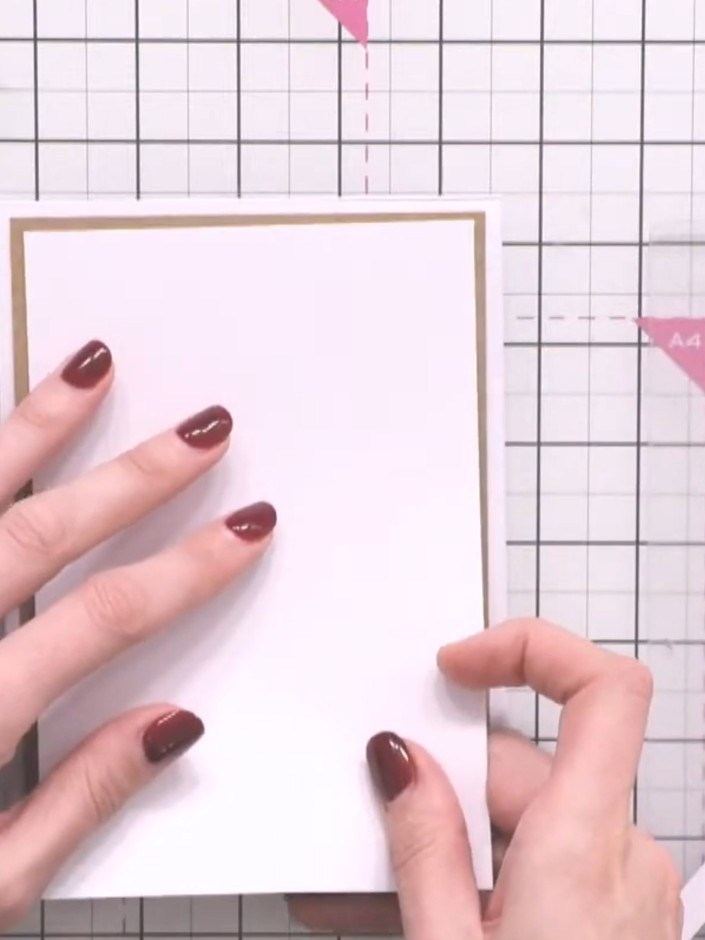
Take a white card blank and position it on your craft mat as the base for your background panel.
▶ watch this step (35:00)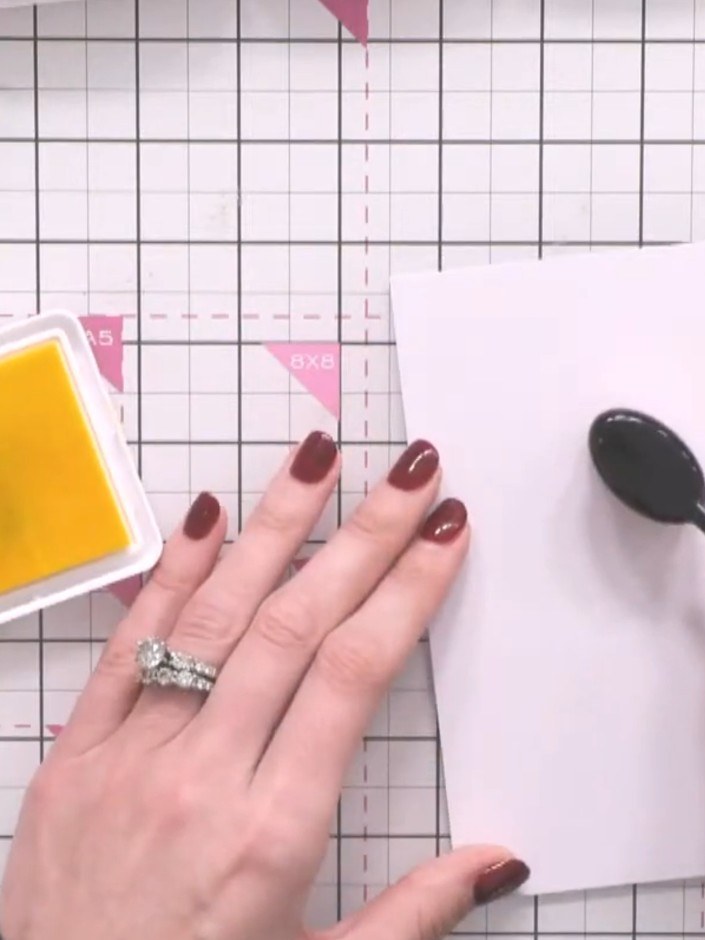
Apply yellow ink pad to the centre of your card in a circular motion to create the sun's core.
▶ watch this step (36:00)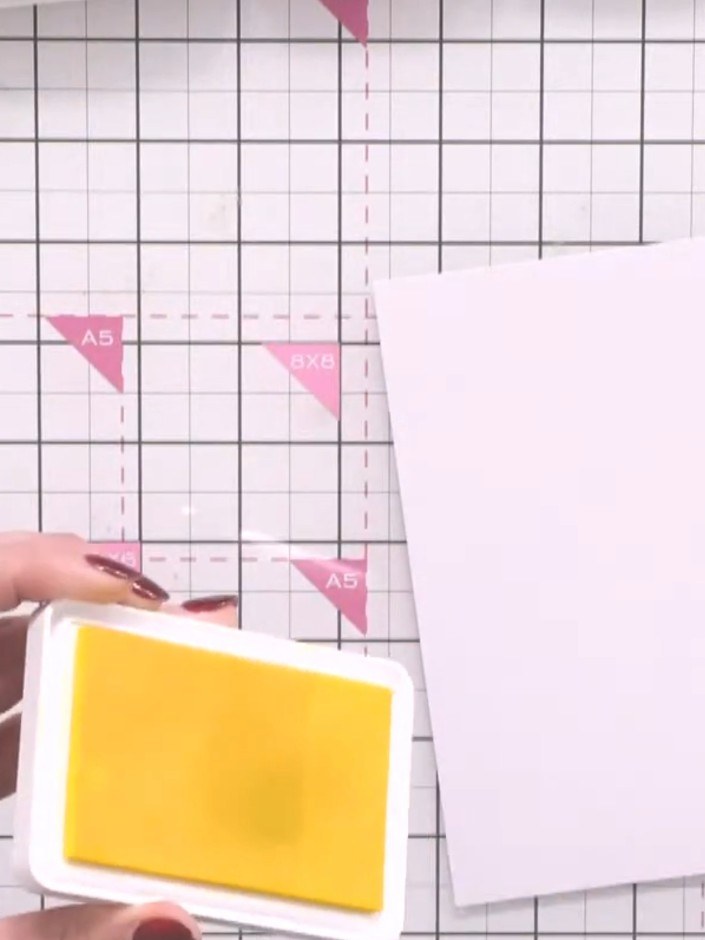
Blend orange ink around the yellow area to build the sunset gradient. Use a blending tool to work the orange ink outwards from the yellow centre, creating a smooth transition.
▶ watch this step (36:30)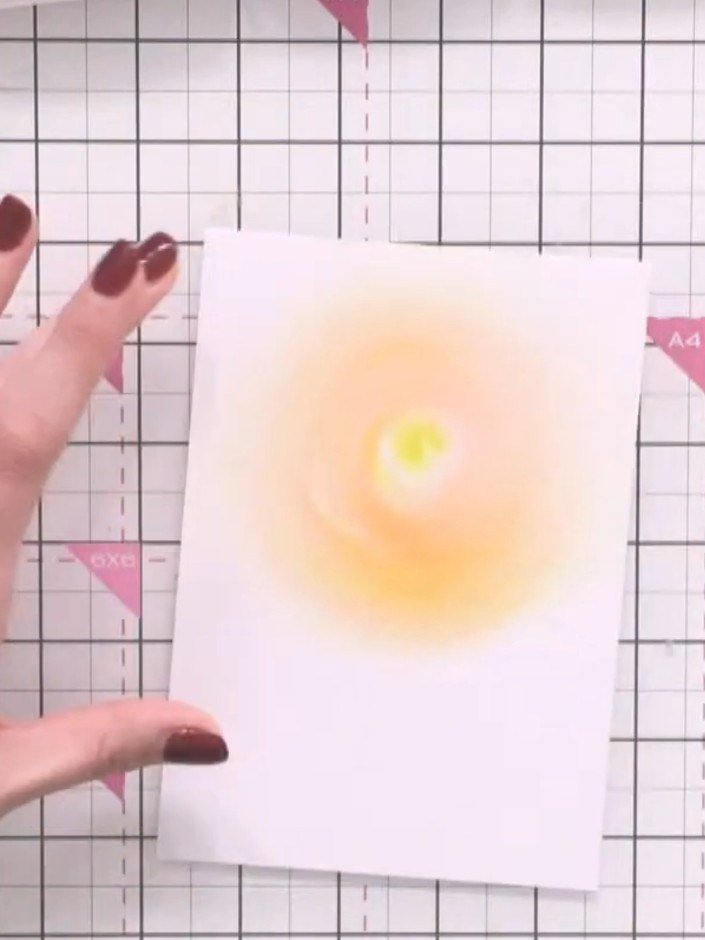
Using the pink ink pad, add pink ink to the middle tones of your sunset blend, working it into the transition between the yellow and orange areas.
▶ watch this step (37:00)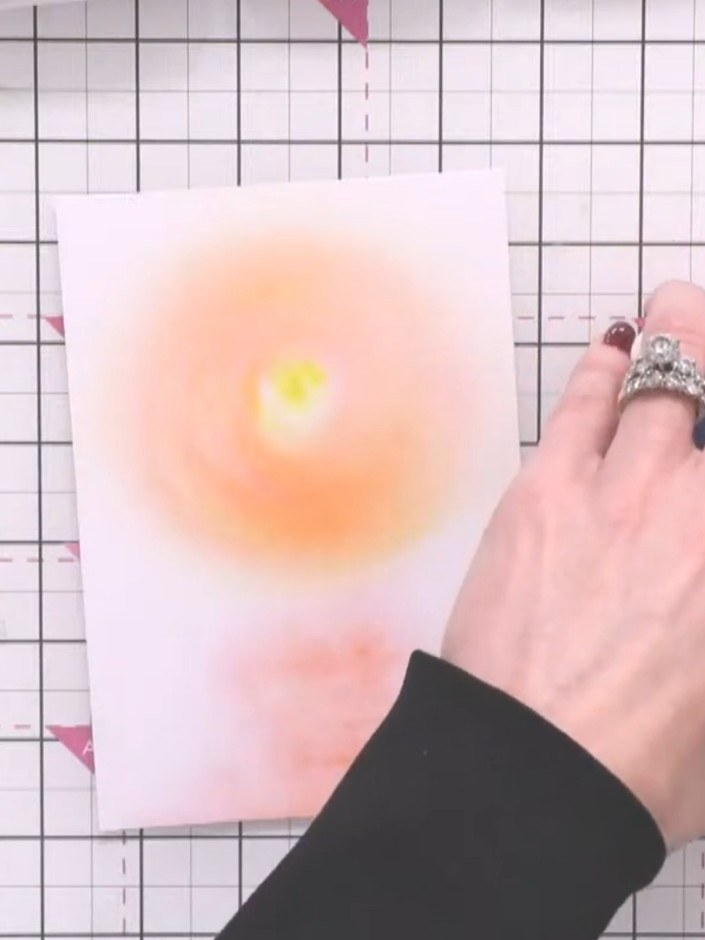
Apply blue and teal inks around the edges and lower portion of the card to create the sky and water effect. Use a blending tool or sponge to blend the colours smoothly into the existing sunset background.
▶ watch this step (39:00)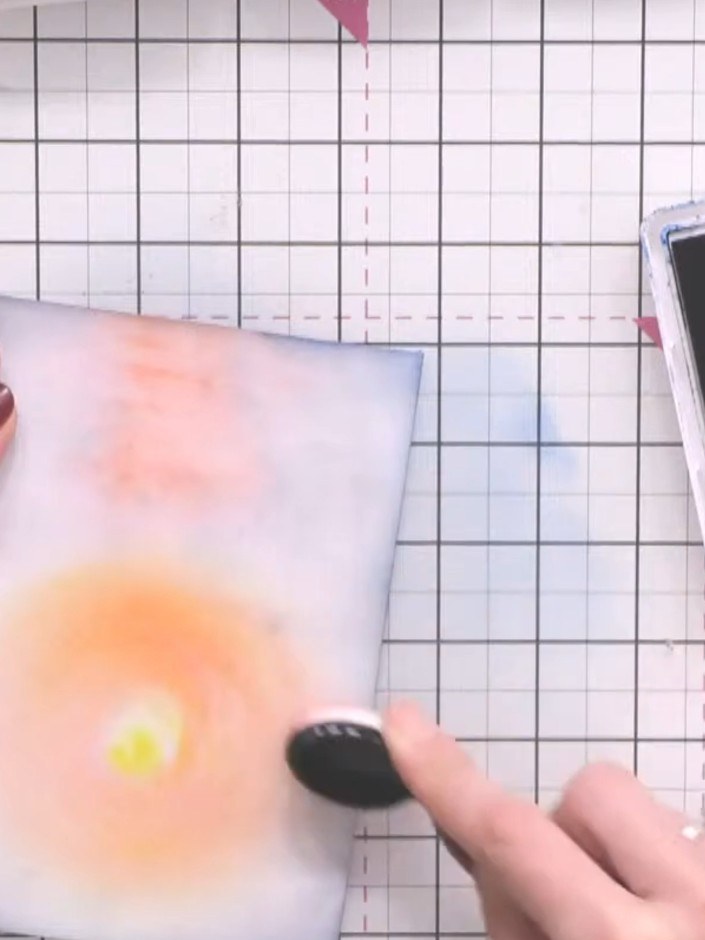
Spray water onto your fingers and gently dab and blend the inked colours on the background panel. Use a tissue to further distort and blend the colours together, creating a soft, blended effect.
▶ watch this step (41:00)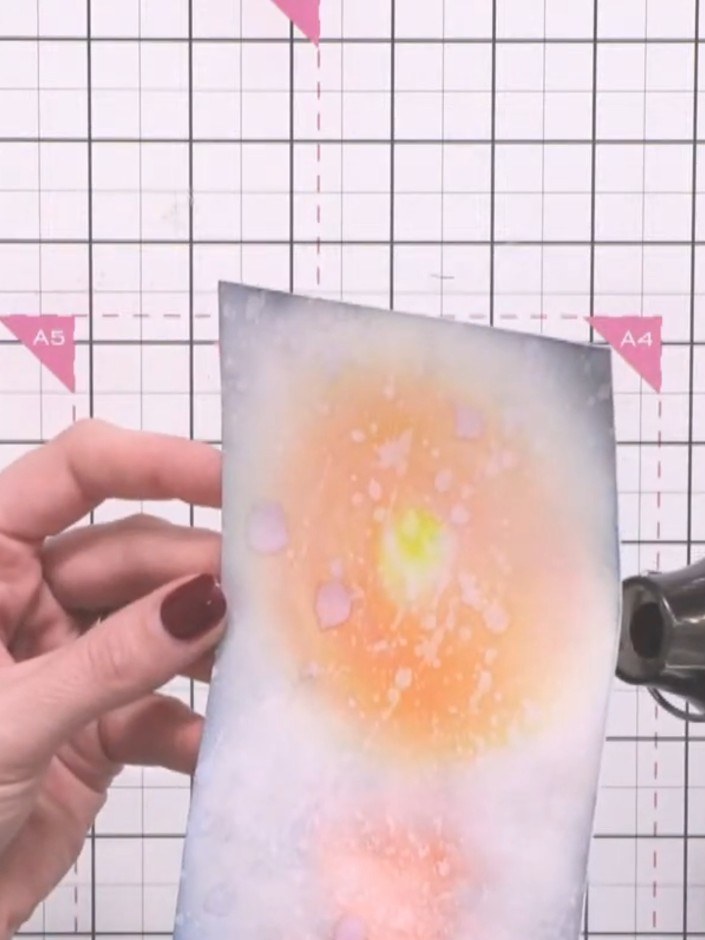
Use a heat gun to dry the inked background completely before continuing with the project.
▶ watch this step (43:00)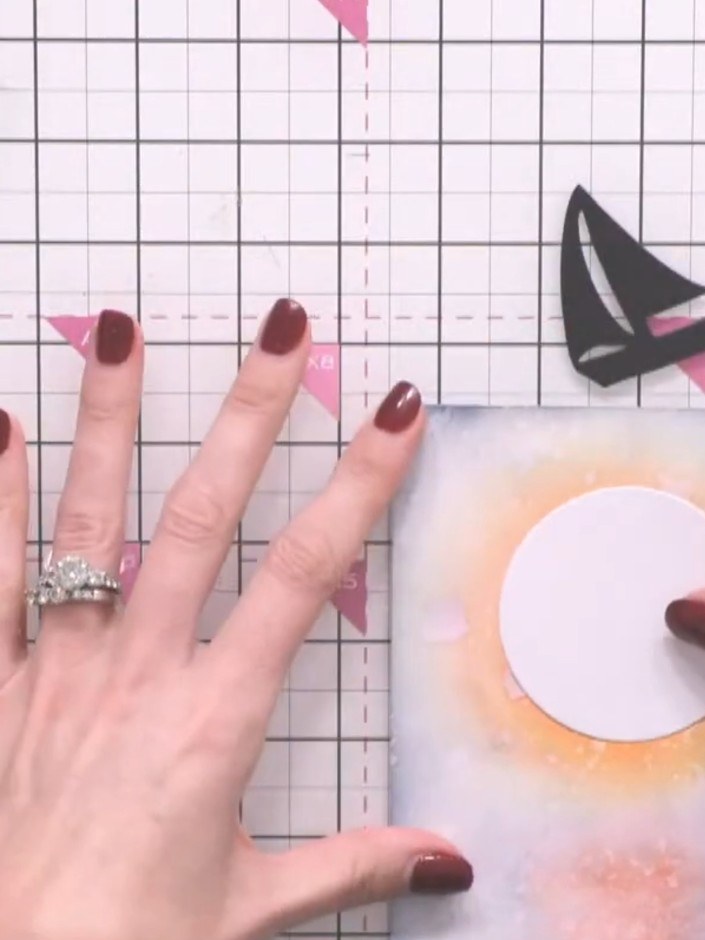
Add yellow and orange ink directly to the white moon die-cut to create dimension and enhance the moon's appearance.
▶ watch this step (45:00)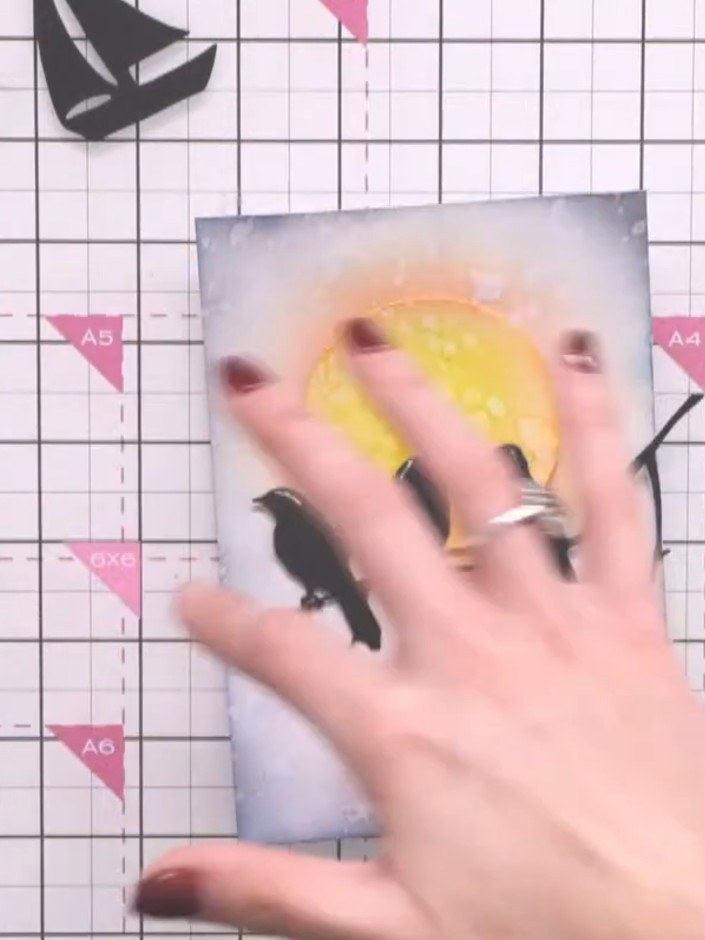
Cut a silhouetted bird from black card using the Moonlit Skies die set. Position the bird die-cut on your card design as desired.
▶ watch this step (48:00)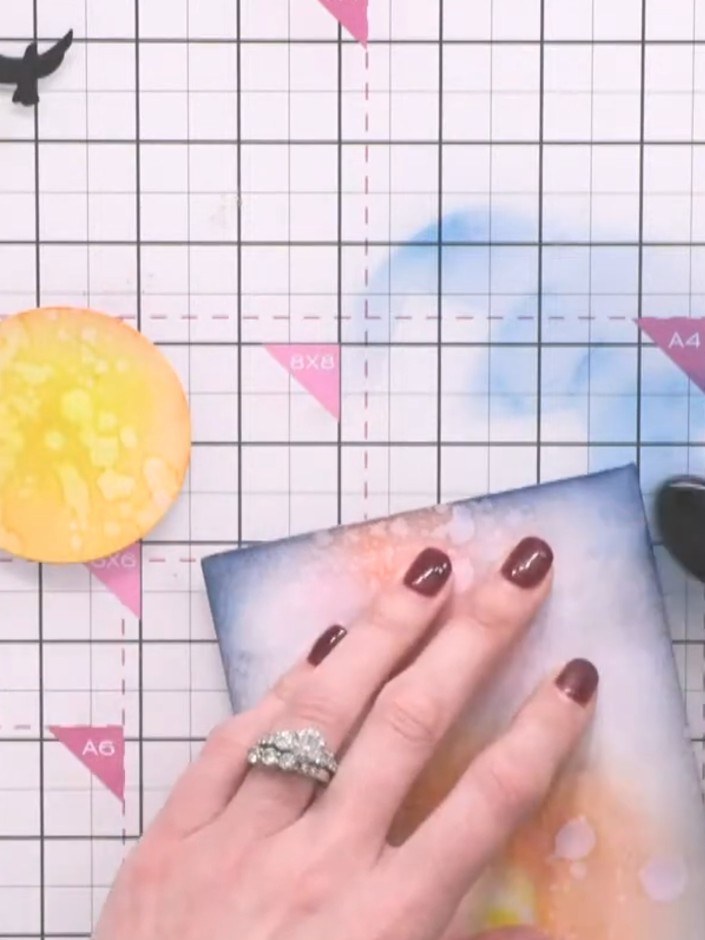
Layer the die-cut moon, birds, and tree elements onto your inked background card, arranging them to create your moonlit scene. Blend the colours together where needed to create a cohesive design.
▶ watch this step (50:00)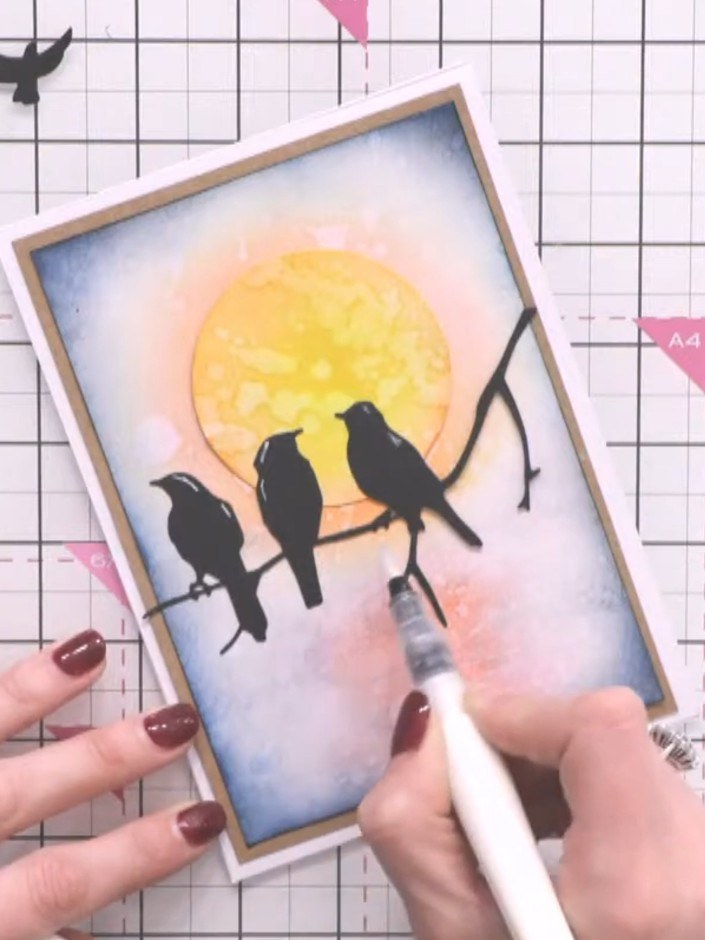
Add shimmer pen details to the water area below the birds for sparkle. Finish the card by adding a sentiment of your choice to complete the design.
▶ watch this step (54:00)Written up from the show itself. See every guide from our shows · free how-to guides · watch live on My Telly
