Give your friends £10 off their first order!
Refer a FRIEND








 The Friday Final CutTomorrow 10am
 Community ShowcaseMon 23 Nov 10am
 Deal HuntersTue 24 Nov 1pm
Prices change straight away. Every language is our own translation, not Google.
A project from our live show MY PODCAST - Catch my latest updates broadcast 4th August 2025 · 04/08/2025 · watch it from 49:00
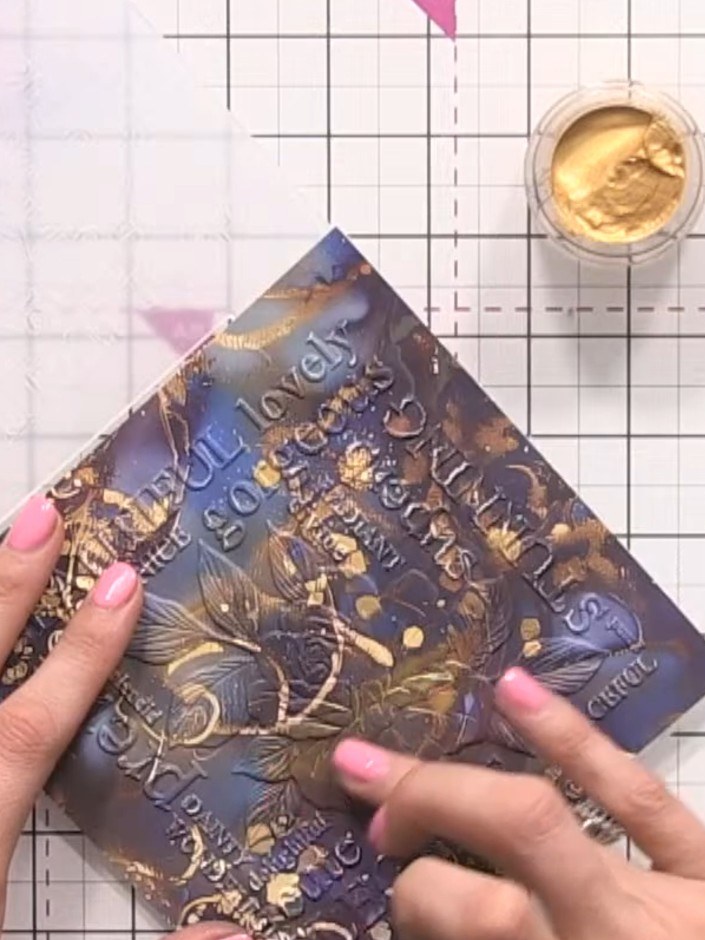
Create a stunning card featuring an embossed rose design on golden frantage paper with a beautiful dual-tone finish. The rose is highlighted with contrasting gilding waxes—shimmering gold on one side and elegant white on the other—demonstrating how different colour choices can transform the same design. This technique combines heat embossing with wax application to achieve a sophisticated, dimensional effect.
 Stamps By Me - All Surfaces - Golden Frantage - 8 X 8 Paper Pad - 061223ESEE IT
 Stamps By Me Stamp & Embossing Folder - Elegant Rose - 260225ASEE IT
 Antique Gold 20 ml Finger WaxSEE IT
 VersaFine CLAIR - ArcticSEE IT
 Rain Forest Versafine ClairSEE IT
 Fallen Leaves Versafine ClairSEE IT
 Stamps By Me - Premium Pigment Ink Pure White - Cotton - 121022MSEE IT
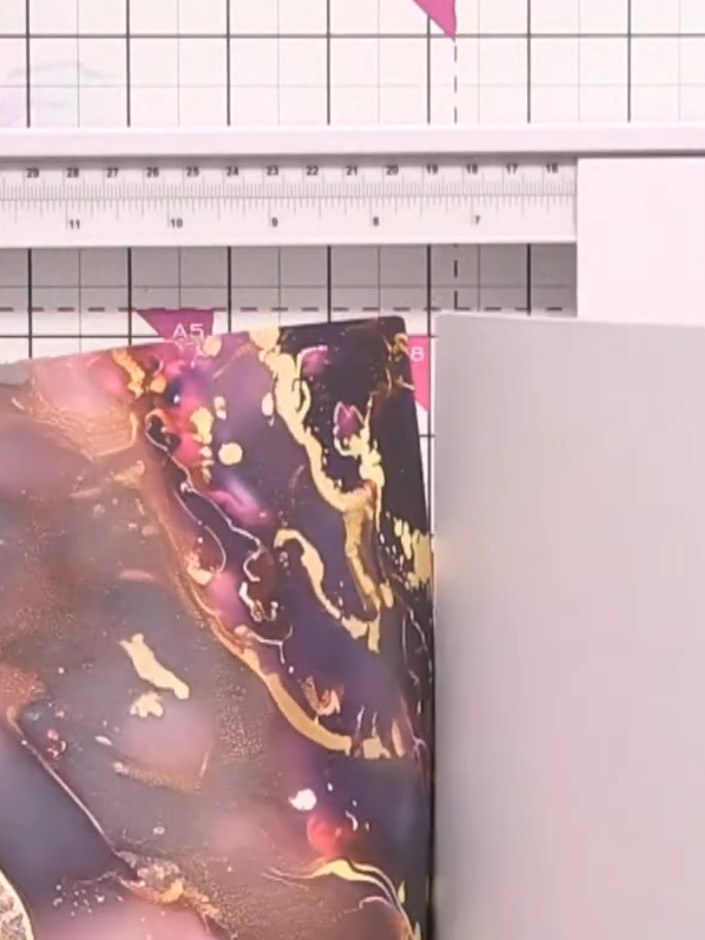
Cut a piece of the golden frantage paper from the 8 x 8 paper pad to your desired card size. Position the decorative paper on your cutting mat and measure to ensure an even cut.
▶ watch this step (49:15)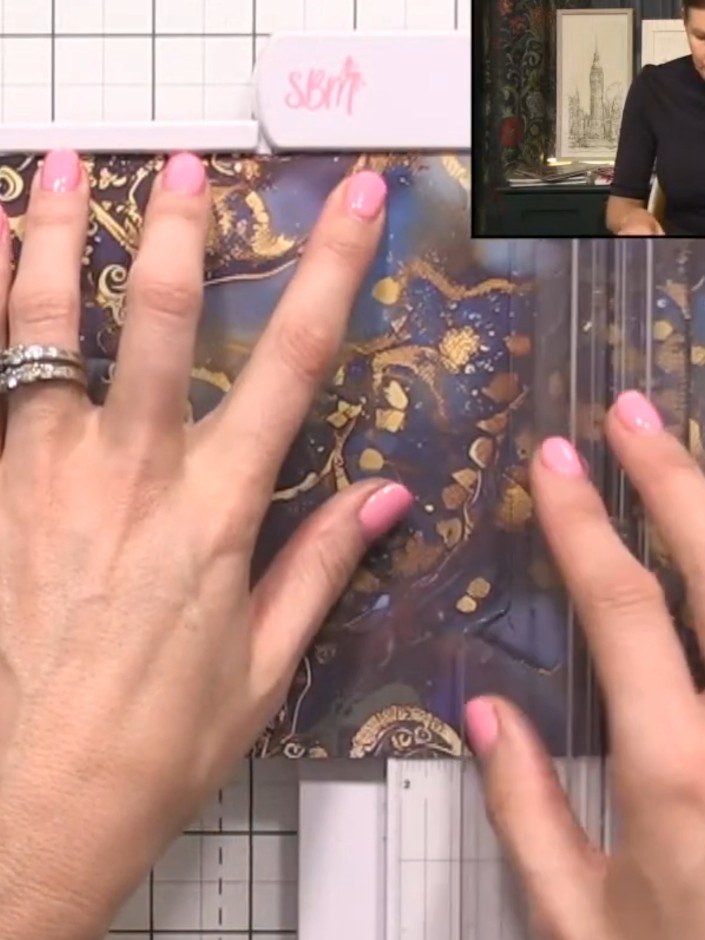
Place the golden frantage paper into your embossing machine with the rose embossing folder.
▶ watch this step (49:30)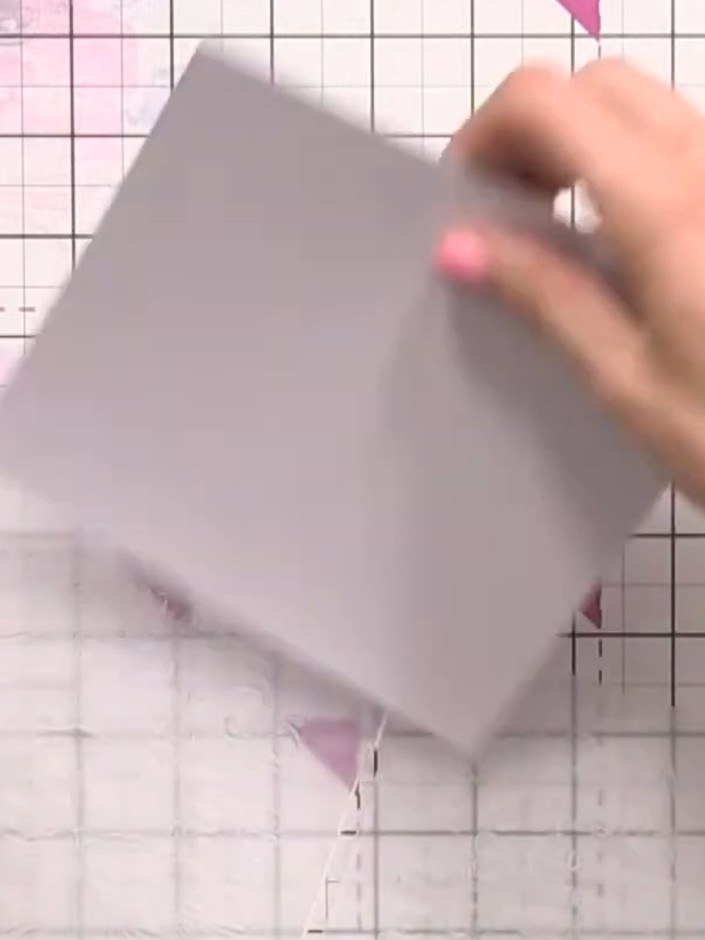
Run the decorative paper through the embossing machine with the Elegant Rose stamp and embossing folder to emboss the rose design onto the marble-effect surface.
▶ watch this step (49:45)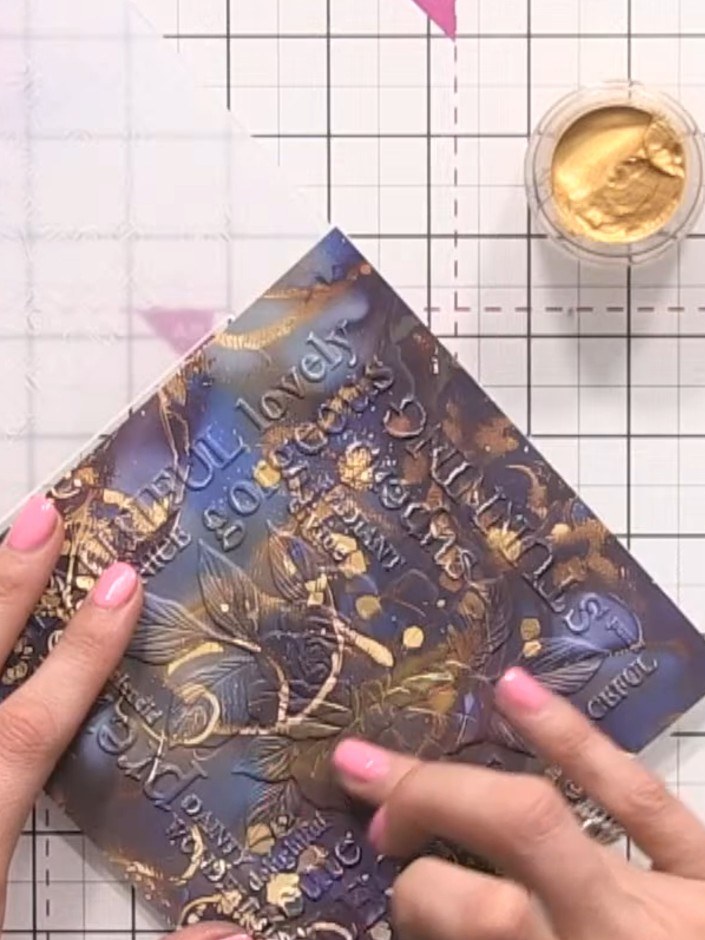
Apply antique gold gilding wax to the bottom half of the embossed rose design on your paper. Use your finger to gently work the wax into the raised embossed areas.
▶ watch this step (51:15)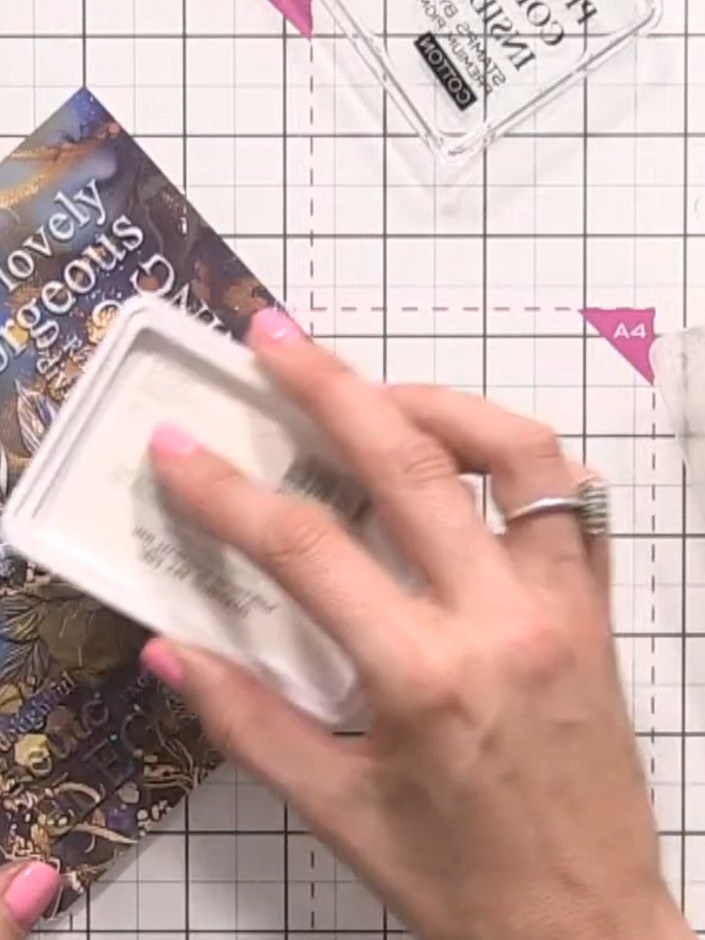
Apply white ink pad to the top half of the embossed rose design for contrast. Use a dabbing motion to ensure even coverage over the raised embossed areas.
▶ watch this step (51:30)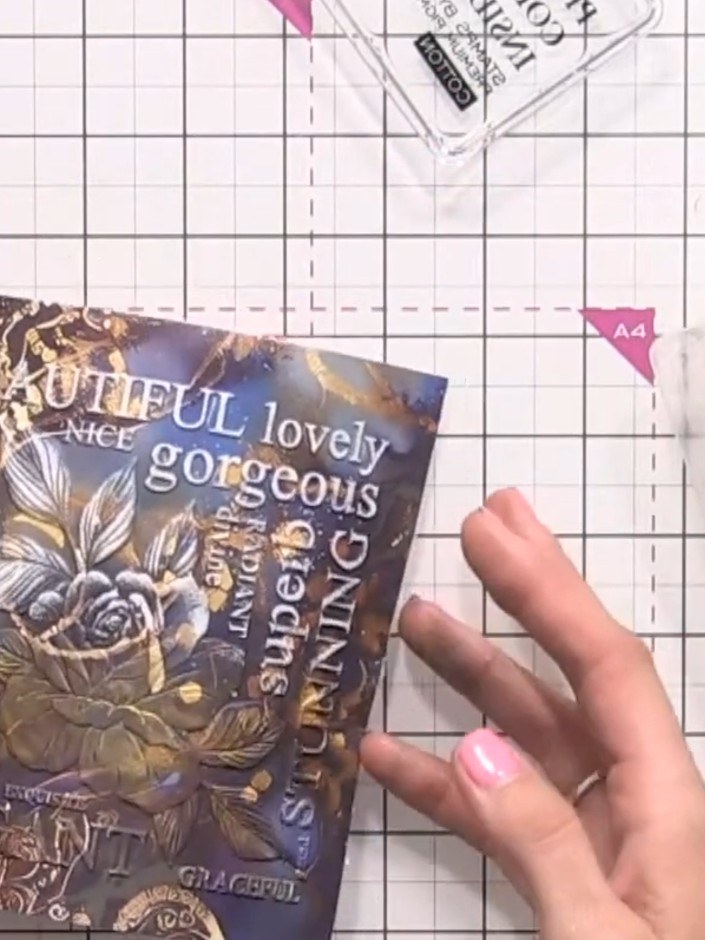
Observe how the gold and white create a striking half-and-half effect on the marble paper, with the Antique Gold Finger Wax highlighting the embossed rose design.
▶ watch this step (52:00)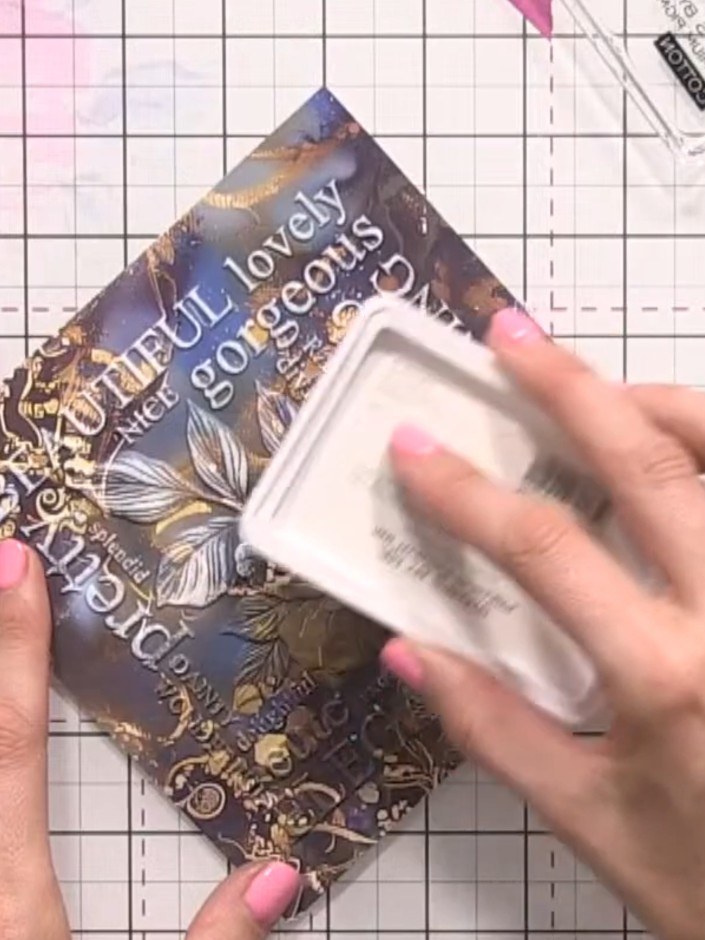
Apply white wax over the gold areas using a blending tool or your finger to create a more blended, dual-tone finish. Work the white wax gently over the raised embossed areas and gold details.
▶ watch this step (52:30)Written up from the show itself. See every guide from our shows · free how-to guides · watch live on My Telly