Give your friends £10 off their first order!
Refer a FRIEND








 The Friday Final CutTomorrow 10am
 Community ShowcaseMon 23 Nov 10am
 Deal HuntersTue 24 Nov 1pm
Prices change straight away. Every language is our own translation, not Google.
A project from our live show MY PODCAST - Catch my latest updates broadcast 4th August 2025 · 04/08/2025
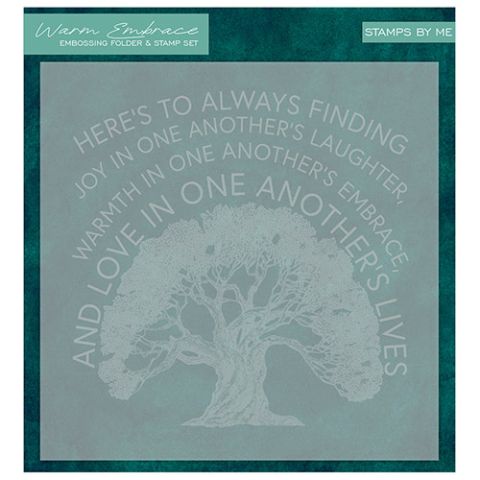
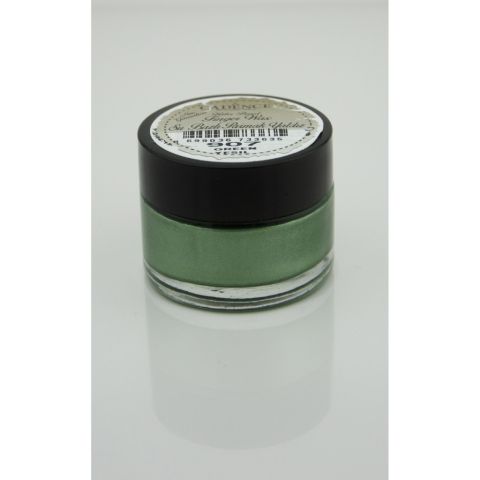
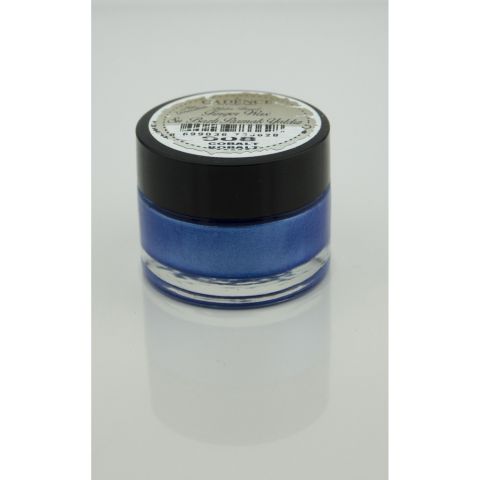
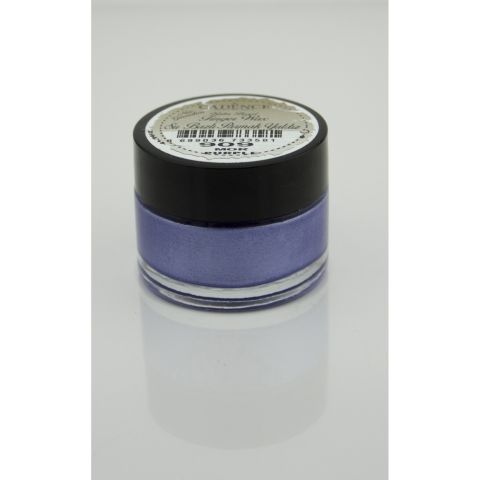
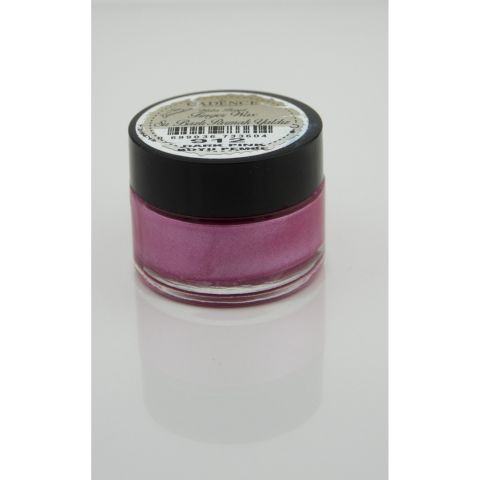
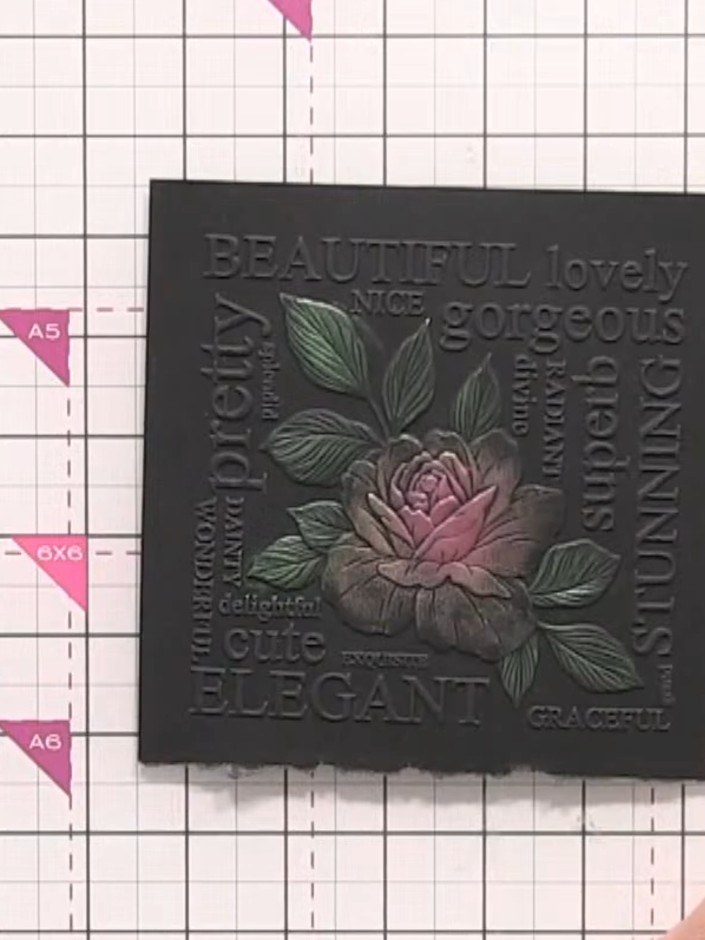
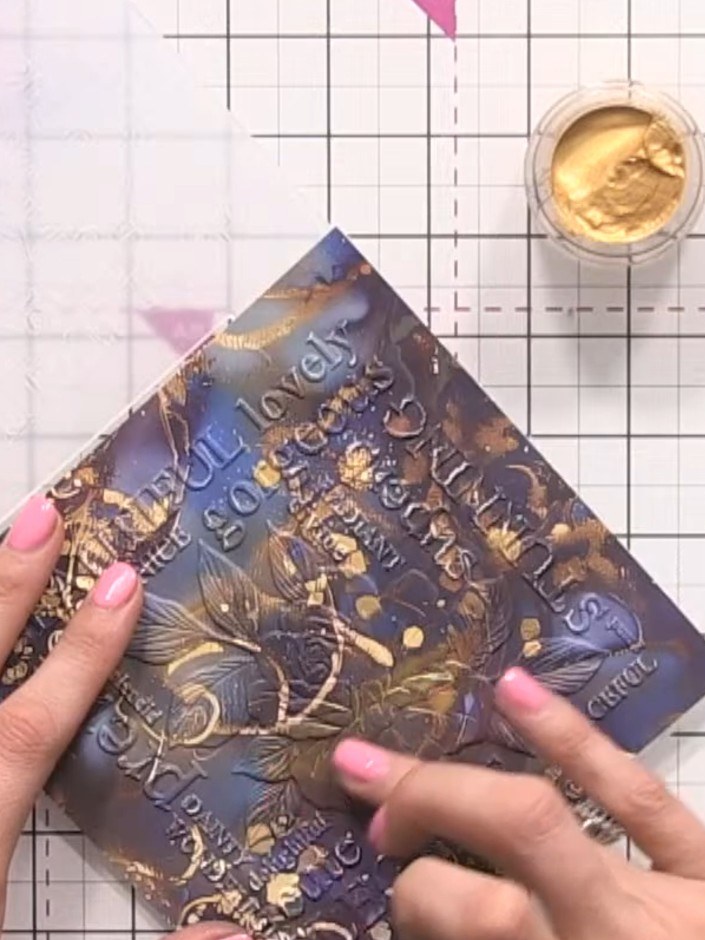
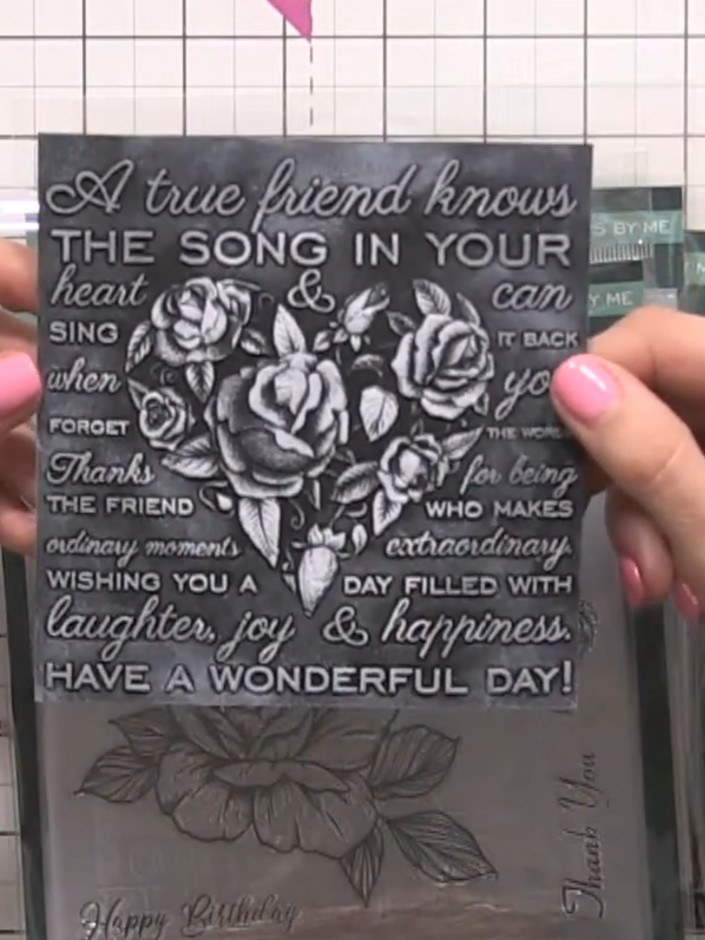
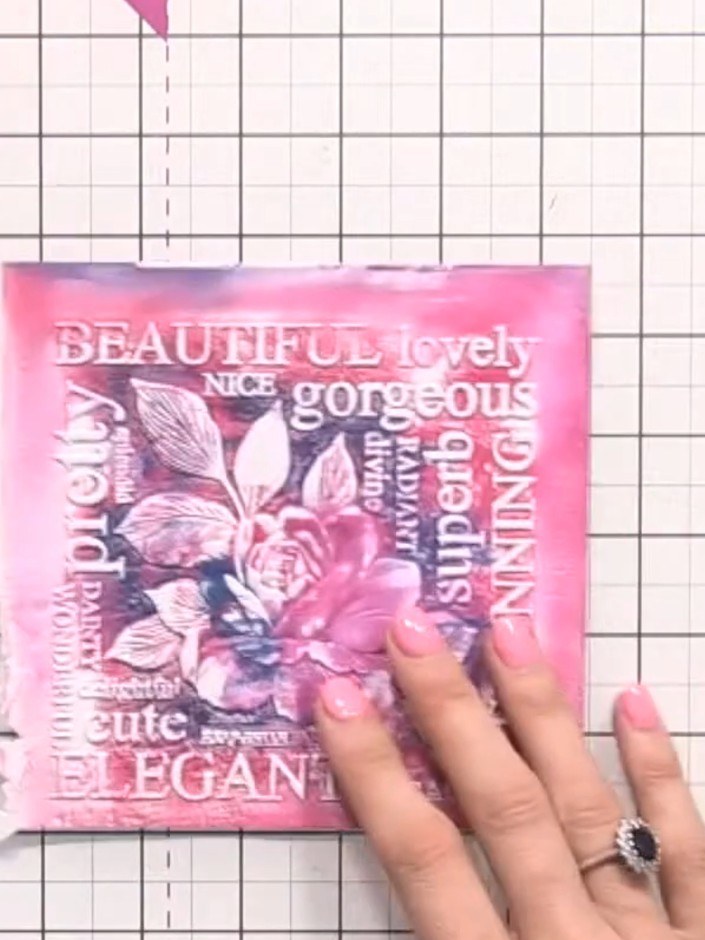
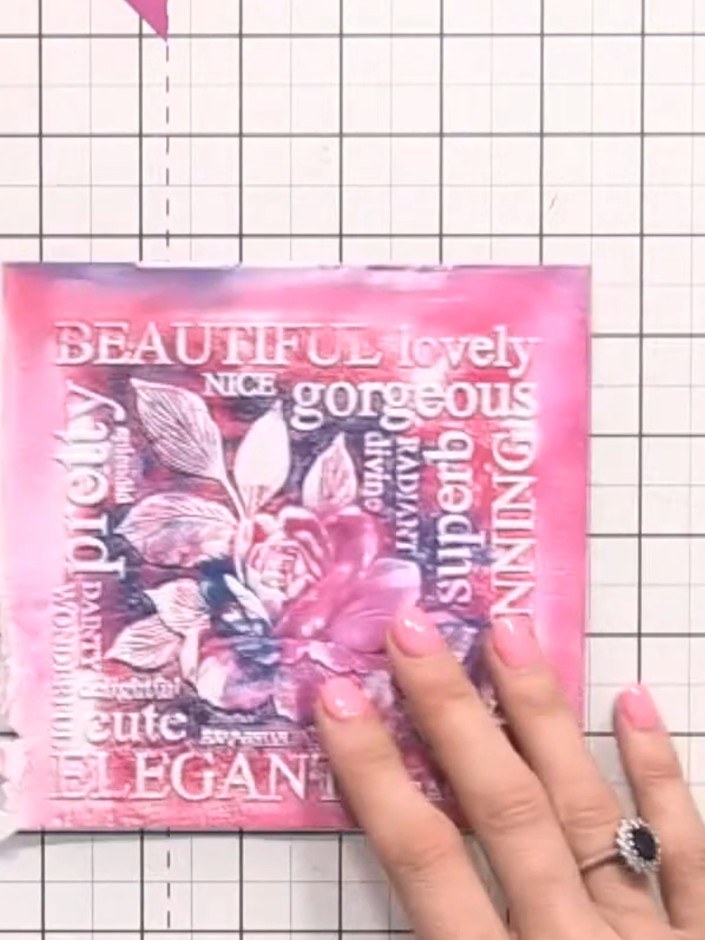
Create an elegant embossed tree card with a stunning mixed-media finish. Using white card stock, emboss a beautiful floral and tree design, then layer metallic gilding waxes in pink, purple and blue tones before adding definition with a black ink swipe technique. The result is a sophisticated card with raised embossed details and rich, blended metallic colours perfect for special occasions.
 1
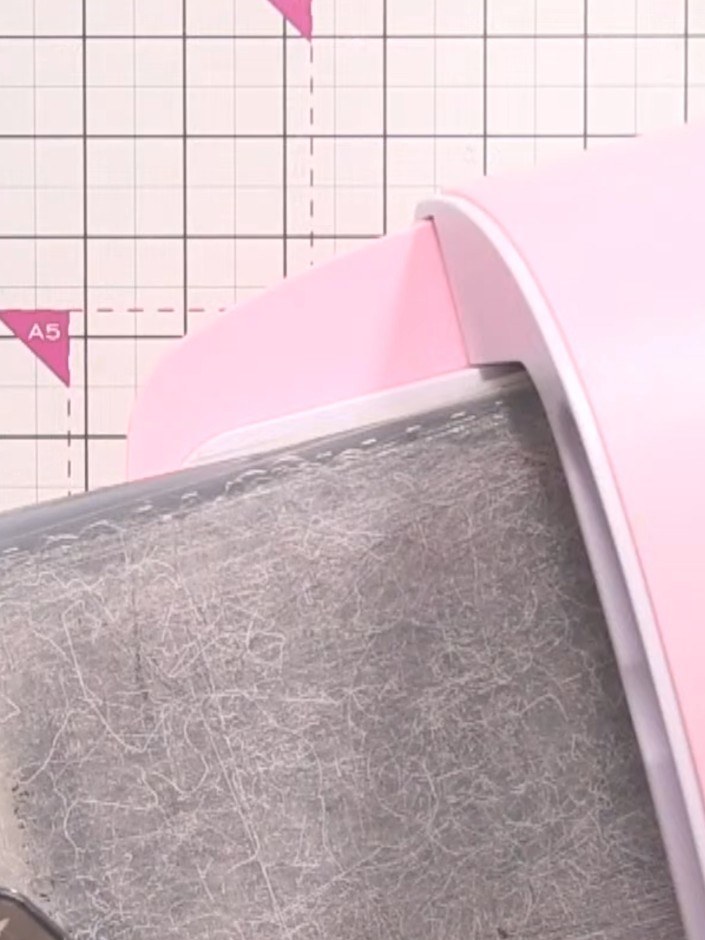
Place your white card stock into the embossing machine with the tree embossing folder. Run it through the machine to create the embossed tree design on the card stock.
 2
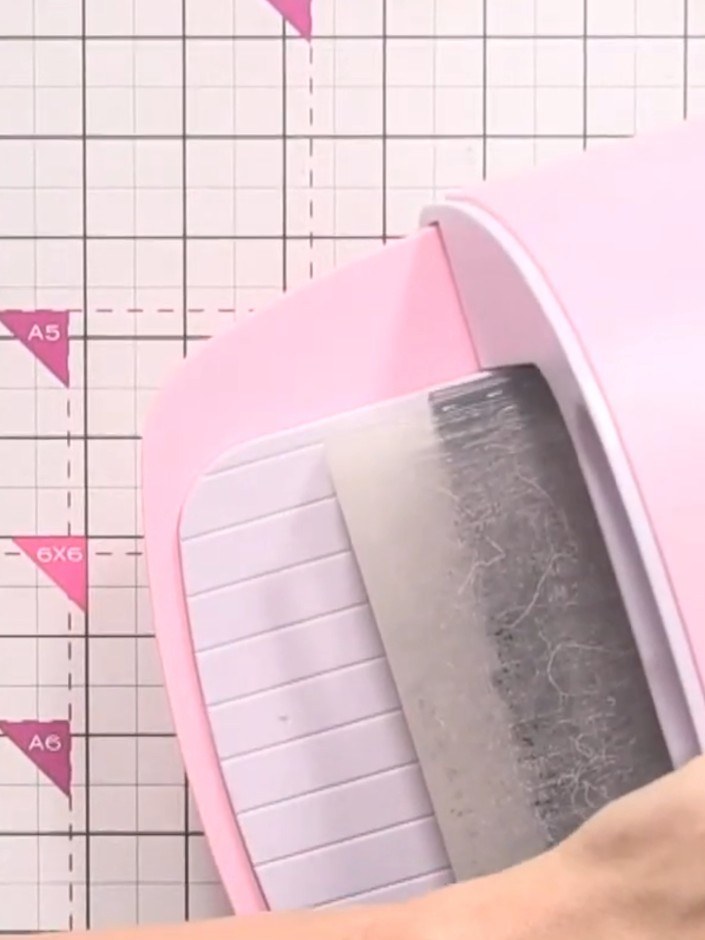
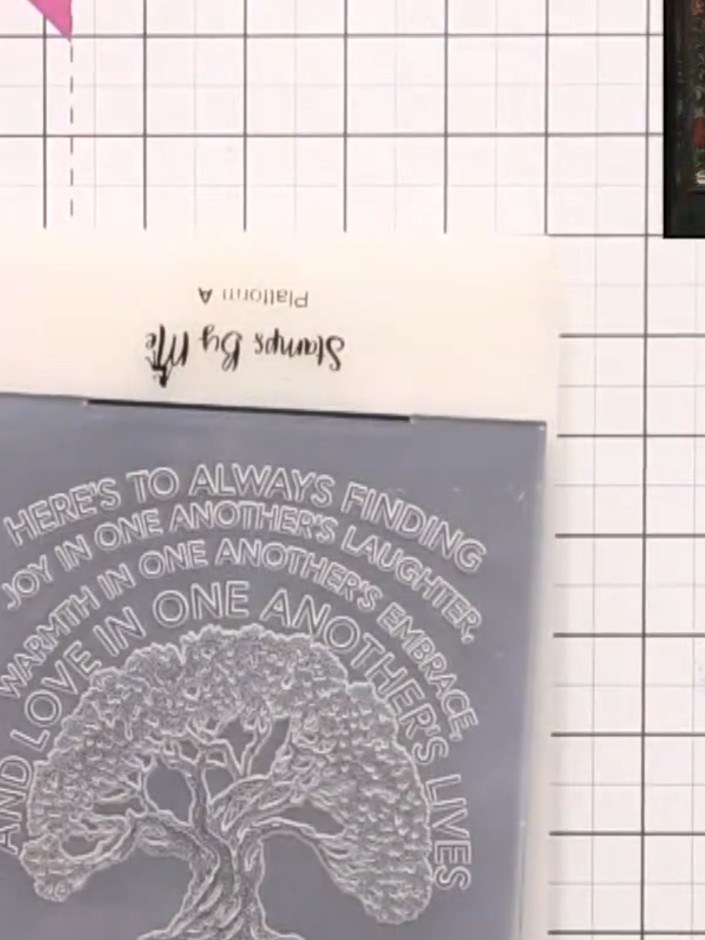
Place the embossing folder with the grey card inside into the pink die-cutting machine. Run the card through the machine to create a raised embossed tree design on the card surface.
 3
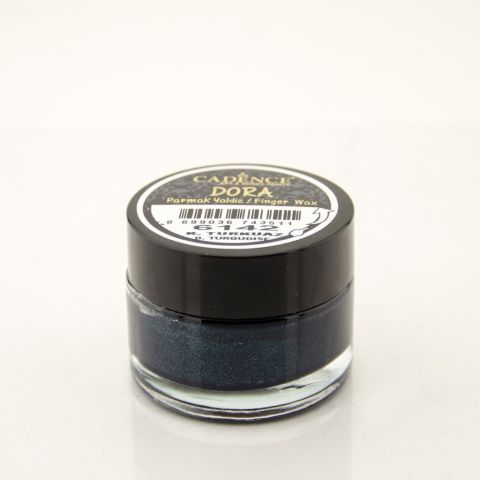
Open a pot of turquoise gilding wax. Using your finger, lightly tap the wax onto the embossed tree design to highlight the raised areas. Observe how the turquoise finger wax shows beautifully on the white embossed card stock. The metallic wax highlights the raised embossed design of the tree and text, creating a striking contrast against the white background.
 4
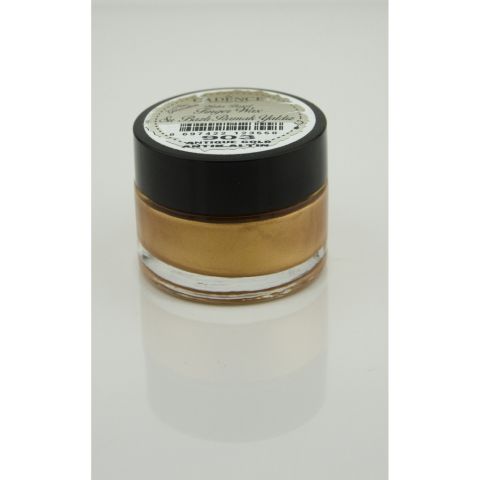
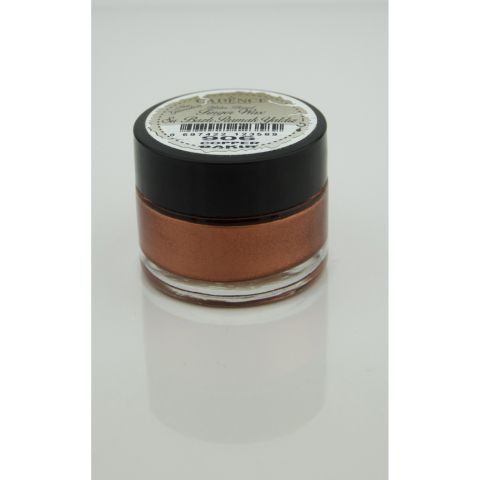
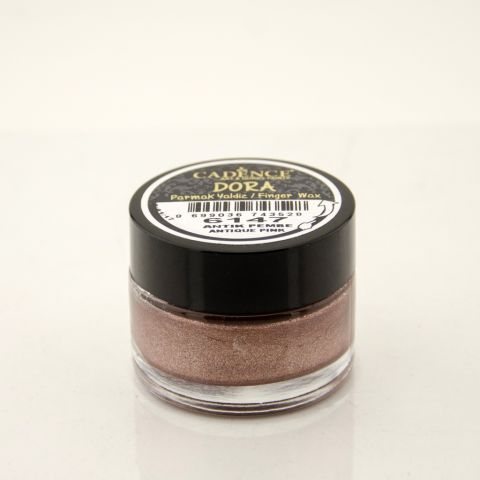
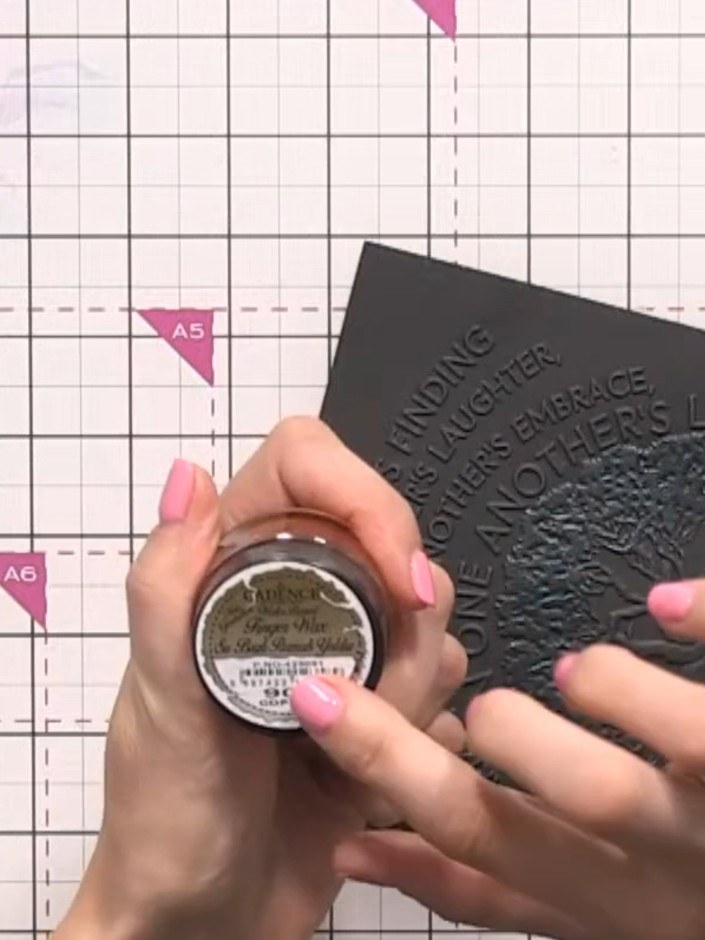
Select copper gilding wax and apply it to the back or edges of the embossed design on the black card. Use your finger to gently rub the wax onto the raised areas of the embossing.
 5
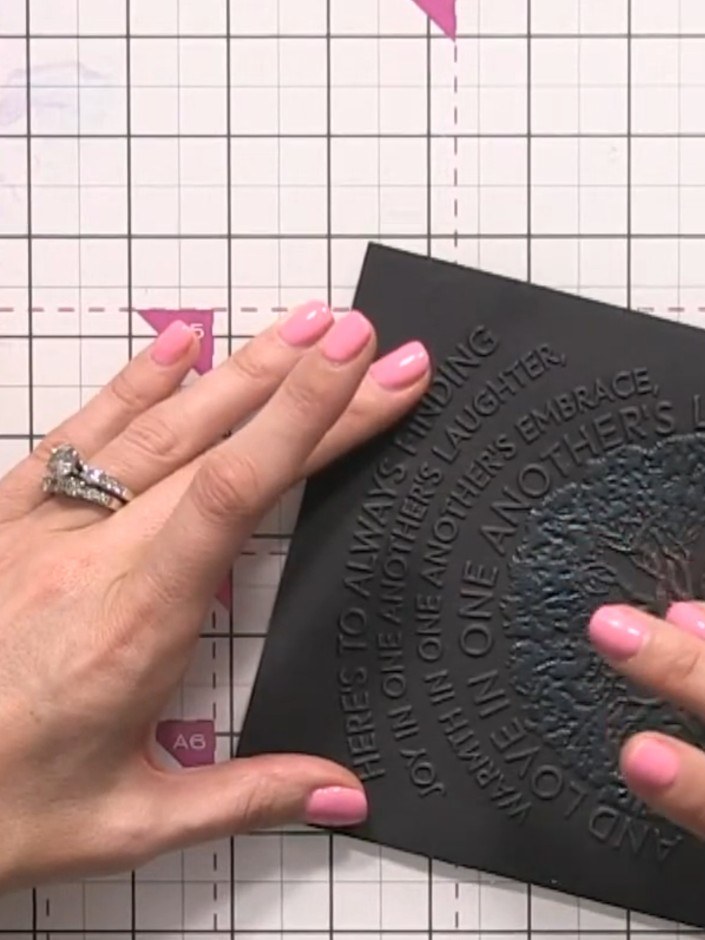
Rub your finger over the embossed text and tree design on the black card to smooth and blend the metallic wax into the raised areas.
 6
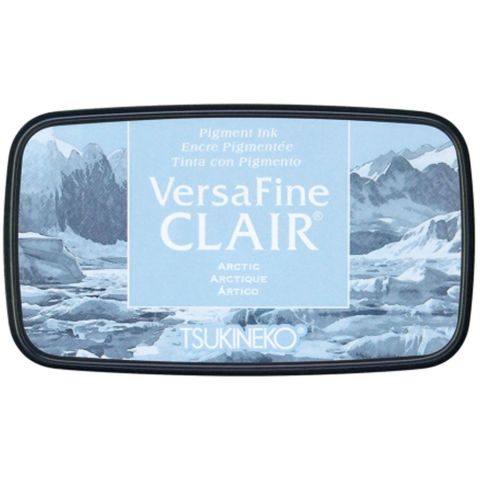
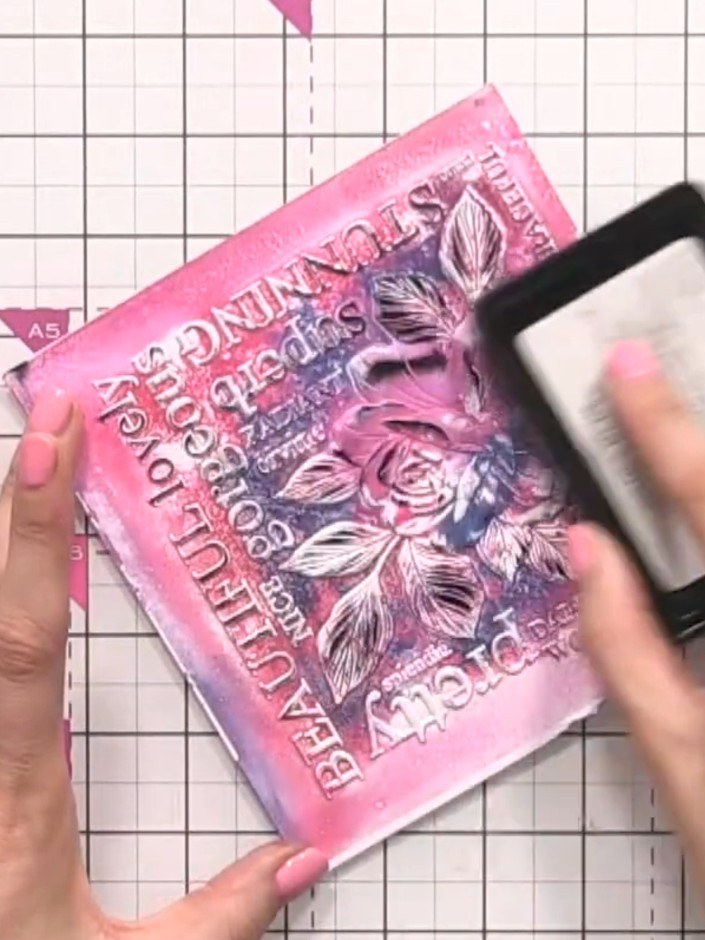
Tap a black ink pad across the embossed card in a swiping motion to pick up all the raised details and create contrast against the coloured background.
 7
Place your inked card into the embossing folder and run it through your die-cutting machine. This will set the ink and create a raised embossed texture that picks up all the metallic wax colours.
Share your make with the Stamps By Me community - and keep this guide for next time.
Written up from the show itself. See every guide from our shows · free how-to guides · watch live on My Telly · the previous layout