Give your friends £10 off their first order!
Refer a FRIEND








A project from our live show Product Demonstration - 9TH Sept 2025 · 08/09/2025 · watch it from 45:30
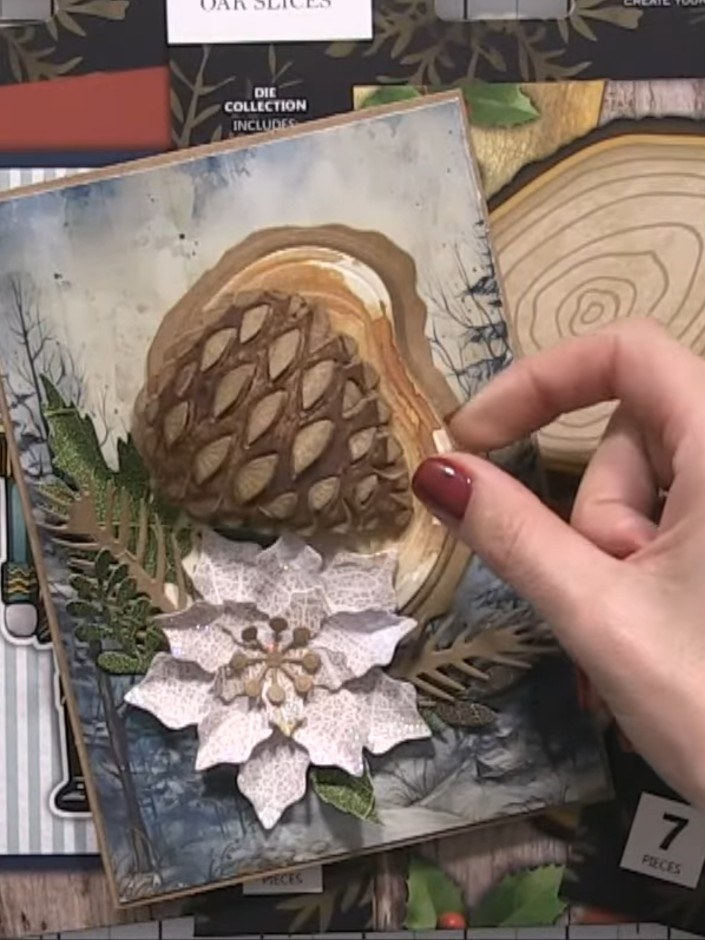
Create a simple yet striking card featuring an embossed oak slice die-cut on cream cardstock. The design showcases beautiful natural wood grain and ring textures with a subtle embossed finish. This project demonstrates how a single focal element can create instant visual impact with minimal embellishment.
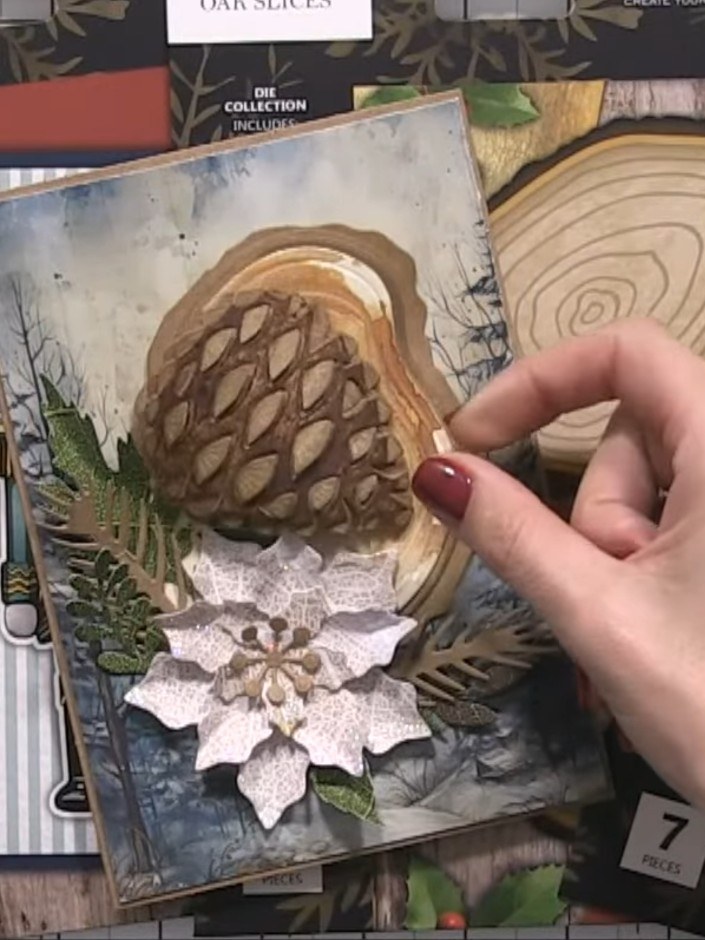
Die-cut the oak slice from craft or cream cardstock using the Oak Slices die. This creates the wood grain background element for your card.
▶ watch this step (45:30)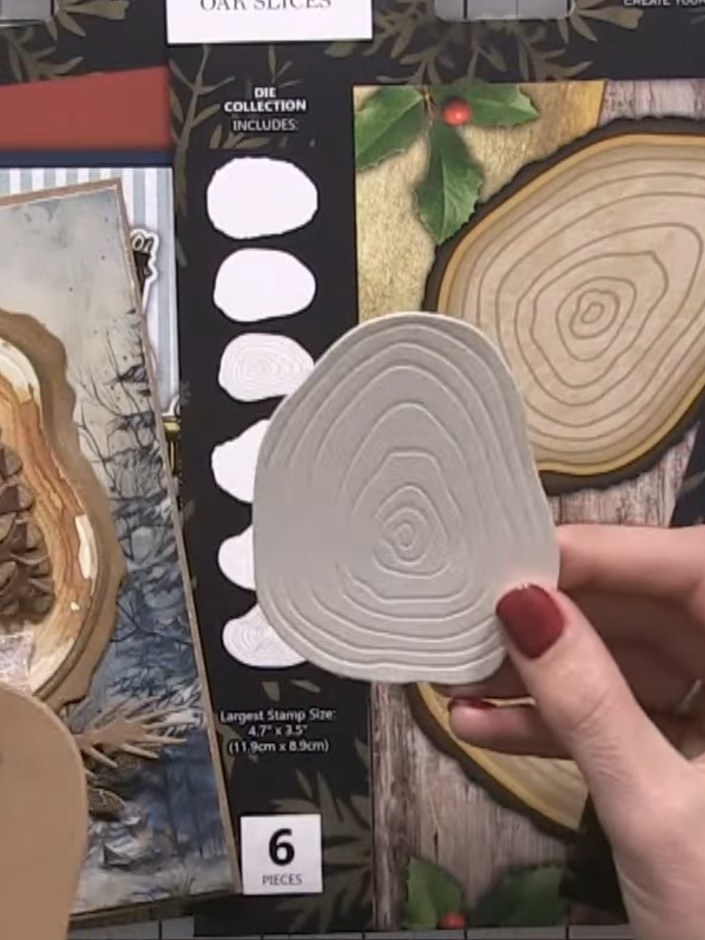
Examine the oak slice die-cuts, noting the embossed wood grain texture and concentric ring patterns. The die creates realistic wood detailing with both smooth rings and jagged grain effects.
▶ watch this step (45:45)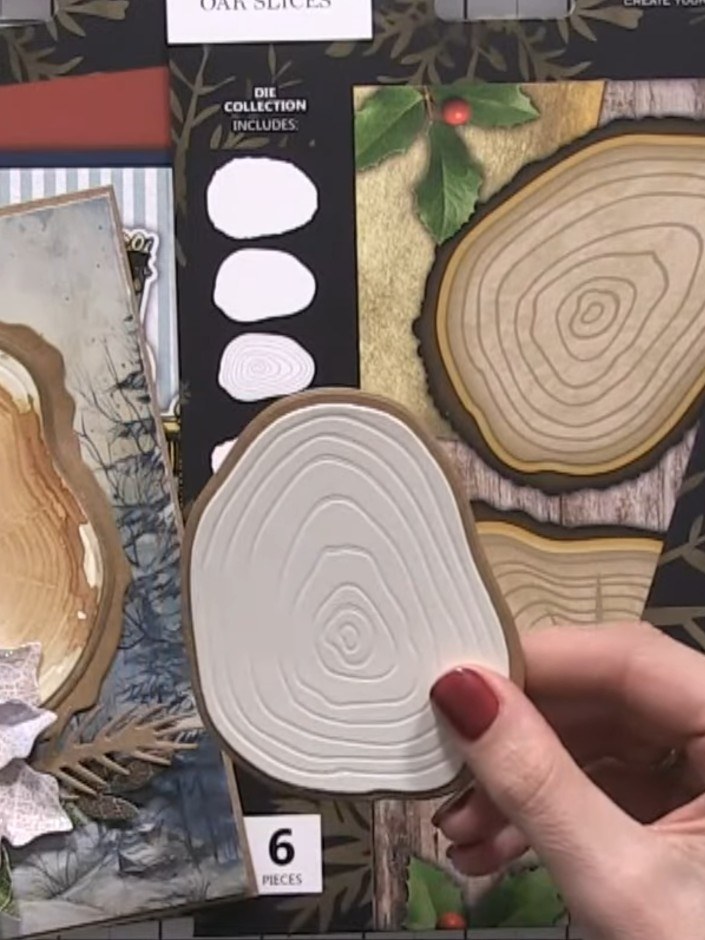
Adhere the embossed oak slice die-cut onto a cream cardstock base. The embossed ring detail will show clearly against the cream background.
▶ watch this step (46:00)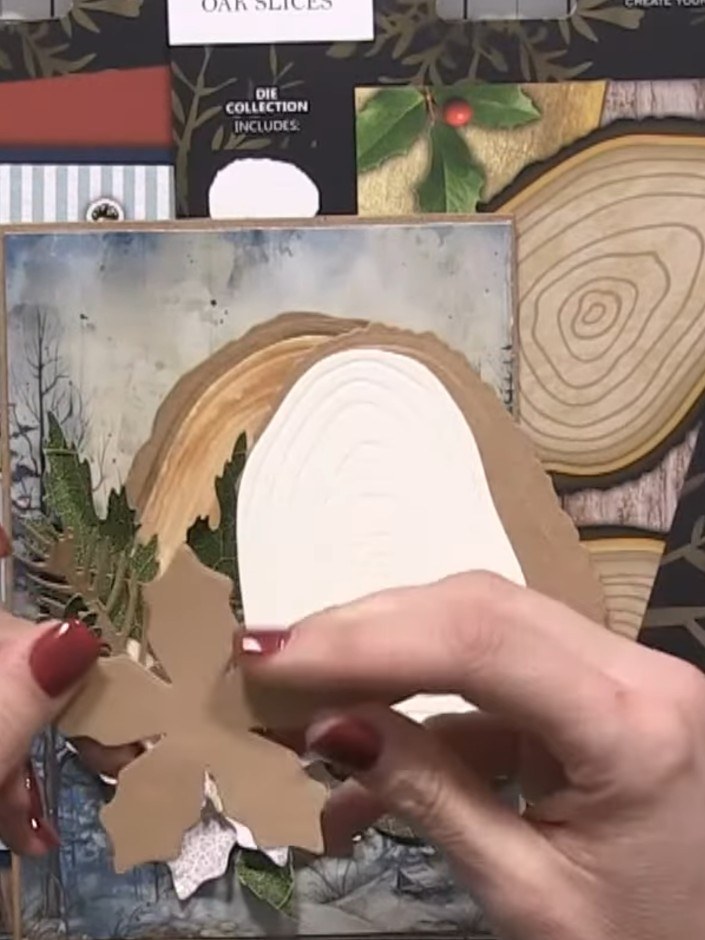
Optional: distress the edges of the oak slice die-cuts with brown ink to create a weathered wood appearance. You can add darker tones to enhance the natural wood grain effect.
▶ watch this step (46:15)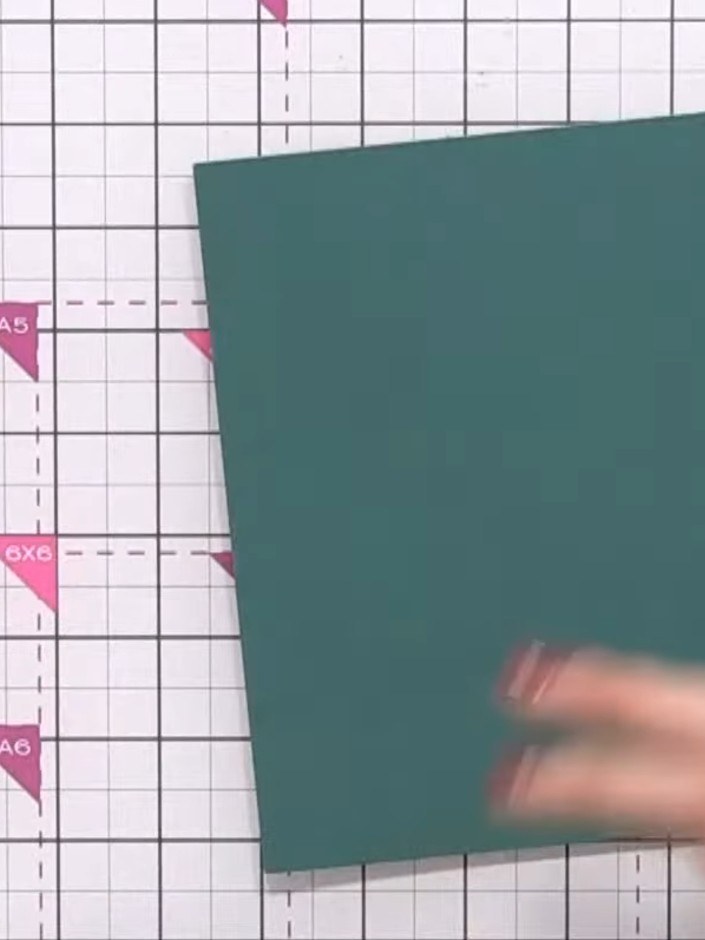
Take a teal or dark green cardstock base and fold it in half to create your card blank. Score and fold to create a crisp edge.
▶ watch this step (46:30)Written up from the show itself. See every guide from our shows · free how-to guides · watch live on My Telly

