Give your friends £10 off their first order!
Refer a FRIEND








 The Friday Final CutTomorrow 10am
 Community ShowcaseMon 23 Nov 10am
 Deal HuntersTue 24 Nov 1pm
Prices change straight away. Every language is our own translation, not Google.
A project from our live show Product Demonstration - 9TH Sept 2025 · 08/09/2025
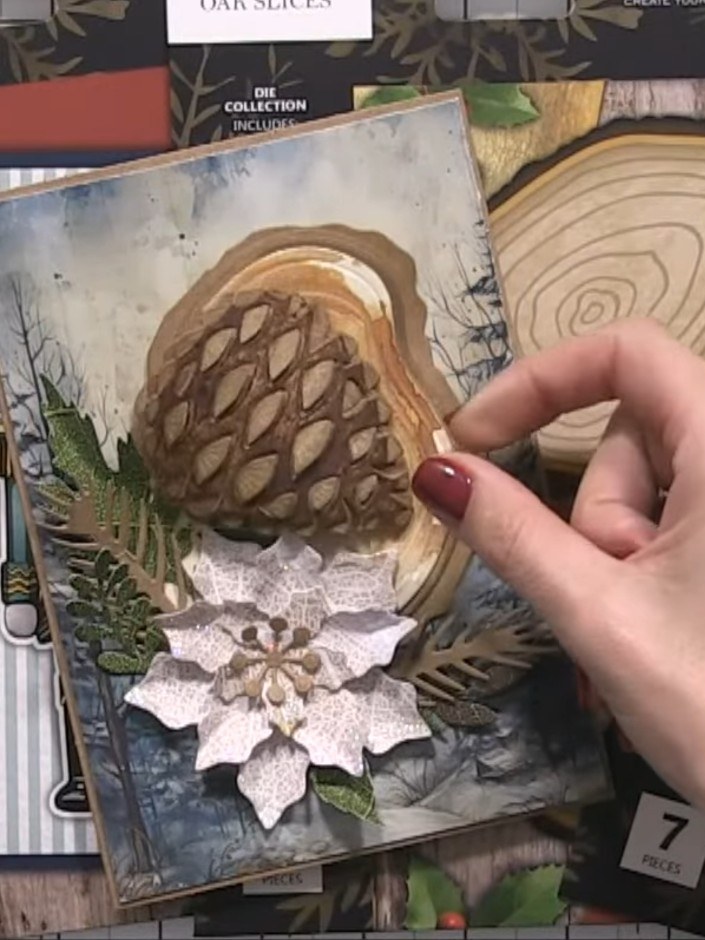
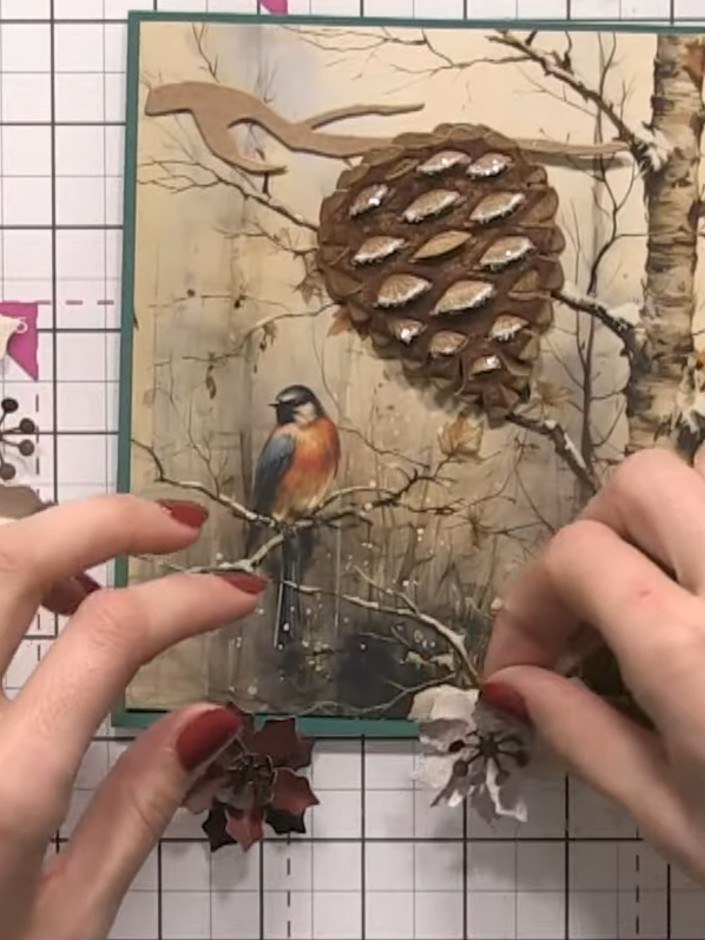
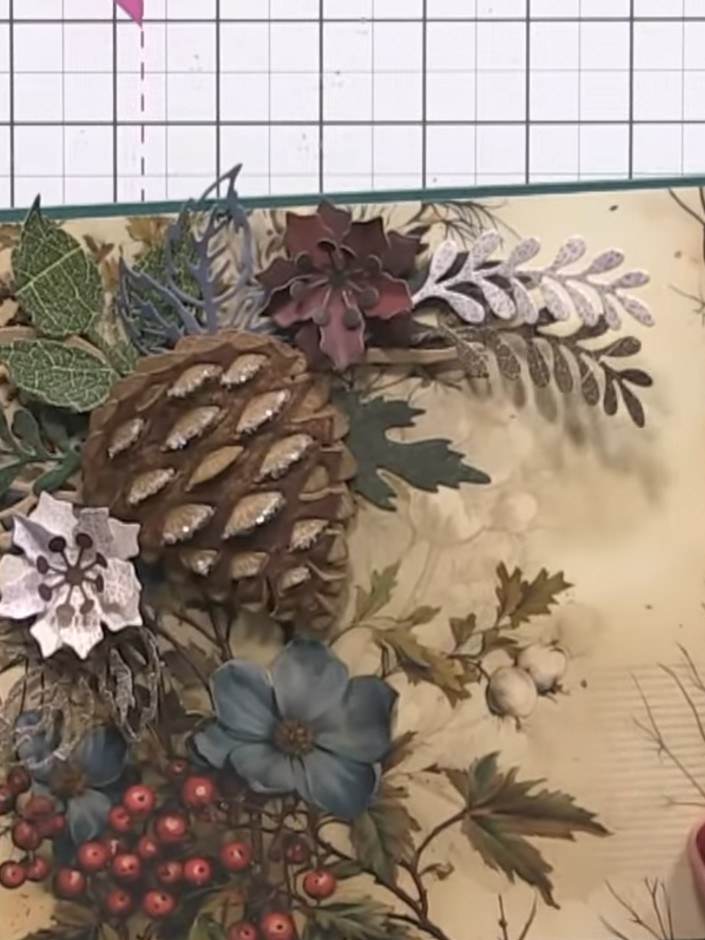
Create a stunning festive card featuring a dimensional pine cone surrounded by layered poinsettia flowers, berries and foliage. This 7x7 inch design combines rich burgundy, cream and forest green tones with glitter accents on a vintage-style background. The project uses die-cutting, layering and embellishing techniques to build a luxurious three-dimensional Christmas card.
 1
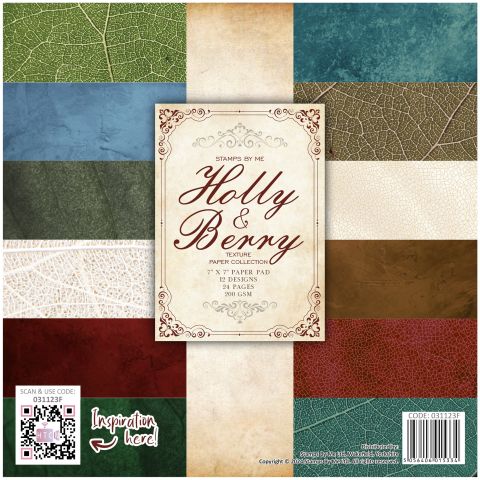
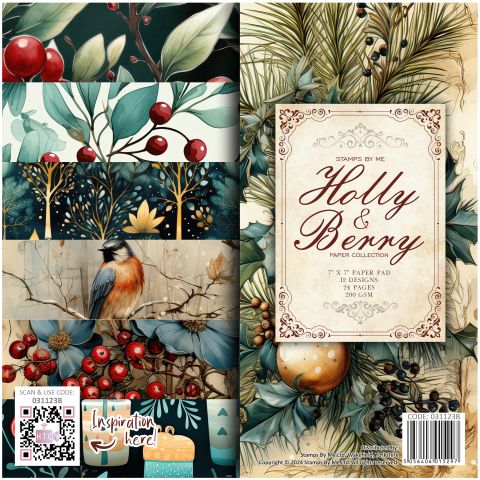
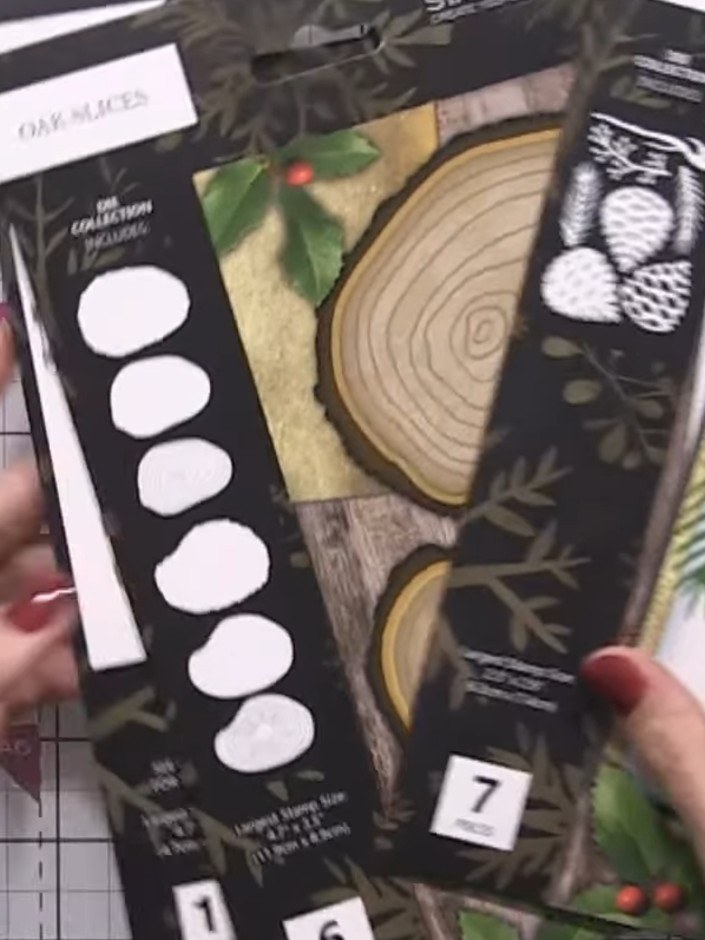
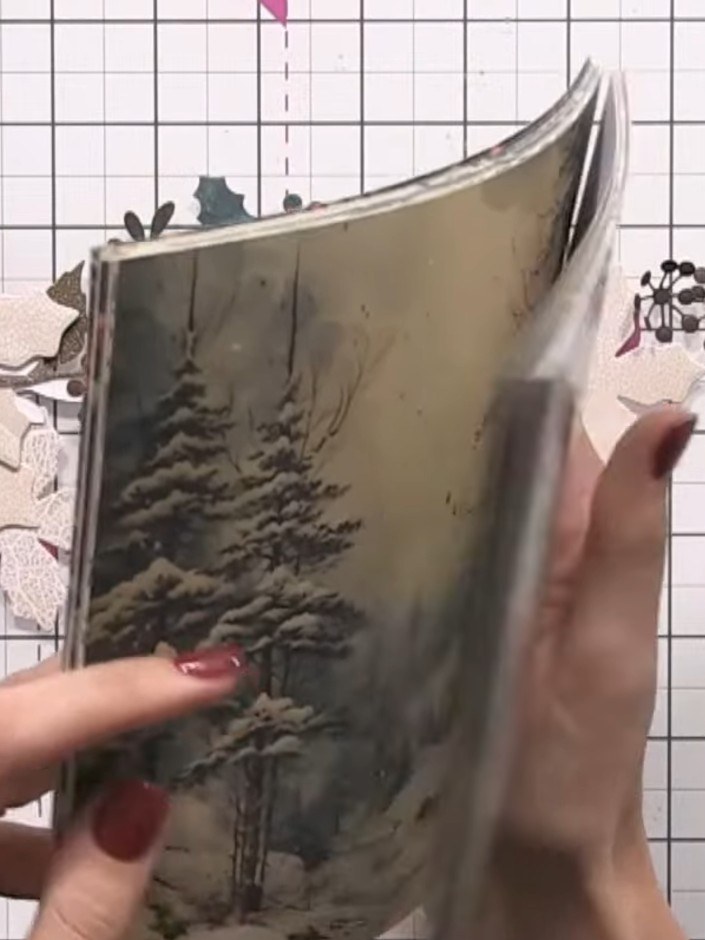
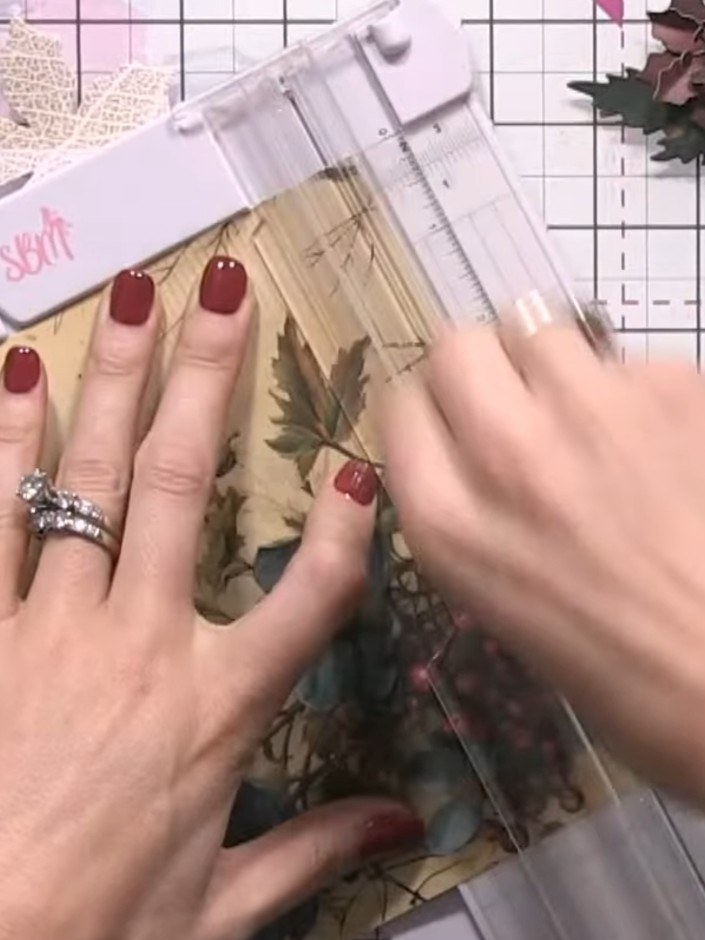
Select a patterned paper from the Holly & Berry 7 x 7 paper pack. Trim it to size using a guillotine to create your card base.
 2
Die-cut multiple poinsettia petals from the Holly & Berry paper collection, using various shades including red, burgundy and lighter tones. Cut several layers of petals to create dimension for your card design.
 3
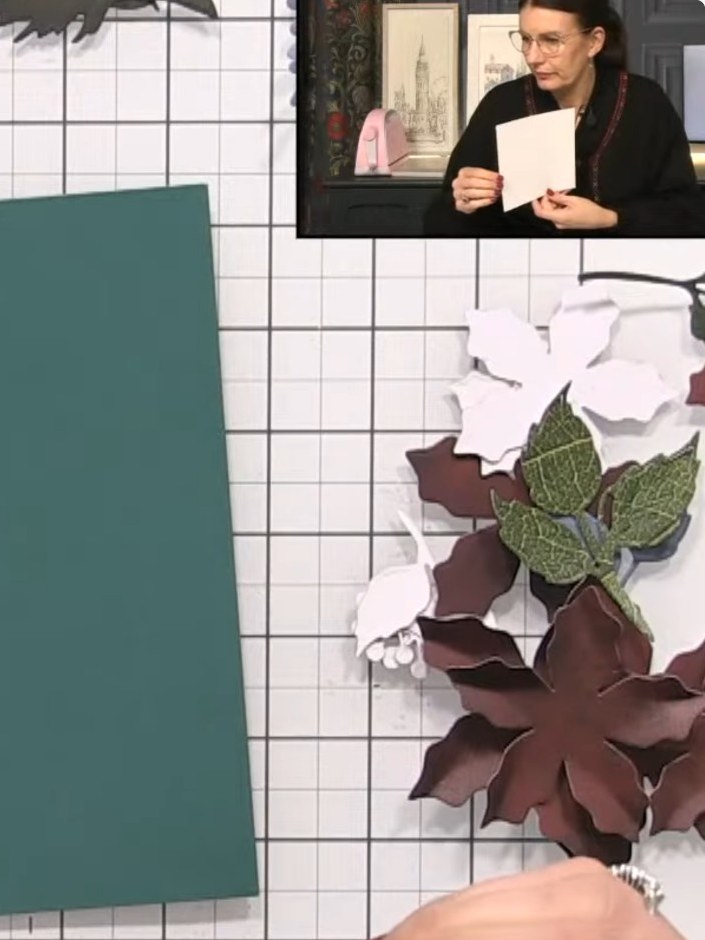
Layer the poinsettia petals by pinching the edges and nesting smaller petals inside larger ones to create dimension. Use the burgundy and white petals, building up from larger to smaller pieces.
 4
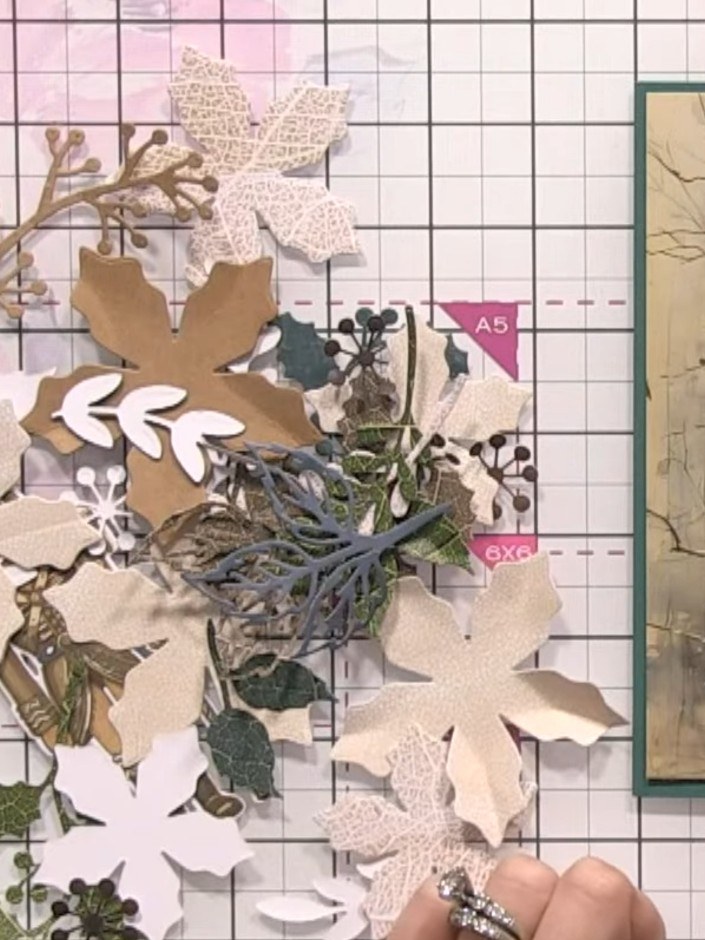
Create smaller poinsettia flowers using the red and lighter coloured papers from the Holly & Berry collection. Pinch the edges of each petal to add dimension and shape. Cluster these smaller flowers around your main focal poinsettia.
 5
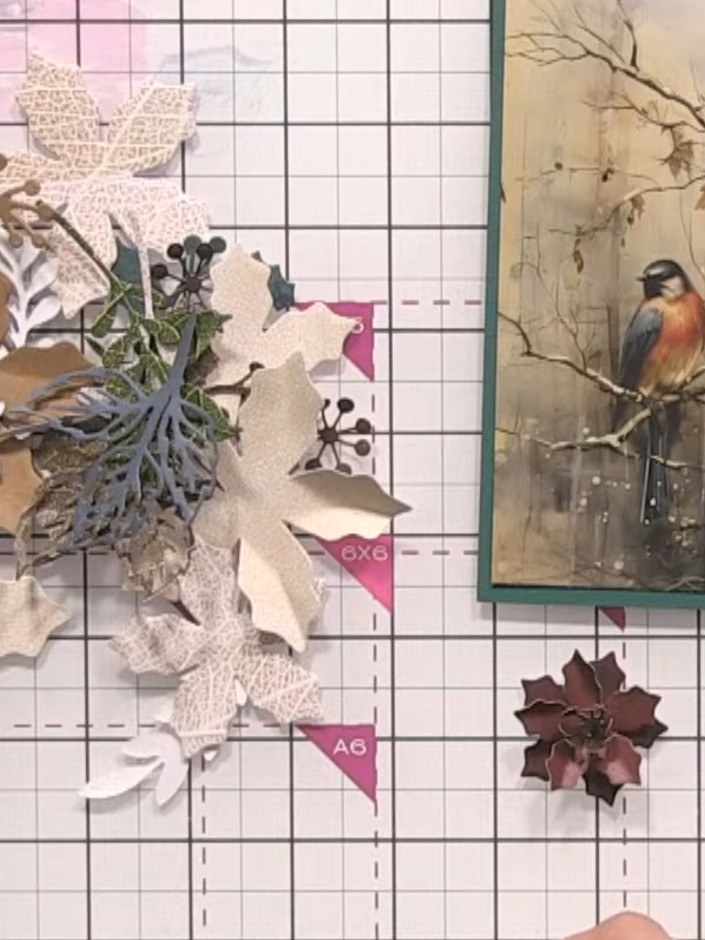
Die-cut skeleton leaf foliage pieces from the Holly & Berry papers. Arrange and layer them as greenery around the base of your poinsettia flowers to create depth and texture.
 6
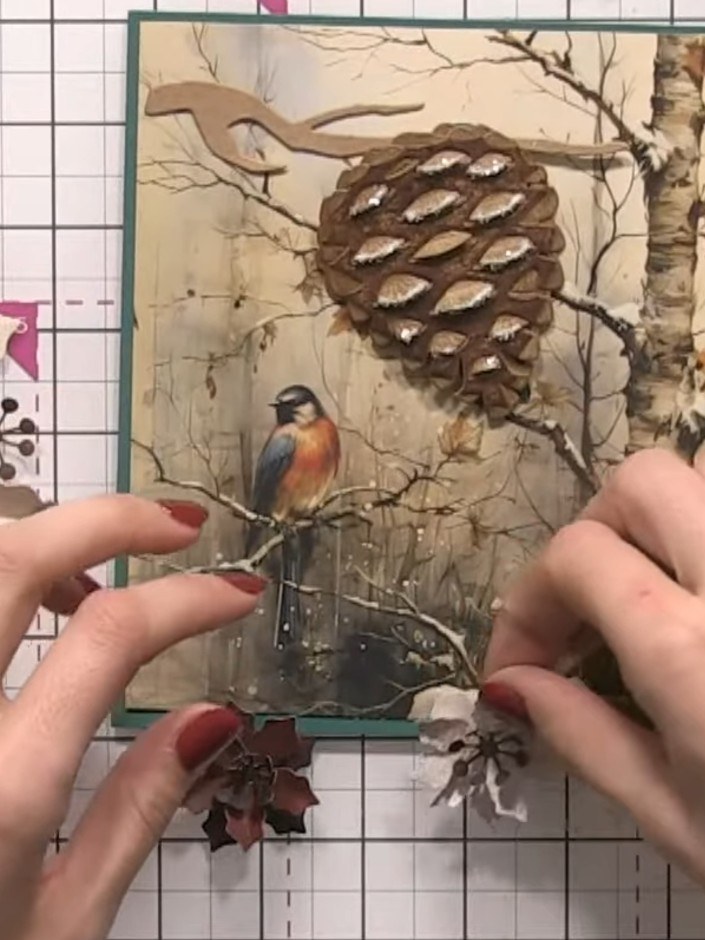
Apply glue to the tips of the large pine cone. Dust the glued areas with crystal clear colourless mixed media glitter to create an icy, frosted effect.
 7
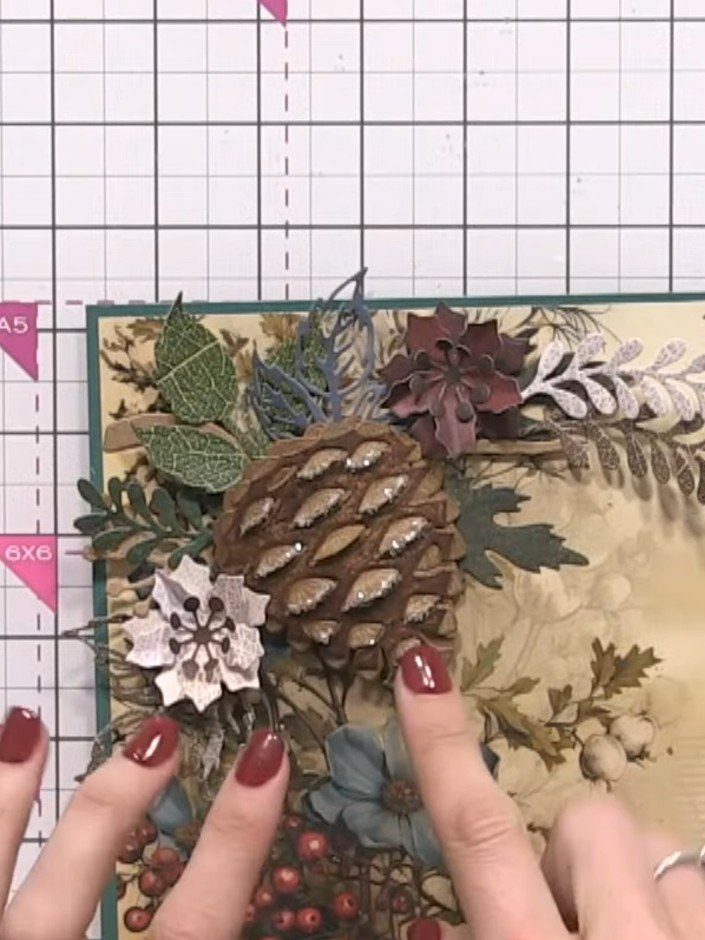
Arrange the poinsettia flowers, greenery and pine cone on your card base. Tuck leaves under elements to create depth and dimension in your design.
 8
Add gems or glitter to the raised parts of the pine cone and flower centres for extra sparkle and dimension. Allow any glue to dry completely before handling the card.
 9
Display the completed card with the layered pine cone, foliage, flowers and berries arrangement. The design features a vintage botanical background paper with a teal border, creating an elegant festive card.
Share your make with the Stamps By Me community - and keep this guide for next time.
Written up from the show itself. See every guide from our shows · free how-to guides · watch live on My Telly · the previous layout