Give your friends £10 off their first order!
Refer a FRIEND








A project from our live show ONE DAY SPECIAL - Join Toni for her brand new launch - Broadcast 18th September 2025 · 18/09/2025 · watch it from 1:03:30
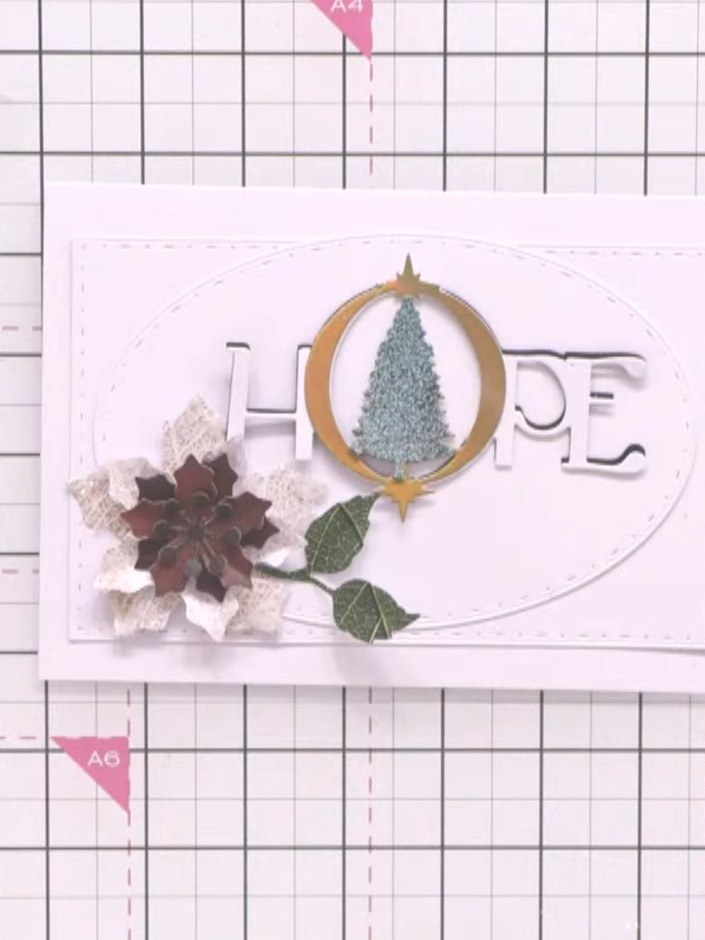
Create an elegant festive card featuring nesting oval frames that form a sophisticated layered design. The card showcases a Christmas tree within a gold-accented oval frame, with the word 'HOPE' and decorative poinsettia flowers and leaves. Using die-cutting and layering techniques, you'll build dimension through carefully spaced oval mats for a polished, professional finish.
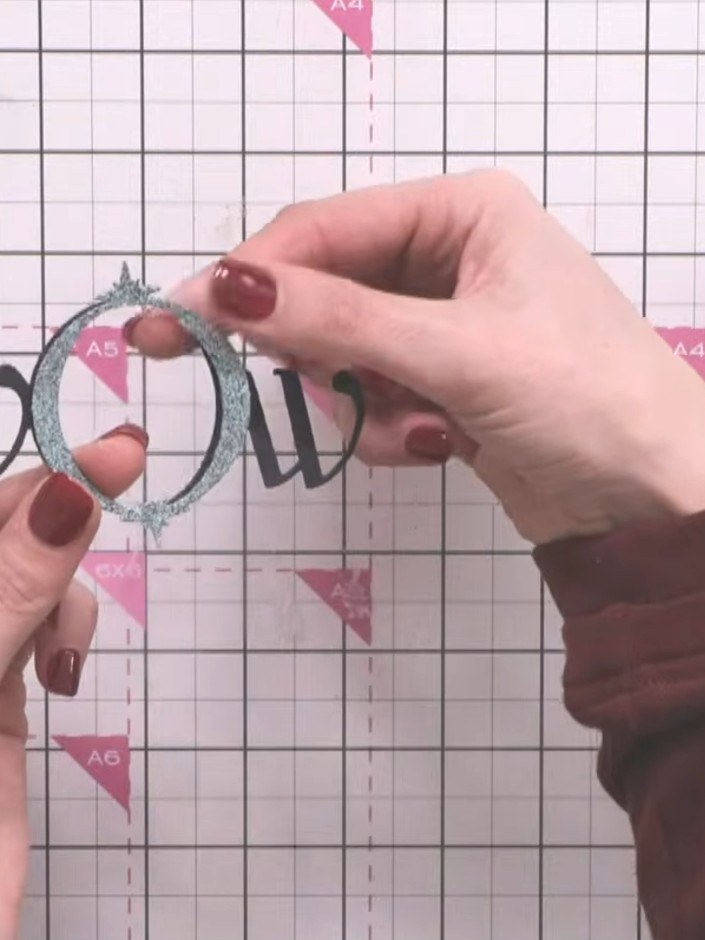
Die-cut all nine sizes from the stitch oval die set using your chosen cardstock. This will create a nested set of oval frames with decorative stitched edges.
▶ watch this step (1:03:45)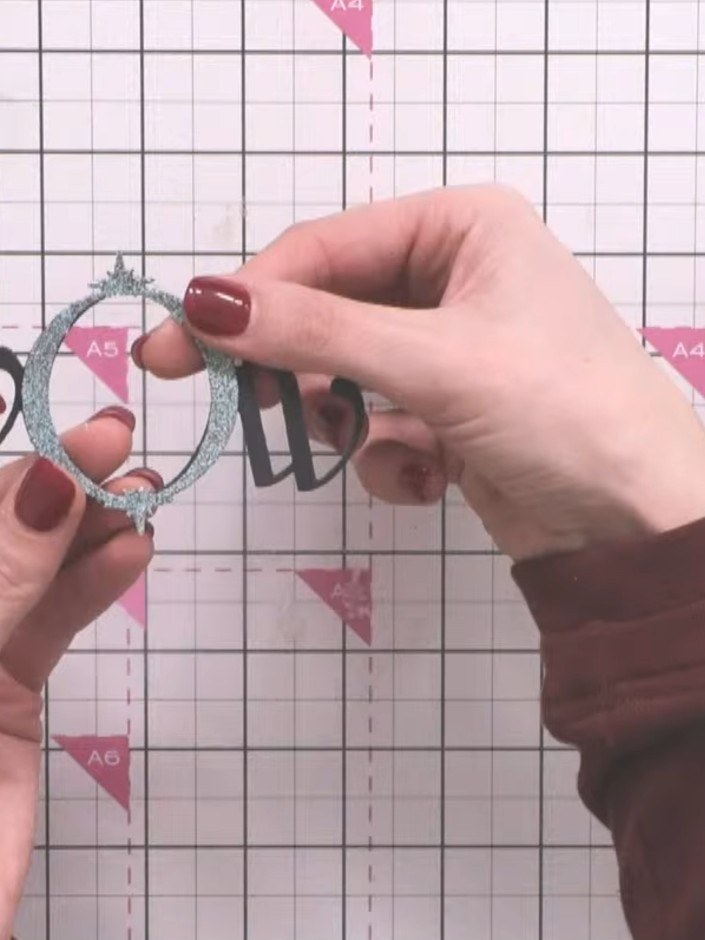
Layer the oval die-cut frames on top of each other, starting with the largest silver glitter oval and working down to the smallest, positioning them centrally to create a nested frame effect.
▶ watch this step (1:04:00)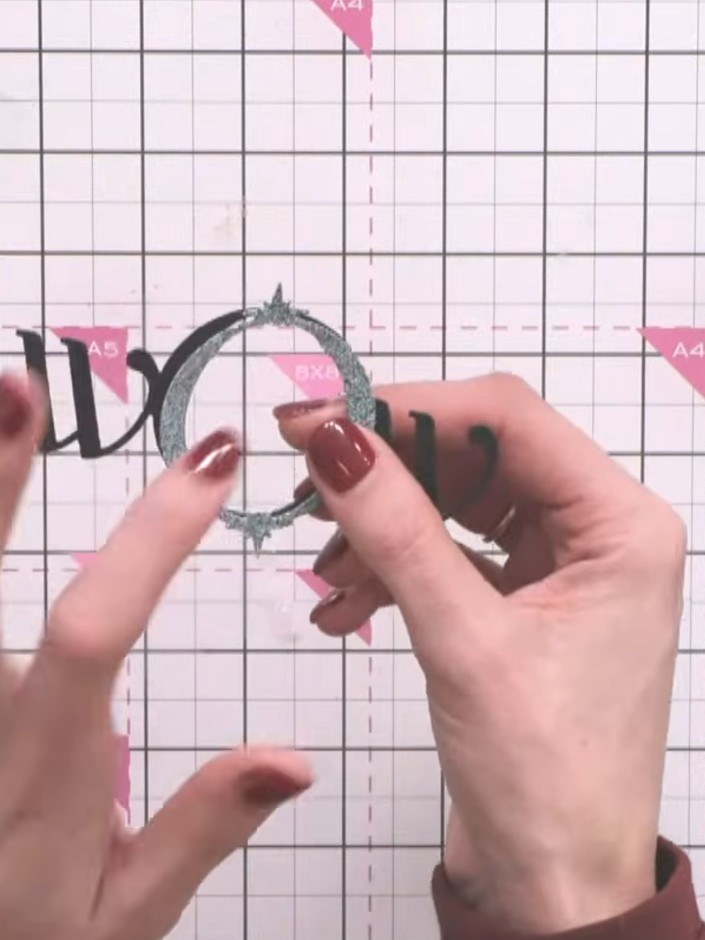
Position the layered oval die-cut frames on your card base, offsetting them slightly to one side for visual interest. Adjust the placement until you are happy with the arrangement before adhering.
▶ watch this step (1:04:15)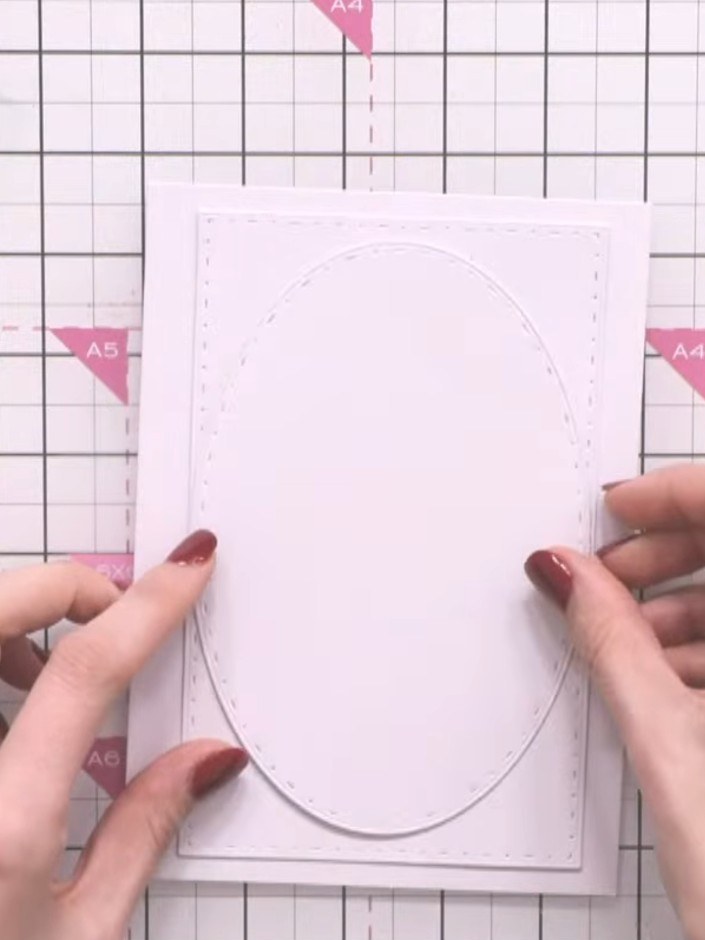
Adhere each oval layer securely to the card base, ensuring they are centred and positioned as desired. Build up the layers from largest to smallest for a dimensional effect.
▶ watch this step (1:04:30)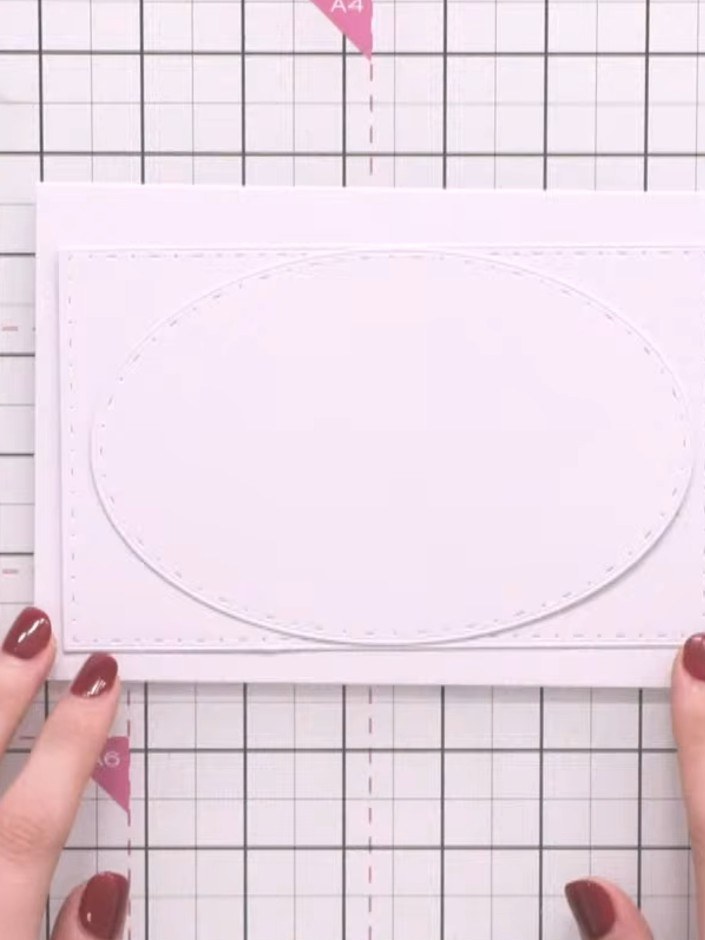
Add embellishments such as flowers or stamps around the curved edges of the ovals if desired. Position decorative elements to enhance the frame design.
▶ watch this step (1:05:00)Written up from the show itself. See every guide from our shows · free how-to guides · watch live on My Telly
