Give your friends £10 off their first order!
Refer a FRIEND








A project from our live show ONE DAY SPECIAL - Join Toni for her brand new launch - Broadcast 18th September 2025 · 18/09/2025 · watch it from 56:45
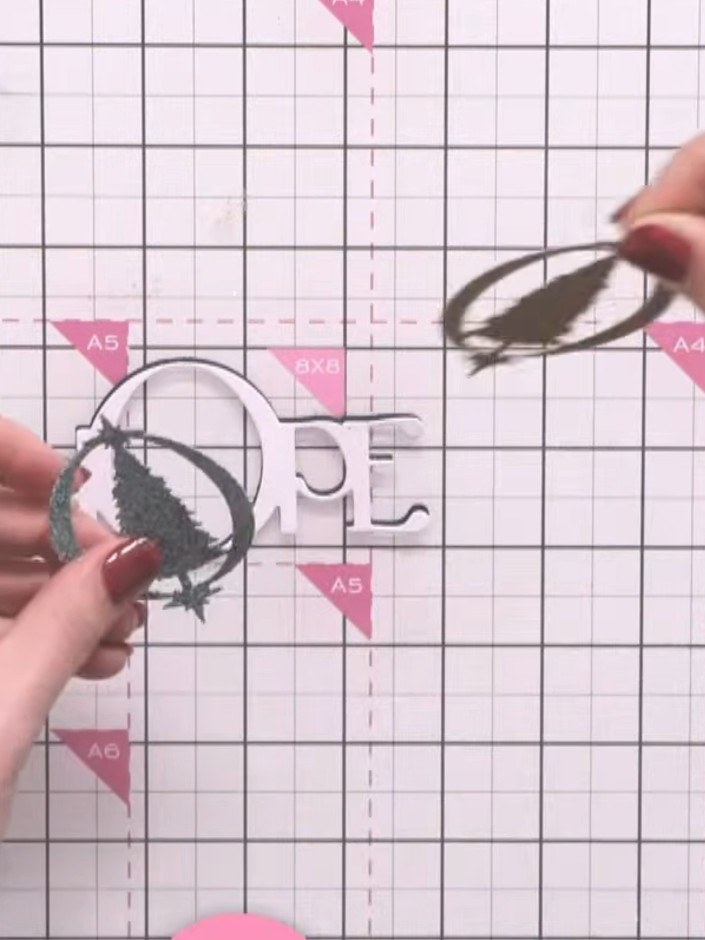
Create an elegant layered card featuring a heat-embossed decorative brooch positioned within a word die-cut. The brooch is embossed with glittering powder in a contrasting colour, then the word is layered with a drop shadow effect for added dimension and visual interest. This technique combines die-cutting, heat embossing and layering to produce a sophisticated handmade card.
 Stamps By Me Die Set - Decorative Brooches - 180624ASEE IT
 Stamps By Me Die Set - Love, Hope & Joy - 180624BSEE IT
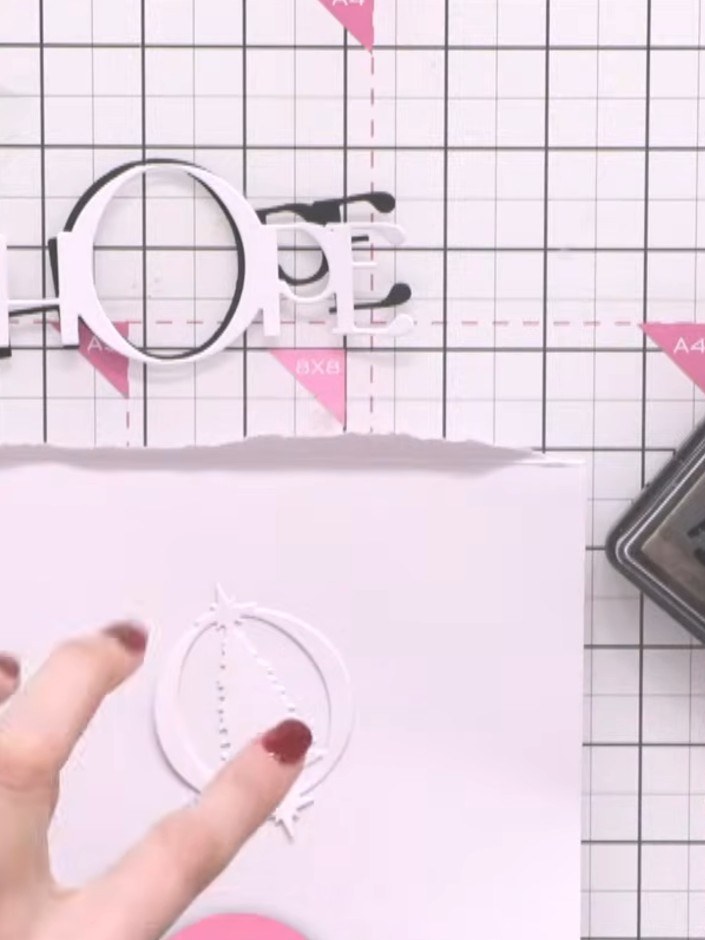
Apply the sticky ink pad to the decorative brooch die-cut, ensuring full coverage of the design. Use the circular brooch die-cut and press firmly to ink all areas.
▶ watch this step (57:00)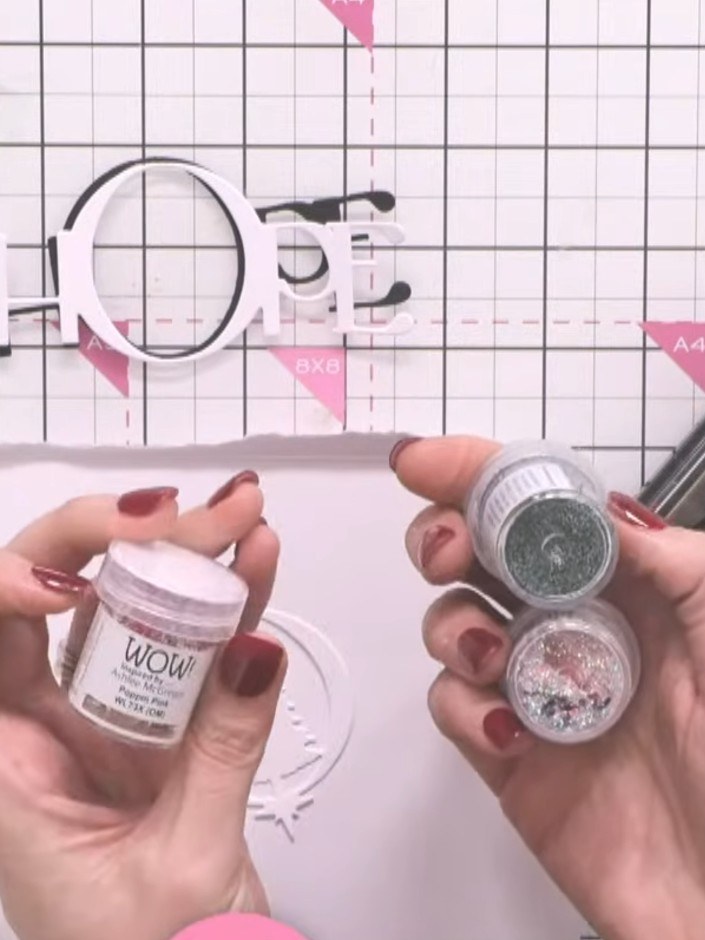
Sprinkle embossing powder over the stamped brooch, ensuring it is completely covered. Tap off any excess powder back into the pot.
▶ watch this step (57:15)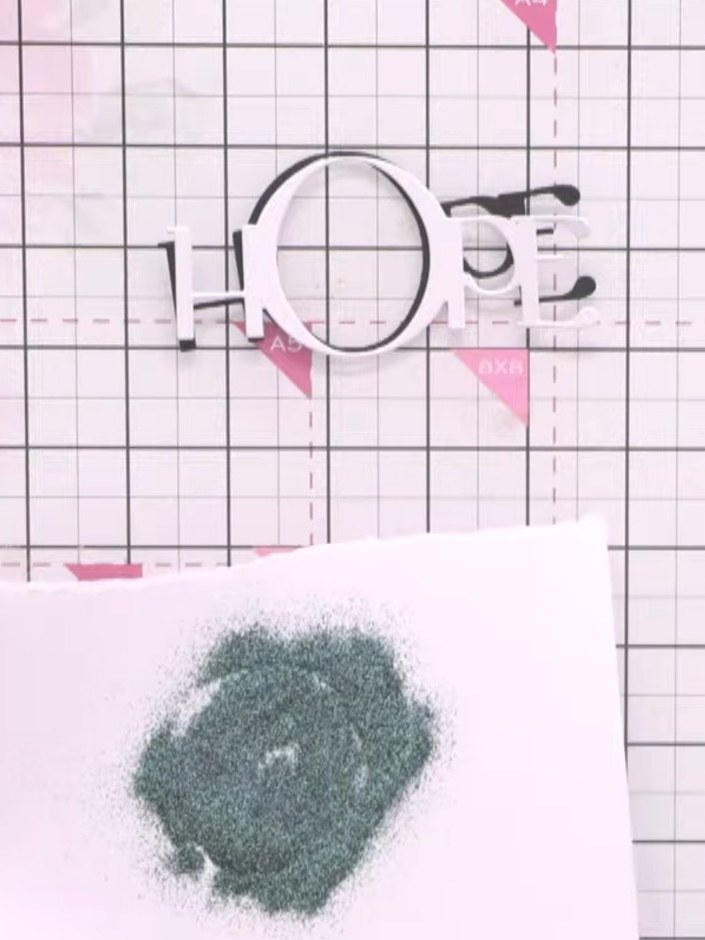
Heat set the embossing powder with a heat gun, holding it over the glittery green area until the powder melts and becomes glossy and smooth.
▶ watch this step (58:30)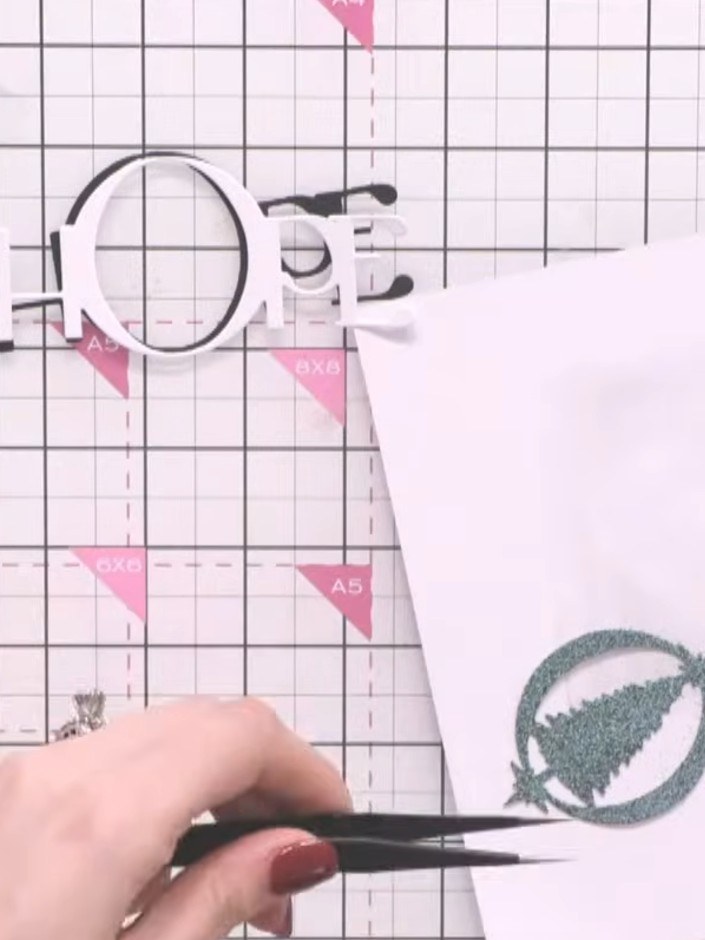
Die-cut the word 'HOPE' from both black and white cardstock using the word die from the Love, Hope & Joy die set.
▶ watch this step (59:00)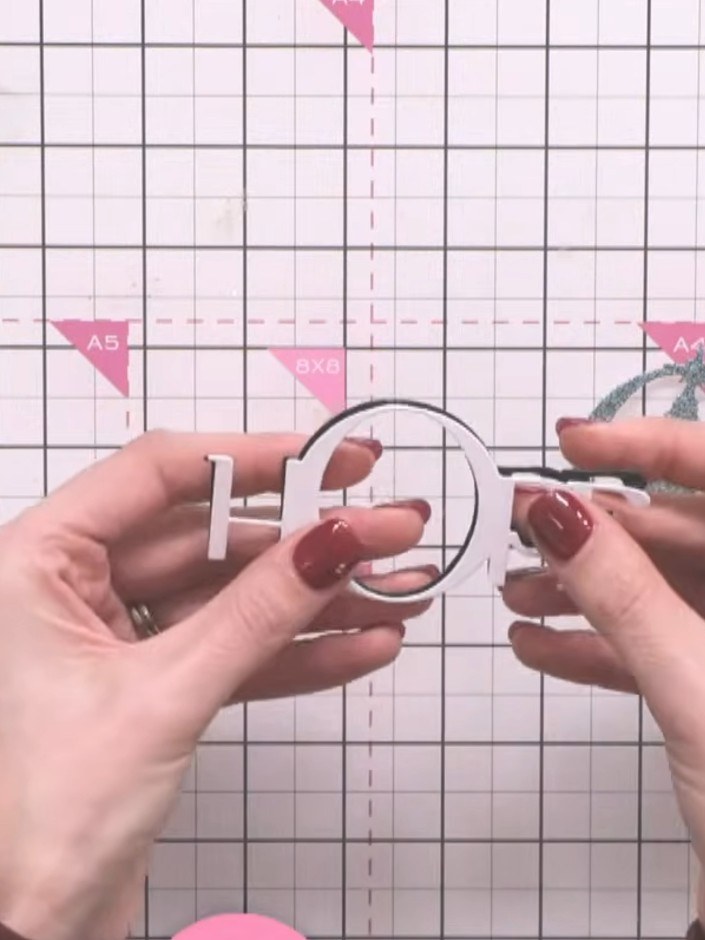
Layer the white 'HOPE' word die-cut on top of the black 'HOPE' word die-cut, offsetting it slightly to create a drop shadow effect.
▶ watch this step (1:00:15)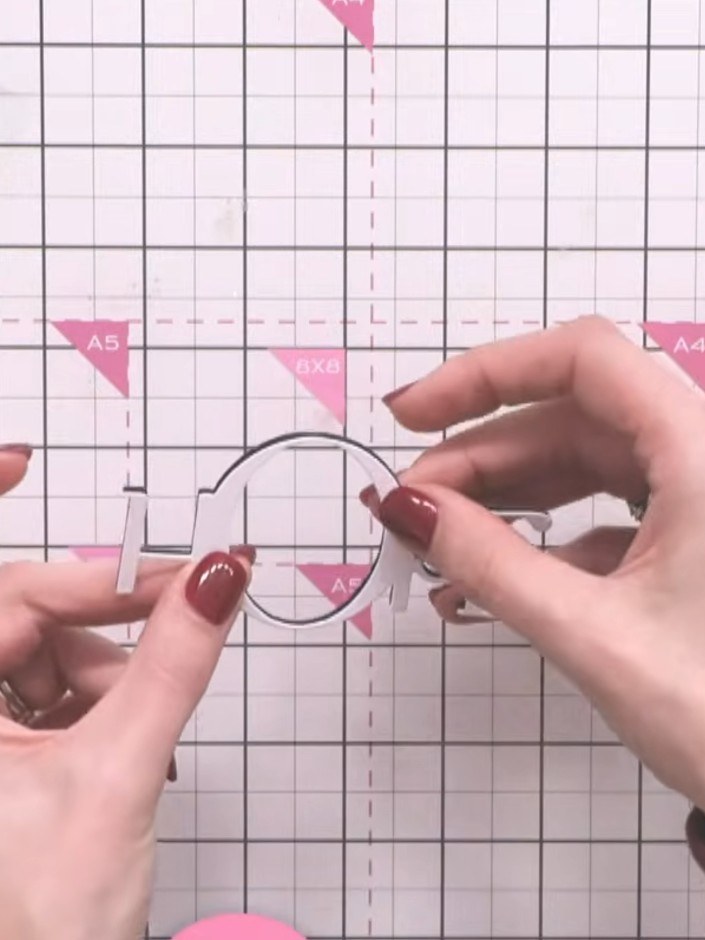
Adhere the embossed brooch centrally on top of the layered word card using adhesive. Position it over the 'HOPE' sentiment to create a focal point.
▶ watch this step (1:00:30)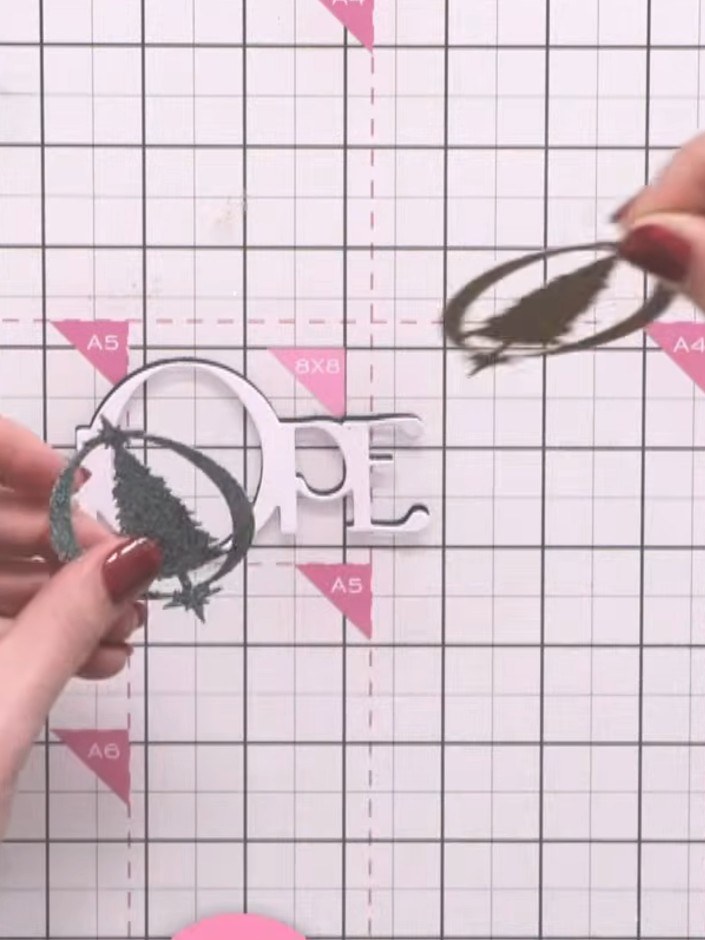
For added dimension, carefully cut around the gold brooch design and layer it on top of the heat embossed version already on your card.
▶ watch this step (1:01:00)Written up from the show itself. See every guide from our shows · free how-to guides · watch live on My Telly