Give your friends £10 off their first order!
Refer a FRIEND








Prices change straight away. Every language is our own translation, not Google.
A project from our live show CATCH UP with CARLEY and TONI for Stencil Heaven - Check out these fantastic designs from Stamps By Me · 18/06/2021
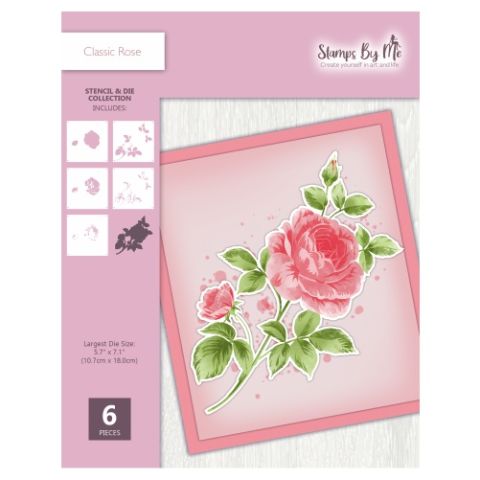
A five-layer stencilled rose card with soft pink, purple and green tones creating a shabby chic, vintage garden rose effect. The layering technique builds realistic depth and dimension to the flower.
Place stencil number one onto your cardstock and mark the registration hearts at the top.
Apply a soft pink ink through the first stencil layer using a brush.
Align stencil number two by matching the hearts and apply a darker shade of pink.
Position stencil number three and apply a purple shade to create shadow and cast depth on the rose petals.
Line up stencil number four using the heart guides and apply green ink for the leaves.
Place stencil number five and apply a darker green to add final dimension to the foliage.
Remove the stencil and place the coordinating outline die around the completed image.
Run the die through your machine to cut out the rose with all intricate details.
Mount onto a pink card base to complete the finished card.
Share your make with the Stamps By Me community - and keep this guide for next time.
Written up from the show itself. See every guide from our shows · free how-to guides · watch live on My Telly · the previous layout