¡Regala a tus amigos 10 £ de descuento en su primer pedido!
Invita a una AMIGA








 Community Showcaselun 9 nov 10:00
 Hobbymaker TVlun 9 nov 14:00
 Deal Huntersmar 10 nov 14:00
Los precios cambian al instante. Cada idioma es nuestra propia traducción, no Google.
Un proyecto de nuestro programa en directo PONTE AL DÍA con CARLEY y TONI en Stencil Heaven - Descubre estos diseños fantásticos de Stamps By Me · 18/06/2021
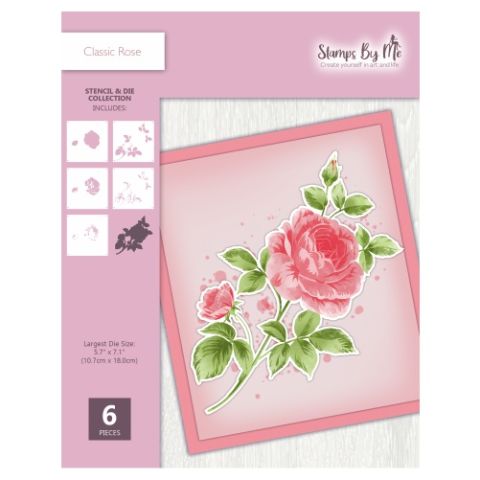
A five-layer stencilled rose card with soft pink, purple and green tones creating a shabby chic, vintage garden rose effect. The layering technique builds realistic depth and dimension to the flower.
Place stencil number one onto your cardstock and mark the registration hearts at the top.
Apply a soft pink ink through the first stencil layer using a brush.
Align stencil number two by matching the hearts and apply a darker shade of pink.
Position stencil number three and apply a purple shade to create shadow and cast depth on the rose petals.
Line up stencil number four using the heart guides and apply green ink for the leaves.
Place stencil number five and apply a darker green to add final dimension to the foliage.
Remove the stencil and place the coordinating outline die around the completed image.
Run the die through your machine to cut out the rose with all intricate details.
Mount onto a pink card base to complete the finished card.
Comparte tu proyecto con la comunidad de Stamps By Me - y guarda esta guía para la próxima vez.
Escrito a partir del propio programa. Todas las guías de nuestros programas · guías gratis · en directo en My Telly · el diseño anterior