Give your friends £10 off their first order!
Refer a FRIEND








Prices change straight away. Every language is our own translation, not Google.
A project from our live show HSN PRODUCT INSPIRATION - Join me for a fun filled show broadcast 1st September 2026 · 01/09/2026 · watch it from 55:00
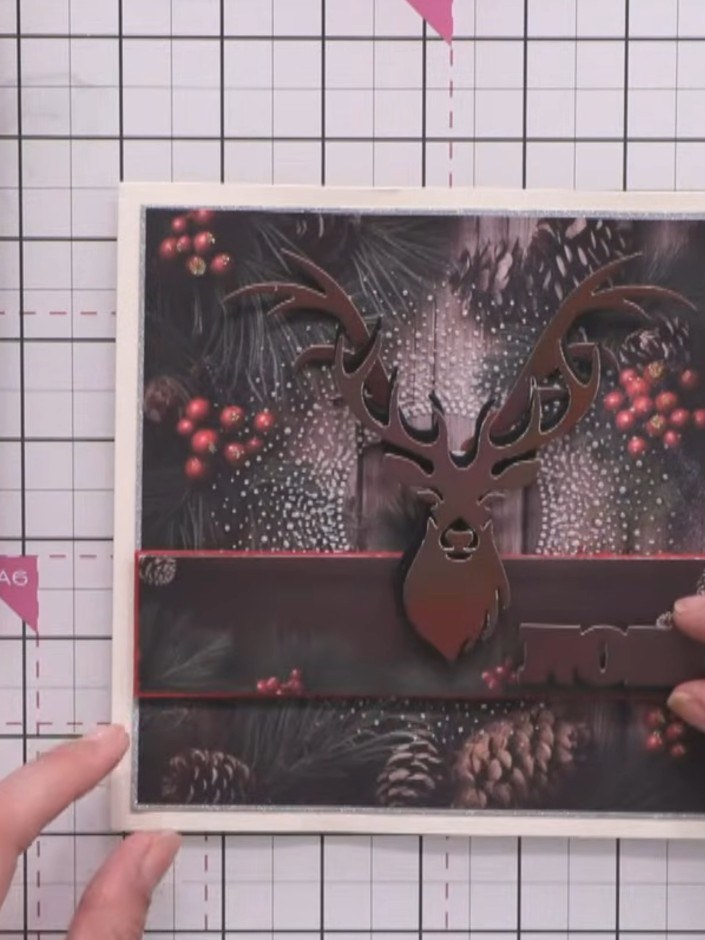
Create an elegant minimalist Christmas card featuring a winter village scene. This clean and simple design uses white embossing on white card stock to create a subtle, sophisticated effect, with the village church and snow-covered trees enhanced by delicate glitter accents on the roofs. The monochromatic approach with a red border creates a striking contemporary festive card.
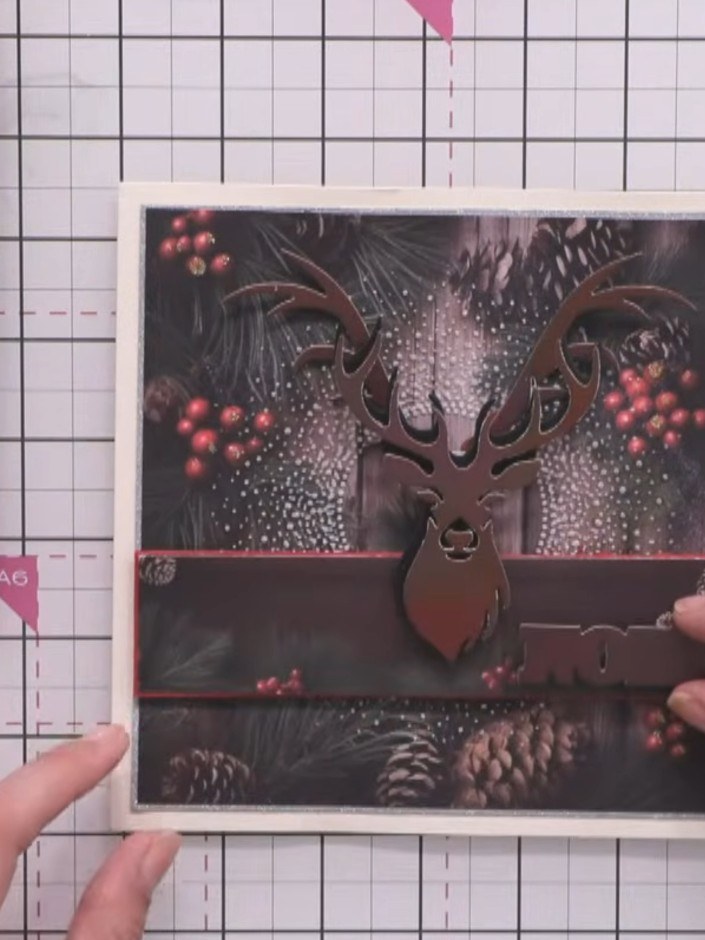
Run white card stock through the village embossing folder. The embossed design will create a textured winter scene background for your card.
▶ watch this step (55:15)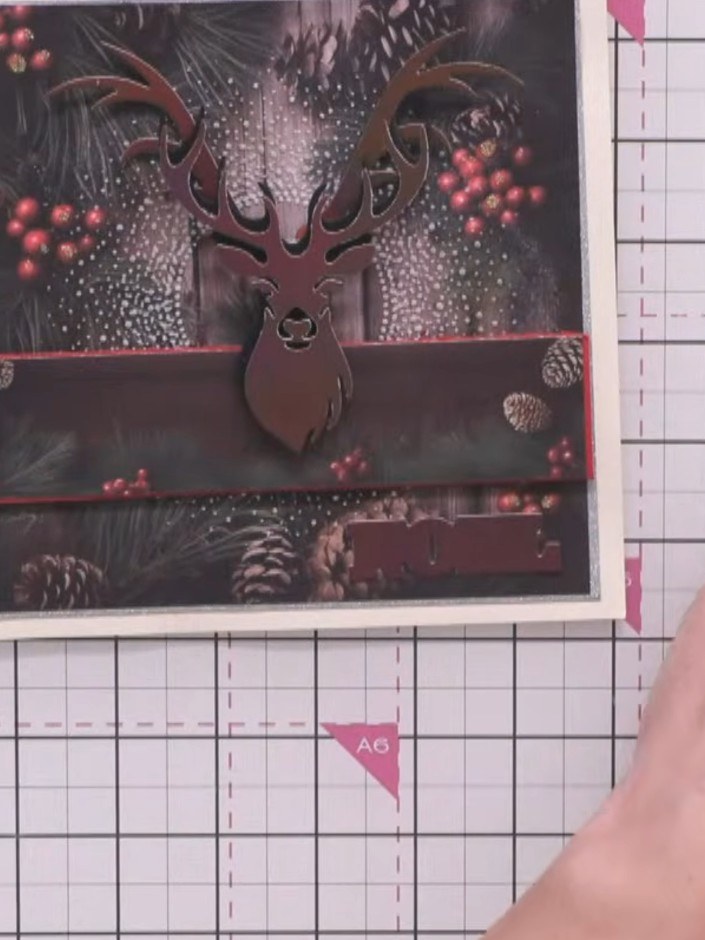
Trim the embossed piece to remove any ragged edges using a paper trimmer or scissors. Ensure all sides are neat and even.
▶ watch this step (55:30)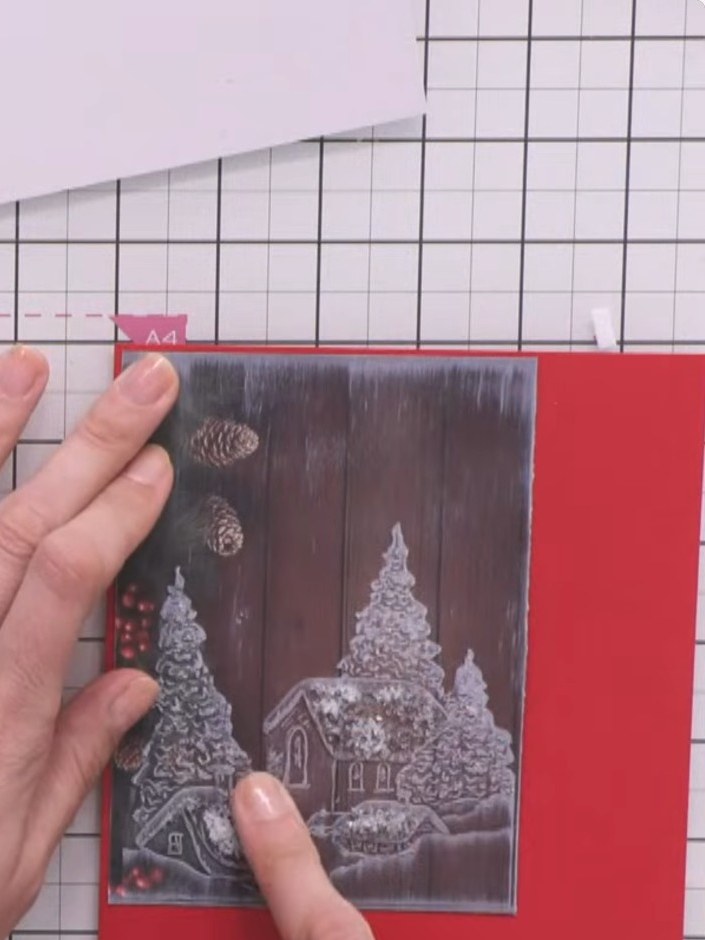
Apply clear drying glue to the roofs of the embossed houses on the winter village scene. Use your fingers to smooth the glue evenly across the raised roof areas.
▶ watch this step (56:00)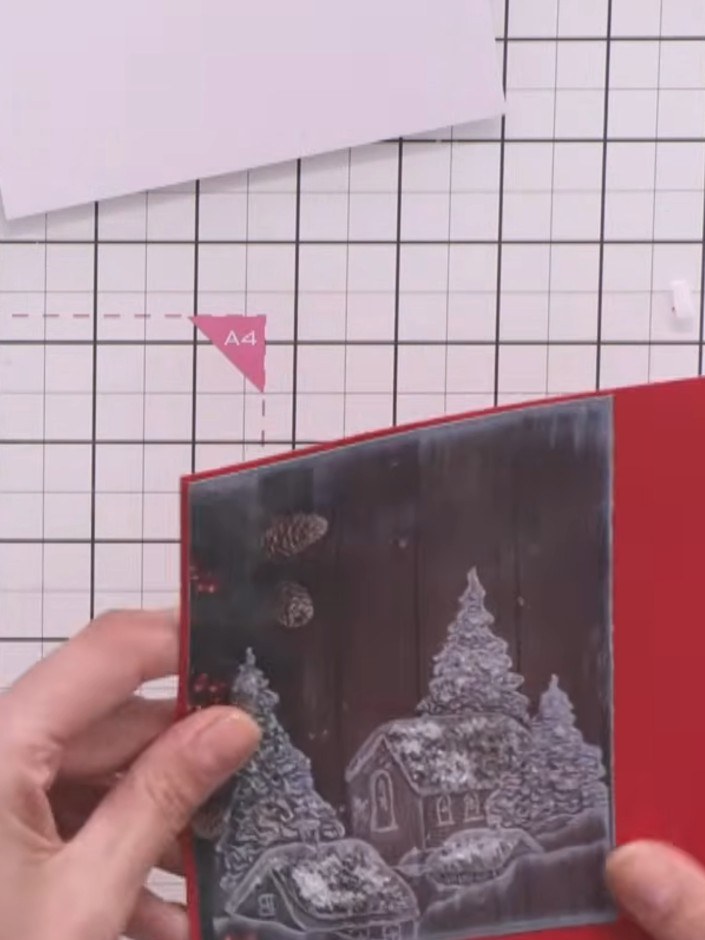
Sprinkle clear or coloured glitter onto the wet glue and allow to dry completely.
▶ watch this step (56:15)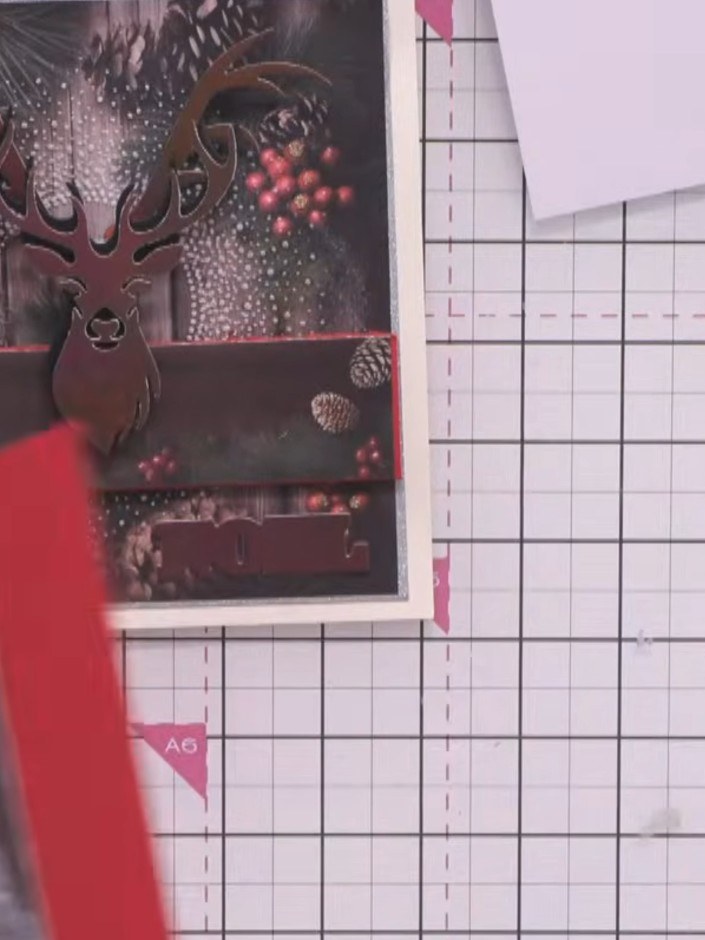
Mount the embossed panel onto a white card blank. Position the panel centrally and secure in place.
▶ watch this step (56:45)Written up from the show itself. See every guide from our shows · free how-to guides · watch live on My Telly


