Give your friends £10 off their first order!
Refer a FRIEND








Prices change straight away. Every language is our own translation, not Google.
A project from our live show HSN PRODUCT INSPIRATION - Join me for a fun filled show broadcast 1st September 2026 · 01/09/2026
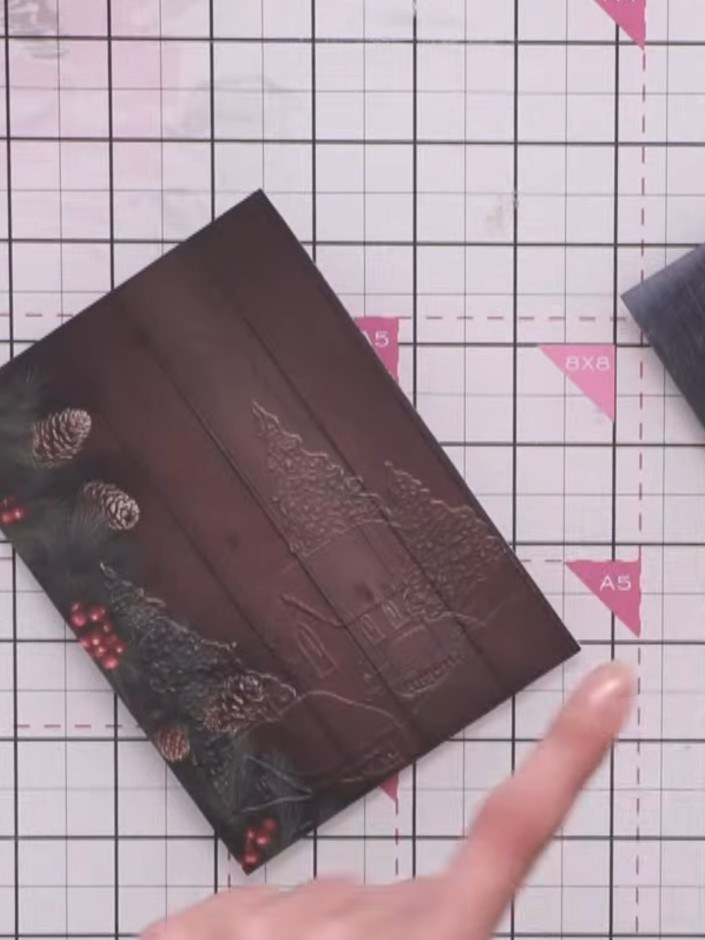
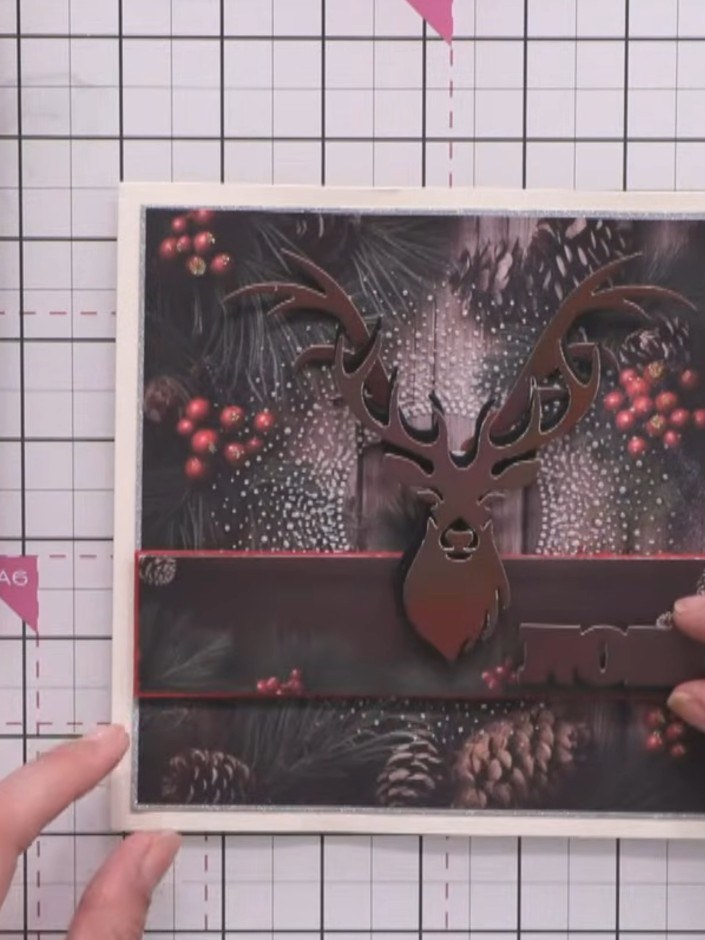
Create a stunning festive card featuring a dimensional stag with interchangeable antlers decorated with sparkling lights. This luxury design uses rich browns, golds and reds against a dramatic dark woodland background with pine cones and berries. The main techniques include die-cutting, layering dimensional elements, and weaving decorative lights through the antlers for a glamorous finish suitable for any recipient.
 1
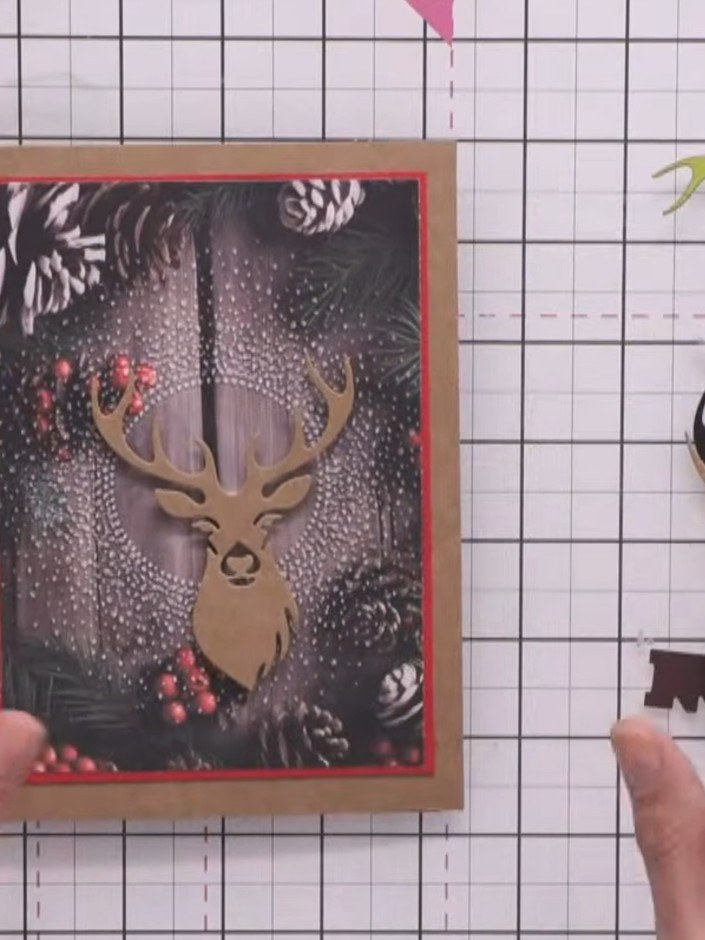
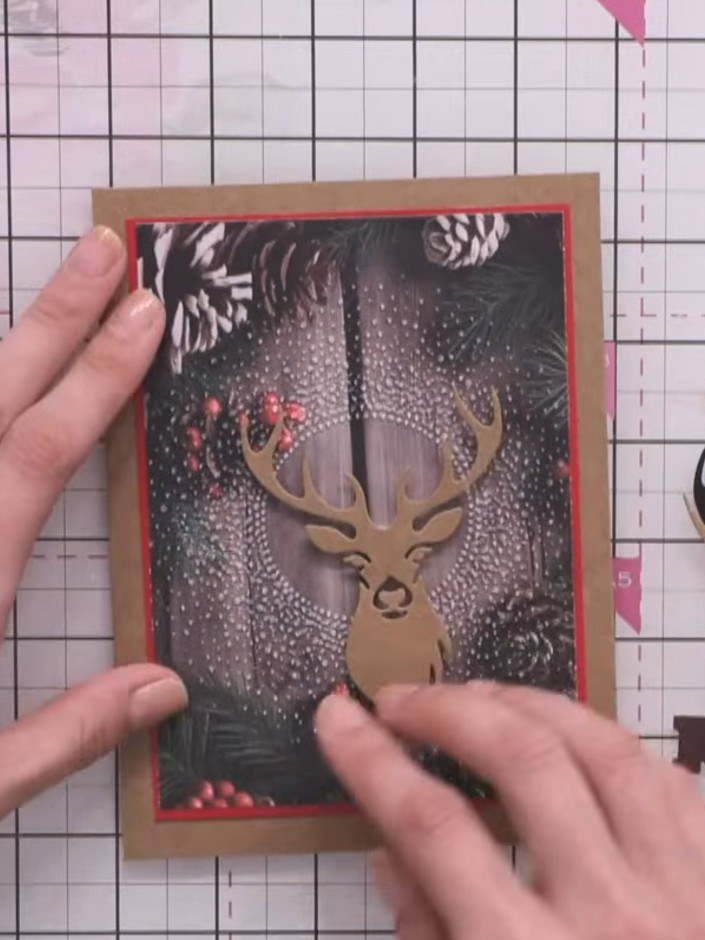
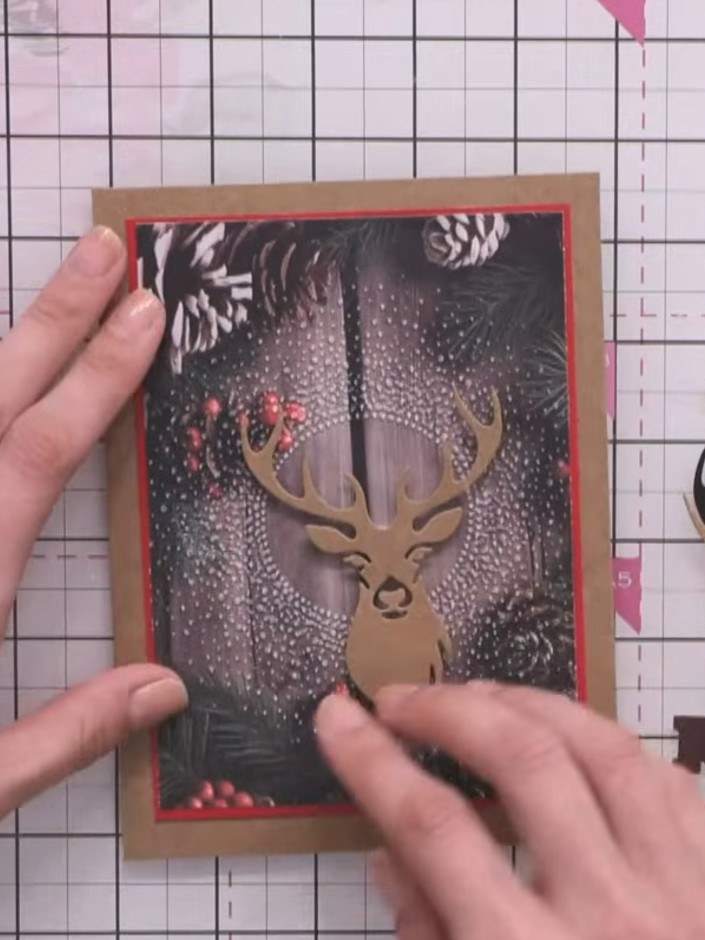
Cut the stag die from craft-coloured card stock. Position the die-cut stag on your card front to check placement.
 2
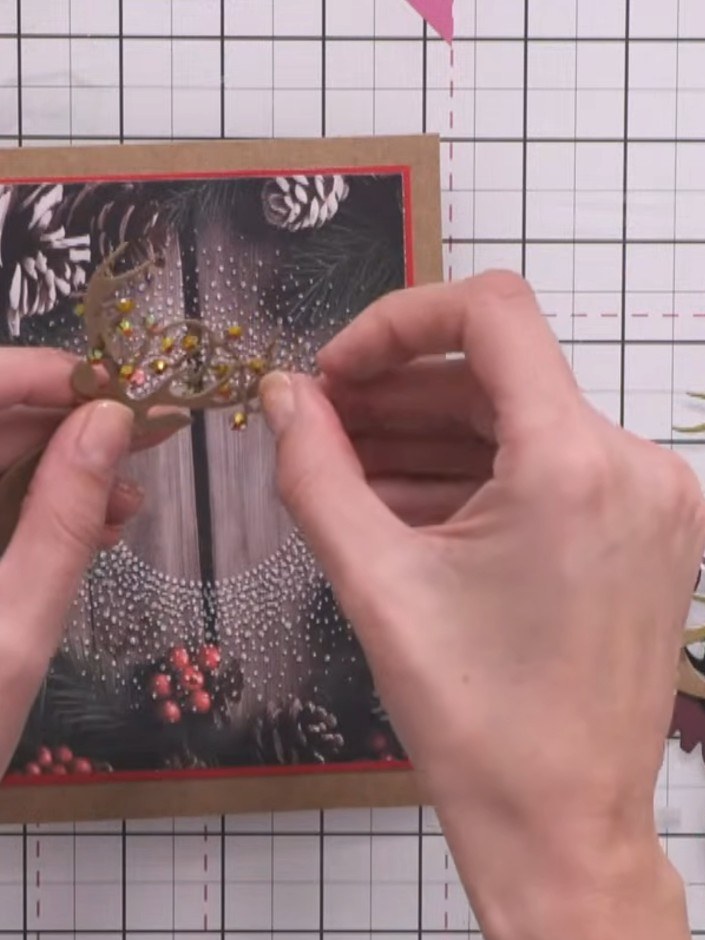
Take the intertwining berries and buds piece and add small sparkly gems to the little circles along the string. Position the gems carefully to create a decorative effect on the foliage.
 3
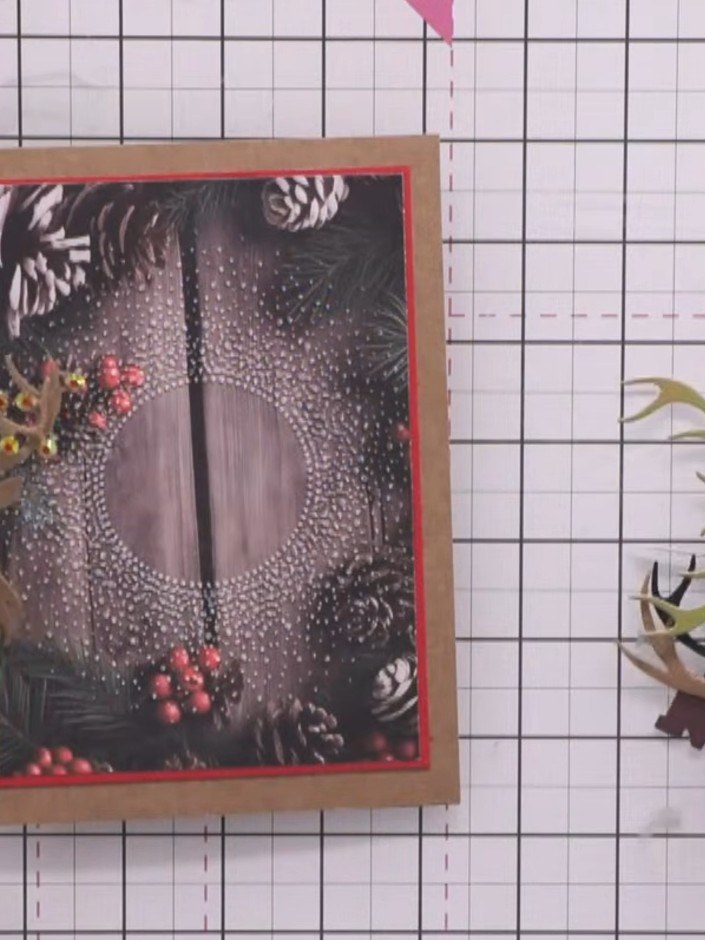
Cut the stag shape again from black or gold card stock to create a drop shadow effect. Position this second stag layer behind the main decorated stag piece.
 4
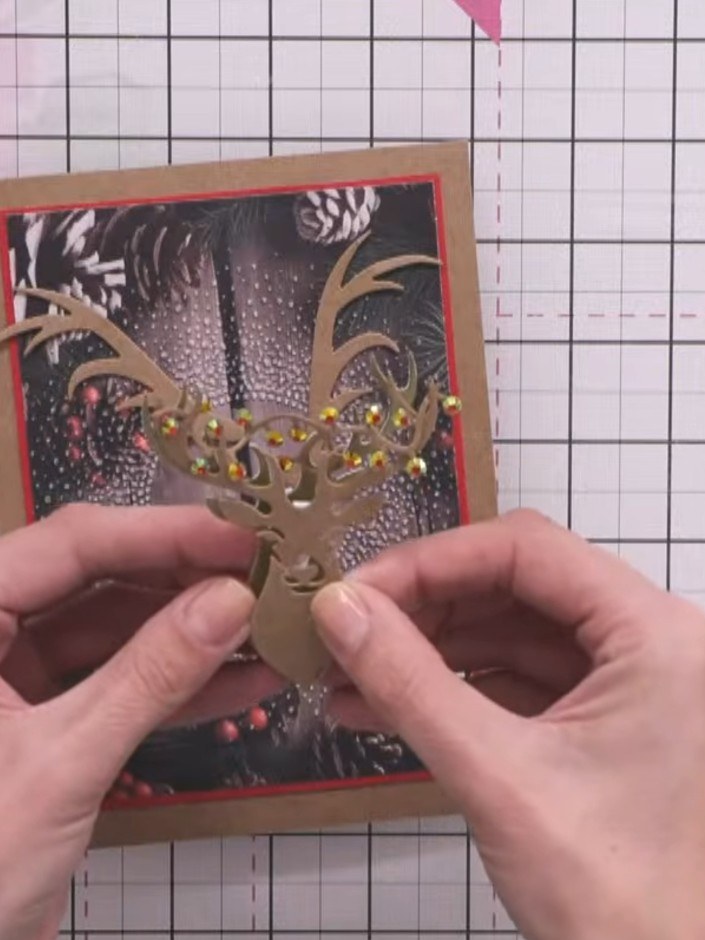
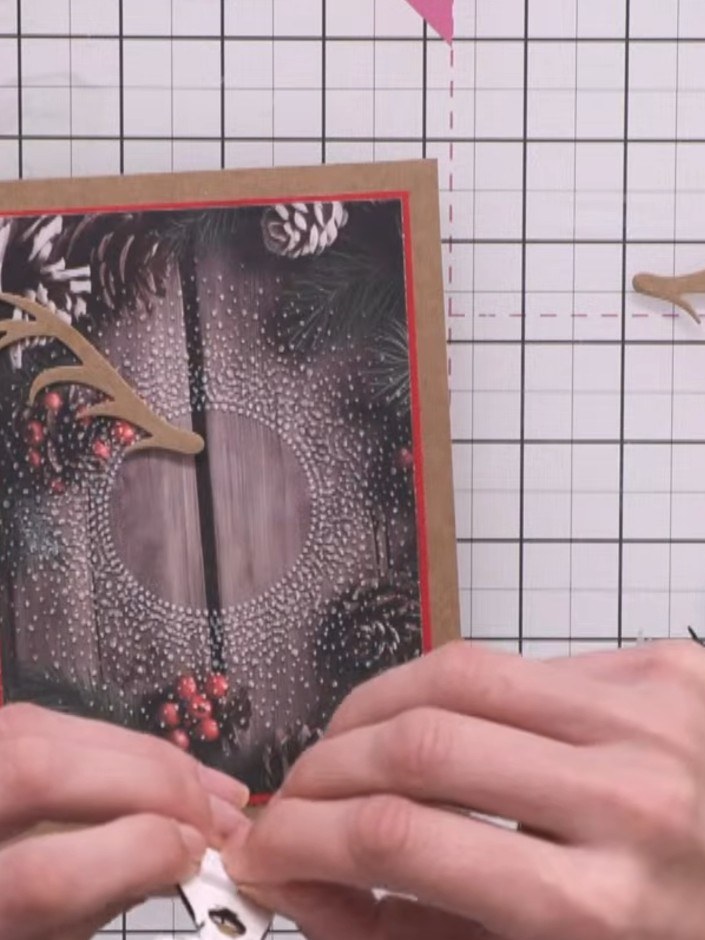
Position the kraft stag piece with the embellished antlers slightly offset to the right and lower than the main stag image, creating a drop shadow effect.
 5
Adhere the drop shadow stag die-cut to your card base. Position it centrally on the red-matted black panel with the kraft card base.
 6
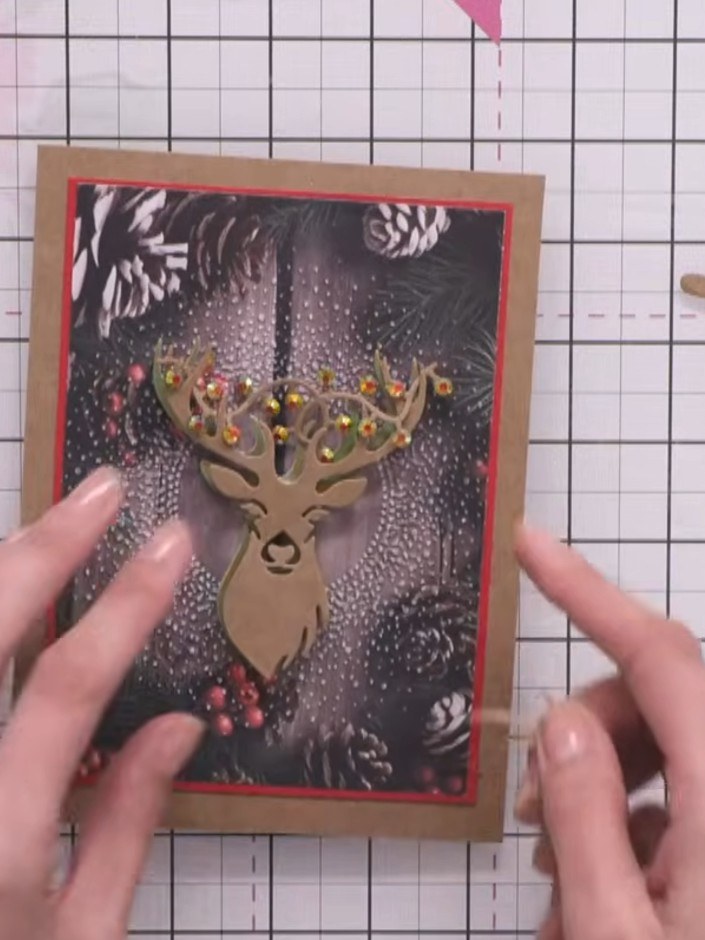
Layer the craft-coloured stag die-cut on top of the drop shadow stag, ensuring it is centred and aligned properly on the card front.
 7
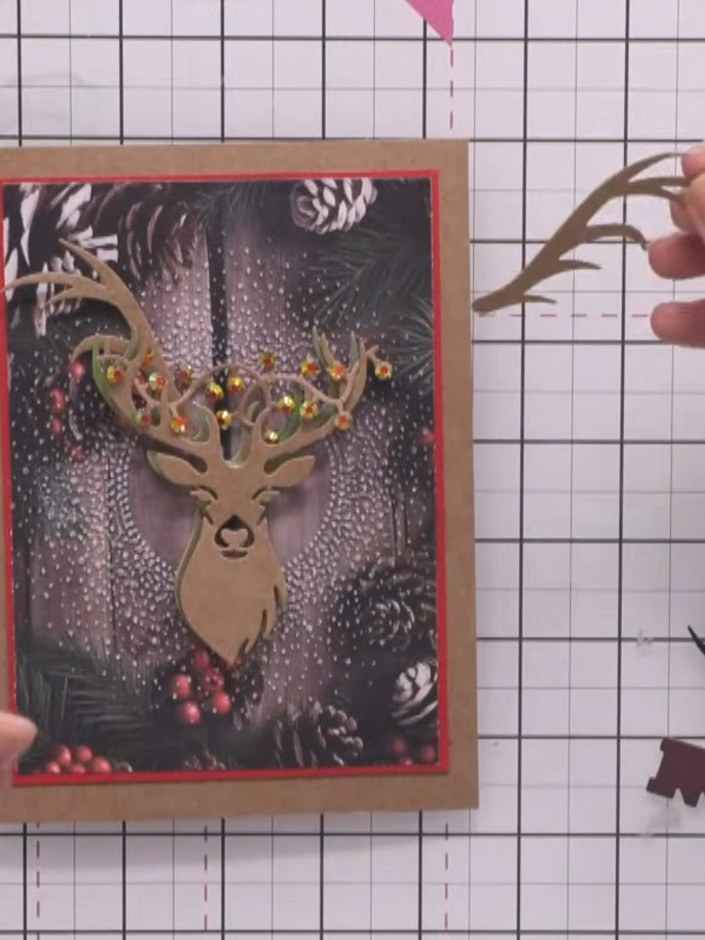
Weave and thread the berries and lights piece through the antlers. Secure with small dots of glue where needed to hold the decoration in place.
 8
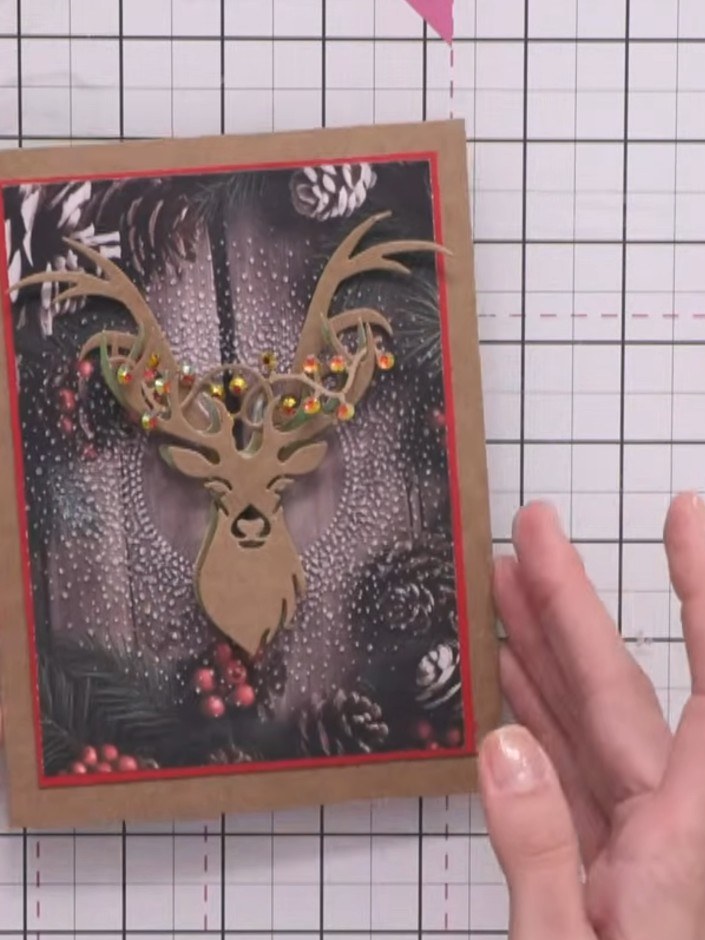
Layer the larger antler die-cuts on top of the smaller ones using foam pads to add dimension. Position them carefully to create a layered effect on the stag's antlers.
 9
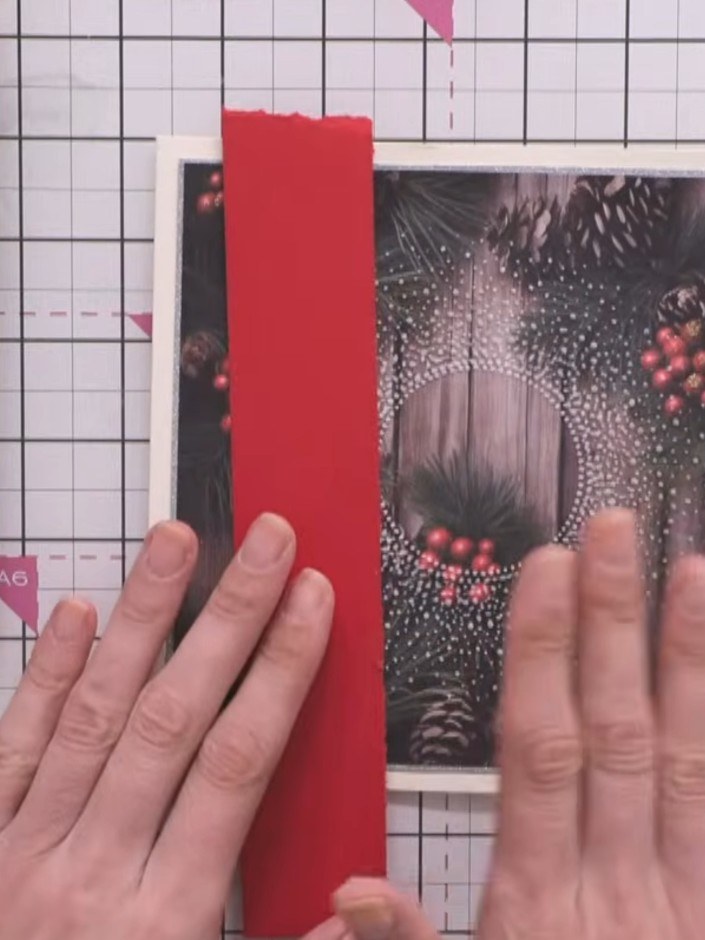
Mount the completed stag panel onto a red card base. Use foam pads to add dimension and secure the panel in place.
Share your make with the Stamps By Me community - and keep this guide for next time.
Written up from the show itself. See every guide from our shows · free how-to guides · watch live on My Telly · the previous layout