Give your friends £10 off their first order!
Refer a FRIEND








 The Friday Final CutFri 20 Nov 10am
 Community ShowcaseMon 23 Nov 10am
 Deal HuntersTue 24 Nov 1pm
Prices change straight away. Every language is our own translation, not Google.
A project from our live show ONE DAY SPECIAL - Join Toni and Simon for the brand new launch - Broadcast 10th October 2025 · 10/10/2025 · watch it from 1:00:00
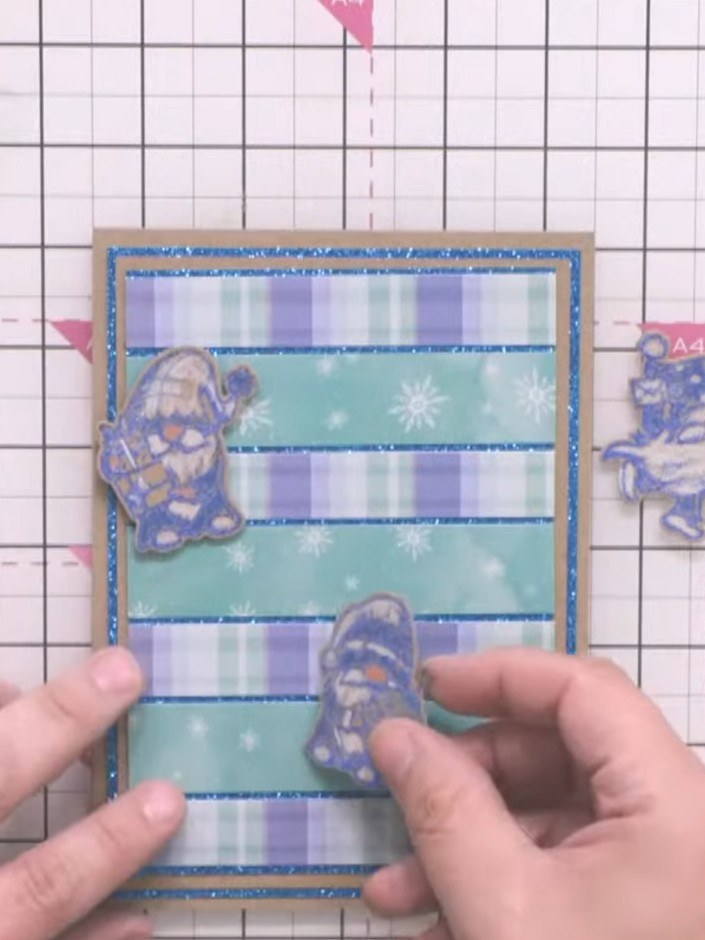
Create a charming Christmas card featuring three adorable gnome characters arranged vertically on a striped background. The design combines soft blue and purple tones with glittery accents, using layered paper strips to create a dimensional striped effect. The main techniques include paper layering, die-cutting character elements, and adding a festive sentiment to complete this whimsical holiday greeting.
 Avago-ink Designs Stamp & Die Set - From Our Gnome to Yours - 110624GSEE IT
 Avago-ink Designs Paper Collection - Mystical Christmas - 110624ESEE IT
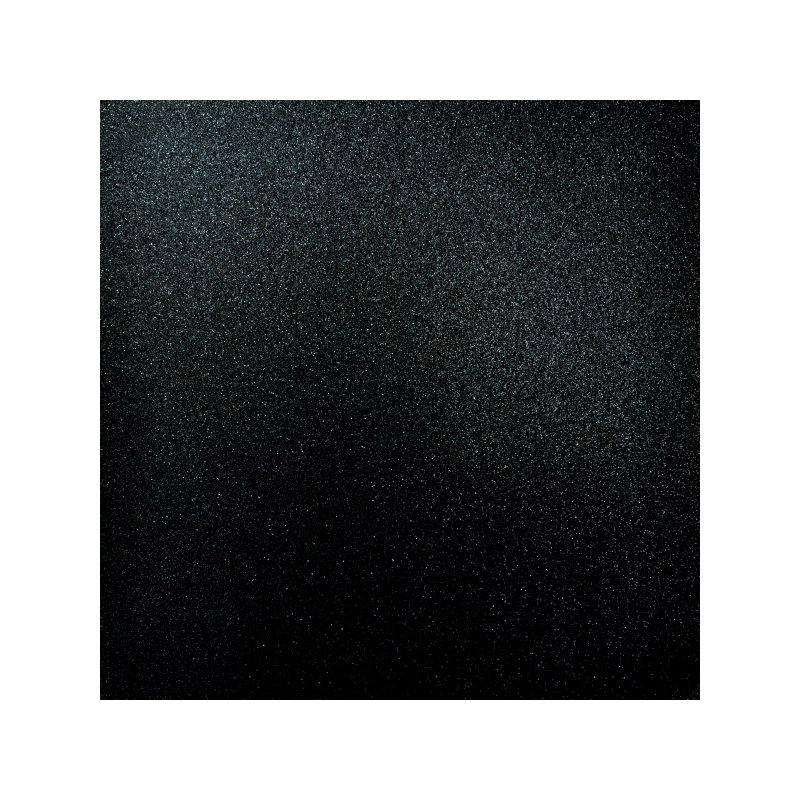 Glitter Cardstock - Midnight Sold in Packs of 10 SheetsSEE IT
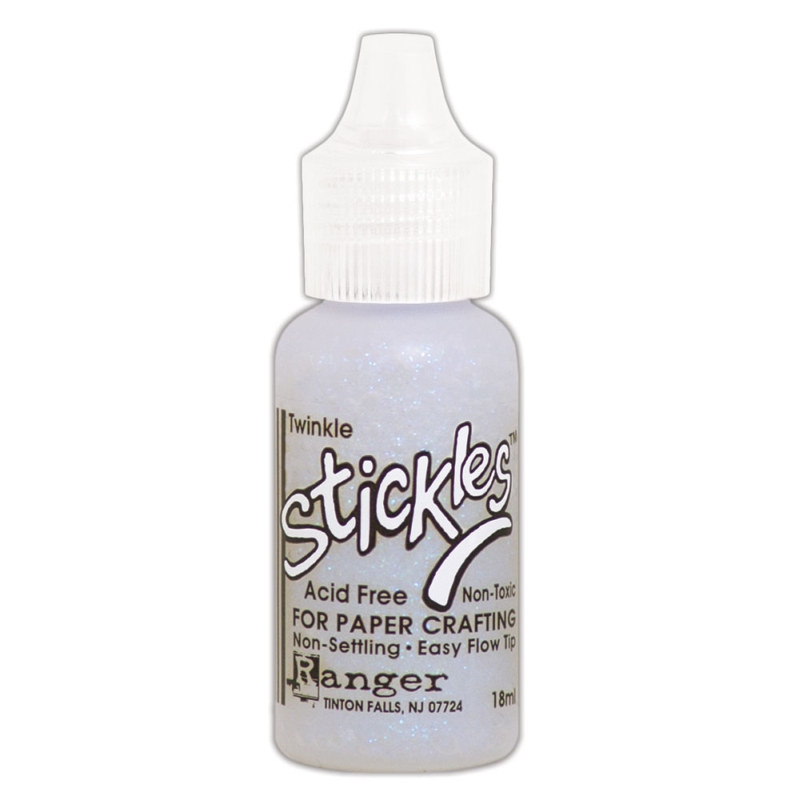 Stickles Glitter Glue TwinkleSEE IT
 Stickles Glitter Glue Frosted Lace - STK-FROSEE IT
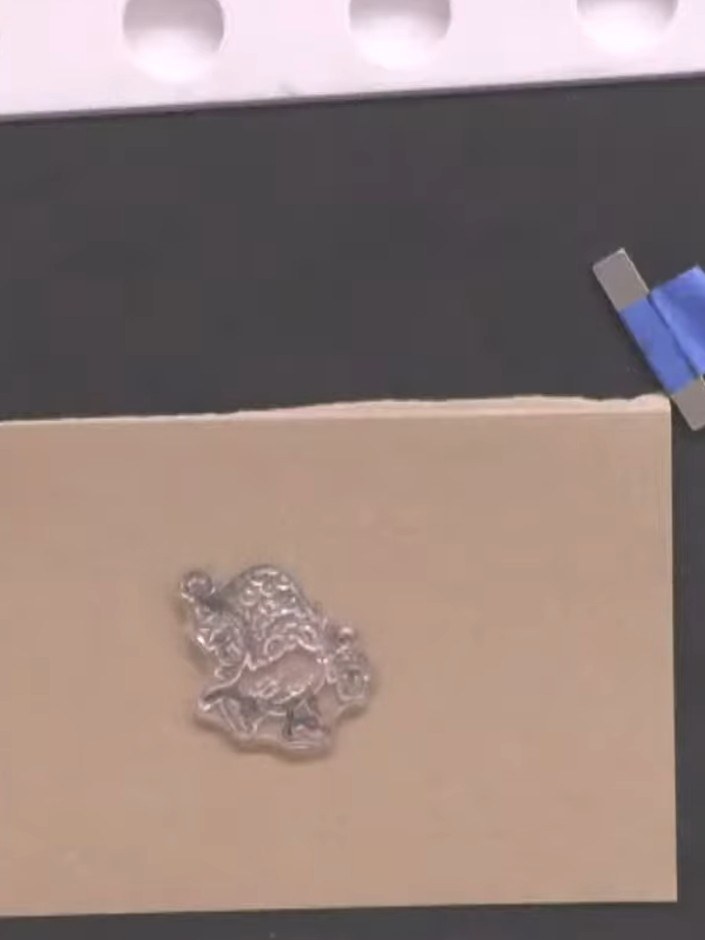
Stamp the gnome character onto kraft card using black ink. Position the clear stamp on the card and press firmly to transfer the image. Apply blue glitter glue to the gnome's hat area on the kraft card. Use a sponge applicator to spread the glitter glue evenly over the hat section.
▶ watch this step (1:00:15)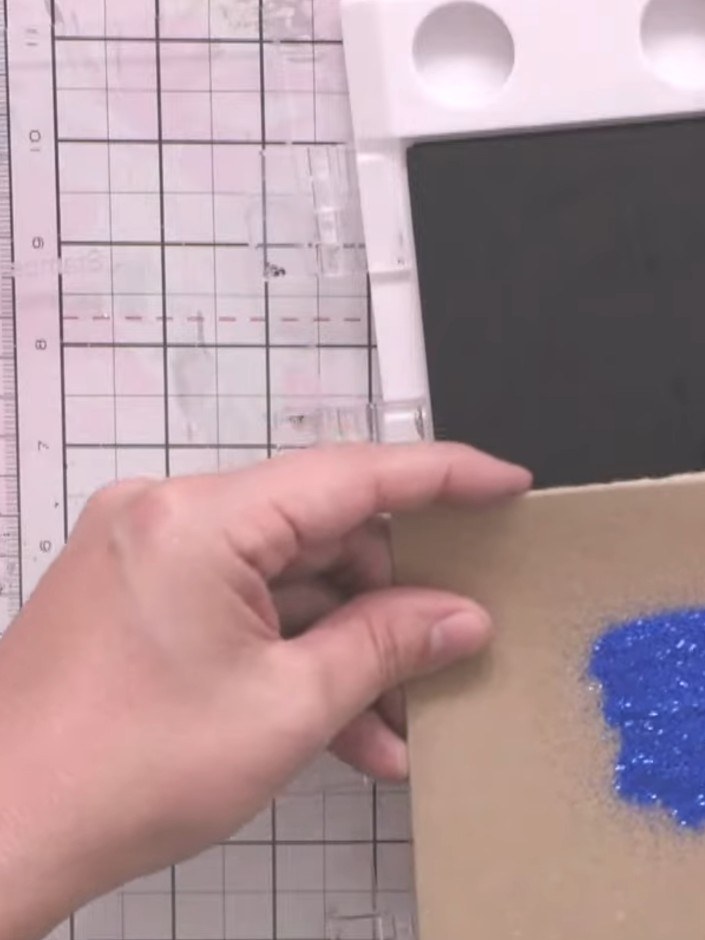
Apply blue embossing powder to the stamped gnome image on the kraft card. Tap off the excess powder and heat emboss to create a sparkly raised finish.
▶ watch this step (1:01:00)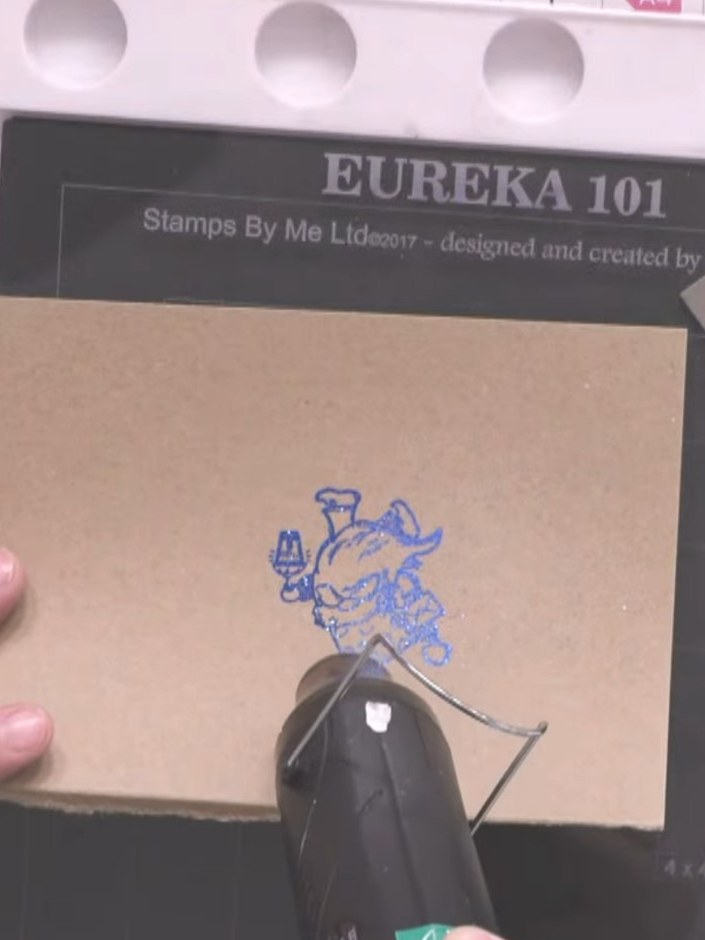
Heat set the blue embossing powder on the stamped gnome image using a heat gun until the powder melts and becomes shiny.
▶ watch this step (1:01:15)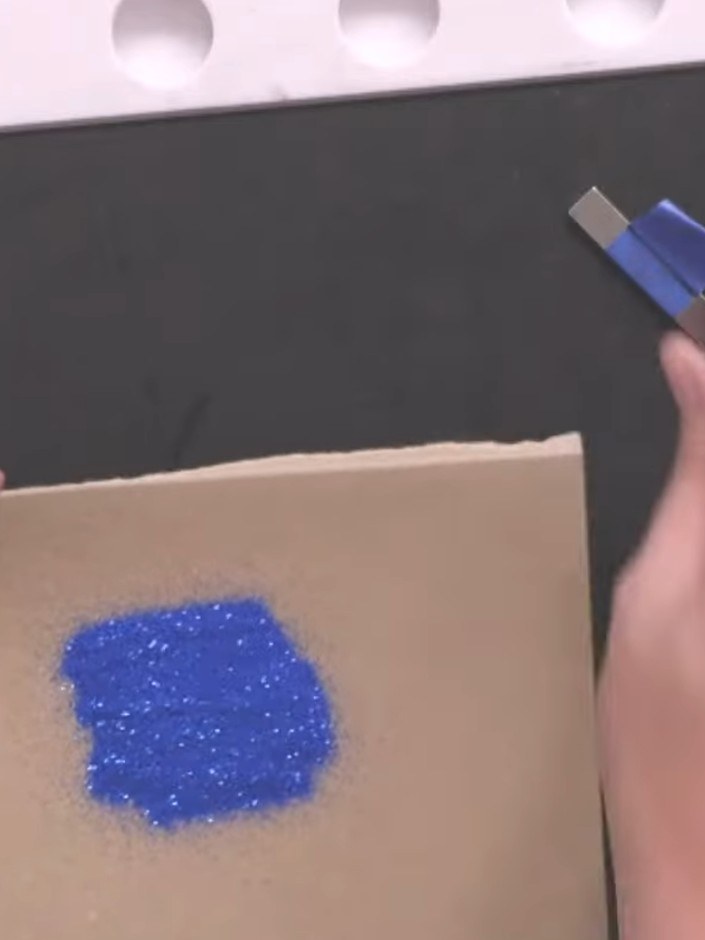
Die-cut the coloured gnome using the coordinating die from the stamp and die set.
▶ watch this step (1:01:30)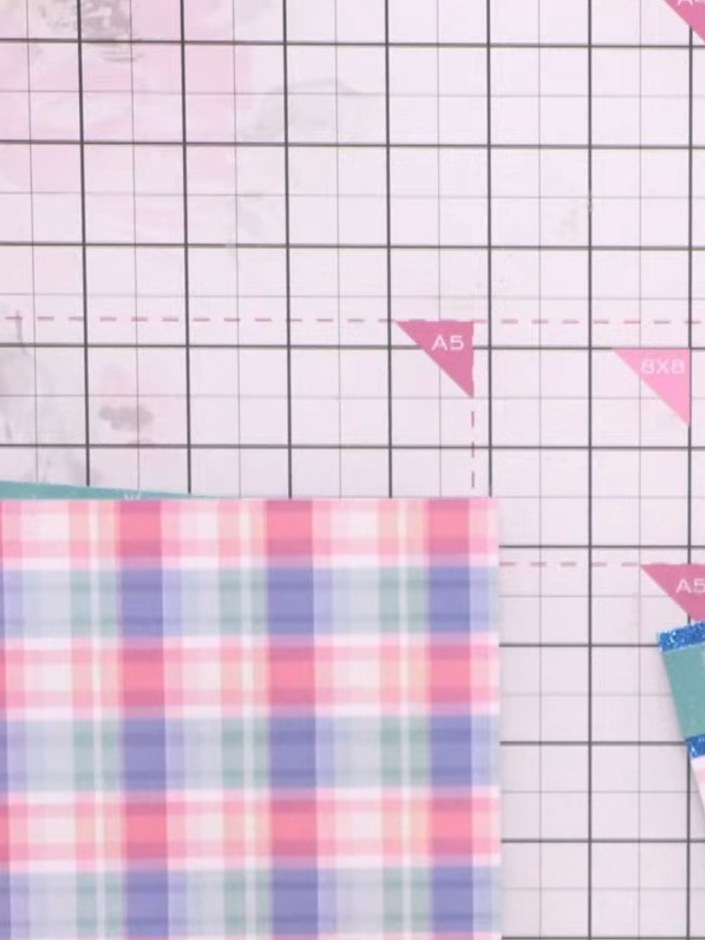
Cut the patterned paper into strips using two contrasting designs - the pink and blue plaid pattern and the mint green snowflake pattern. Alternate the strips to create a striped background effect.
▶ watch this step (1:07:30)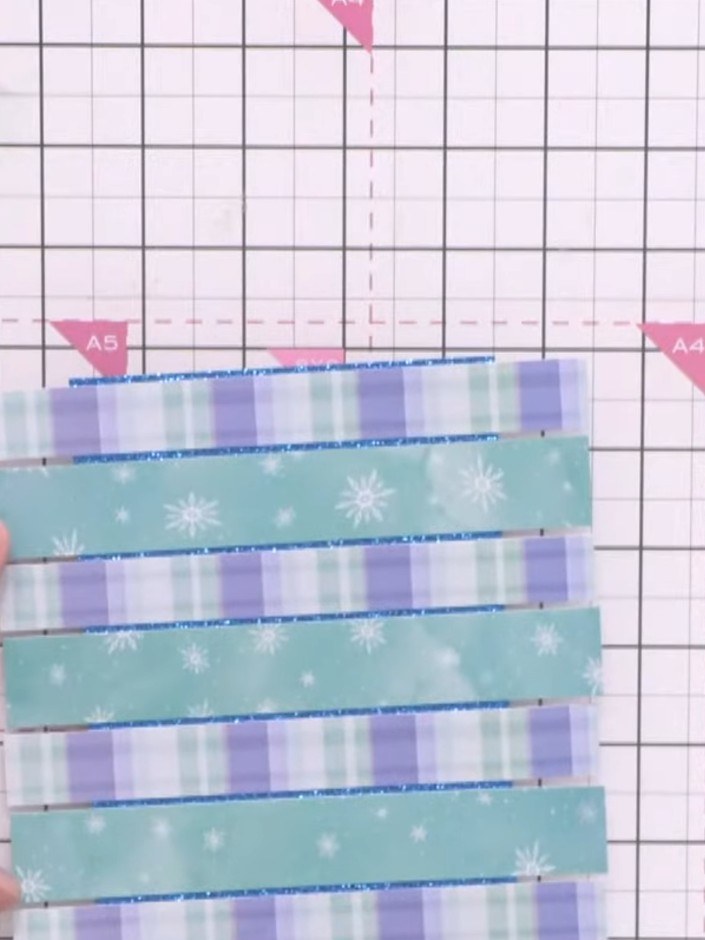
Layer the alternating patterned paper strips horizontally across the blue glitter cardstock, creating a striped background effect. Press down firmly to ensure all strips are securely adhered.
▶ watch this step (1:07:45)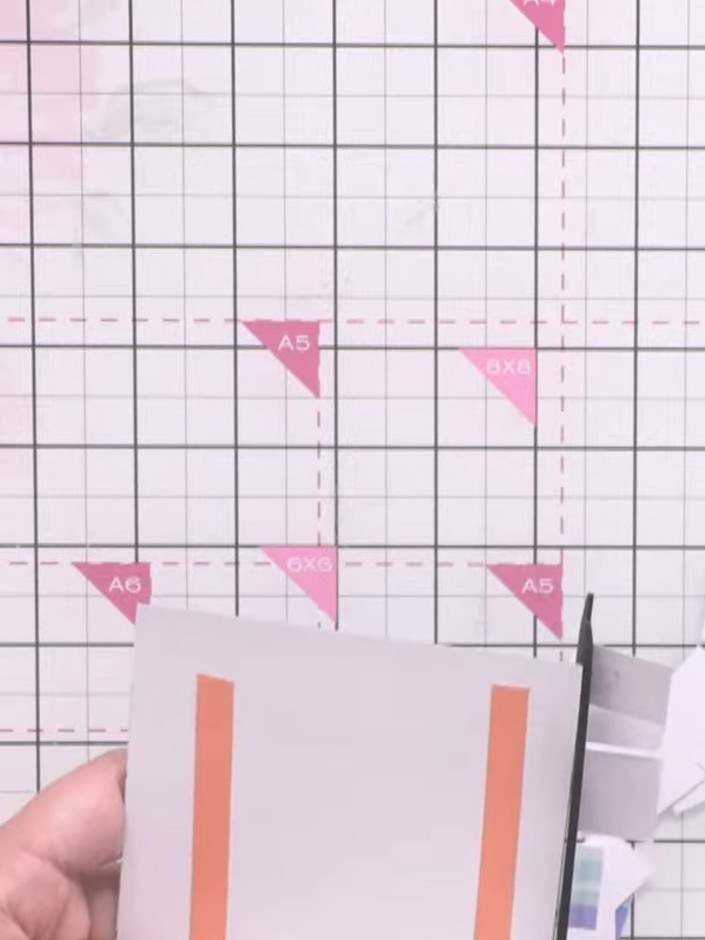
Using scissors, trim the layered orange and white striped paper to match the size of your card base, removing any excess paper that extends beyond the edges.
▶ watch this step (1:08:00)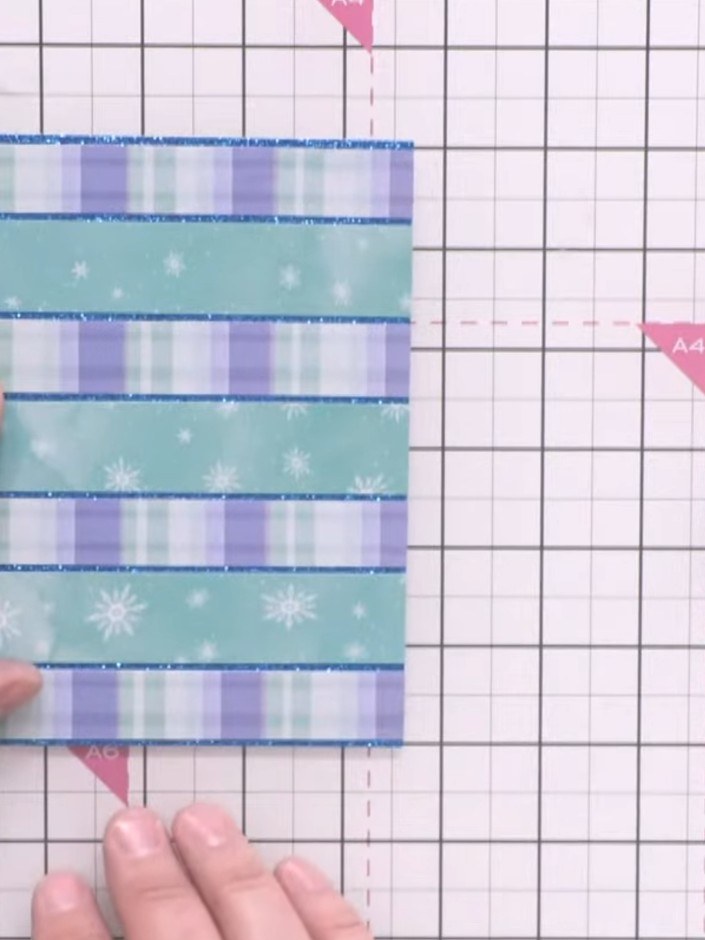
Mount the striped background panel onto a craft card blank using adhesive. Ensure the panel is centred and adhered securely to complete the card base.
▶ watch this step (1:08:30)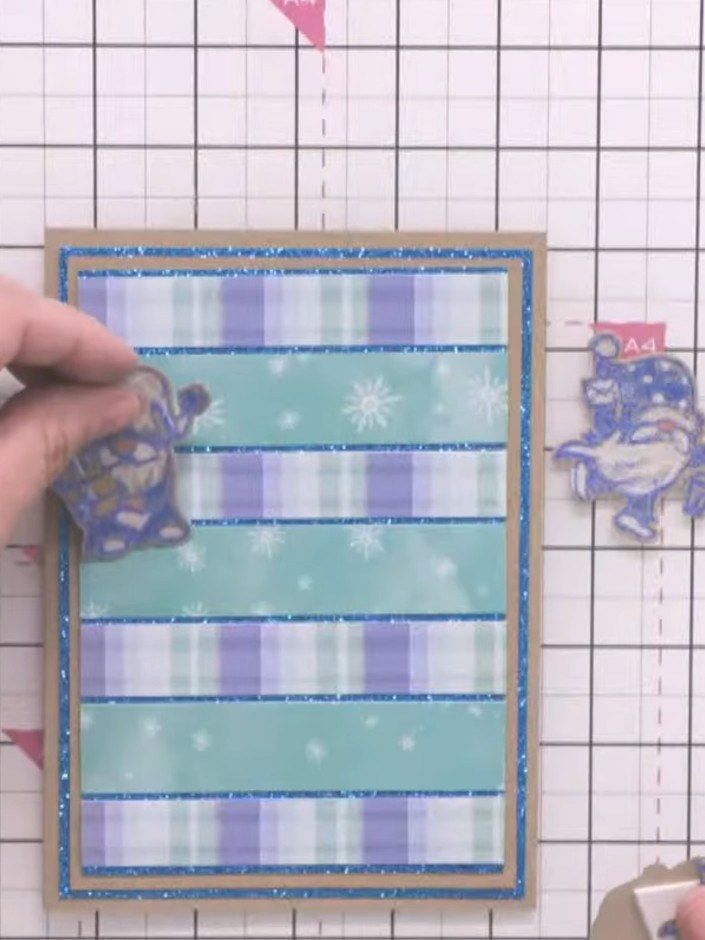
Adhere the die-cut gnome character to the striped card panel using foam tape for dimension.
▶ watch this step (1:09:00)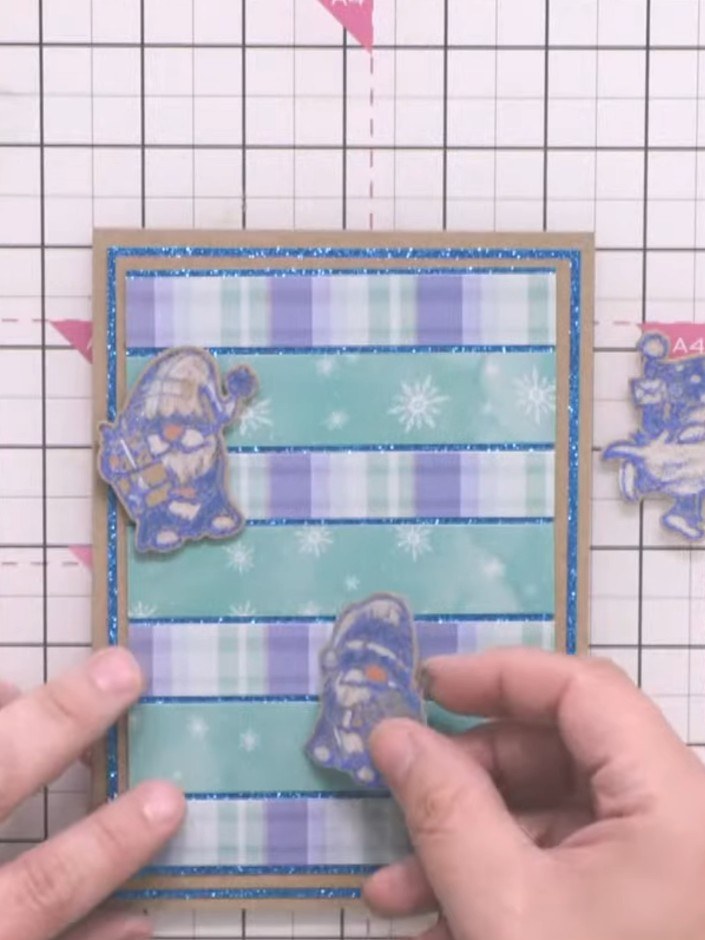
Add a sentiment stamp or die-cut element to complete your gnome character card. Position it appropriately on the striped background to finish the design.
▶ watch this step (1:09:30)Written up from the show itself. See every guide from our shows · free how-to guides · watch live on My Telly