Give your friends £10 off their first order!
Refer a FRIEND








 The Friday Final CutFri 20 Nov 10am
 Community ShowcaseMon 23 Nov 10am
 Deal HuntersTue 24 Nov 1pm
Prices change straight away. Every language is our own translation, not Google.
A project from our live show SUNDAY SAVINGS - Join Toni for her LIMITED TIME DEALS! - Broadcast 26th October 2025 · 26/10/2025 · watch it from 1:13:00
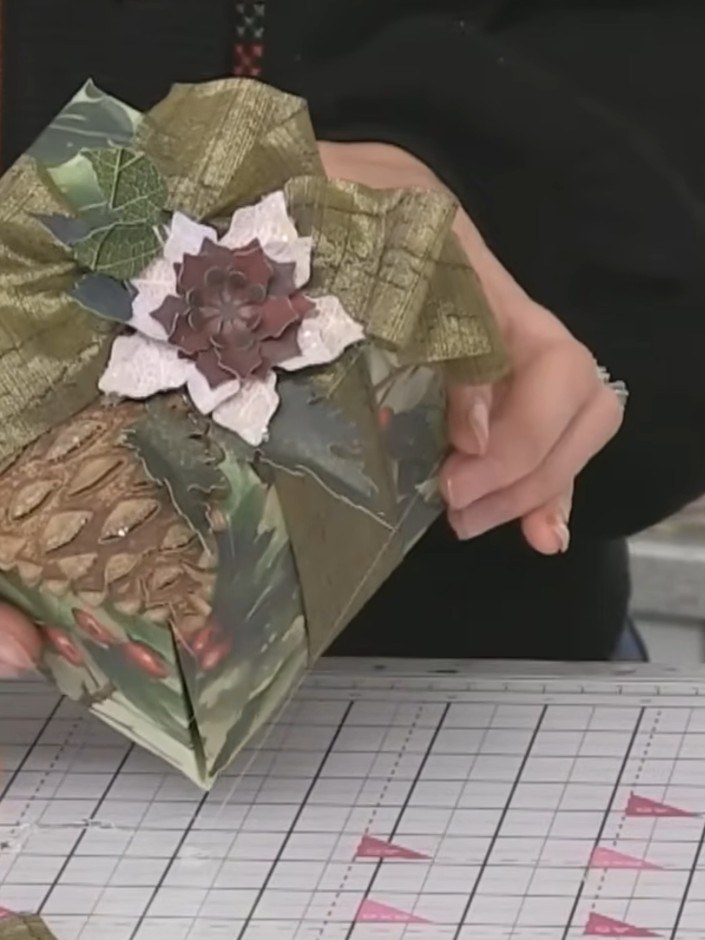
Create a beautifully embellished envelope to coordinate with your handmade card. This elegant design features festive holly and berry die-cut elements, a luxurious olive green ribbon bow, and delicate paper flowers in burgundy and cream tones. The envelope is decorated using layering techniques and can be personalised with a name tag for a complete gift presentation.
 Media Glitter - Colourless Glitter - 050923ASEE IT
 Holly & Berry- the Complete Kit - 050925ASEE IT
 Holly & Berry Paper Pack - 12 X 12 - 031123ASEE IT
 Holly & Berry Die Collection - 050925BSEE IT
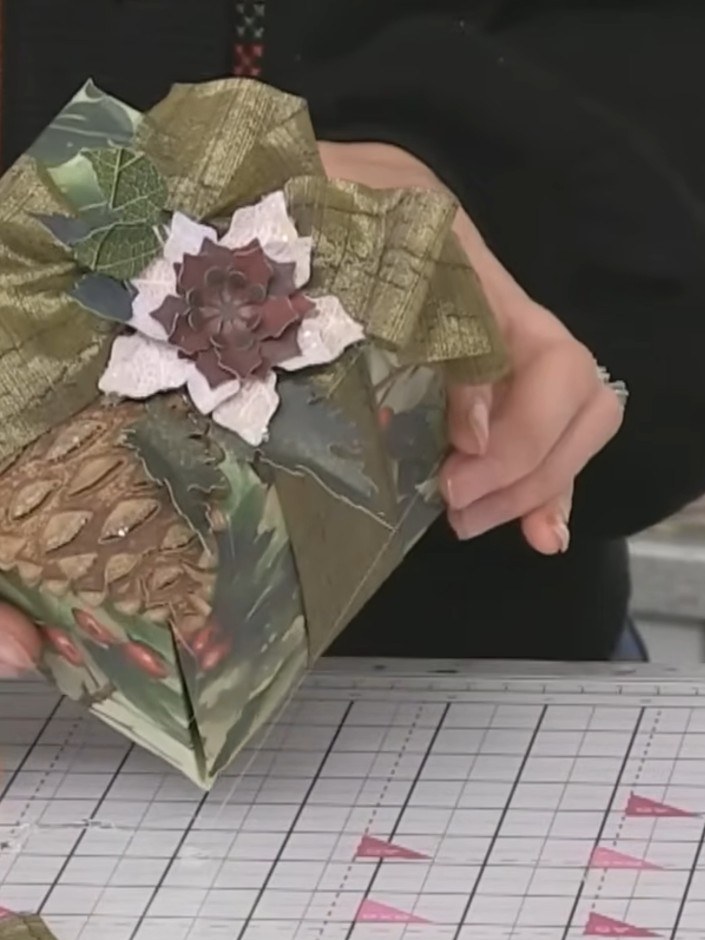
Cut a panel from the leftover envelope waste paper. This panel will be used to decorate the front of your coordinating envelope.
▶ watch this step (1:13:30)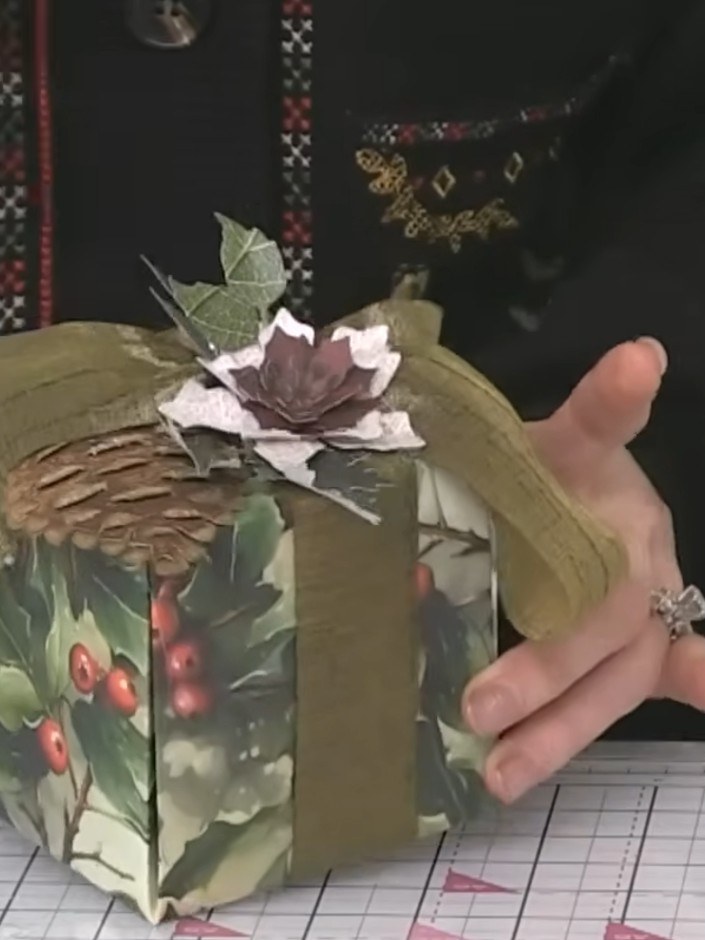
Distress the edges of your envelope panel with ink to create a finished look. Flip the panel up slightly and apply the ink to give it dimension.
▶ watch this step (1:14:00)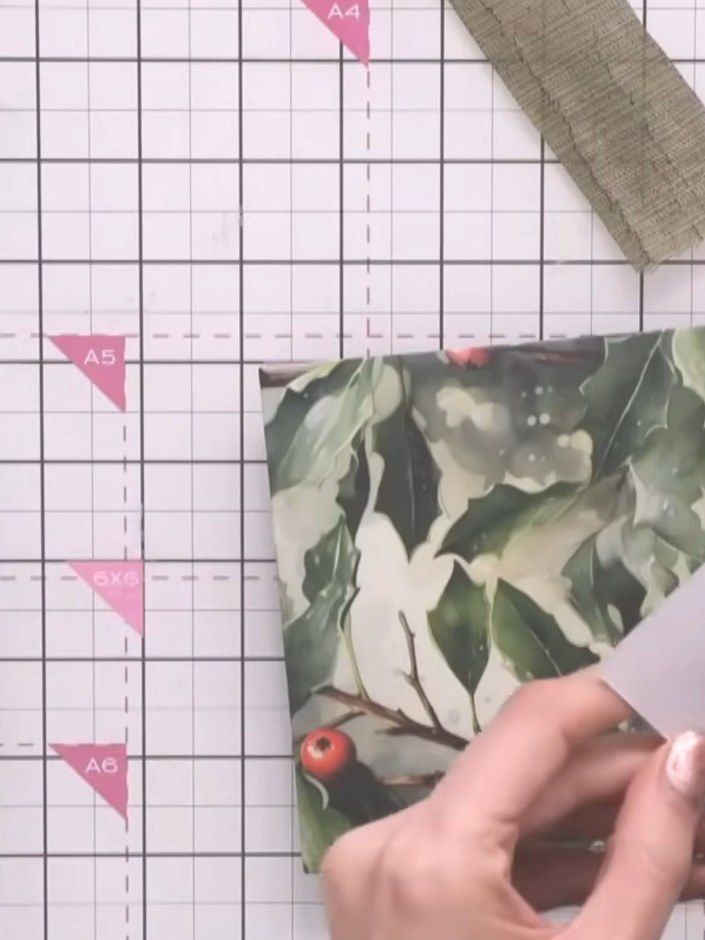
Attach the die-cut poinsettia flowers to the top of the envelope panel using hot glue. Position the flowers with the leaves fanning out decoratively.
▶ watch this step (1:14:30)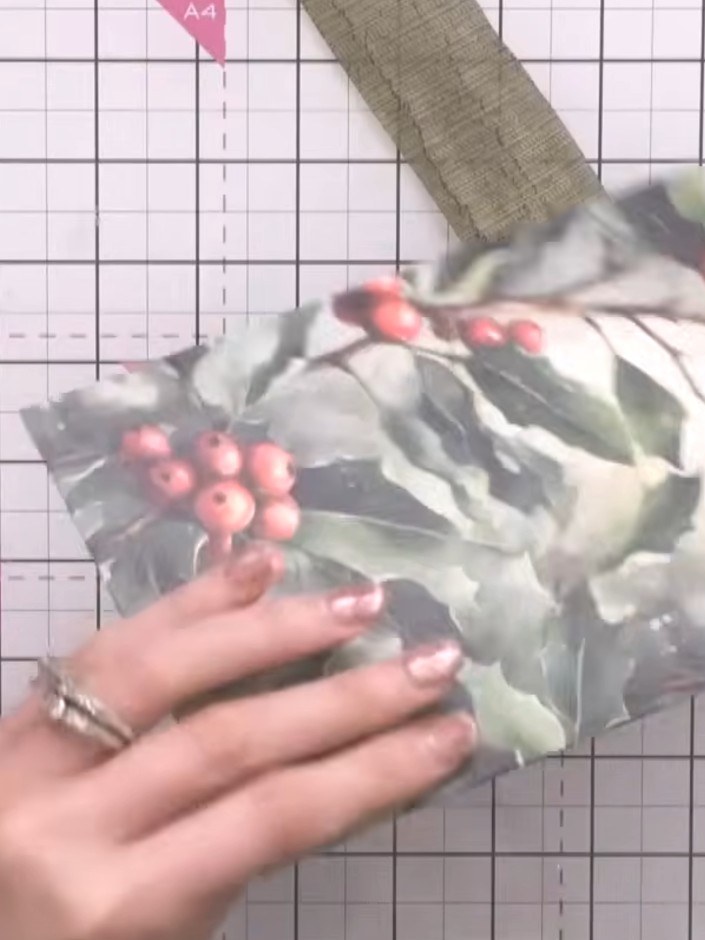
Add die-cut holly and berry greenery around the flowers on your box. Distress the edges of the greenery pieces as you position them to add texture and dimension.
▶ watch this step (1:15:00)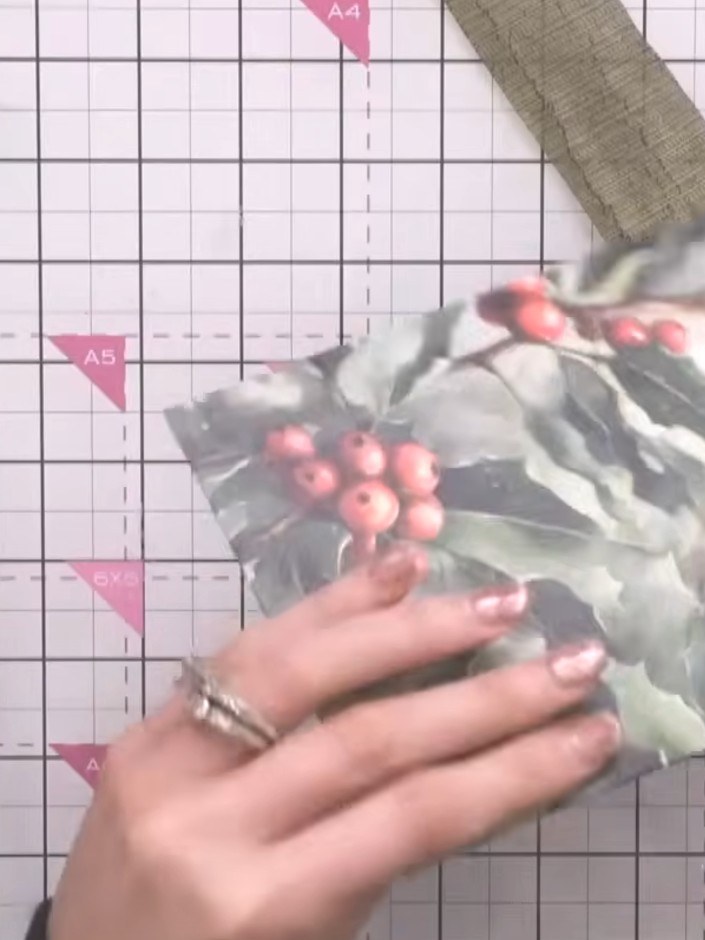
Apply colourless glitter to the centres of the paper flowers to add sparkle. Gently press the glitter onto the flower centres to ensure it adheres well.
▶ watch this step (1:15:30)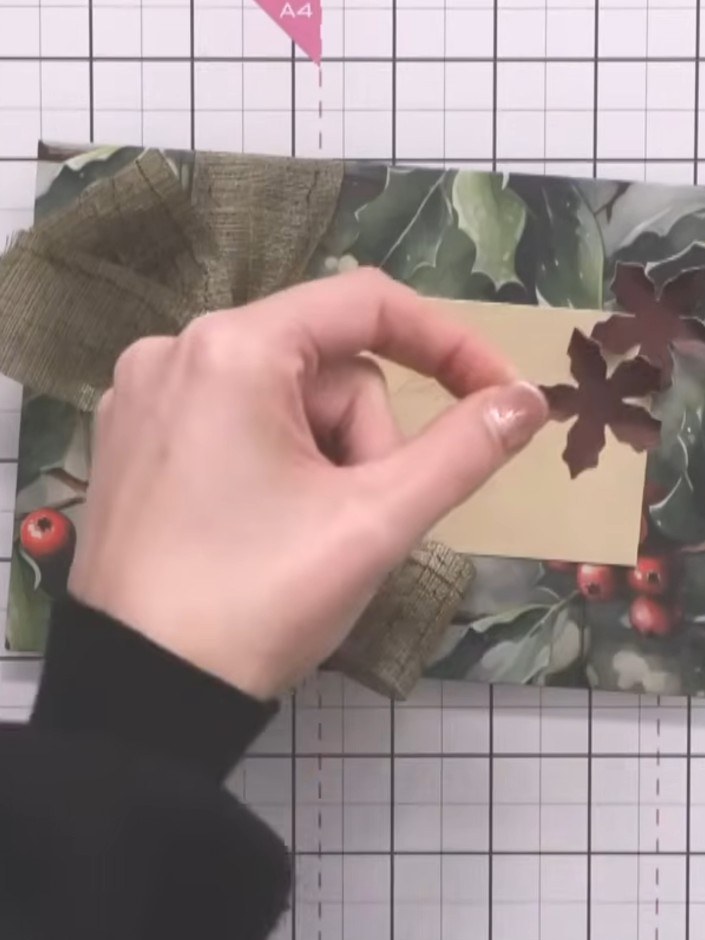
Apply glue to the back of the decorated cream panel and attach it to the front of the envelope, positioning it centrally over the ribbon bow.
▶ watch this step (1:16:00)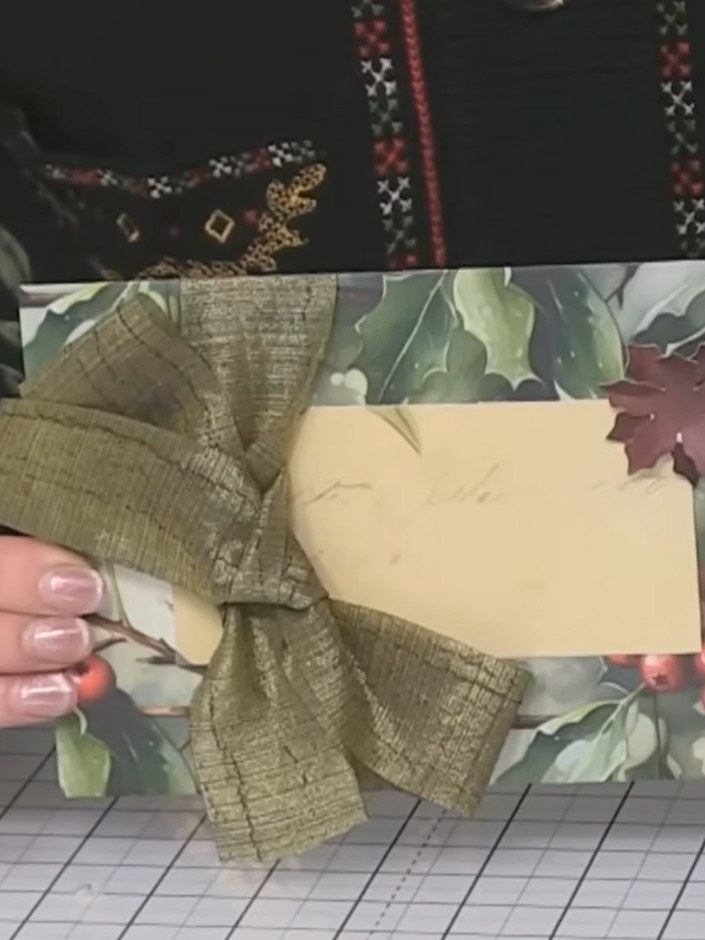
Leave the cream tag space blank on the envelope front so you can handwrite a name or message later. The decorated envelope with olive green ribbon bow and floral embellishments is now complete.
▶ watch this step (1:16:30)Written up from the show itself. See every guide from our shows · free how-to guides · watch live on My Telly