Give your friends £10 off their first order!
Refer a FRIEND








 The Friday Final CutFri 20 Nov 10am
 Community ShowcaseMon 23 Nov 10am
 Deal HuntersTue 24 Nov 1pm
Prices change straight away. Every language is our own translation, not Google.
A project from our live show SUNDAY SAVINGS - Join Toni for her LIMITED TIME DEALS! - Broadcast 26th October 2025 · 26/10/2025
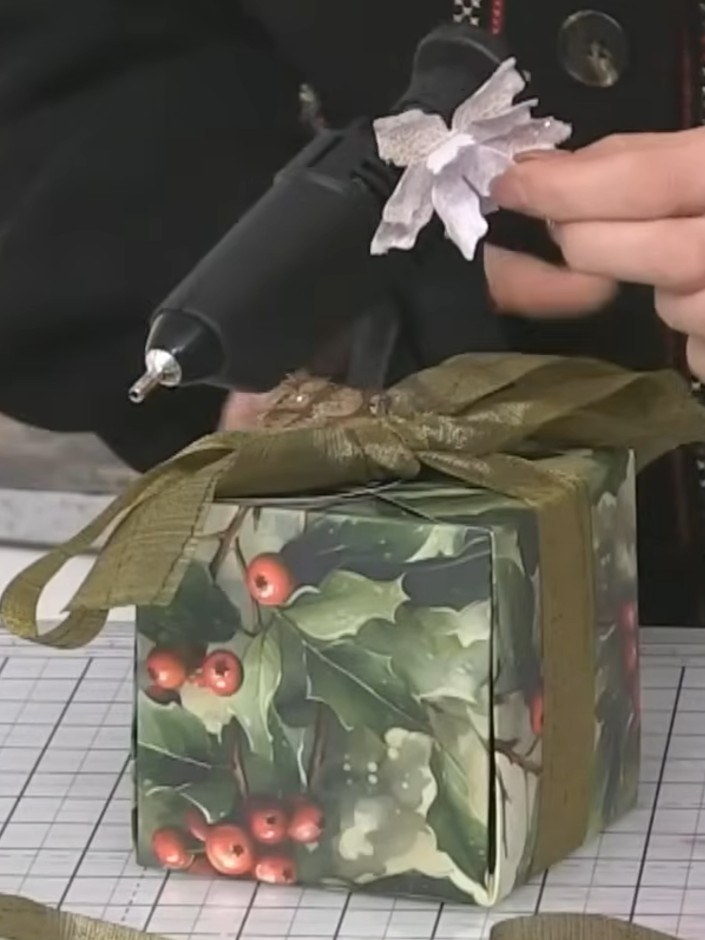
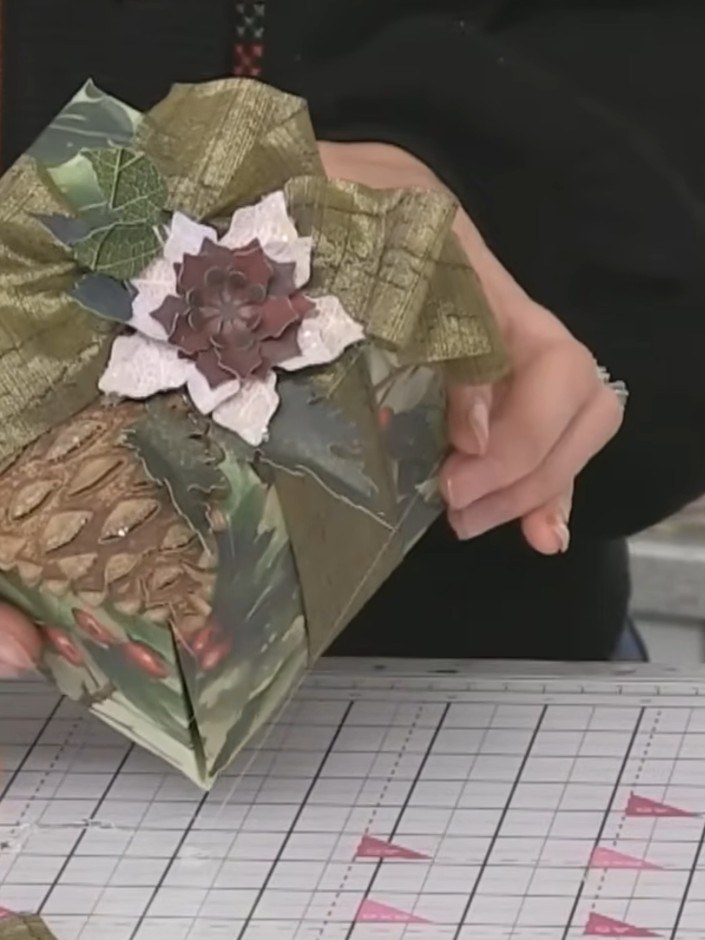
Create a charming small gift box measuring 2.5 by 2.5 inches using an envelope and box maker tool. This elegant grey box features clean folded edges and a coordinating design, perfect for presenting chocolates or small treasures. The project demonstrates precise scoring, folding and assembly techniques to achieve a professional glueless finish.
 1
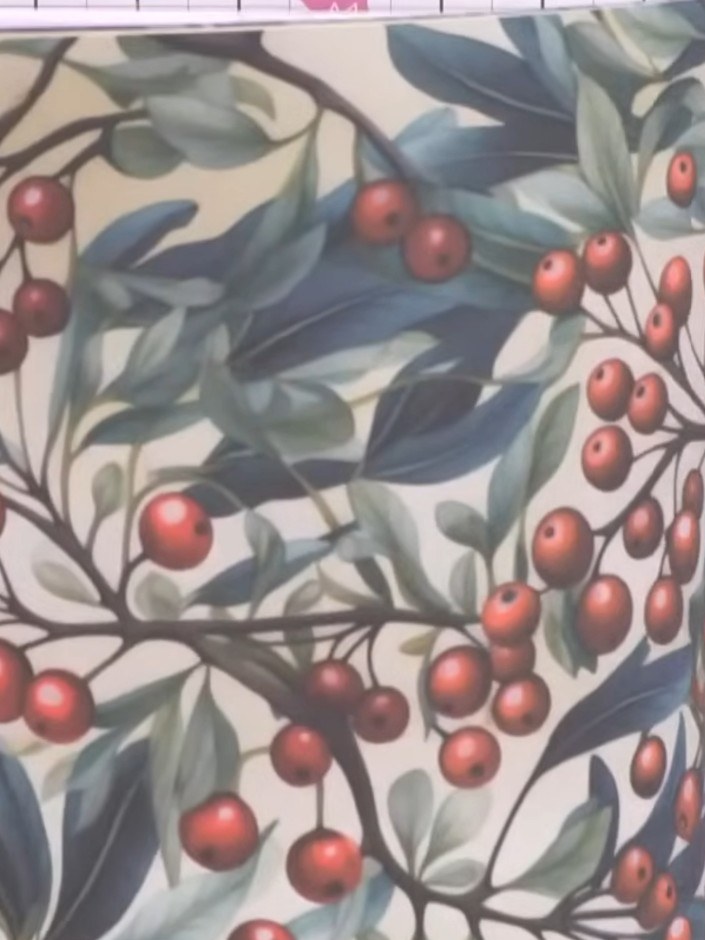
Cut a 7 by 7 inch piece of Holly & Berry paper for the smaller box size.
 2
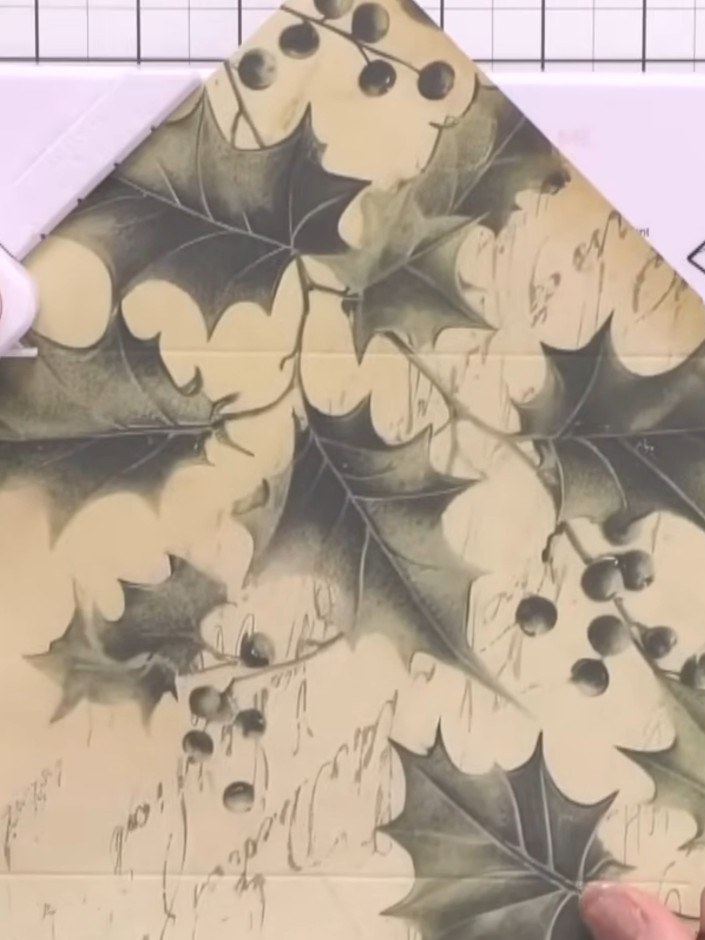
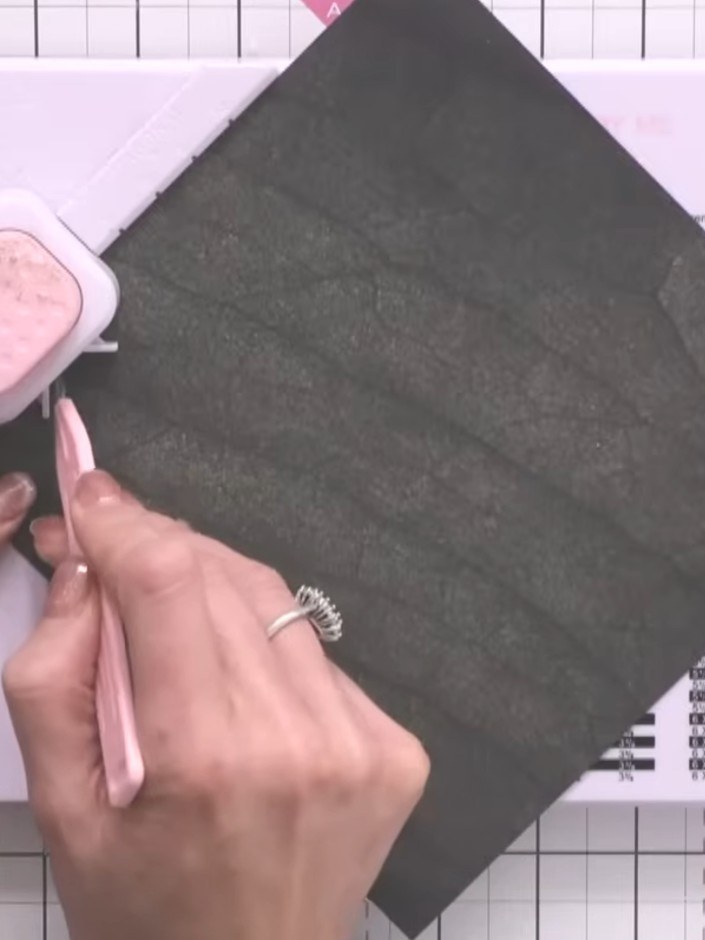
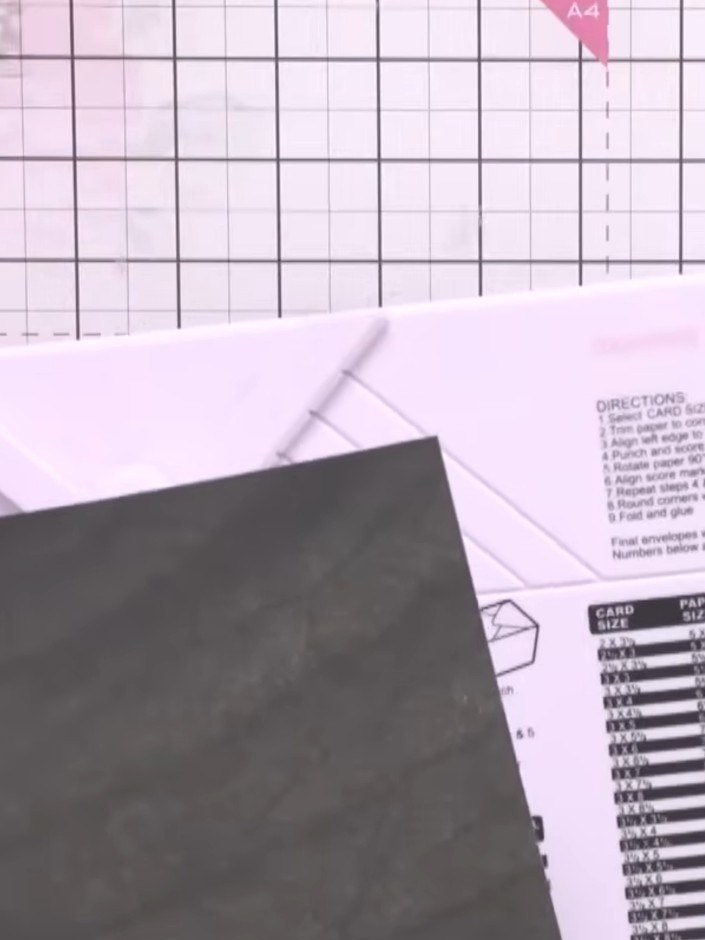
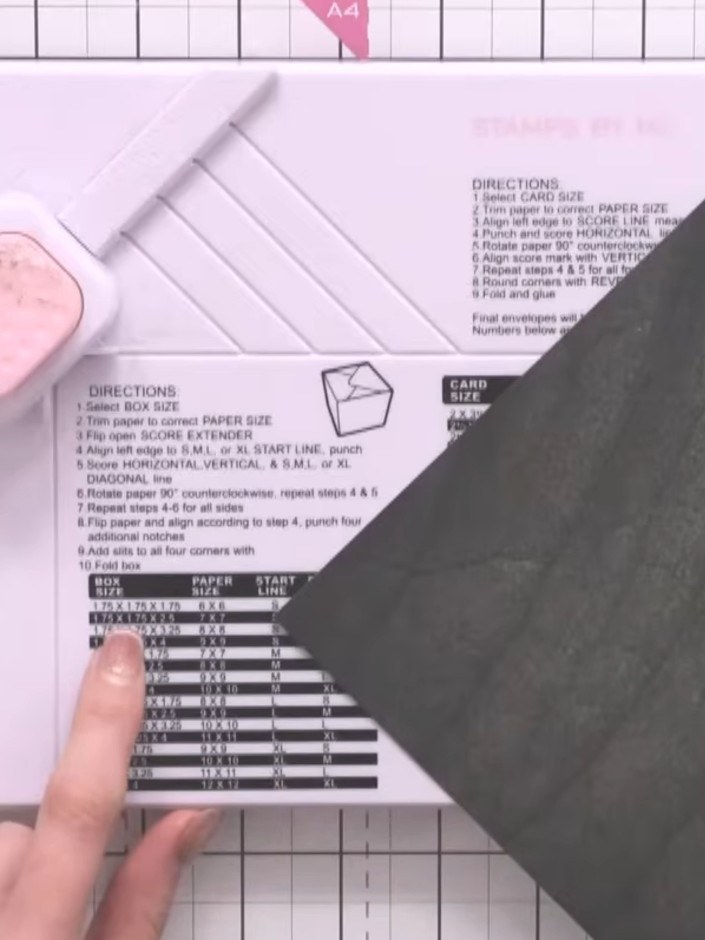
Place your 7 x 7 inch paper on the box maker board, aligning it with the 'small' line. Score down and across using the scoring tool.
 3
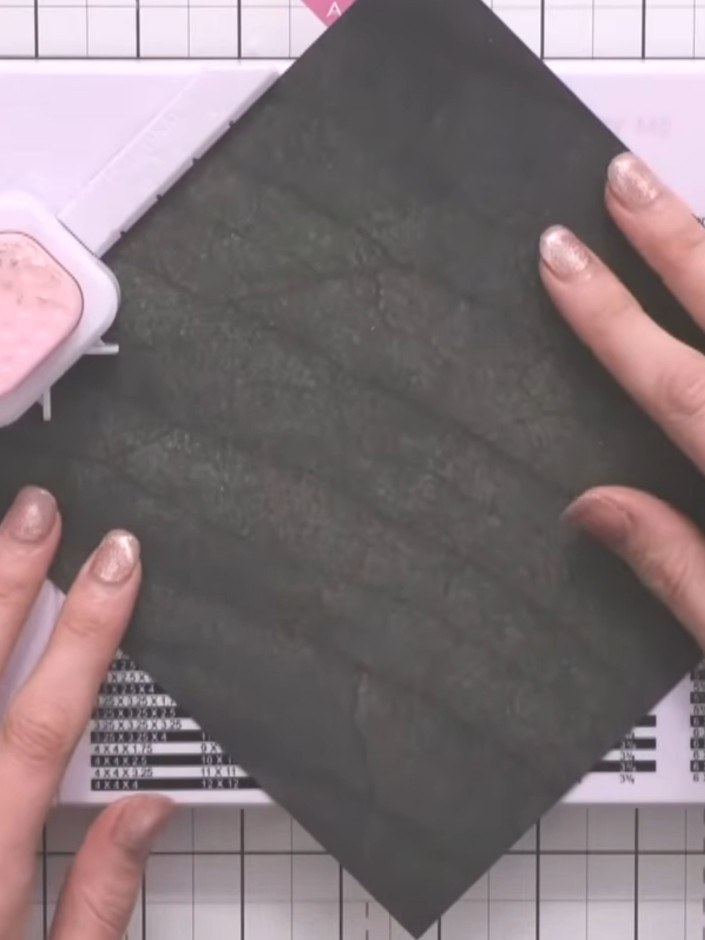
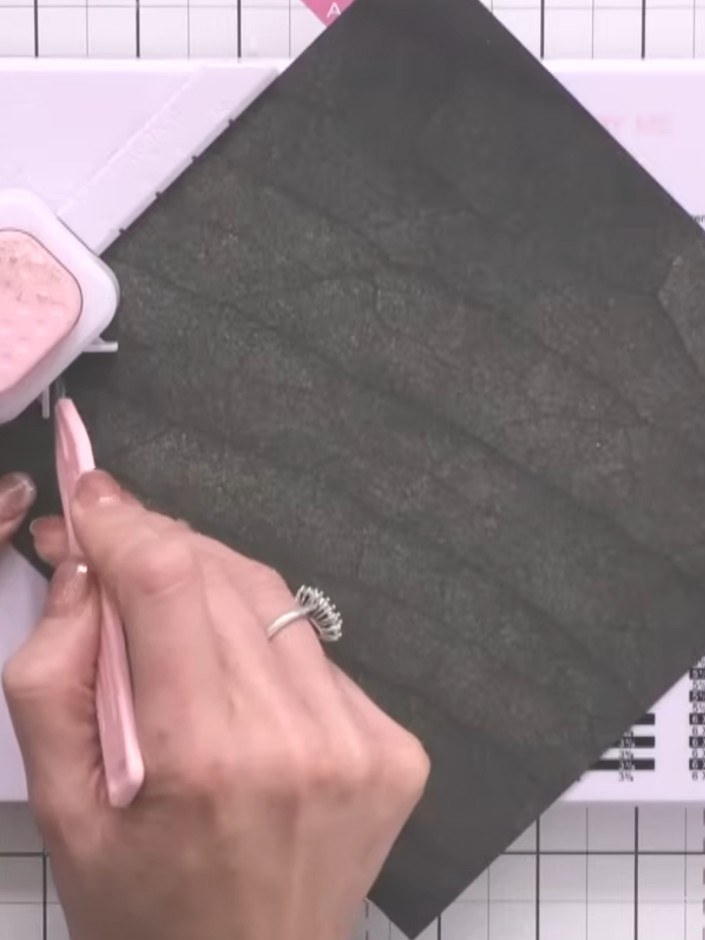
Place your 7 x 7 inch card into the box maker, aligning it with the medium line. Punch the first set of holes, then rotate the card 90 degrees and line up with the medium line again to punch the next set.
 4
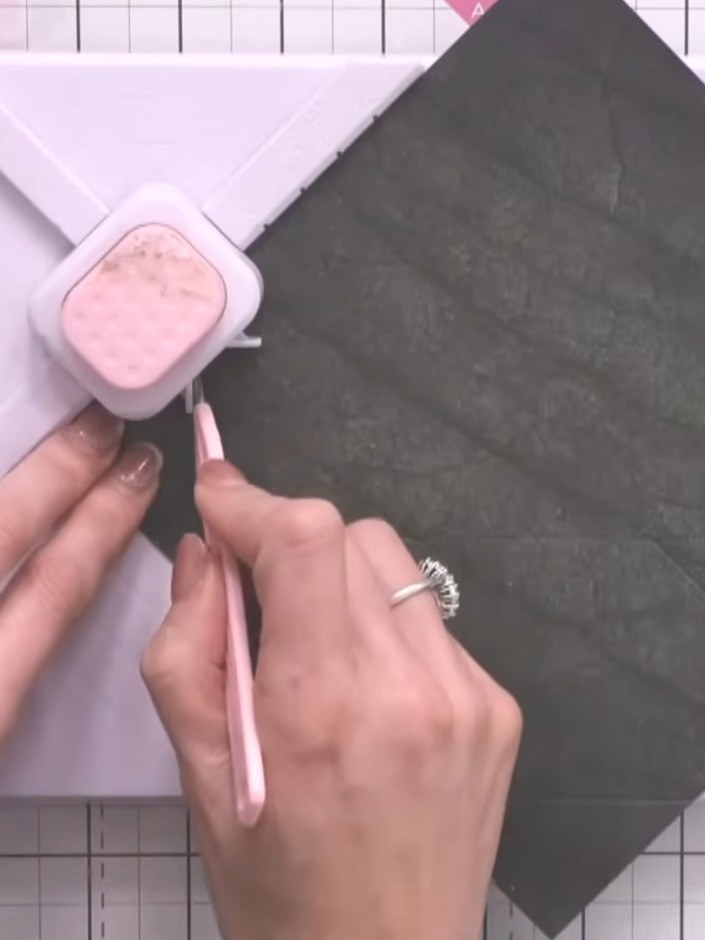
Continue rotating the dark grey card and punching at each score line marking until all four corners have been scored and punched. Repeat the process for the second piece of card, ensuring all markings are complete.
 5
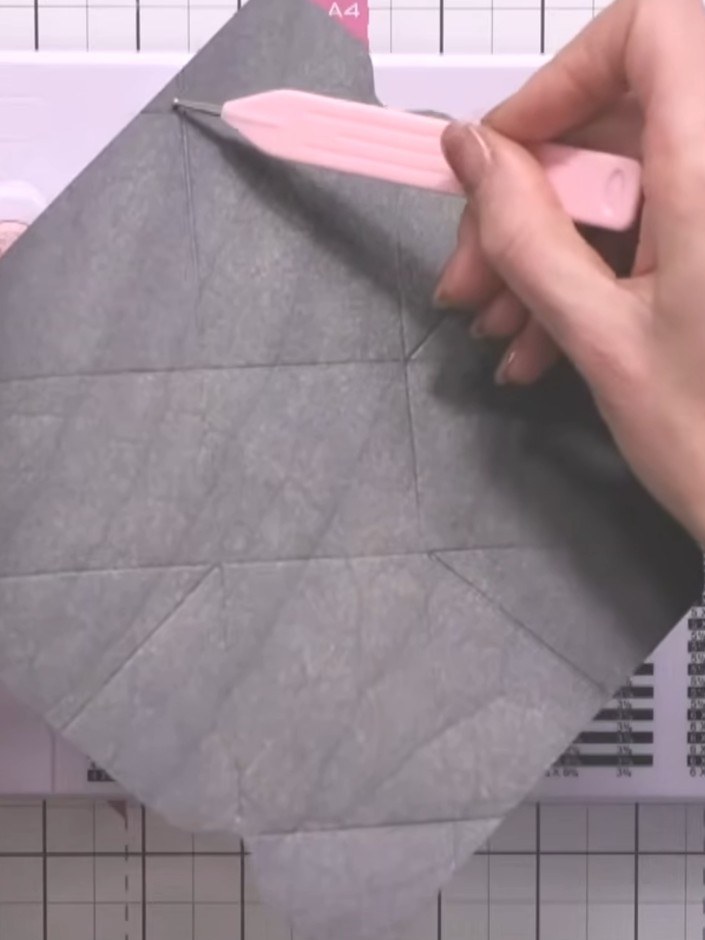
Remove the small triangular corners from the scored cardstock by punching them out with your fingers or a craft tool.
 6
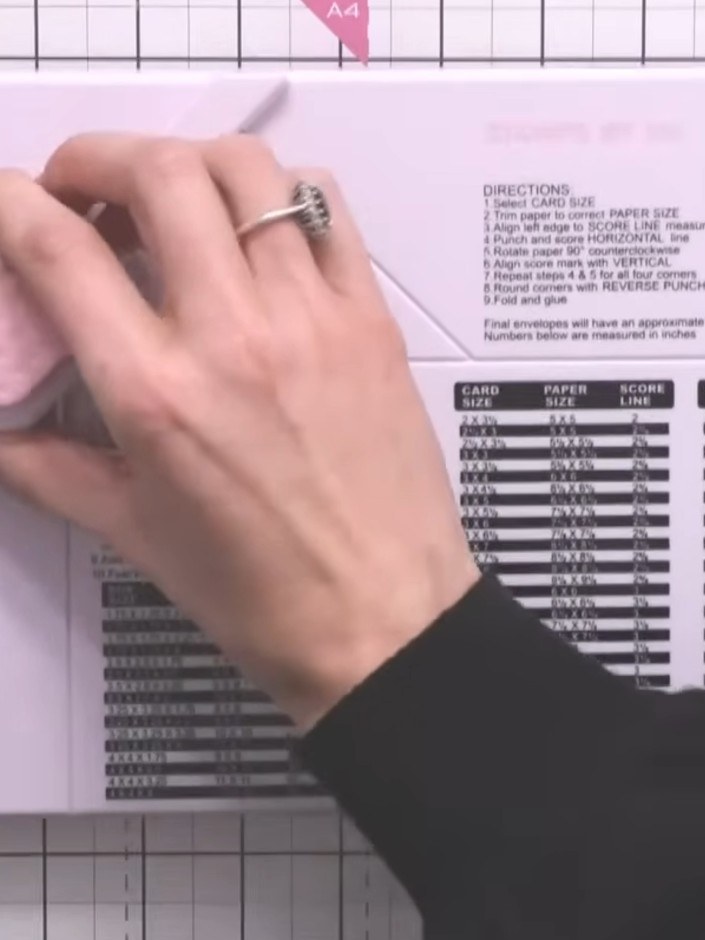
Insert the pink liner into the grey envelope, creating a triangle shape at the top. The corners will form an eyelet system that allows the envelope to close without glue.
 7
Score all the internal lines on your envelope template. Nip the small corner flaps with scissors to help them fold properly and sit flush when assembled.
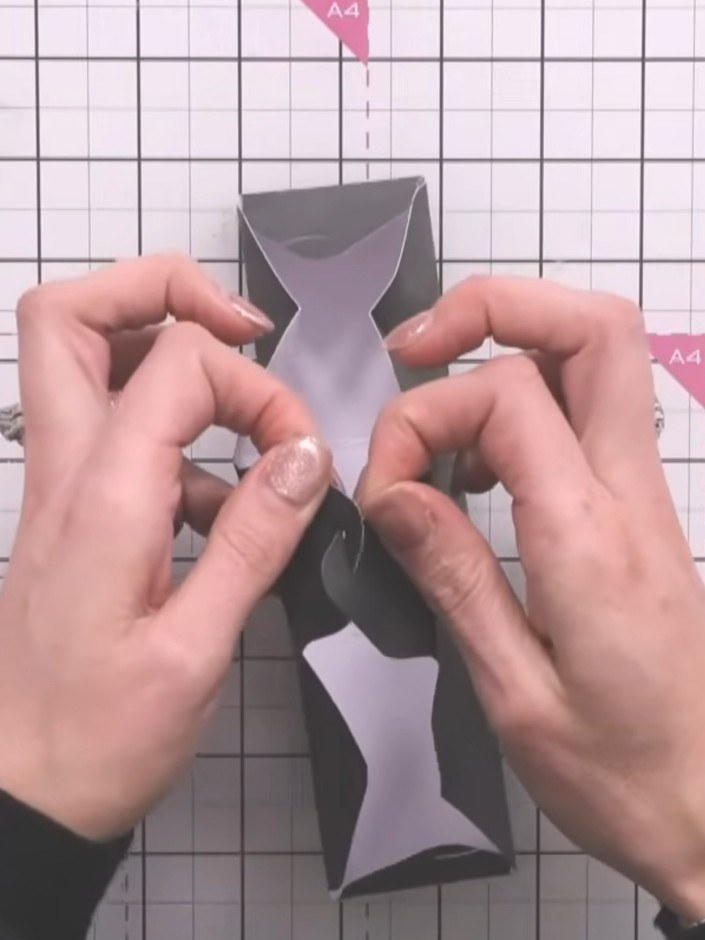 8
Fold up the sides of the box. Hook the eyelets together at each corner to secure the box without glue.
Share your make with the Stamps By Me community - and keep this guide for next time.
Written up from the show itself. See every guide from our shows · free how-to guides · watch live on My Telly · the previous layout