Give your friends £10 off their first order!
Refer a FRIEND








Prices change straight away. Every language is our own translation, not Google.
A project from our live show HSN PRODUCT INSPIRATION - Join me for a fun filled show broadcast 1st September 2026 · 01/09/2026 · watch it from 32:00
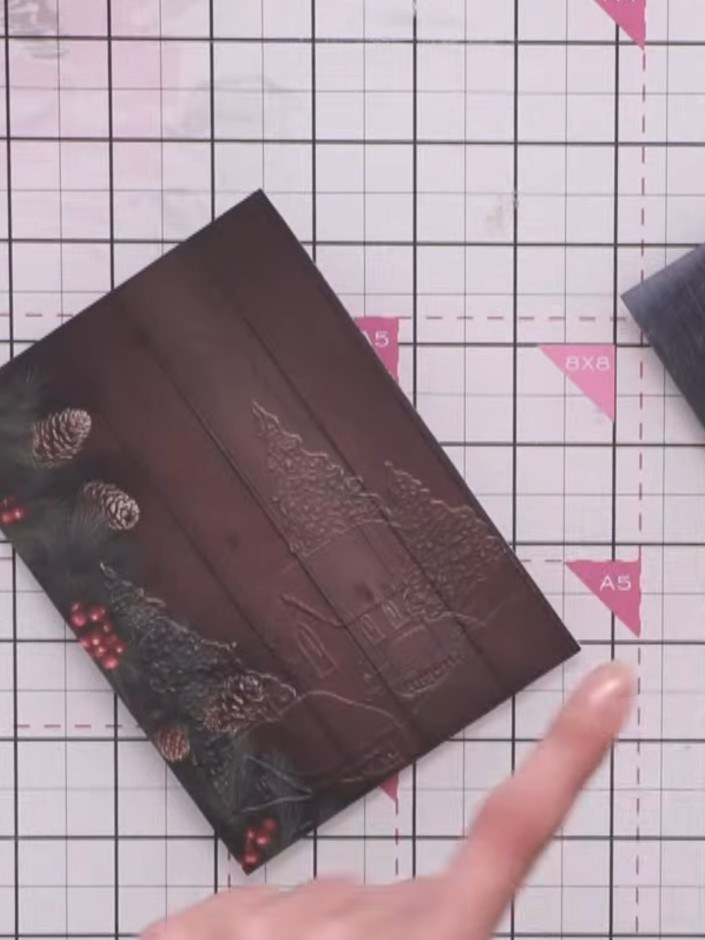
Create a striking winter village card featuring an embossed scene on dark card stock with a beautiful slate-like finish. Using white ink swiping techniques, you'll bring a charming village with churches, trees and pine cones to life against the dramatic background. This elegant design combines embossing and ink blending to create a sophisticated festive card with wonderful depth and contrast.
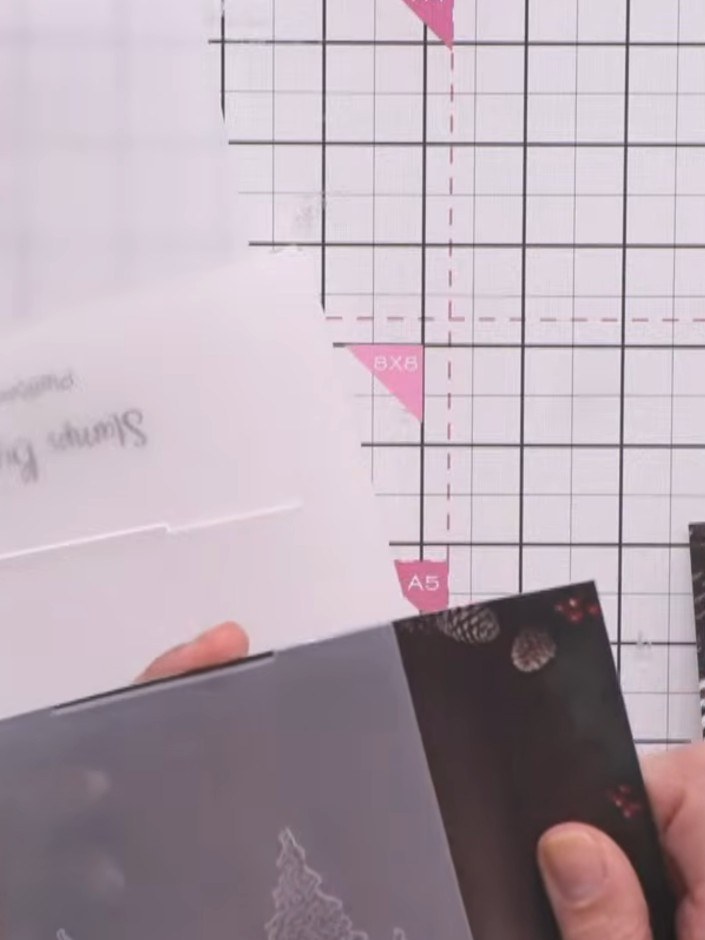
Run your patterned paper through the embossing folder to create the raised village design with trees and pine cones.
▶ watch this step (32:30)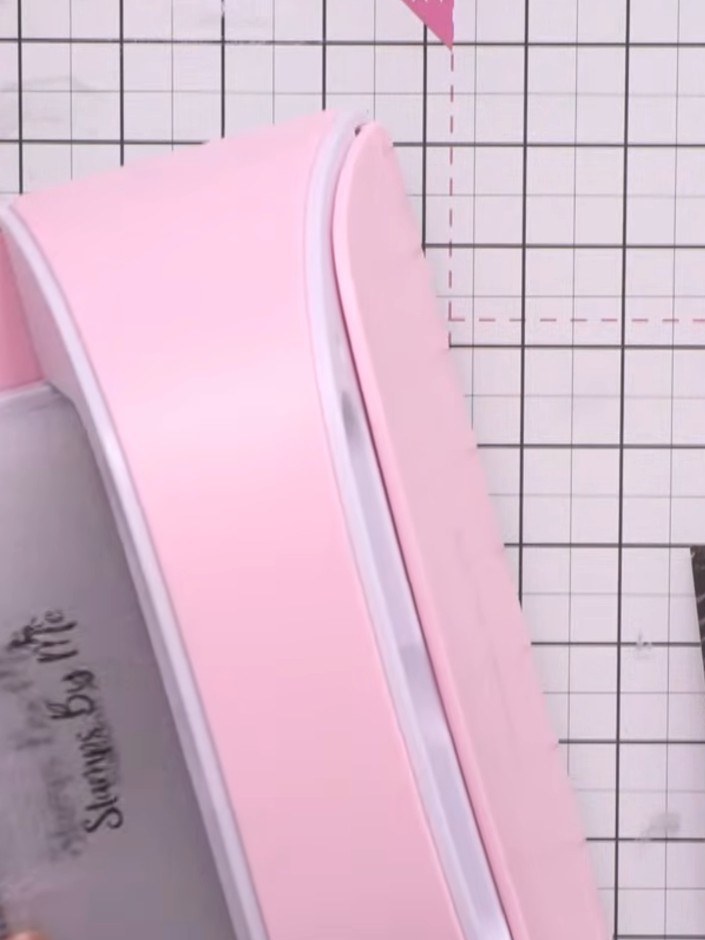
Using your die-cutting machine or trimmer, trim down the embossed winter village piece to remove any ragged edges left by the embossing folder. This will give you clean, straight edges for your card panel.
▶ watch this step (33:00)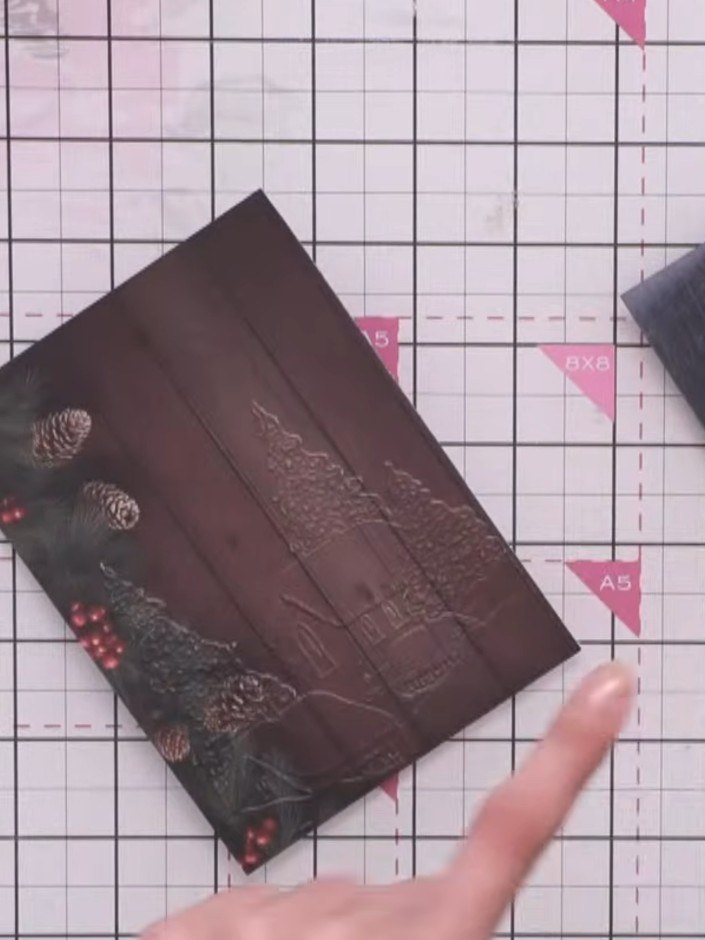
Take your white ink pad and angle it slightly. Drag it down the front of the card in a swiping motion to catch the top of the embossed village design.
▶ watch this step (35:30)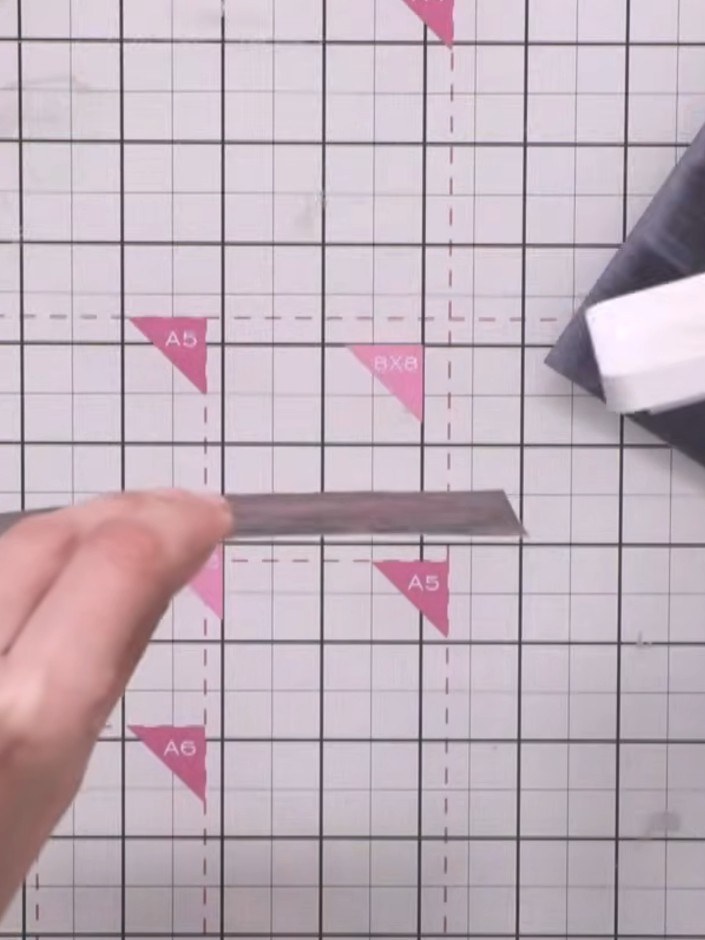
Turn the card around and swipe the white ink pad from the bottom upwards across the village scene. This ensures the entire winter village design is highlighted with the white ink effect.
▶ watch this step (36:00)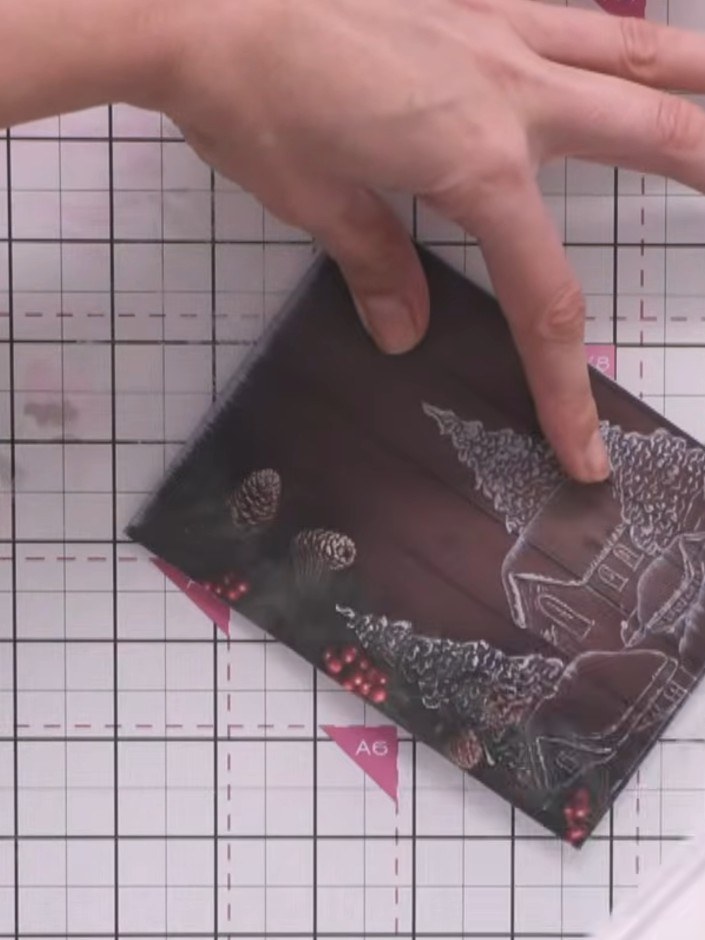
Press slightly harder with the white ink pad if you want a more grainy effect with additional lines showing through on your winter scene card.
▶ watch this step (36:30)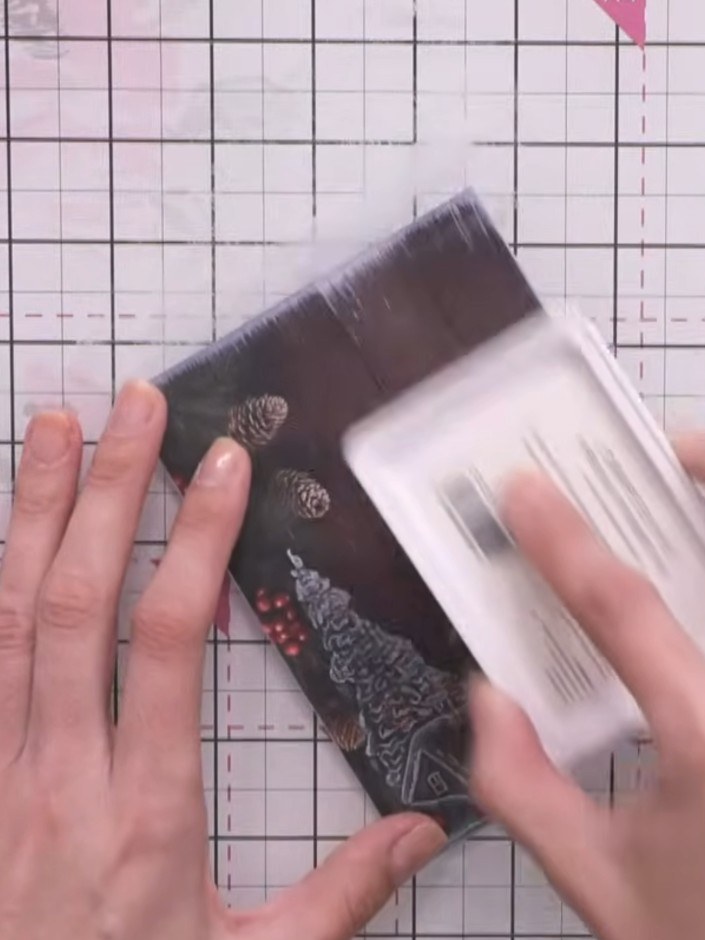
Place the embossed panel onto your card base, working from the bottom up. Press firmly to ensure good adhesion and create a grainy texture effect with the mounting.
▶ watch this step (37:00)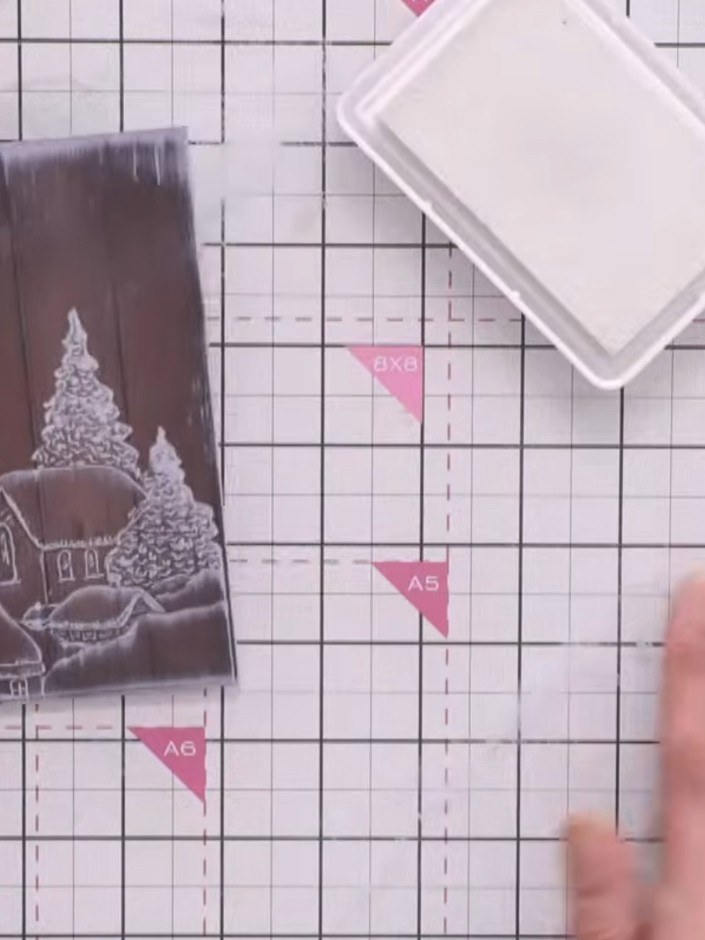
Add glitter glue to the roofs of the houses and trees on your stamped image. Allow the glue to dry completely clear for a sparkly, dimensional finish.
▶ watch this step (37:30)Written up from the show itself. See every guide from our shows · free how-to guides · watch live on My Telly


