Give your friends £10 off their first order!
Refer a FRIEND








 Hidden GemsWed 18 Nov 10am
 The Thursday DropThu 19 Nov 6pm
 The Friday Final CutFri 20 Nov 10am
Prices change straight away. Every language is our own translation, not Google.
A project from our live show MY PODCAST - Catch my latest updates broadcast 16th March 2026 · 16/03/2026 · watch it from 35:15
Create a striking rose design on black card featuring elegant purple roses with teal-green foliage. This technique involves building up a white base layer first, then adding vibrant colour on top to achieve a bold, high-contrast image that stands out beautifully against the dark background. The finished piece showcases dimensional roses with rich purple tones and detailed leaves.
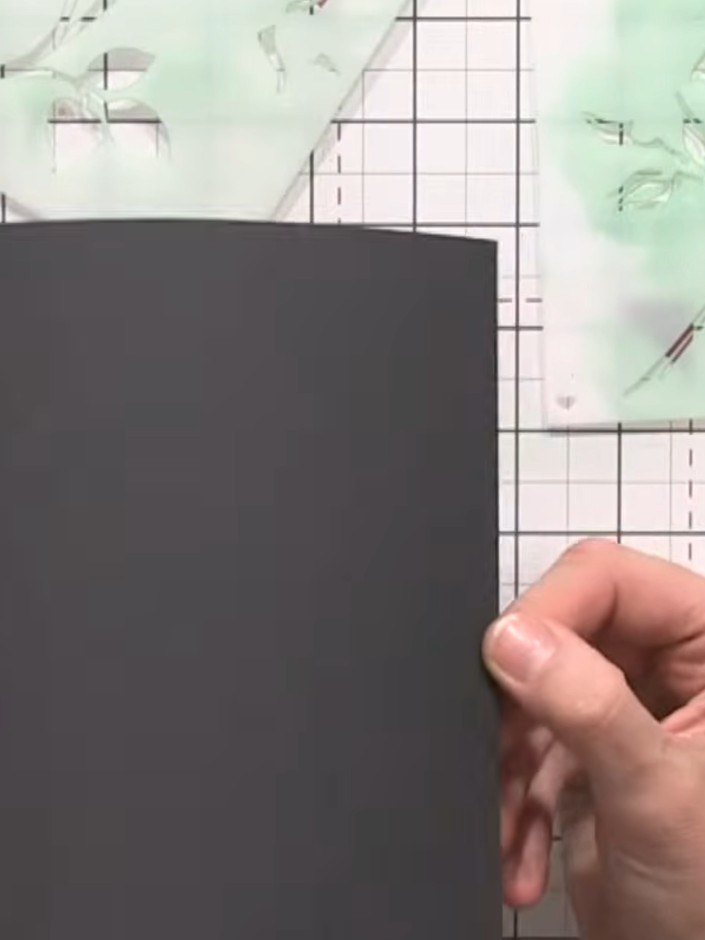
Place your black card stock on the craft mat. Ensure your rose branch stencil is completely clean and free from any previous ink before beginning.
▶ watch this step (45:30)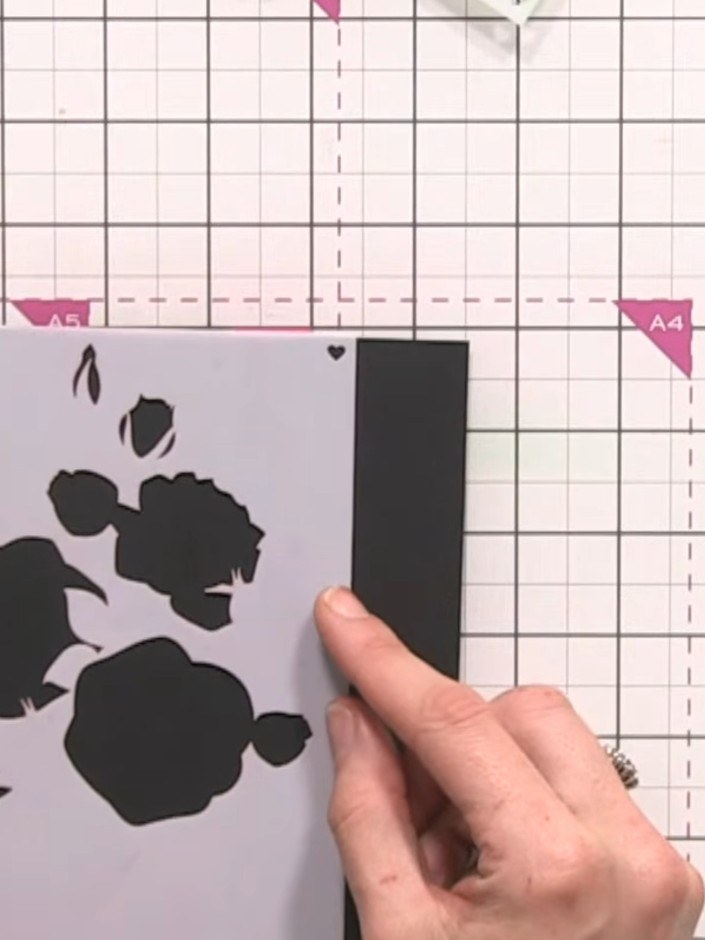
Position the rose branch stencil on the black card, aligning it at the edge. Ensure the stencil is held firmly in place before inking.
▶ watch this step (45:45)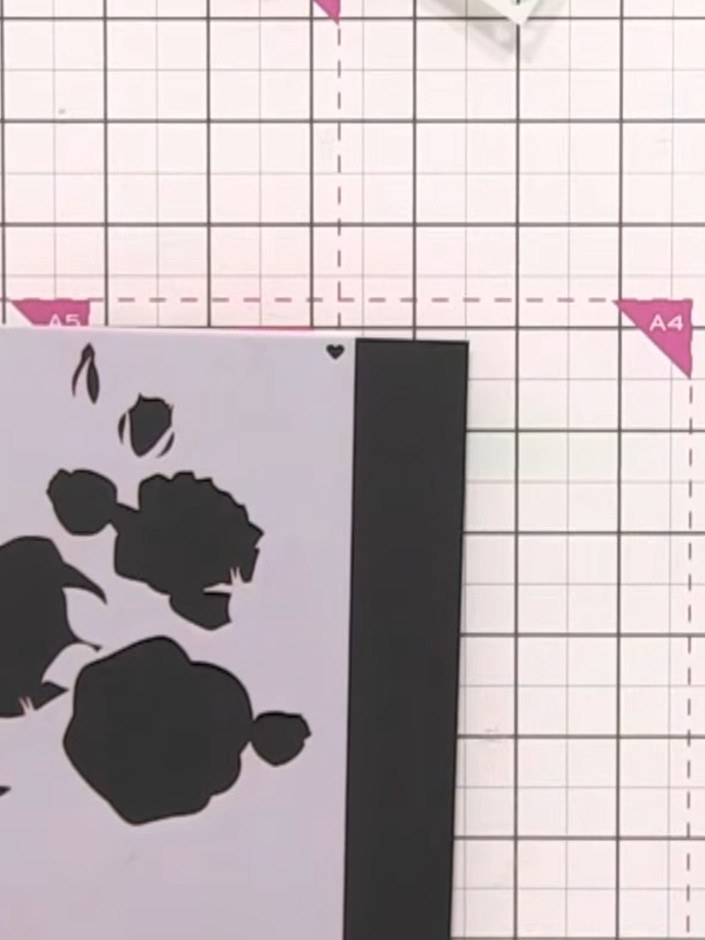
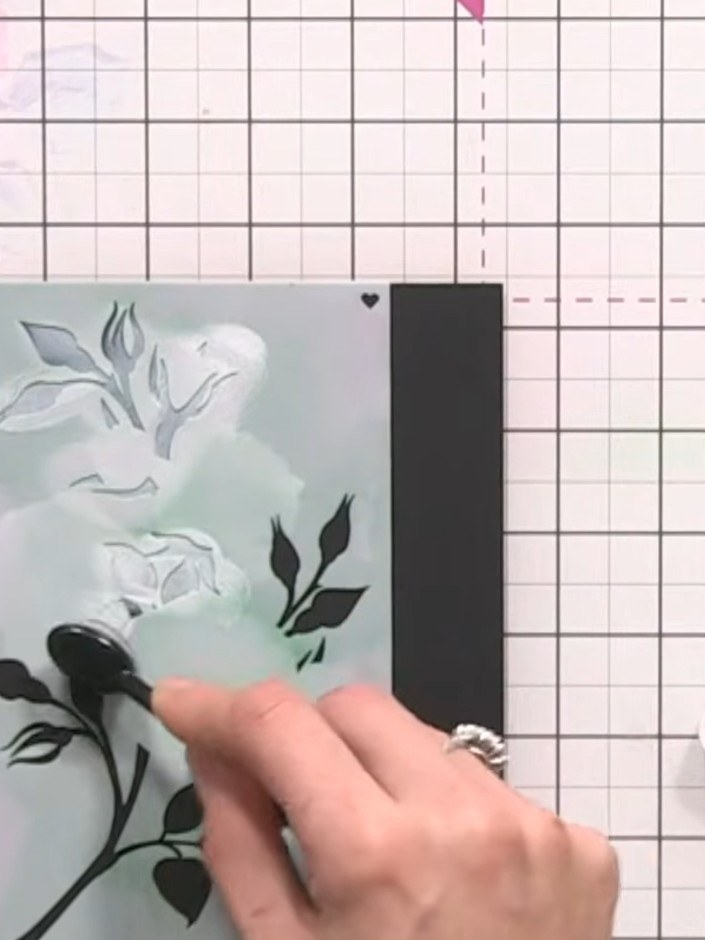
Using the white ink pad, ink through the rose branch stencil to cover the entire stencil area. This creates a white base layer on your card.
▶ watch this step (46:00)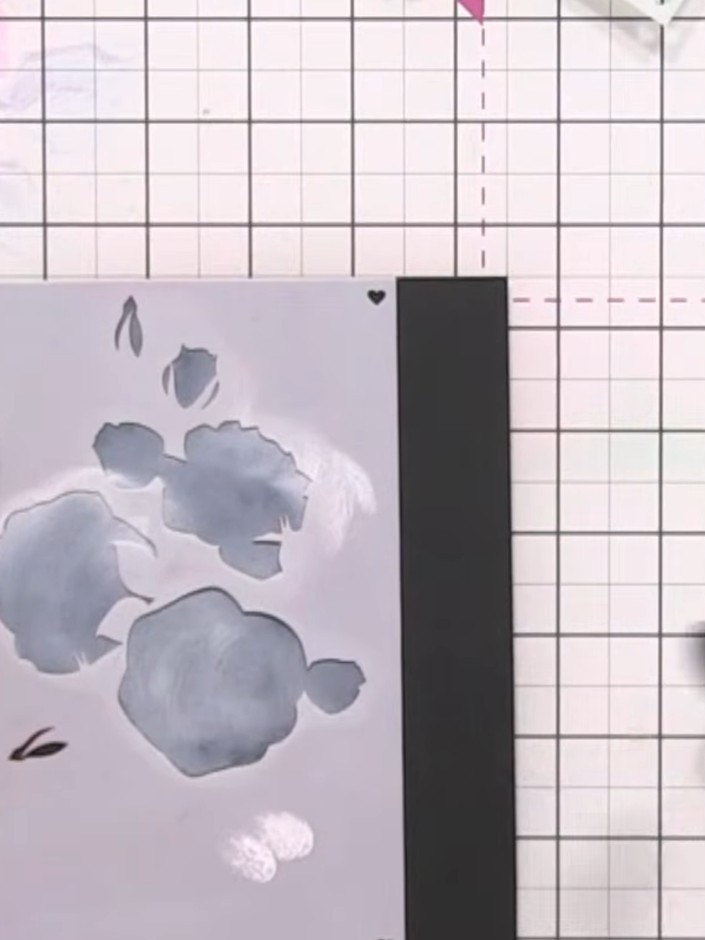
Apply stencil number two over your card and ink through with white ink using a blending brush. Build up the white foundation layer by applying multiple coats, creating the base for your rose design.
▶ watch this step (46:45)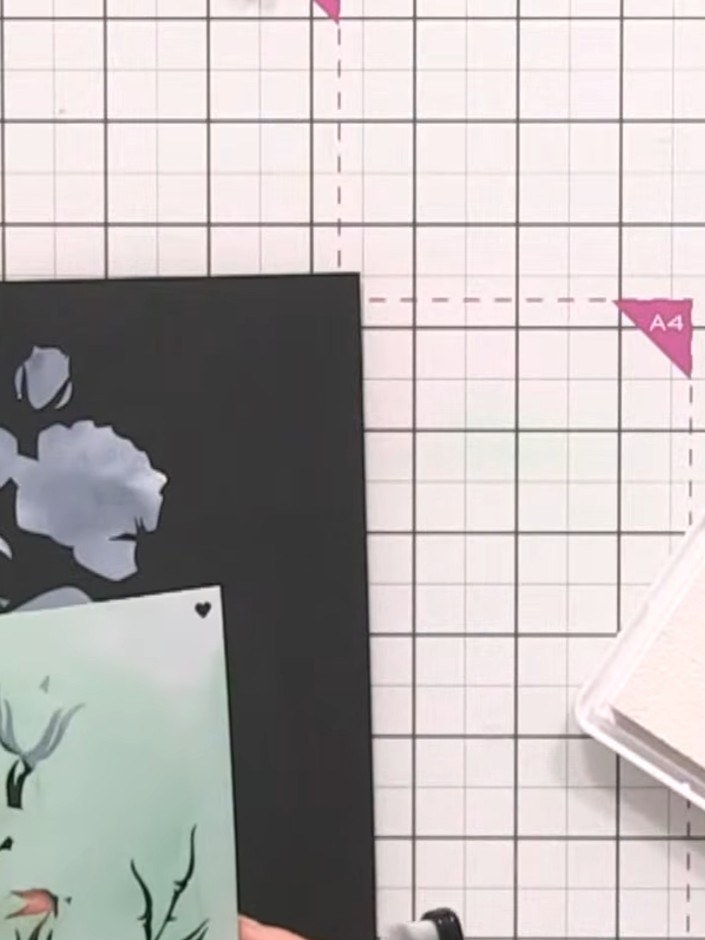
Position stencil number three over your card and ink through with white ink using a blending tool. Ensure all areas of the stencil design are fully covered with the white ink.
▶ watch this step (47:15)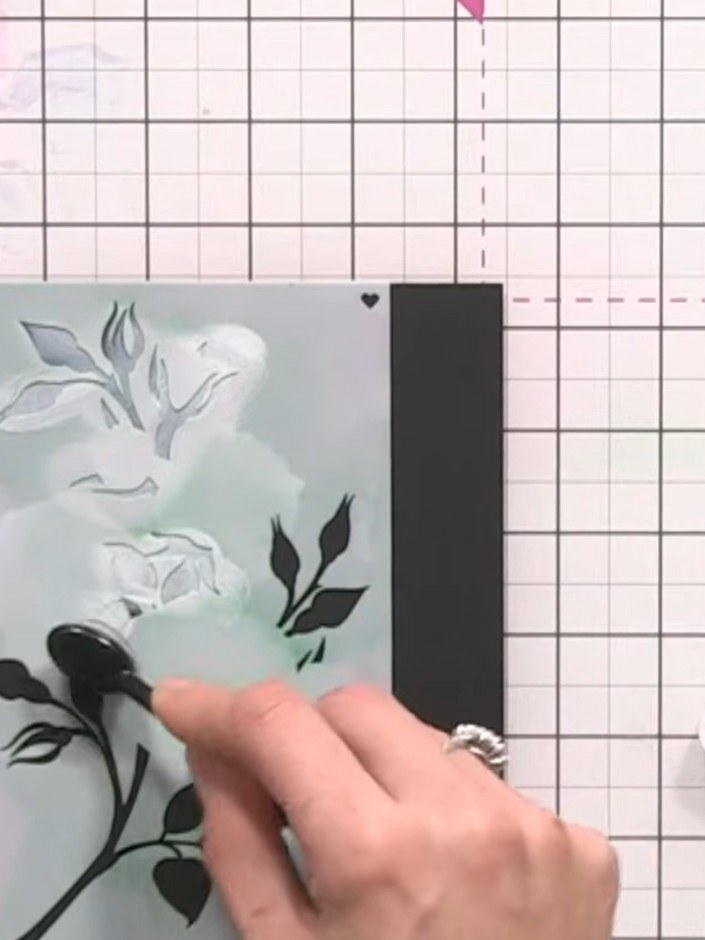
Position stencil number four (the branches) over your card and ink through with white ink to complete the white skeleton design.
▶ watch this step (47:45)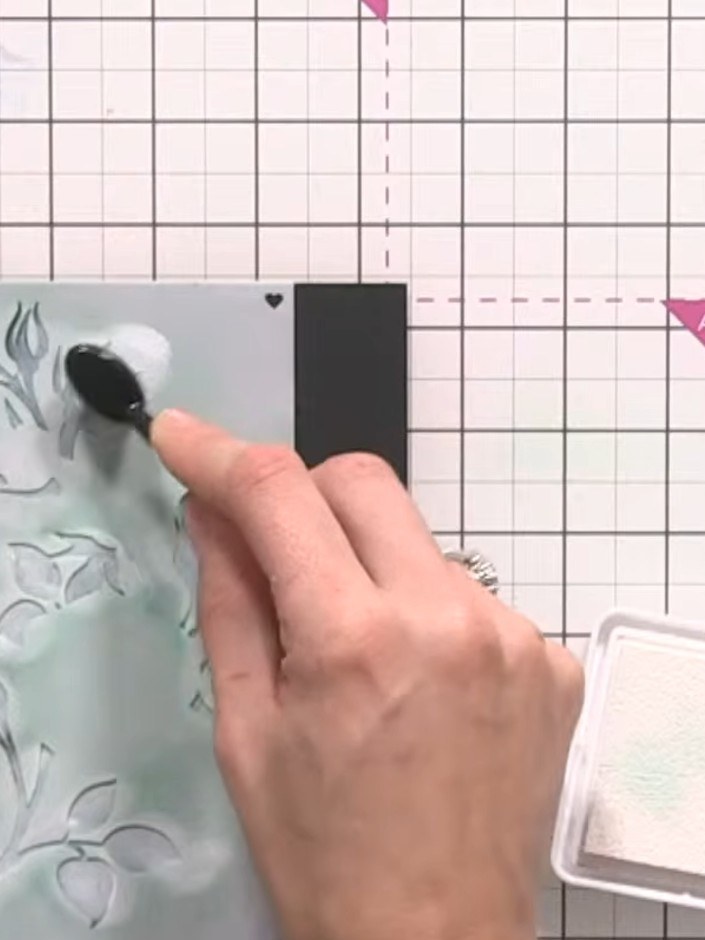
Position stencil number five (the leaves) over your black card and apply white ink through the stencil using a sponge dauber. This creates the white base layer for the leaves.
▶ watch this step (48:15)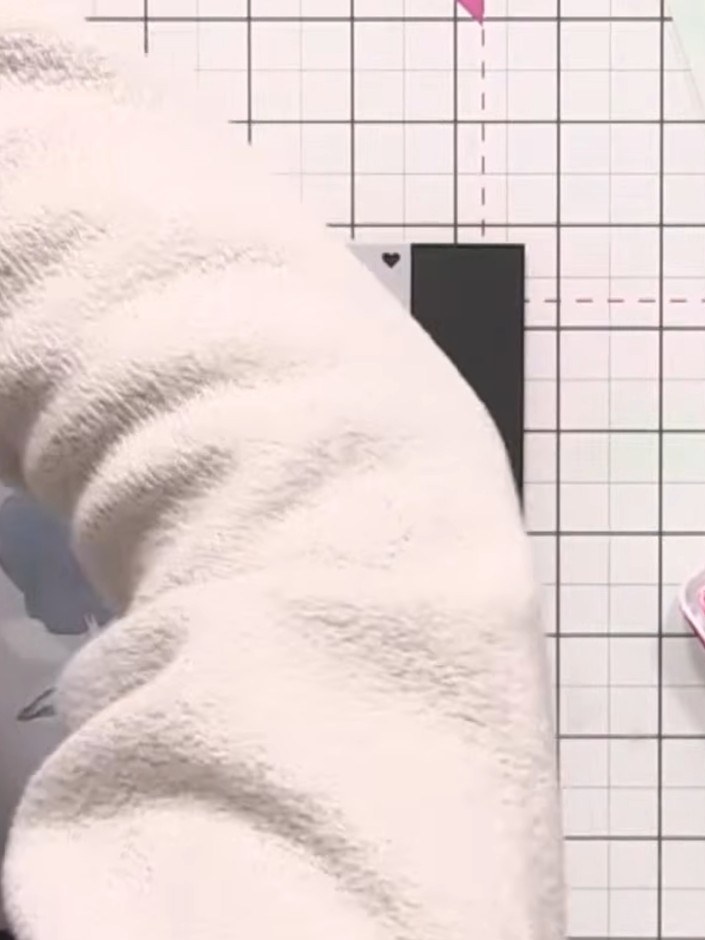
Position stencil number one over the dry white base. Using the pink ink pad, tap gently through the stencil to apply pink colour over the white rose design.
▶ watch this step (49:15)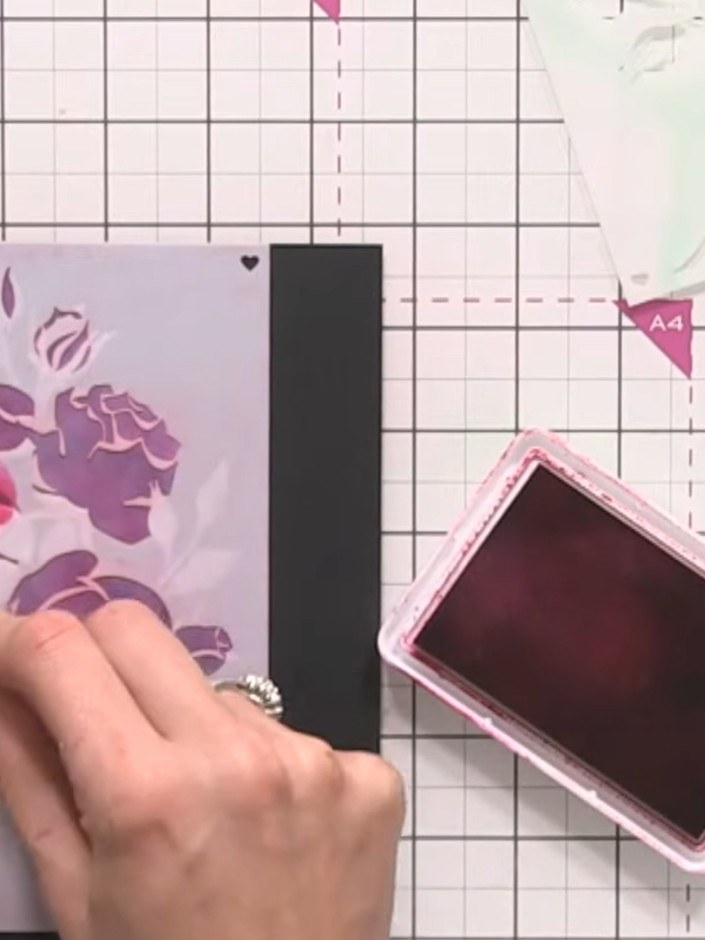
Apply the second stencil layer and ink through with pink ink using a blending tool, pressing slightly harder than the first layer to create deeper colour.
▶ watch this step (51:15)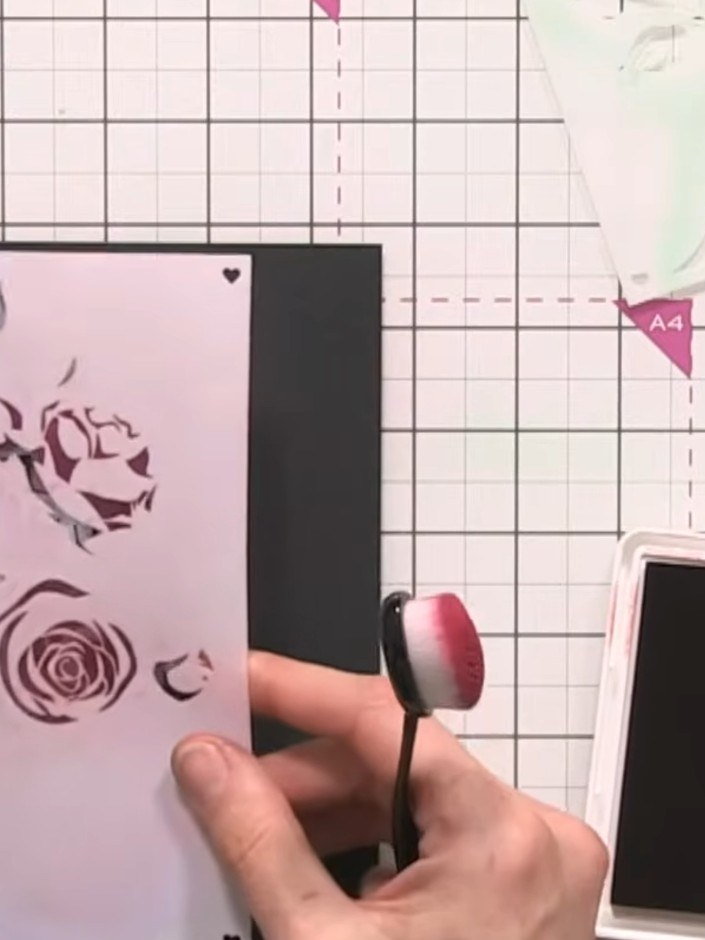
Position the rose stencil (number three) over your card and ink through with the red ink pad using a blending tool. This adds depth and warmth to the rose petals.
▶ watch this step (52:15)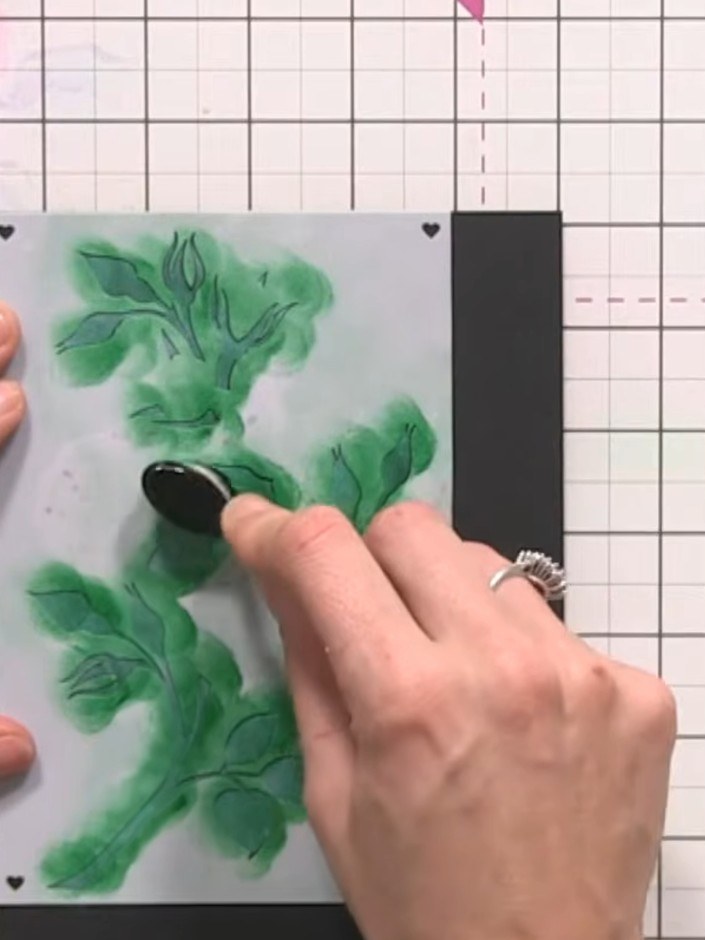
Position stencil number four (the leaves) over your design and ink through with a green ink pad. Tap gently at first to avoid mixing the green with the white base layer underneath.
▶ watch this step (54:45)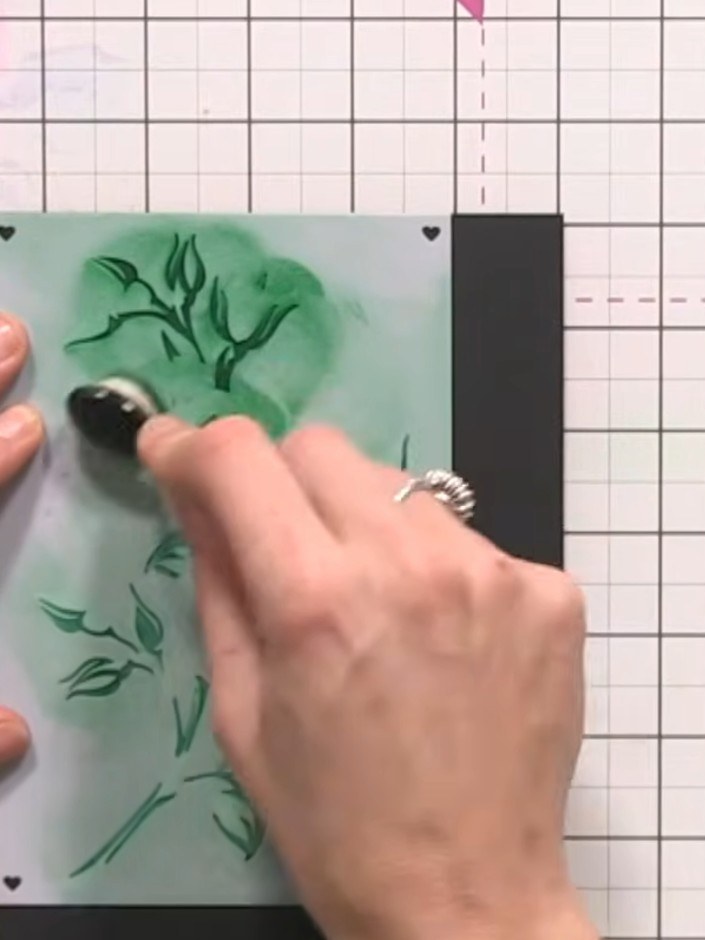
Position stencil number five over your card and apply green ink through the stencil using a blending tool, pressing firmly to complete the layered rose design.
▶ watch this step (55:30)Written up from the show itself. See every guide from our shows · free how-to guides · watch live on My Telly
