Give your friends £10 off their first order!
Refer a FRIEND








 Hidden GemsWed 18 Nov 10am
 The Thursday DropThu 19 Nov 6pm
 The Friday Final CutFri 20 Nov 10am
Prices change straight away. Every language is our own translation, not Google.
A project from our live show MY PODCAST - Catch my latest updates broadcast 16th March 2026 · 16/03/2026
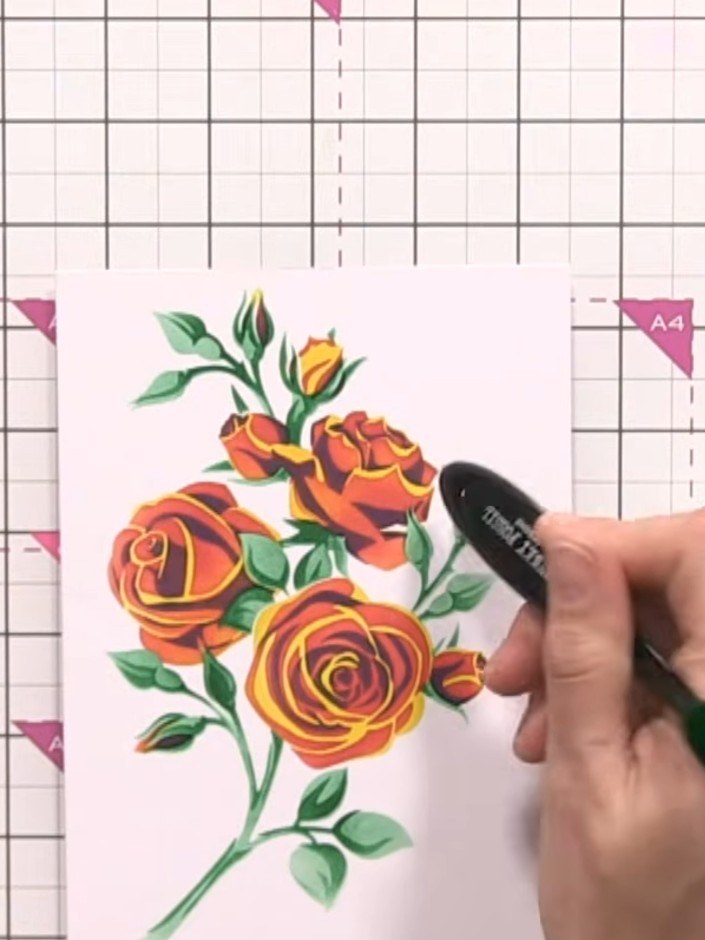
Create a stunning layered rose design with an artistic, psychedelic twist using a multi-step stencilling technique. This project combines vibrant pinks, oranges, and greens to produce a bold, contemporary floral image on white card. You'll use layering stencils and ink pads to build up depth and dimension, resulting in a striking modern rose that's perfect for cards or framed art.
 1
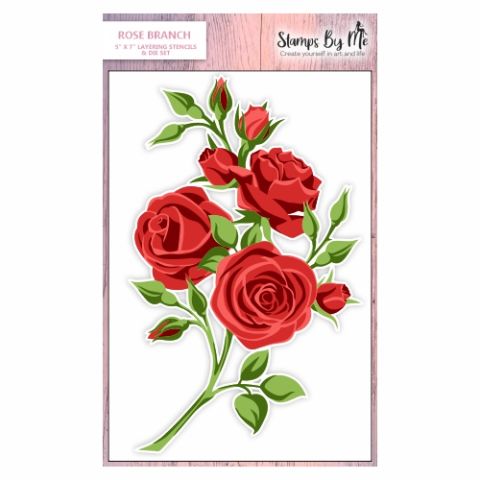
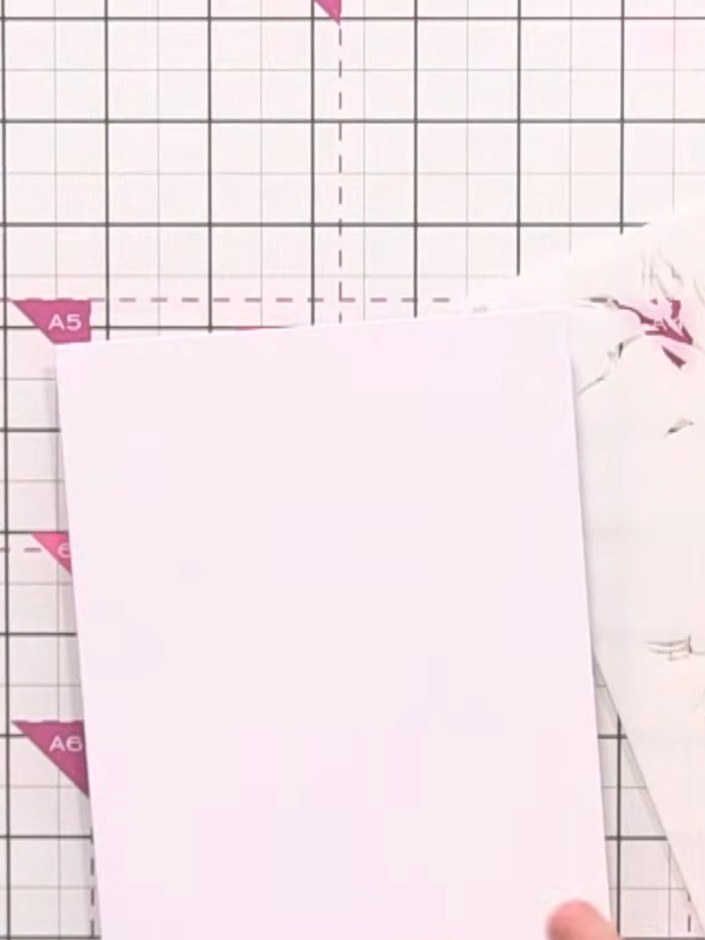
Gather your Rose Branch stencil set (numbered 1-5) and a piece of white card stock. Place the card stock on your craft mat with the stencil set nearby.
 2
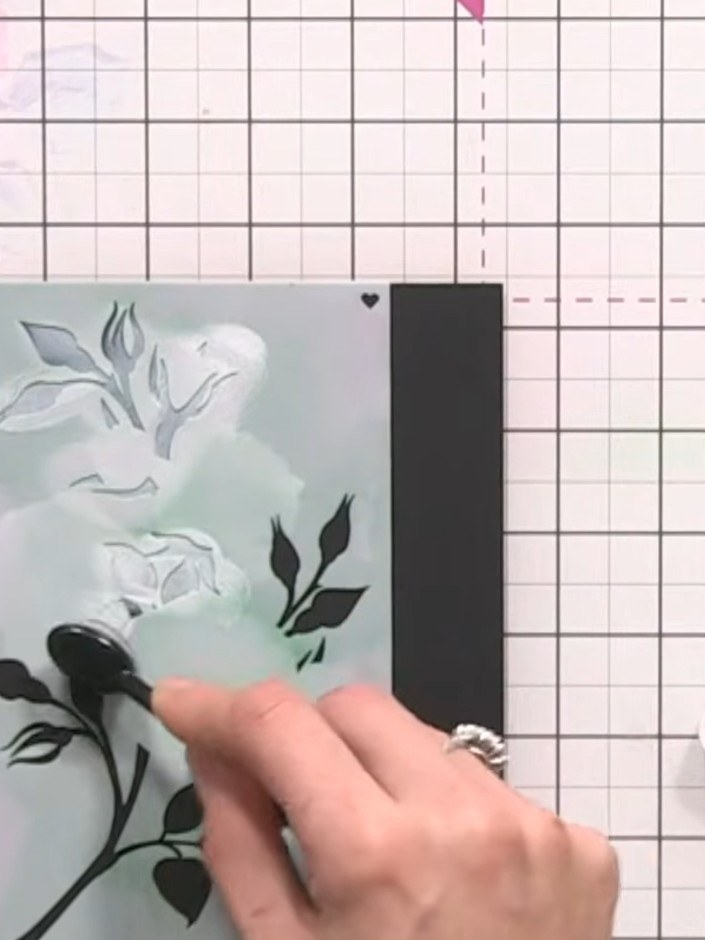
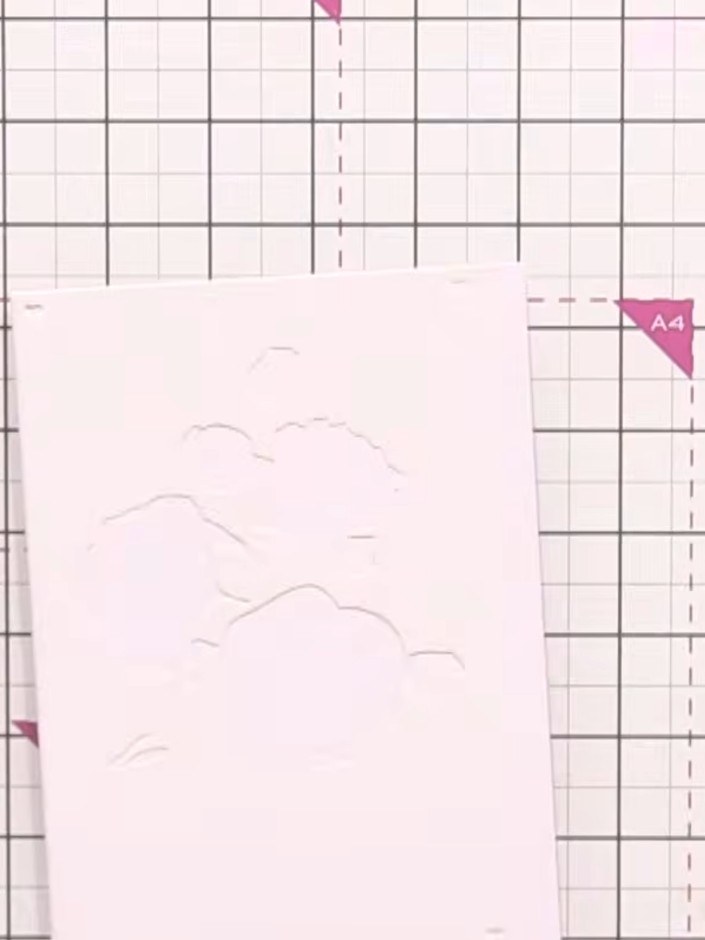
Position stencil number one at the edge of your white card stock. Use the heart alignment guides on the stencil to help line it up correctly.
 3
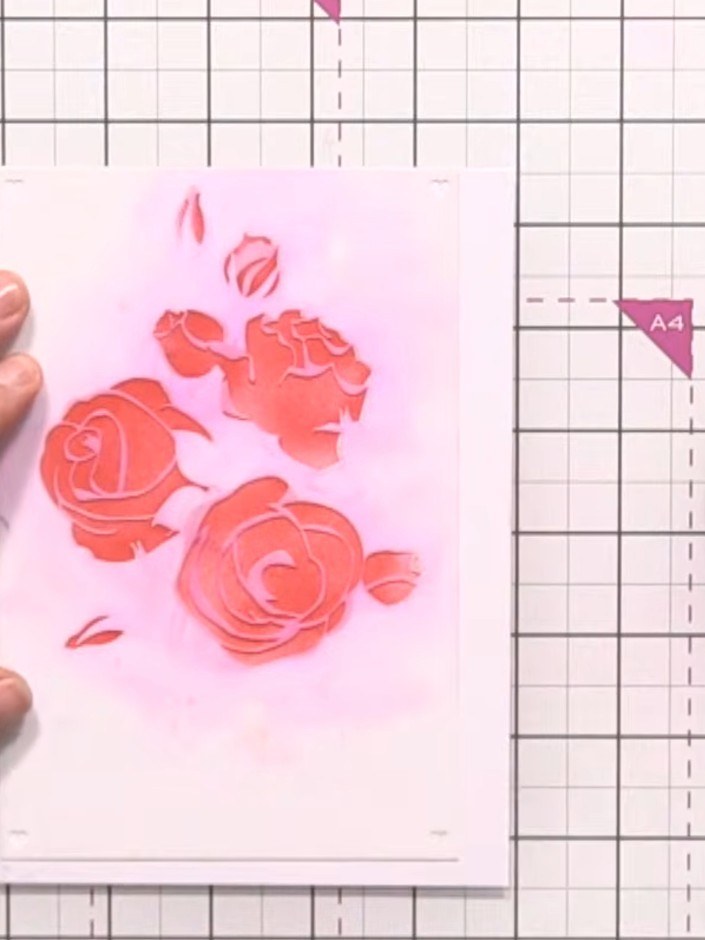
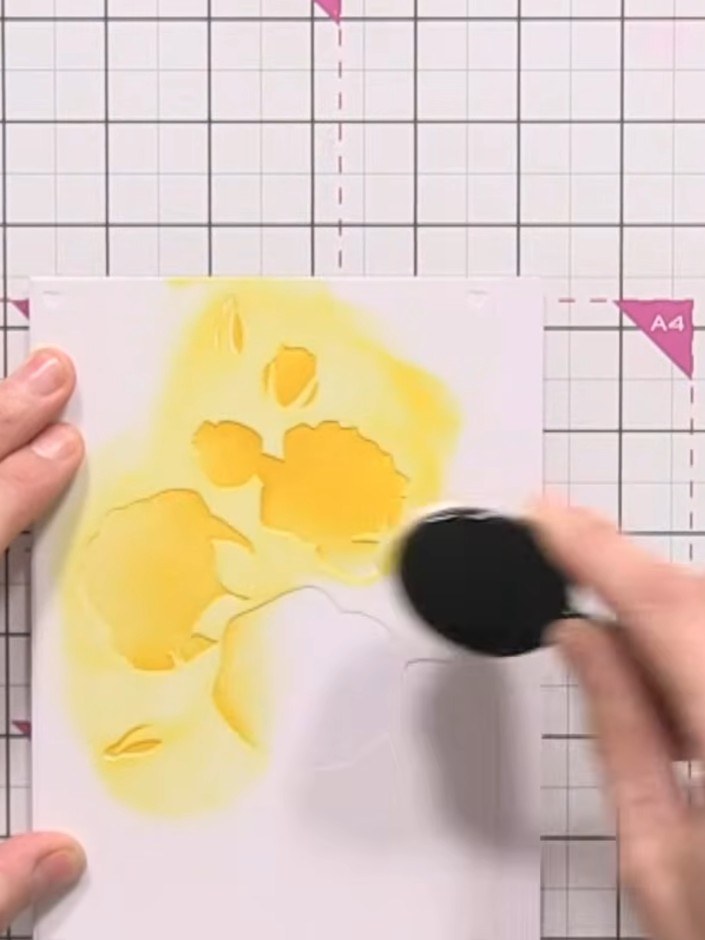
Position stencil number one over your white card. Using the yellow ink pad, tap colour through the stencil openings to create the first layer of the rose design.
 4
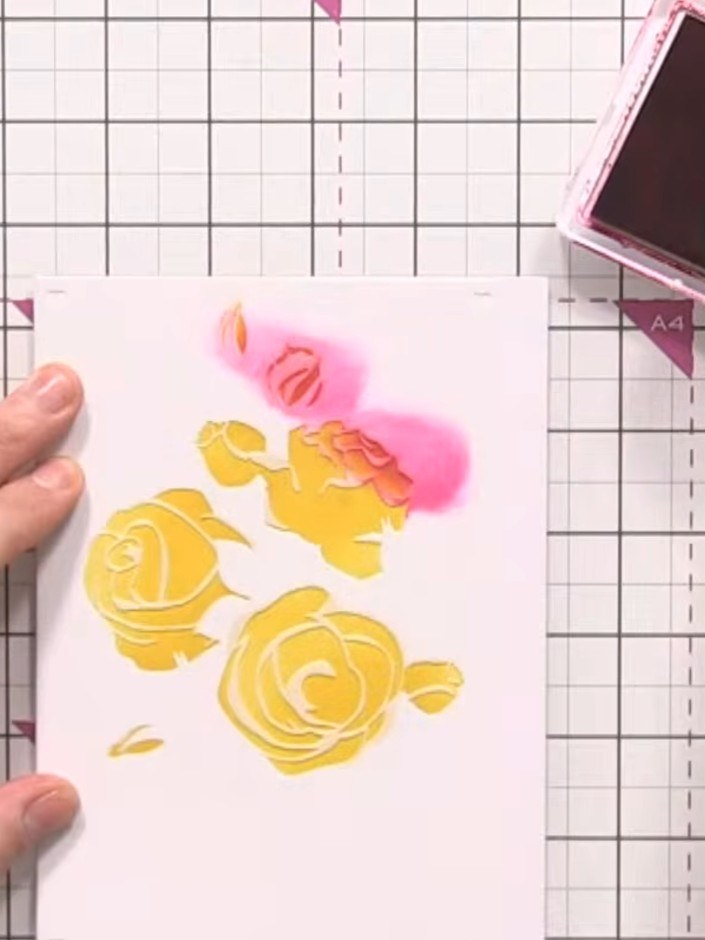
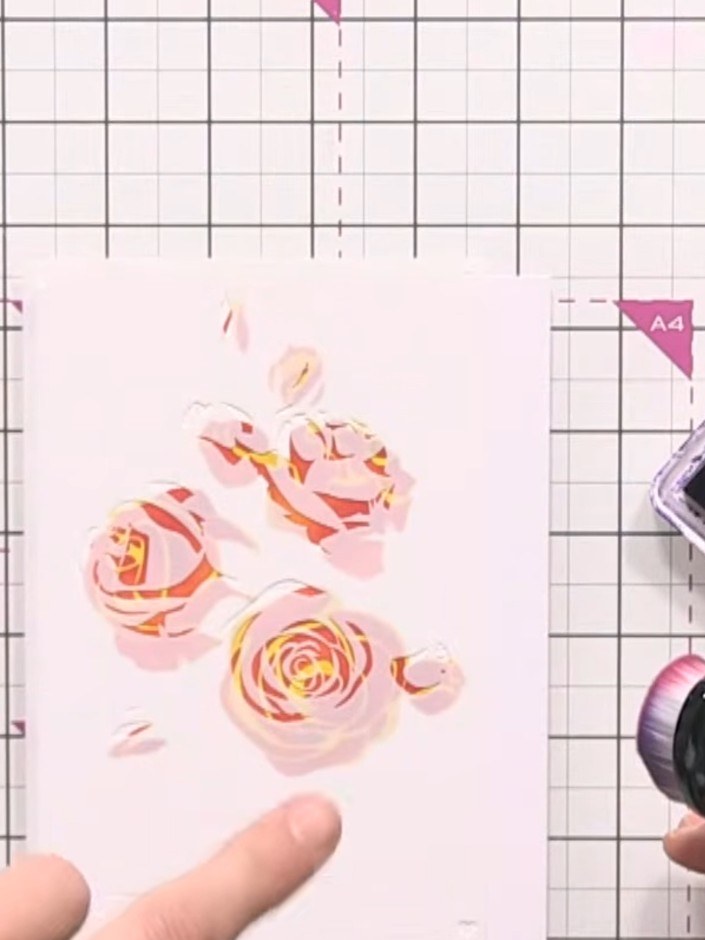
Remove the first stencil and position the second rose stencil on top of your stamped design. Using an ink blending tool, apply pink ink through the stencil to create a contrasting layer over the yellow roses.
 5
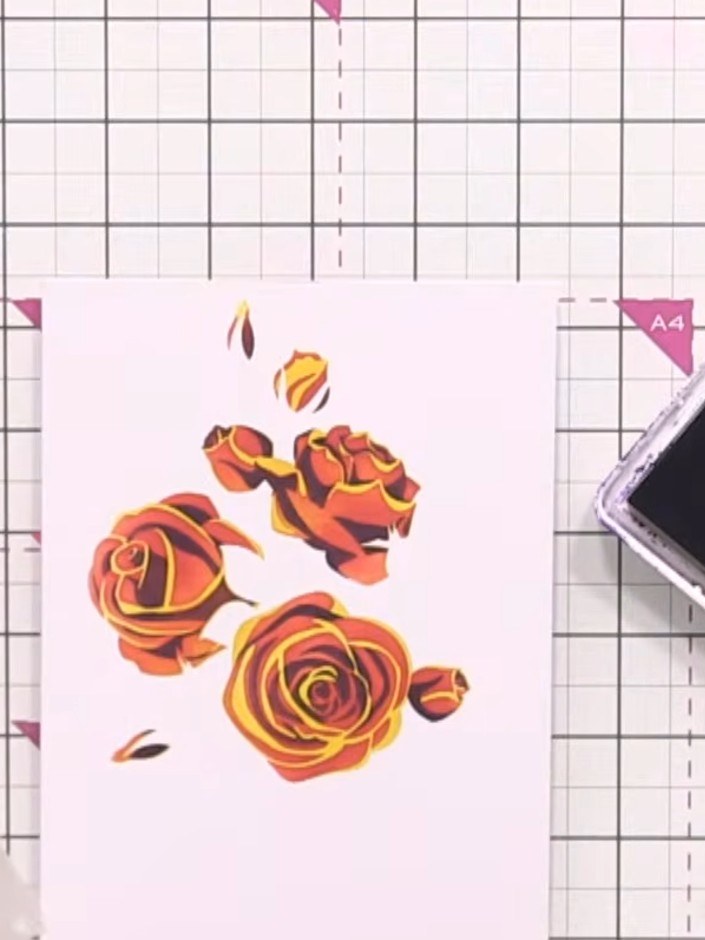
Using stencil number three from the Rose Branch set, apply purple ink over the design to add another layer of colour and depth to your roses.
 6
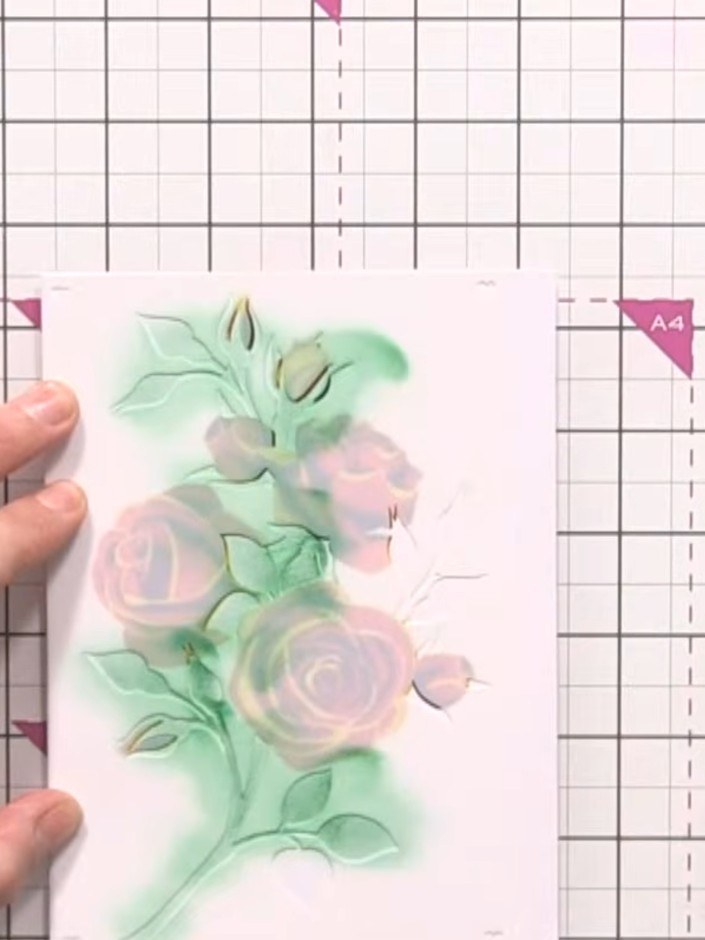
Position the leaf stencil over your stamped roses and ink through with green ink, pressing firmly to build up depth and colour. The leaves will add dimension to your floral design.
 7
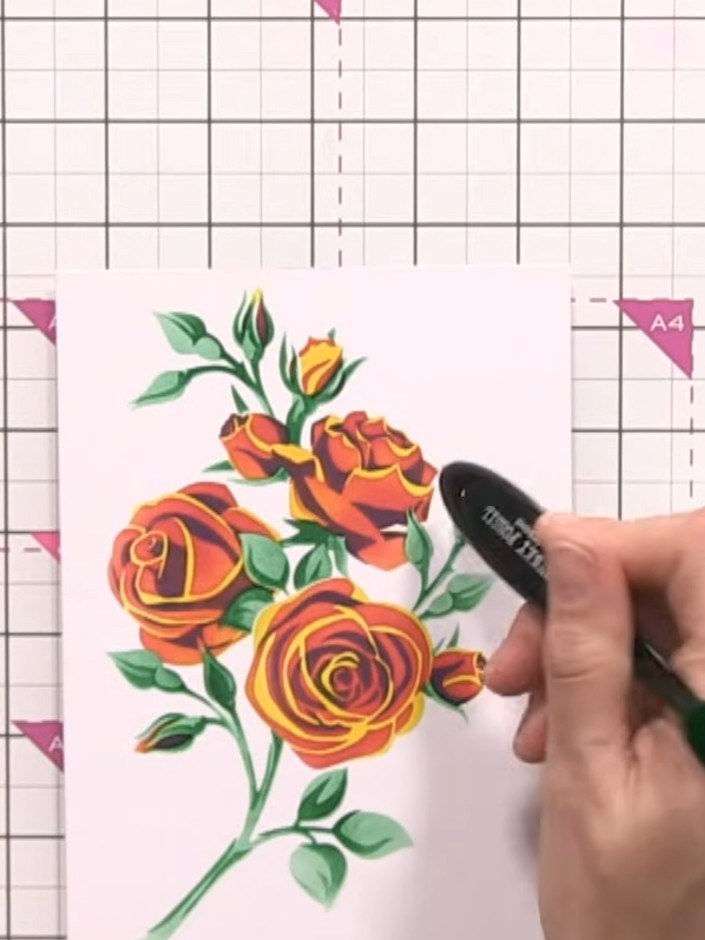
Apply the fifth and final stencil layer over your design. Ink through with black ink, pressing firmly to create strong definition and depth in the rose petals and leaves.
 8
Once the stamped design is dry, optionally spray the card lightly with water and flick metallic paint onto the roses for an artistic, psychedelic effect.
 9
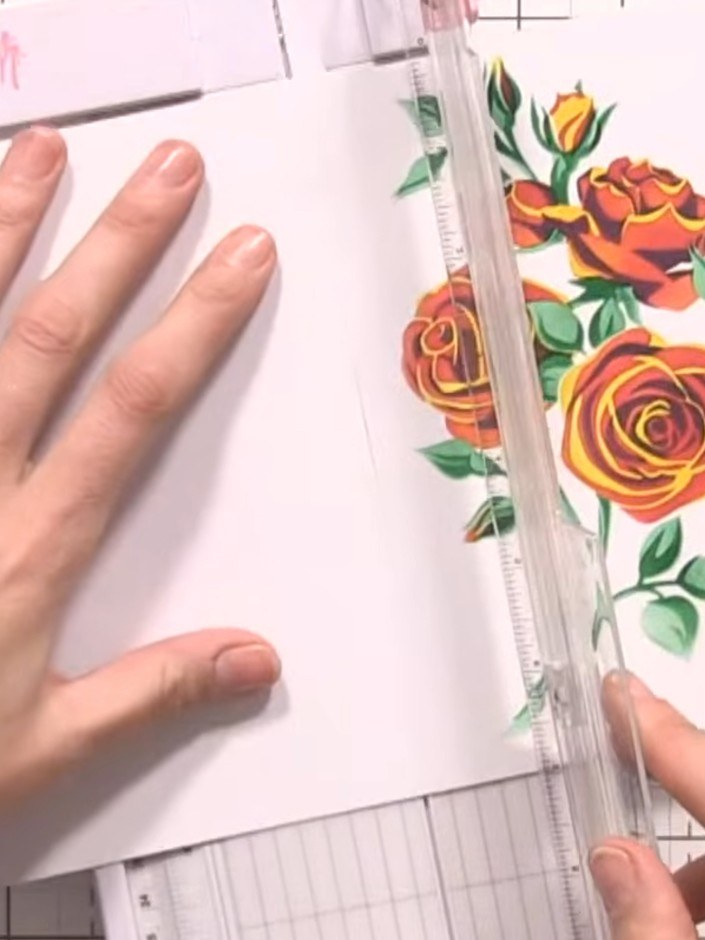
Add a sentiment or washi tape to complete your card. Position it on the white card base to finish the design.
Share your make with the Stamps By Me community - and keep this guide for next time.
Written up from the show itself. See every guide from our shows · free how-to guides · watch live on My Telly · the previous layout