Give your friends £10 off their first order!
Refer a FRIEND








 Hidden GemsWed 18 Nov 10am
 The Thursday DropThu 19 Nov 6pm
 The Friday Final CutFri 20 Nov 10am
Prices change straight away. Every language is our own translation, not Google.
A project from our live show MY PODCAST - Catch my latest updates broadcast 16th March 2026 · 16/03/2026
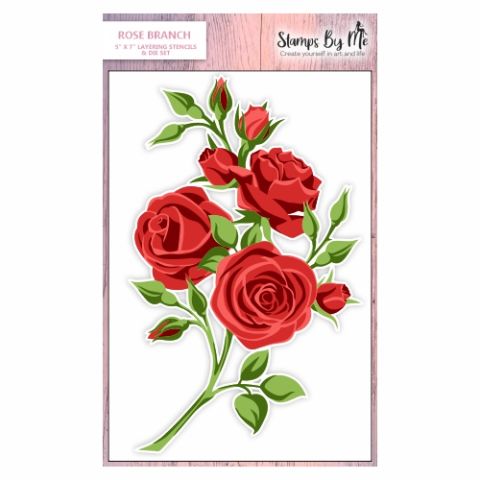
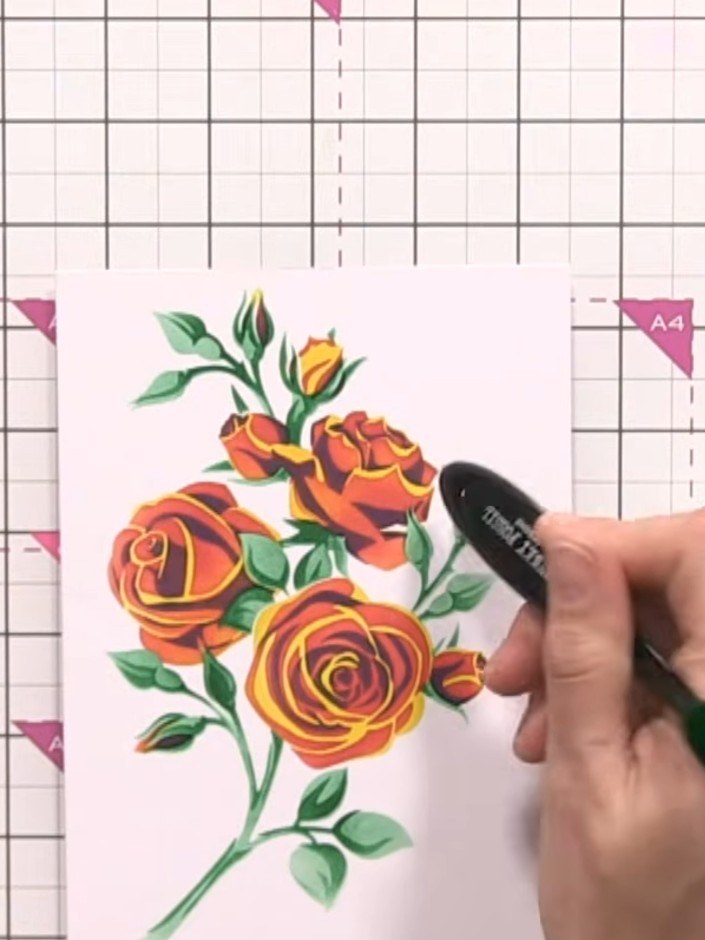
Create a stunning classic red rose card using a layering stencil technique. This elegant design features a realistic rose with delicate stems and leaves in soft greens and greys, set against a white background. The project demonstrates traditional stencilling methods to achieve beautiful depth and dimension.
 1
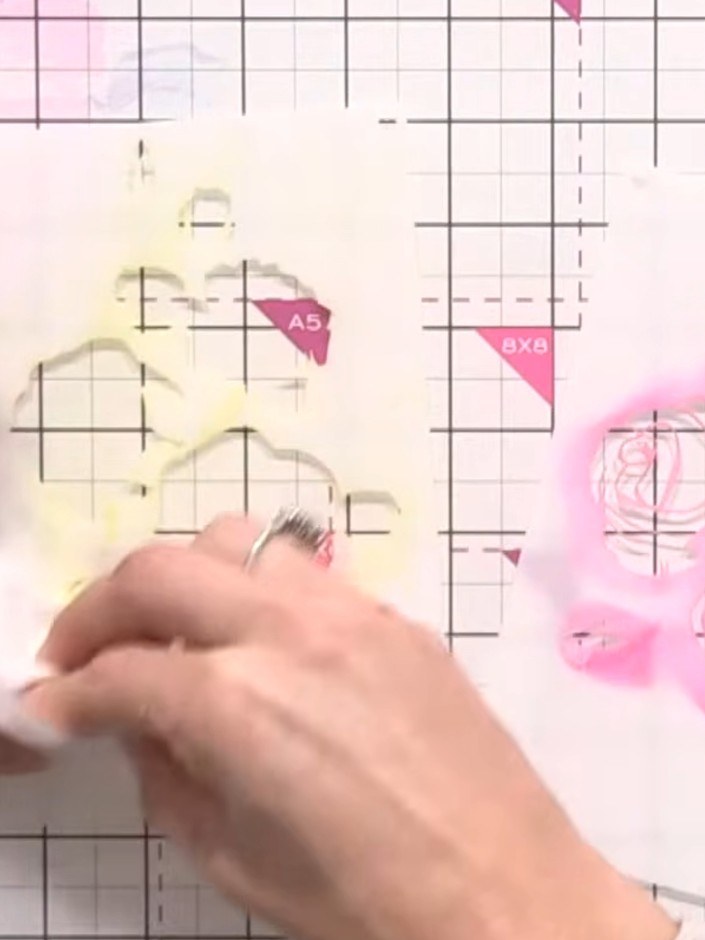
Clean your stencils thoroughly with a baby wipe to remove any previous ink colours before starting your project.
 2
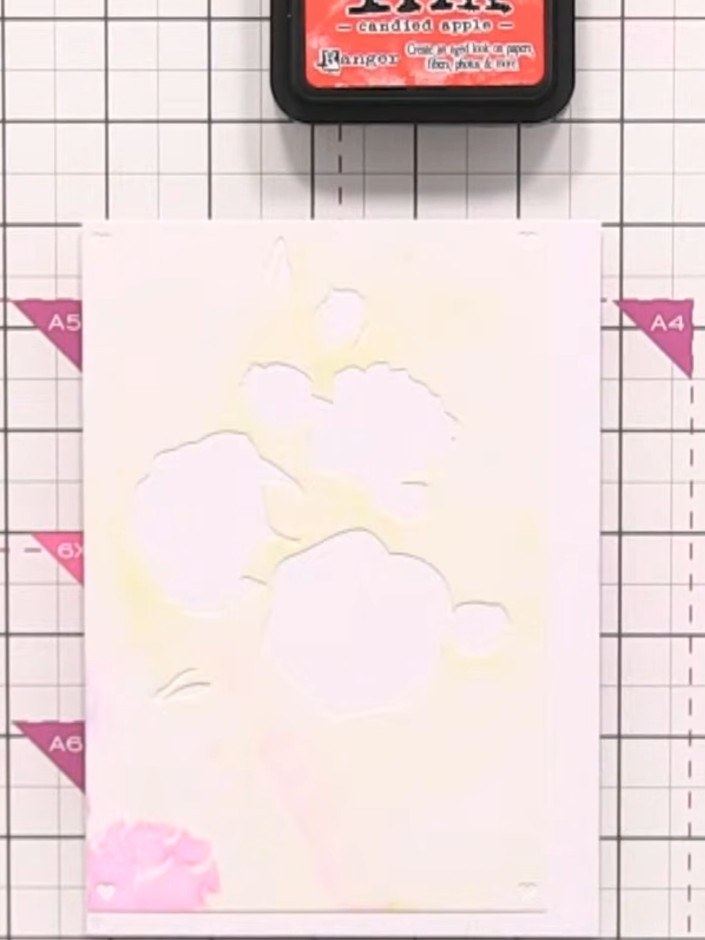
Position stencil number one on your white card stock, aligning it with the edge of the card. The stencil features a rose design that will be used to create the floral image.
 3
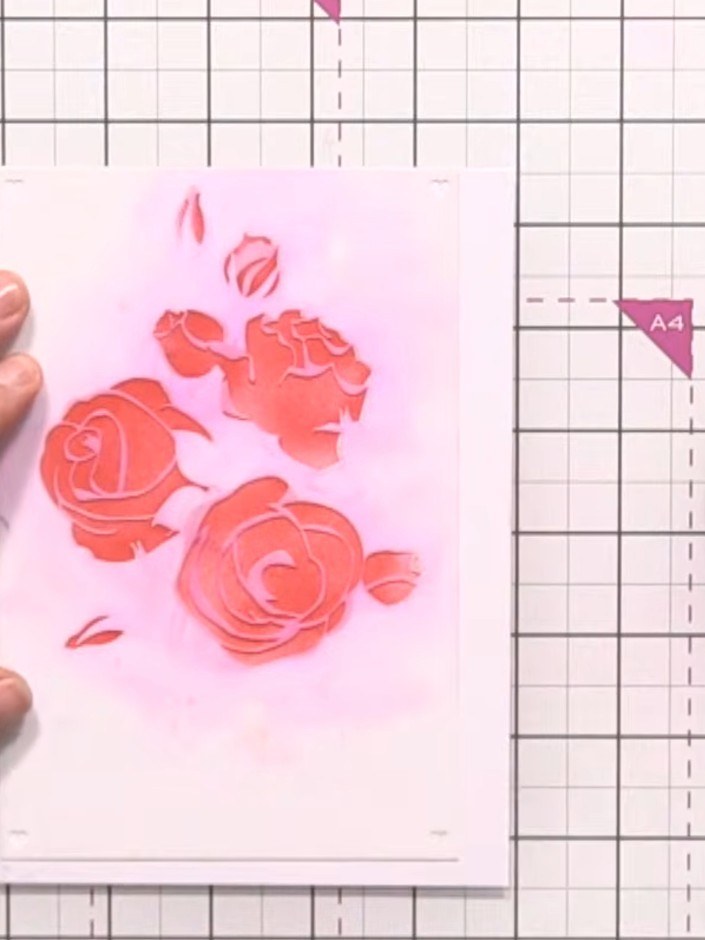
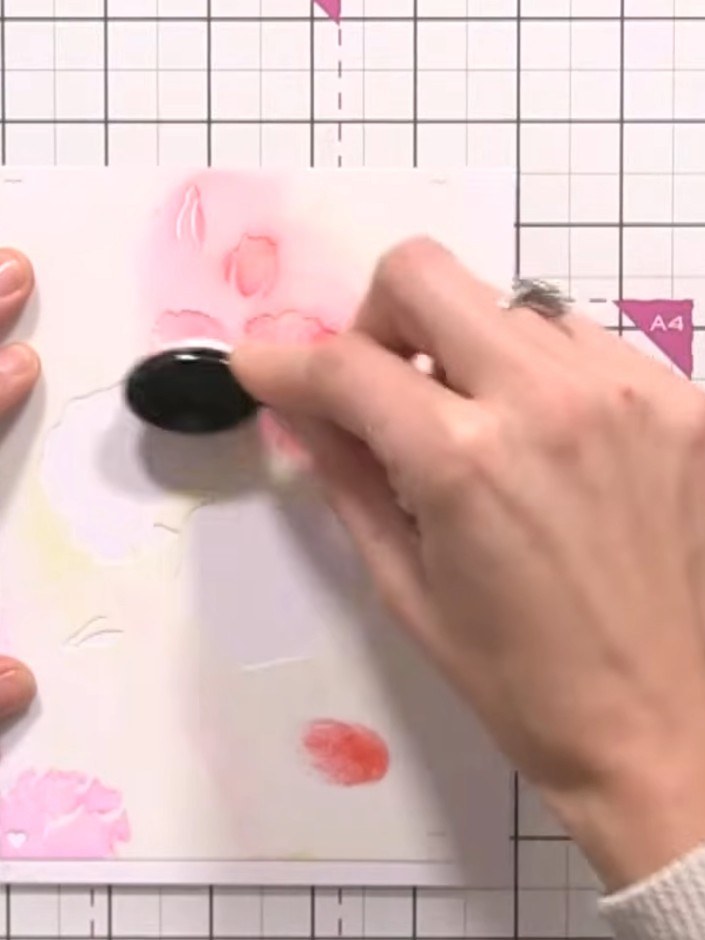
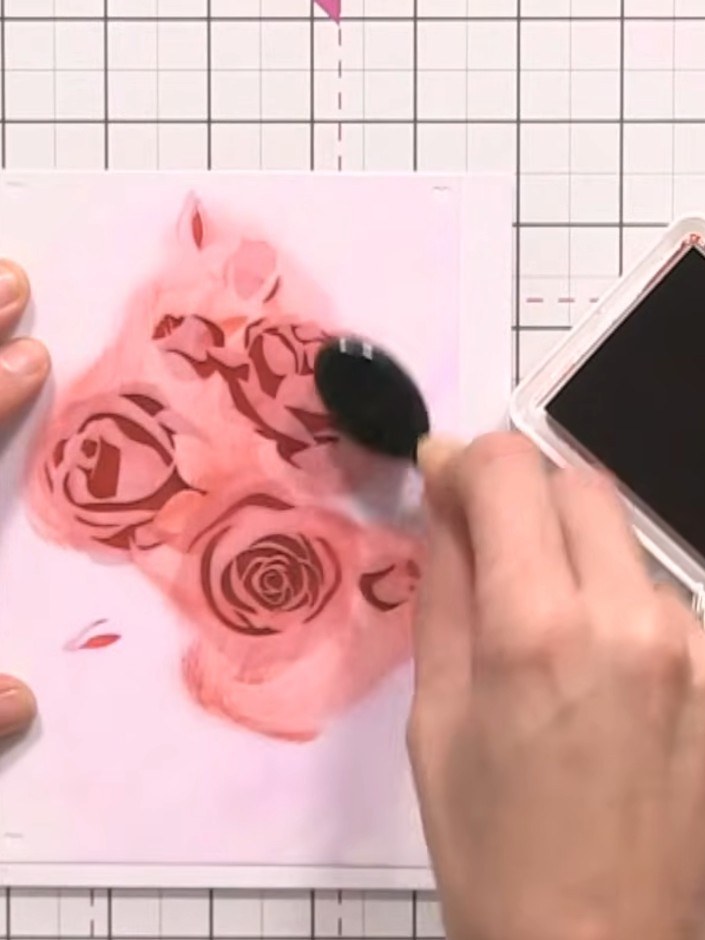
Using the rose stencil, tap Redwood distress ink through the stencil onto your card with an ink blending tool. Apply the colour gently to build up the design.
 4
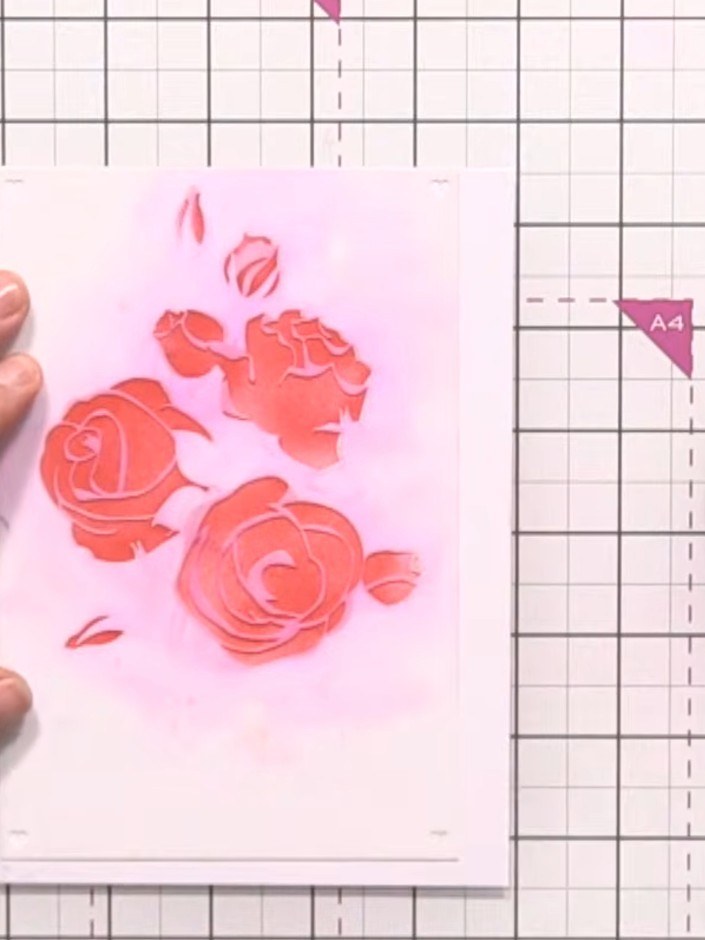
Position the second rose stencil over your design and ink through with the same red ink pad. Press firmly with the ink pad to build up colour intensity and create depth in the rose petals.
 5
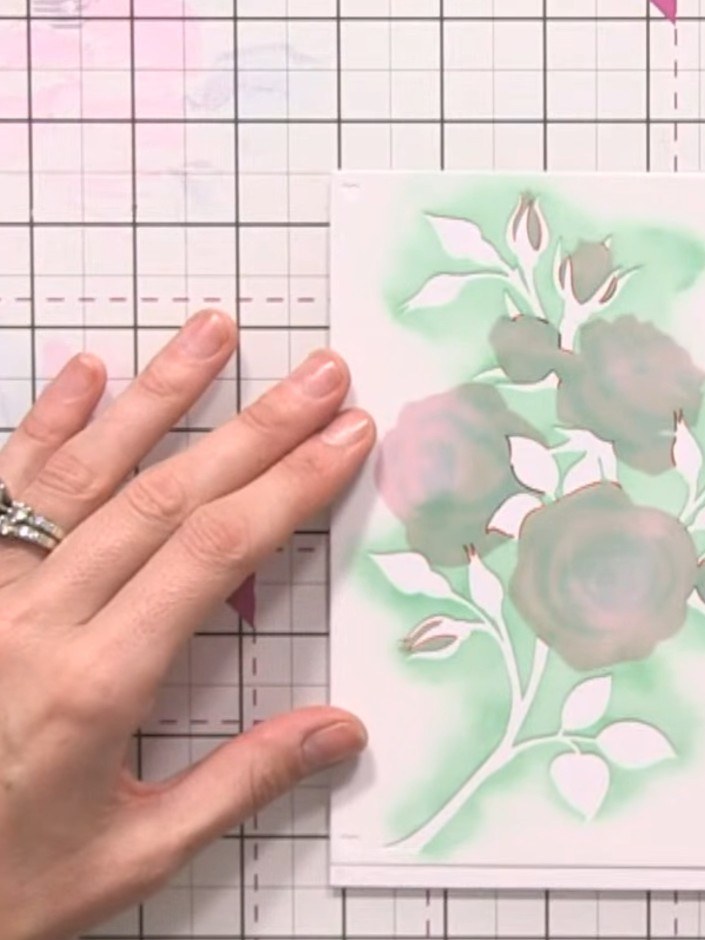
Position stencil number three over your design and apply red ink through the stencil using a blending tool. Whilst the ink is still wet, add a touch of blue ink on top to create a deeper burgundy shade for the darker tones of the roses.
 6
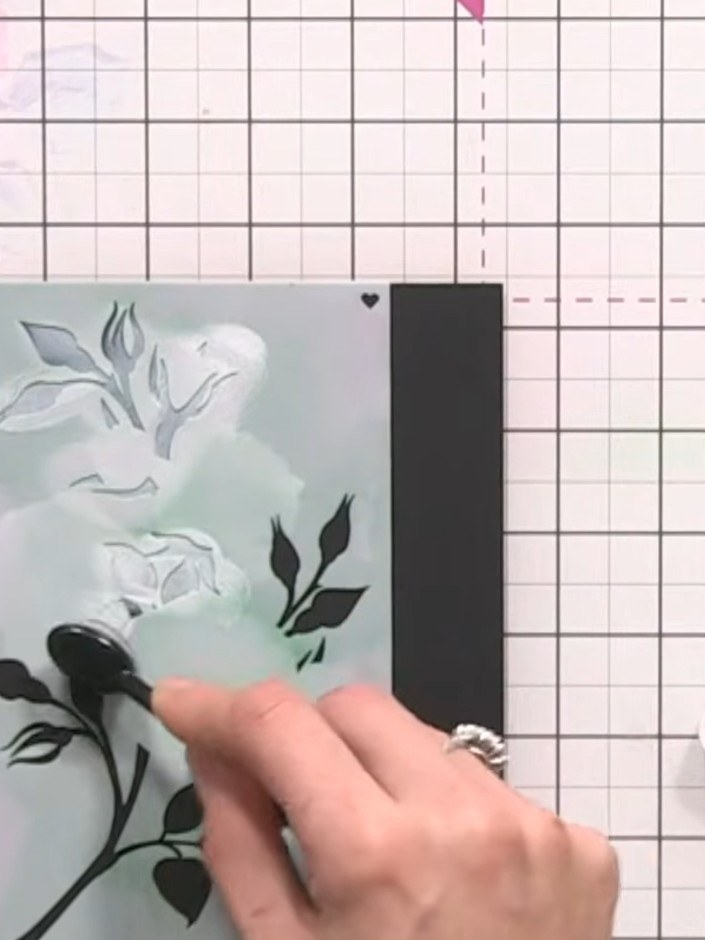
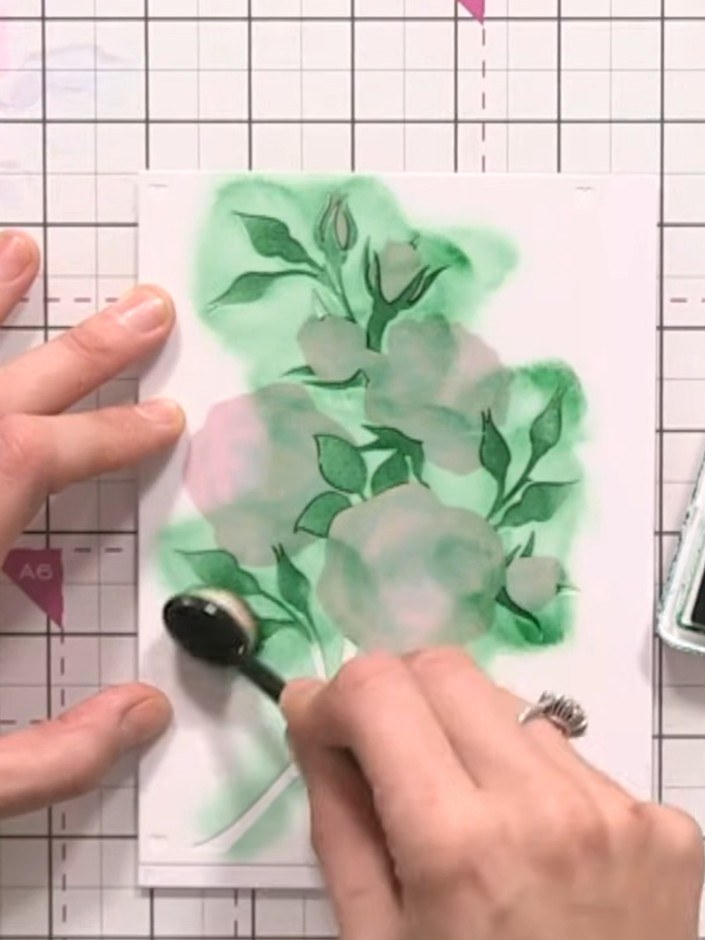
Position the leaf stencil over your card and apply green ink through the stencil using a blending tool. Press firmly to achieve a rich, dark green colour on the leaves.
 7
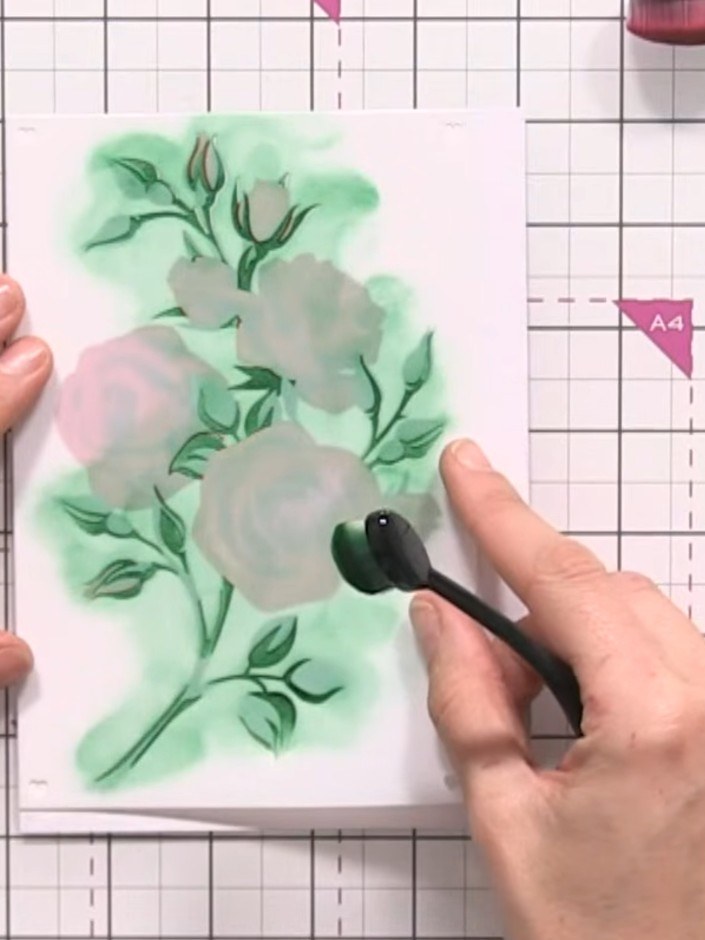
Apply stencil number five over your design and ink through with green ink, pressing firmly to complete the leaf definition and add depth to the foliage.
 8
Allow the card to dry completely. Once dry, you can add a sentiment or decorative element to finish your rose card.
Share your make with the Stamps By Me community - and keep this guide for next time.
Written up from the show itself. See every guide from our shows · free how-to guides · watch live on My Telly · the previous layout