Give your friends £10 off their first order!
Refer a FRIEND








A project from our live show BRAND SHOWCASE - COOL KATZ - Join us for this much loved event where the SMALL brands get to shout LOUDEST - Broadcast 20TH JAN 23 · 20/01/2023 · watch it from 43:00
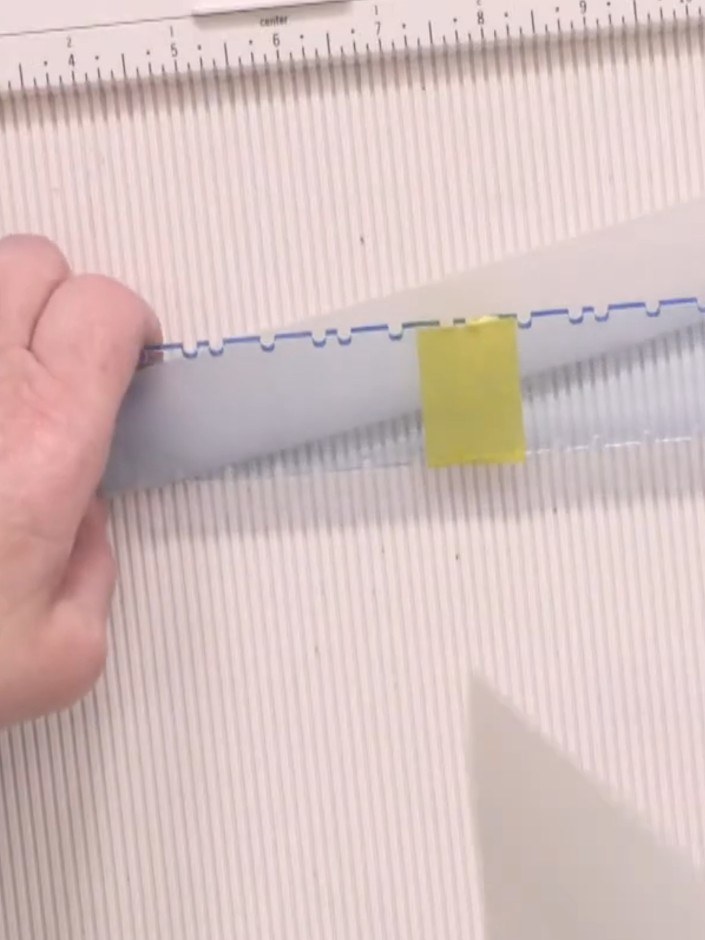
Create perfectly scored album spines using this specialist scoring tool. The guide demonstrates how to achieve evenly spaced, precise score lines on kraft card that allow your albums to sit flat and open smoothly. This essential technique ensures professional-looking handmade albums with neat, uniform spines every time.
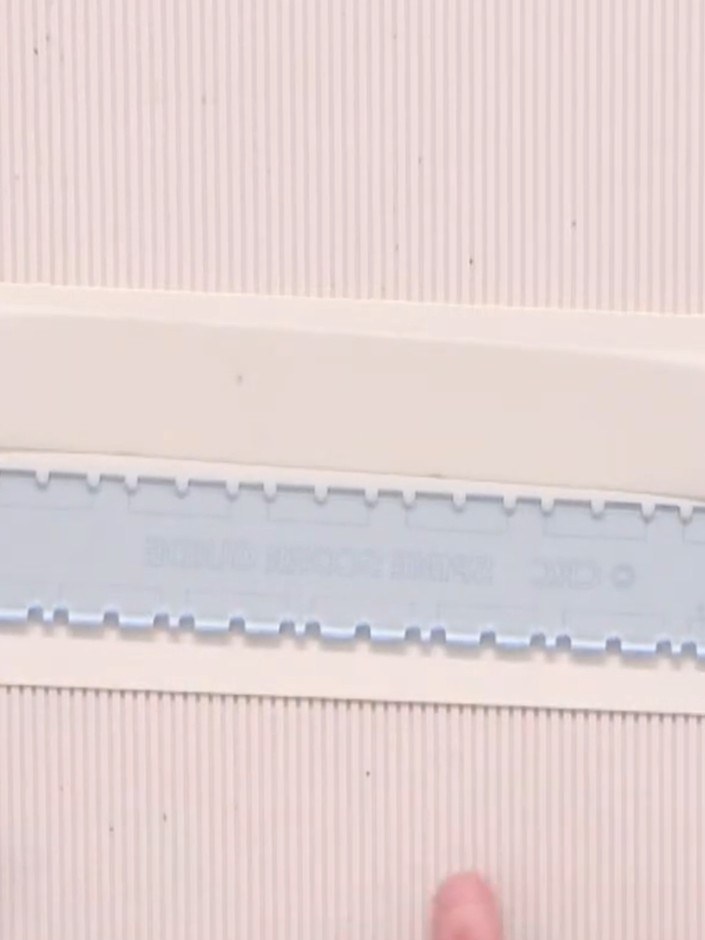
Select your desired gusset width on the album spine scoring guide. The tool offers two options: quarter inch or three-eighths of an inch, clearly marked on the guide.
▶ watch this step (43:00)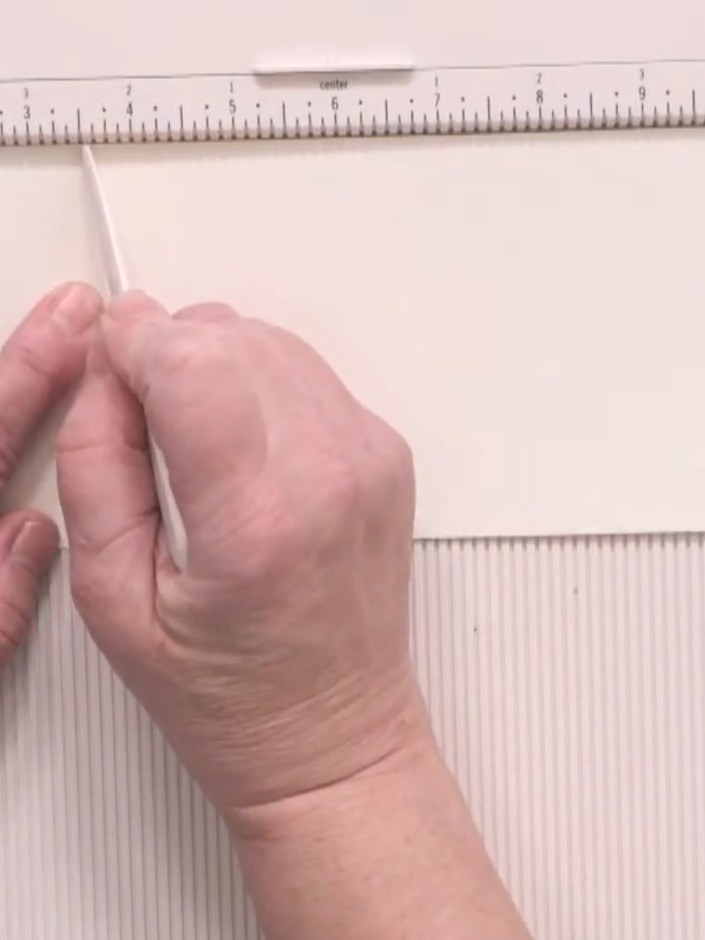
Decide how many spine hinges you need for your album. Count the corresponding rectangle marks on the scoring tool to determine the spacing required.
▶ watch this step (43:30)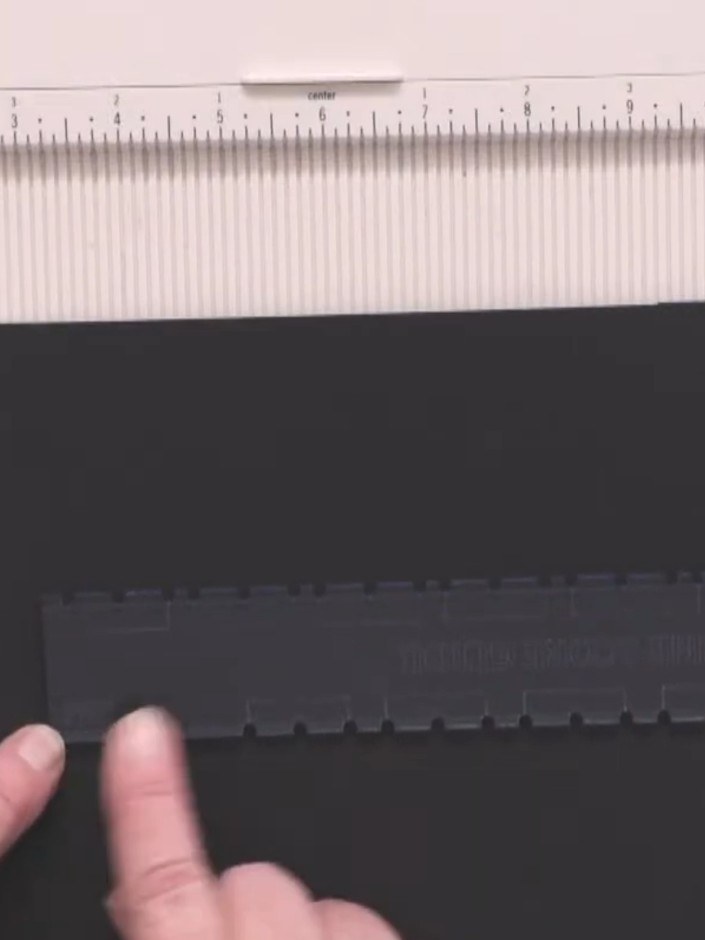
Place your black cardstock into the scoring tool, positioning it against the guide marks at the bottom of the tool. Ensure the cardstock is aligned properly with the measurement indicators.
▶ watch this step (44:00)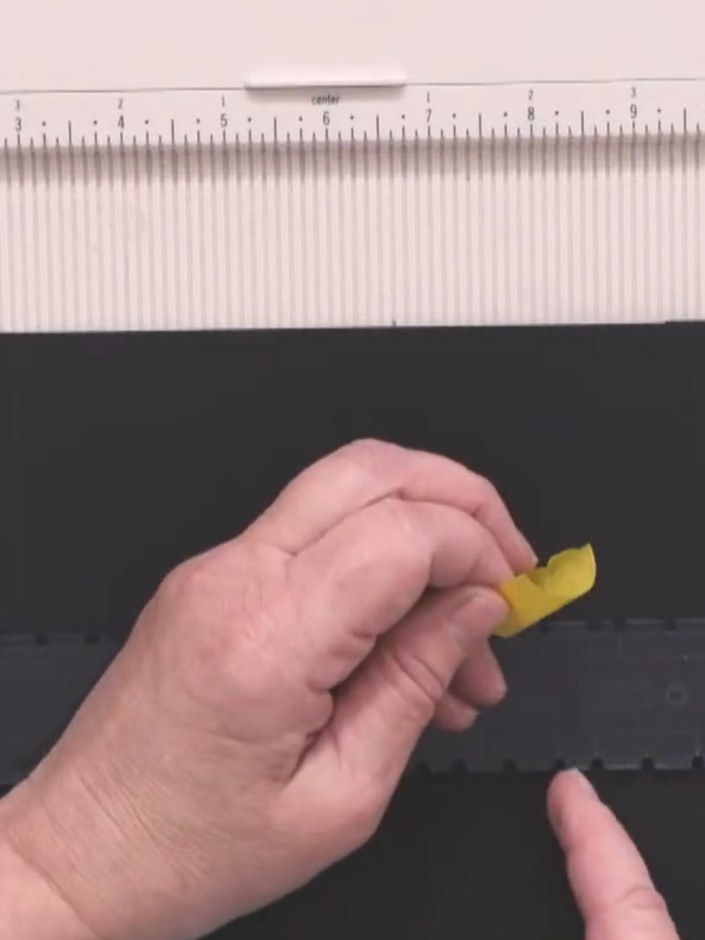
Insert the spacer piece underneath the black card to support it and prevent wobbling during scoring. Position it centrally beneath the card on your scoreboard.
▶ watch this step (44:30)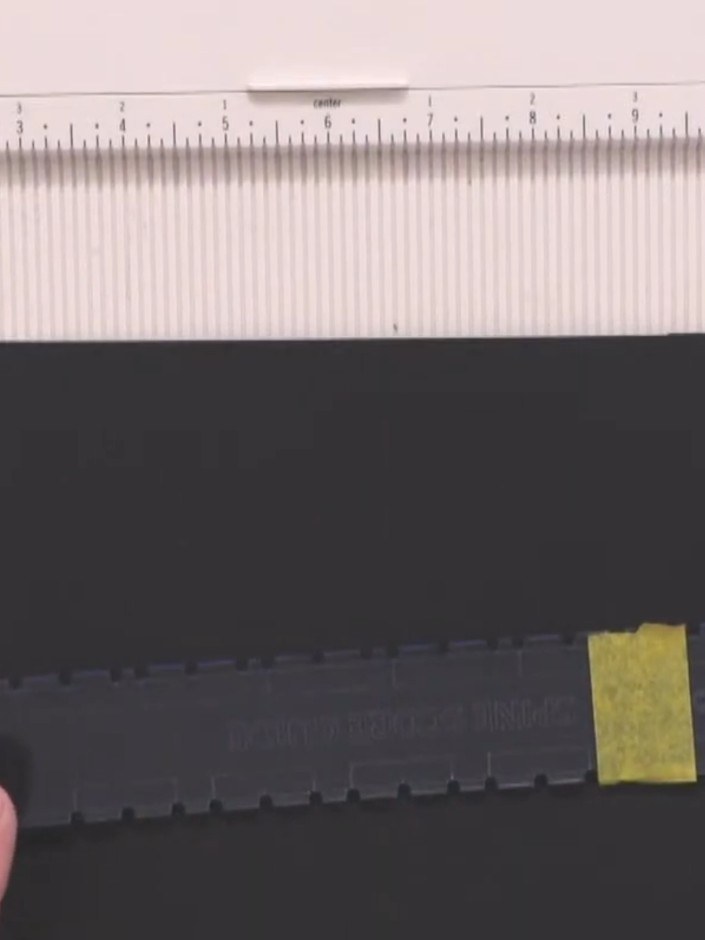
Score along each marked line using your scoring tool, working slowly and carefully from bottom to top. Hold the black card steady with one hand whilst scoring with the other. Work through all the marked lines to create crisp fold lines for your album spine.
▶ watch this step (45:00)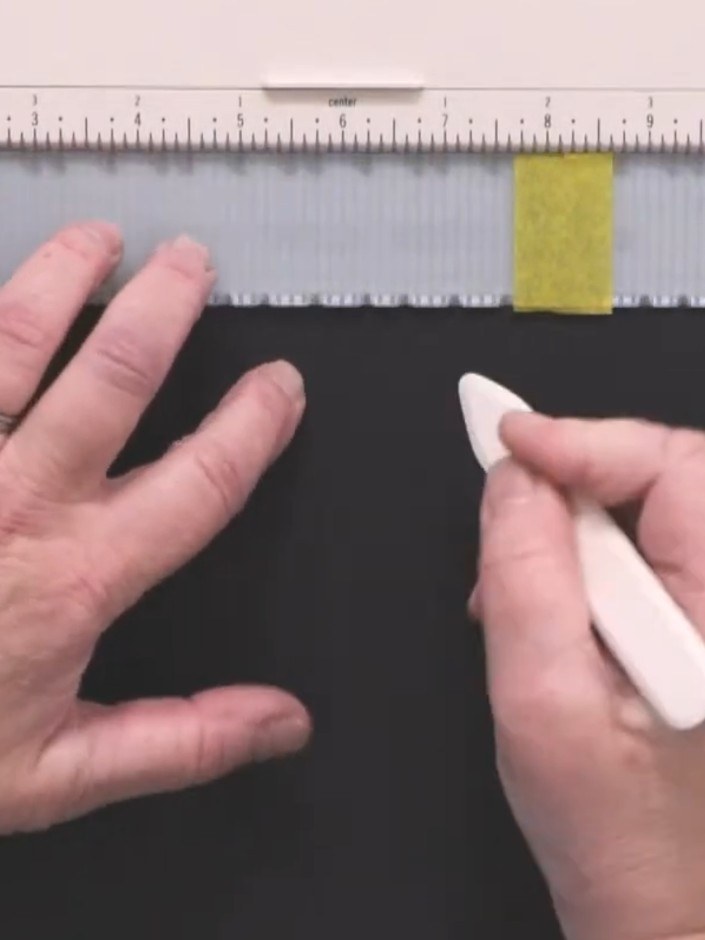
Use your multi-purpose craft tool to burnish each score line, going back and forth along the grey scored strip to create crisp, defined creases in the material.
▶ watch this step (46:00)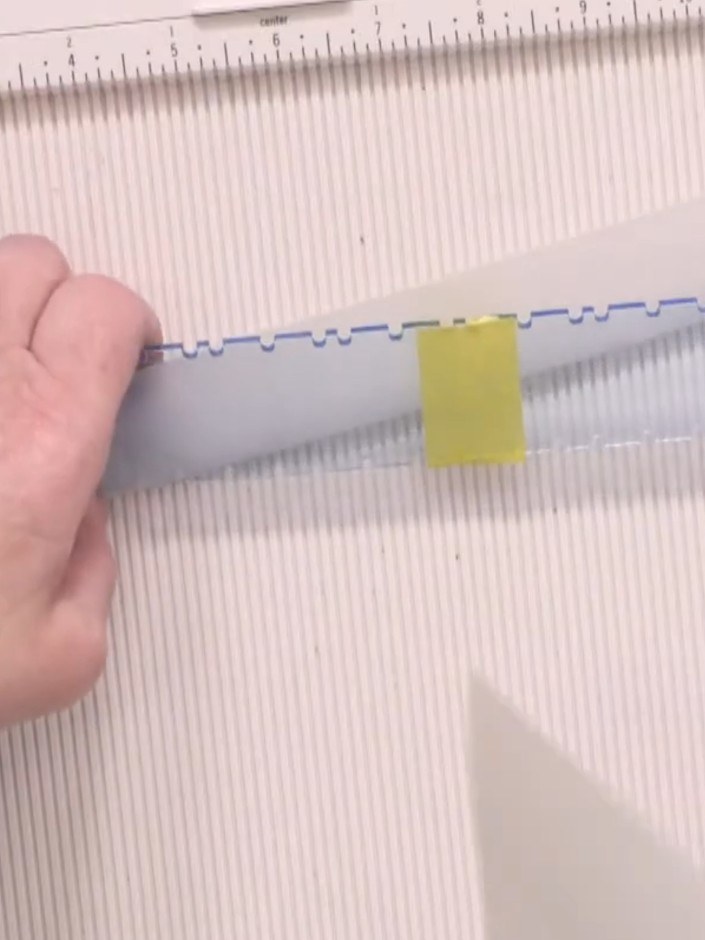
Fold the scored card along each line to create the valleys and mountains of your album spine. Work through each scored line systematically, folding back and forth to establish crisp creases.
▶ watch this step (47:00)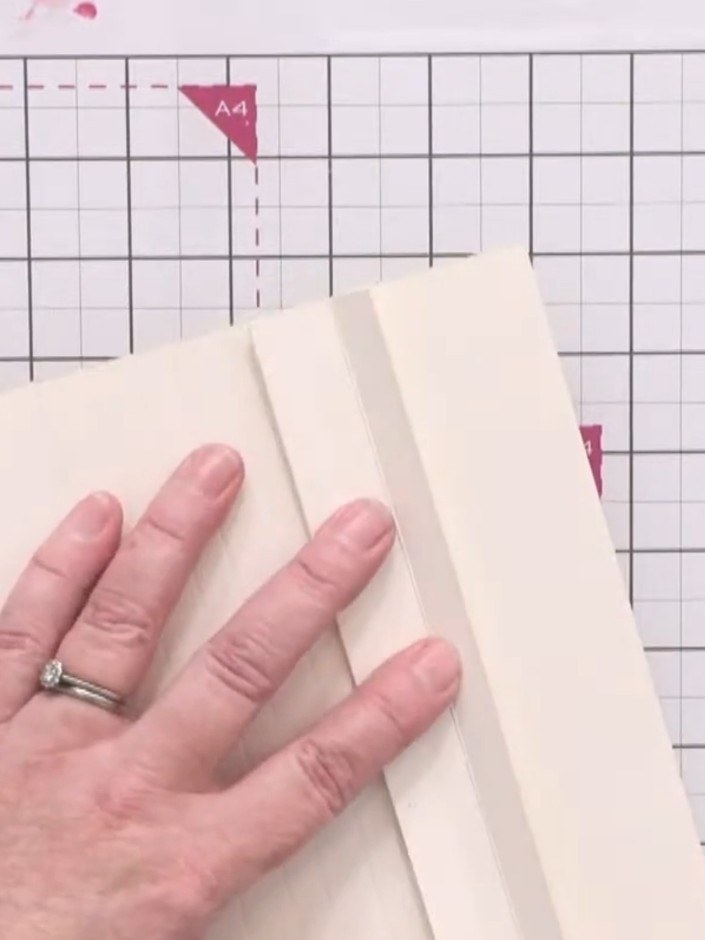
Apply the double-sided acid-free book binding tape along the spine to join the pages together securely. Press firmly to ensure a strong bond between the album pages.
▶ watch this step (48:00)Written up from the show itself. See every guide from our shows · free how-to guides · watch live on My Telly