Give your friends £10 off their first order!
Refer a FRIEND








A project from our live show BRAND SHOWCASE - COOL KATZ - Join us for this much loved event where the SMALL brands get to shout LOUDEST - Broadcast 20TH JAN 23 · 20/01/2023 · watch it from 25:00
Create this stylish roll top storage box with a curved lid that slides back smoothly to reveal the compartment inside. The box features elegant black and natural wood striped detailing on the curved top, with natural MDF sides. Perfect for storing pens, pencils, jewellery or small keepsakes, you can personalise it with paint, paper or embellishments to suit your style.
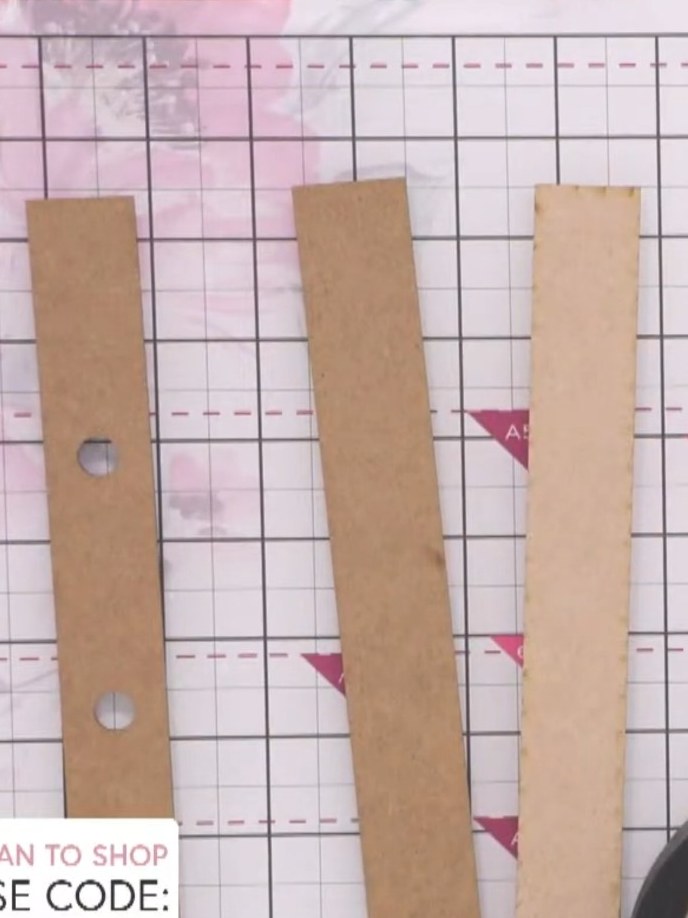
Remove all the MDF pieces from the flat pack kit. The kit includes three long strips with holes, several smaller pieces for the handles and floor, and decorative side panels.
▶ watch this step (25:00)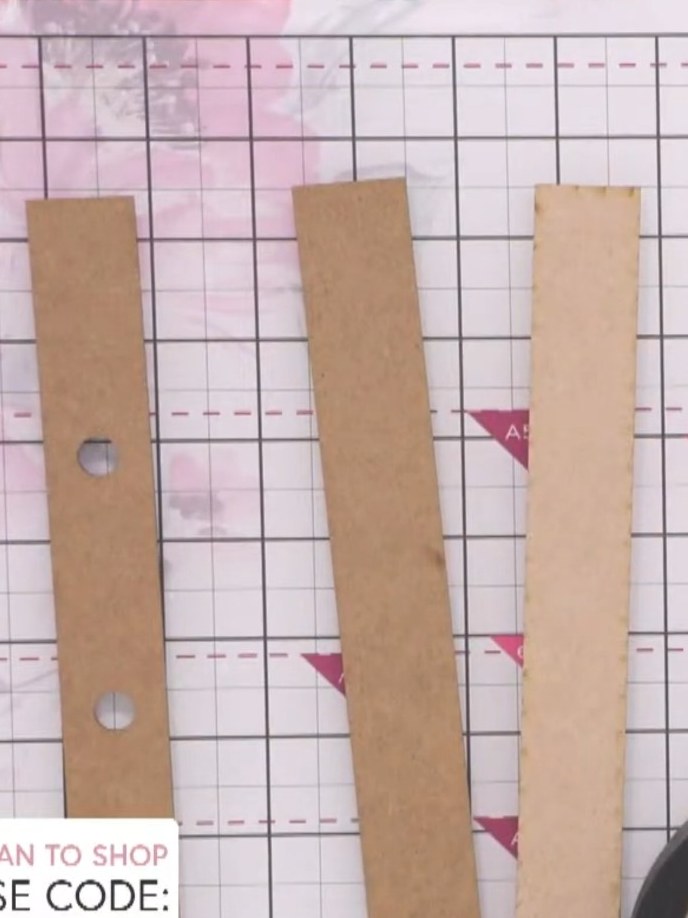
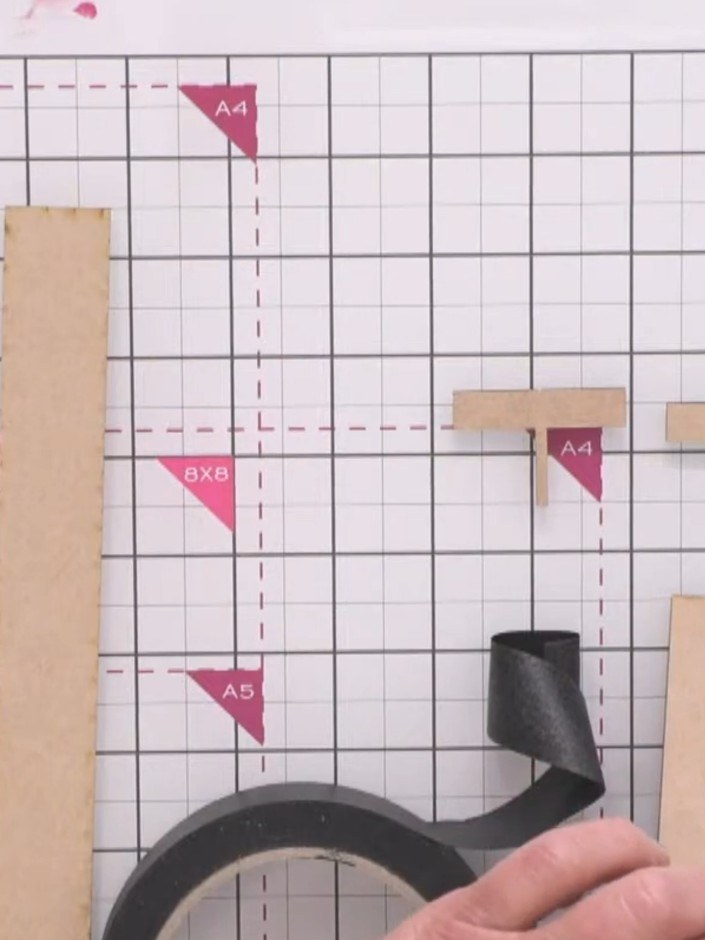
Assemble the box base using the construction tape provided in the kit. Follow the included instructions to attach the floor handles and side pieces together.
▶ watch this step (25:15)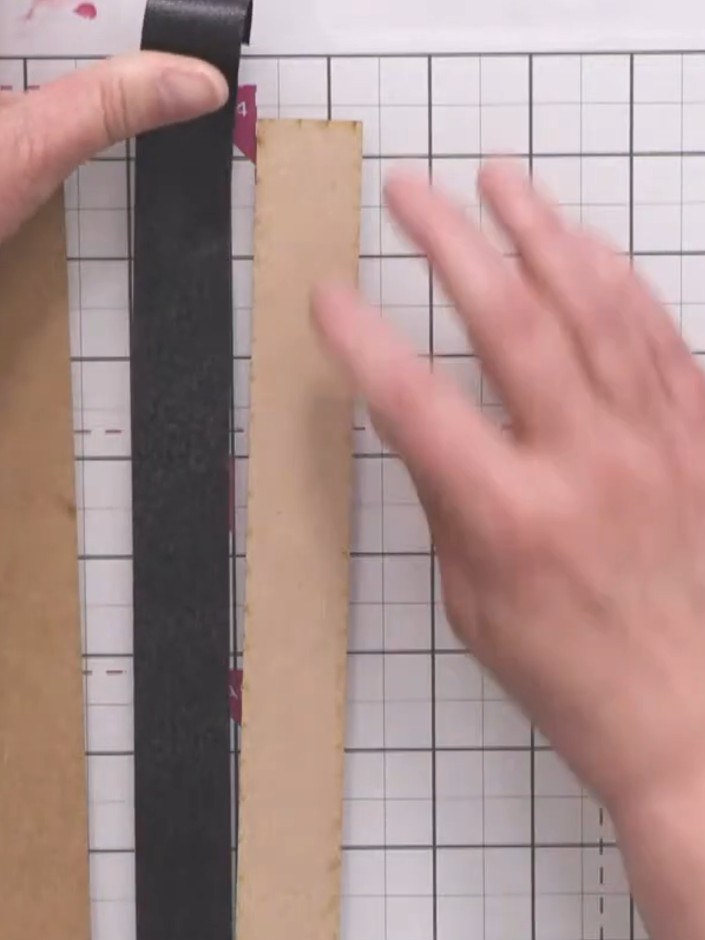
Apply the hinge spacers to the inside of the box at the correct positions. Pull your double-sided tape in and press the spacers firmly into place to ensure the lid rolls smoothly.
▶ watch this step (26:00)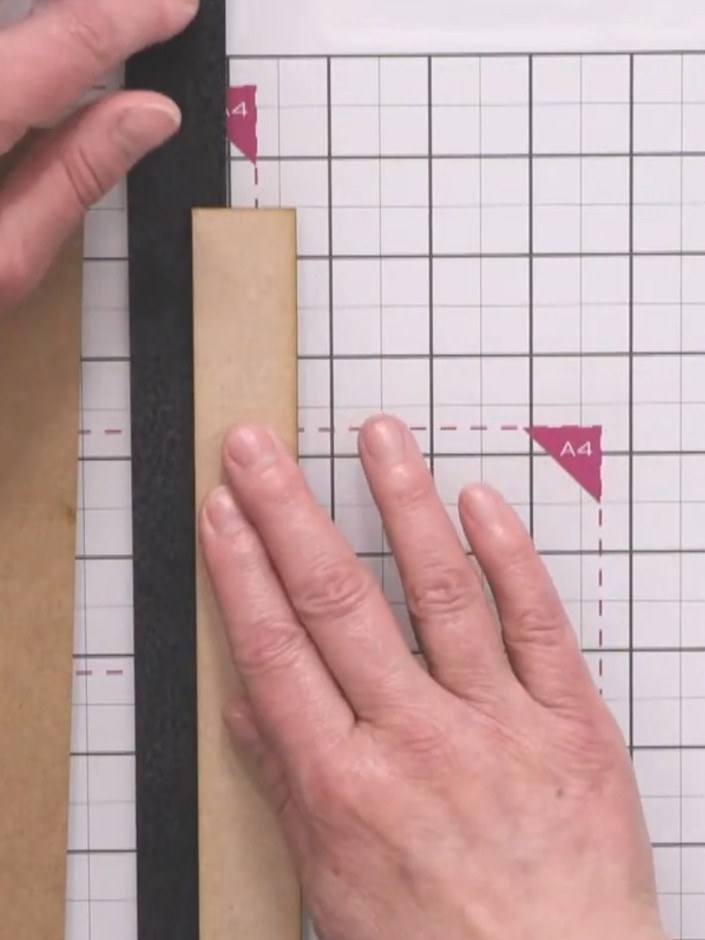
Attach the black construction tape along the spine area of the cardboard piece. Burnish it down firmly with the multi-purpose tool to create a seamless join.
▶ watch this step (26:15)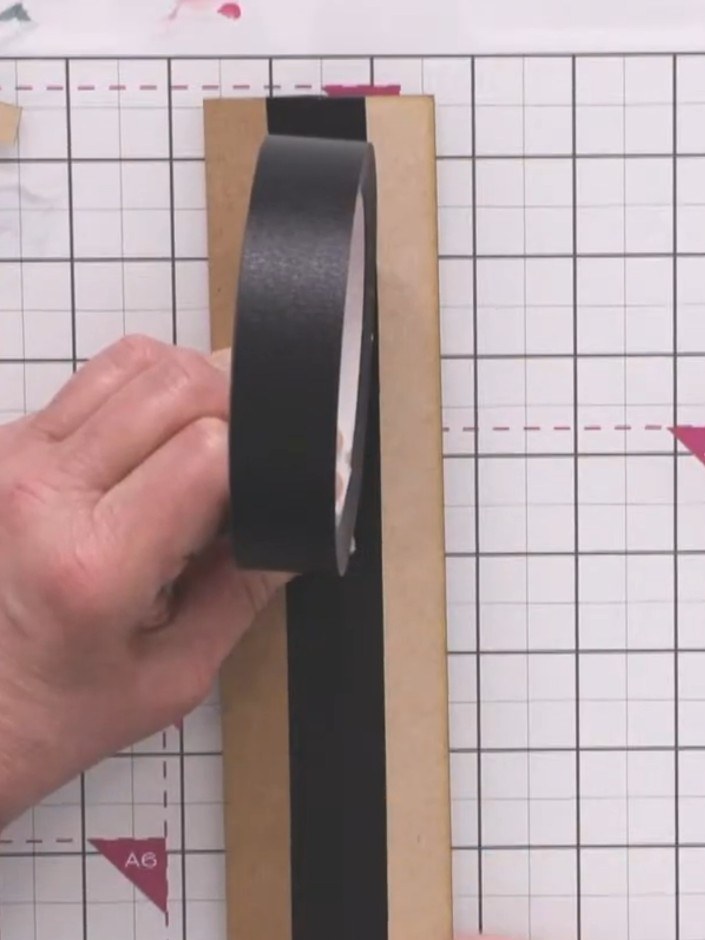
Decorate the exterior of the box and lid using your choice of papers, stamps, stencils or paint from your craft stash. Apply decorative paper to the kraft card surfaces, ensuring good adhesion with tape or adhesive.
▶ watch this step (27:00)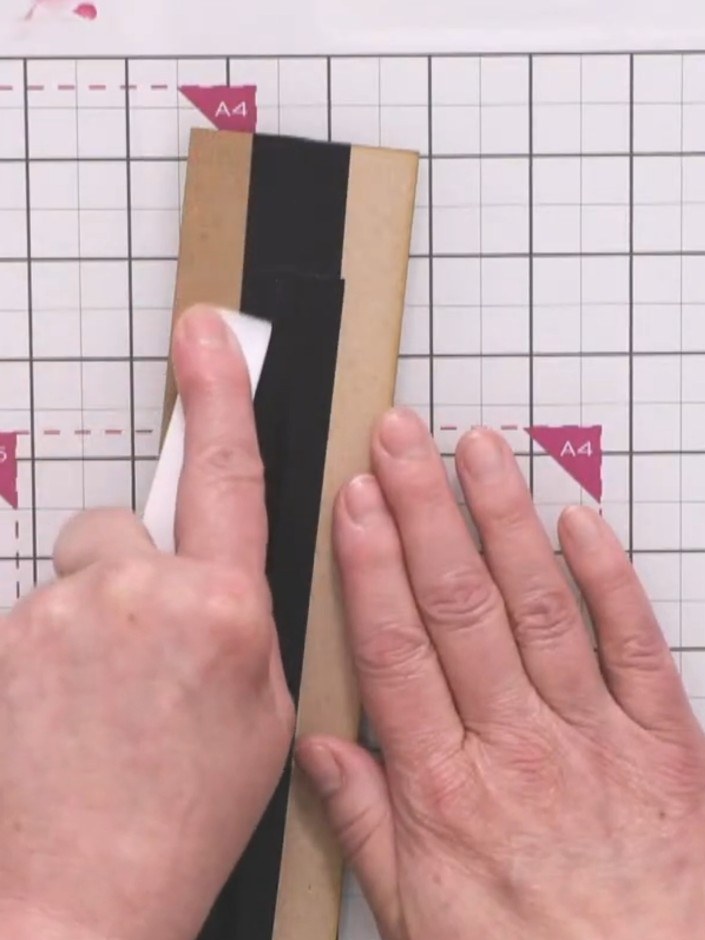
Roll the lid back to test the mechanism works smoothly. Push the black and kraft striped panel down gently to ensure the box closes properly.
▶ watch this step (27:30)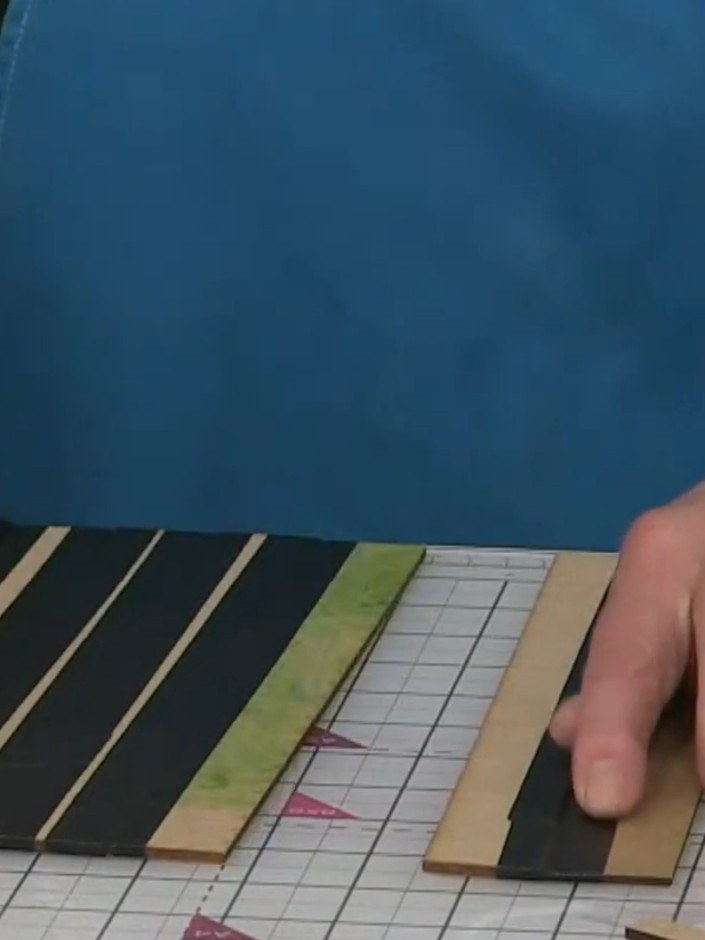
Fill your finished roll top storage box with craft supplies such as pens, pencils, photographs or jewellery. Your decorated storage box is now complete and ready to use.
▶ watch this step (28:00)Written up from the show itself. See every guide from our shows · free how-to guides · watch live on My Telly