Give your friends £10 off their first order!
Refer a FRIEND








 Hidden GemsWed 18 Nov 10am
 The Thursday DropThu 19 Nov 6pm
 The Friday Final CutFri 20 Nov 10am
Prices change straight away. Every language is our own translation, not Google.
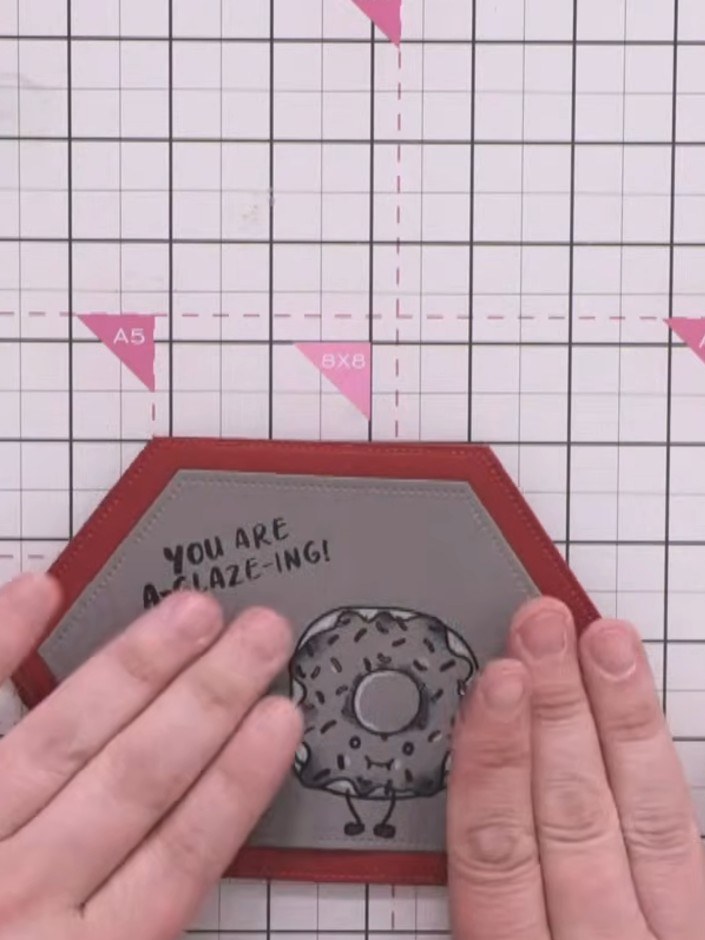
A project from our live show THE THURSDAY DROP - Brand New Launch from Simon and AVAGO-INK with guest presenter Toni - Broadcast 16th April 26 · 16/04/2026
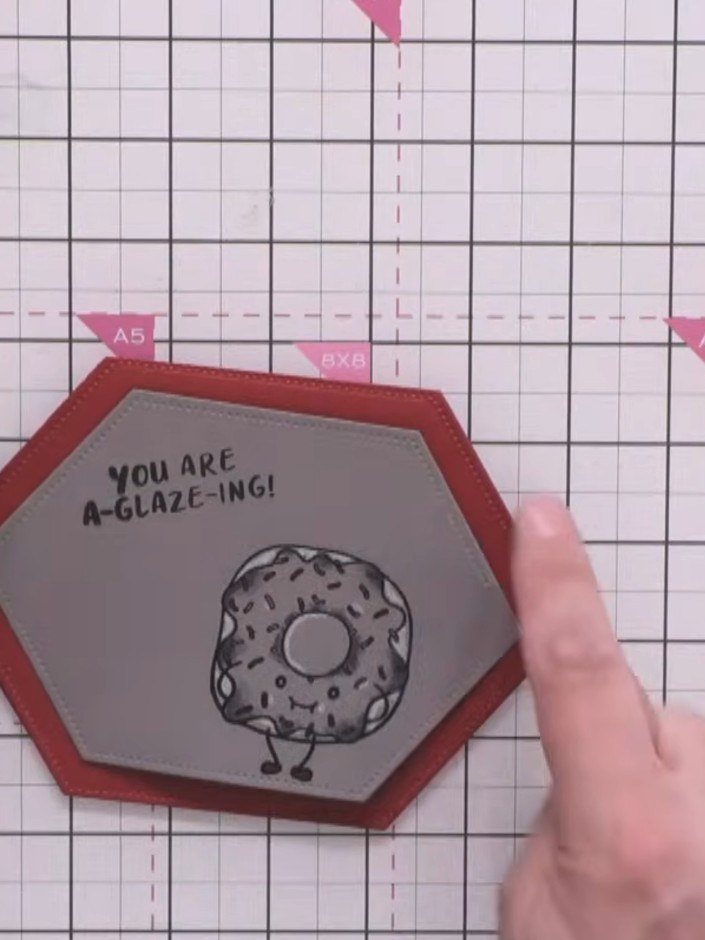
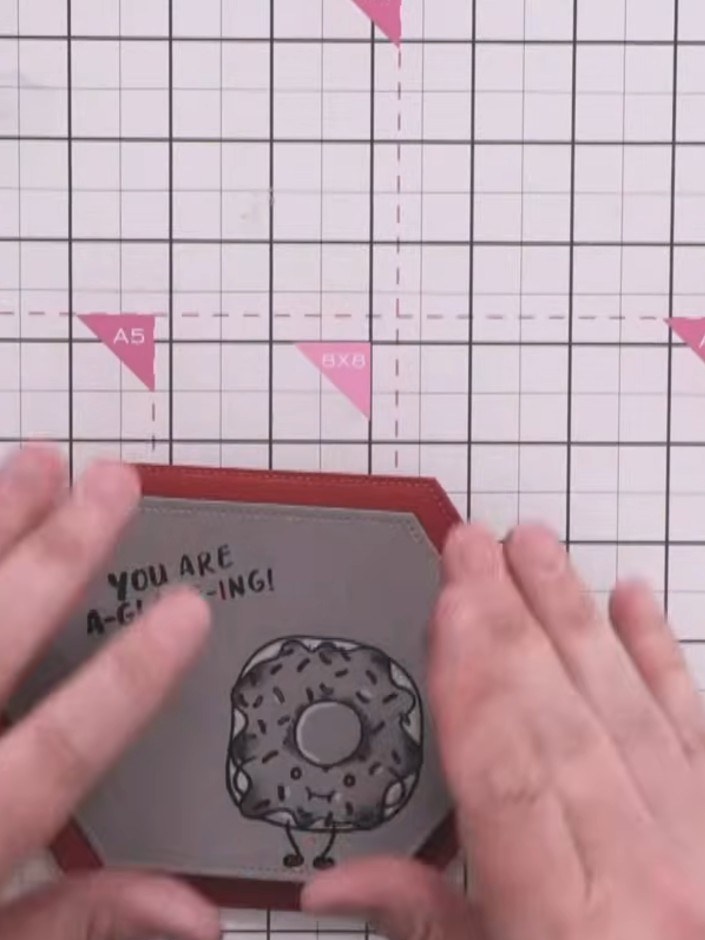
Create a sophisticated card featuring an embossed donut character with tonal shading using alcohol markers and white highlights. The design is worked on grey card stock with a red hexagonal frame, combining black embossing powder with layered colouring to achieve a chalky, dimensional effect. The finished card includes the sentiment 'YOU ARE A-GLAZE-ING!' for a fun, pun-filled greeting.
 1
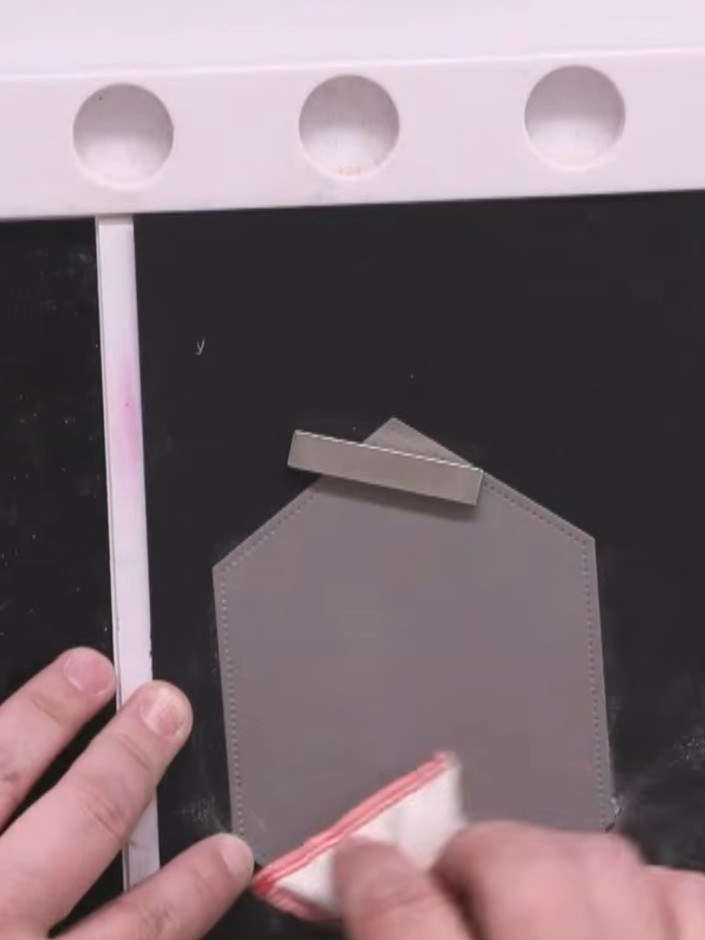
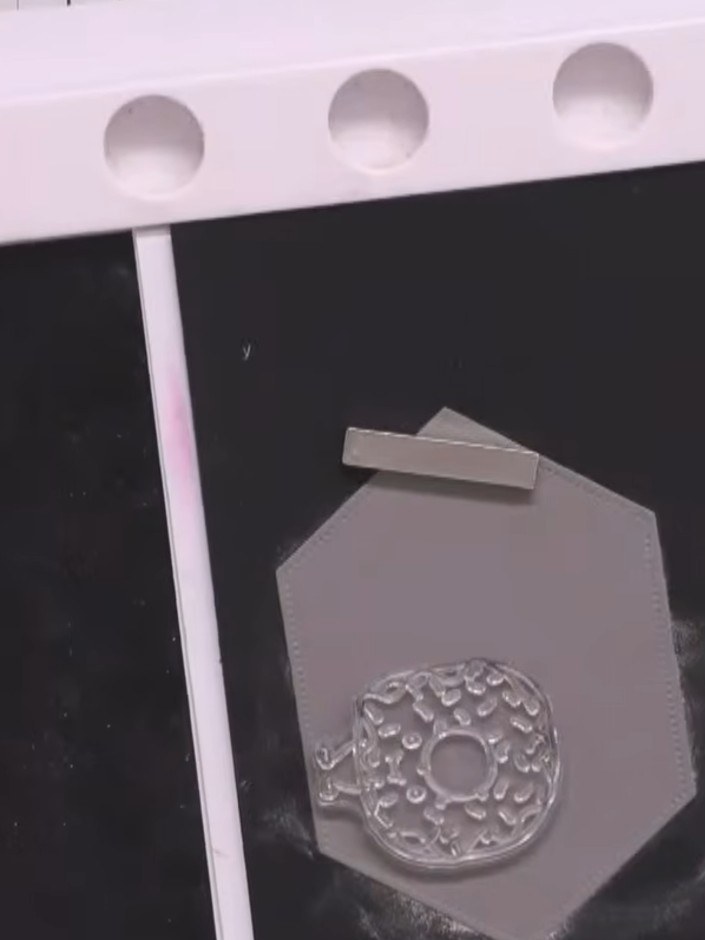
Pre-cut a donut shape from grey card stock. Position the grey donut shape onto your black card base, ready for embossing.
 2
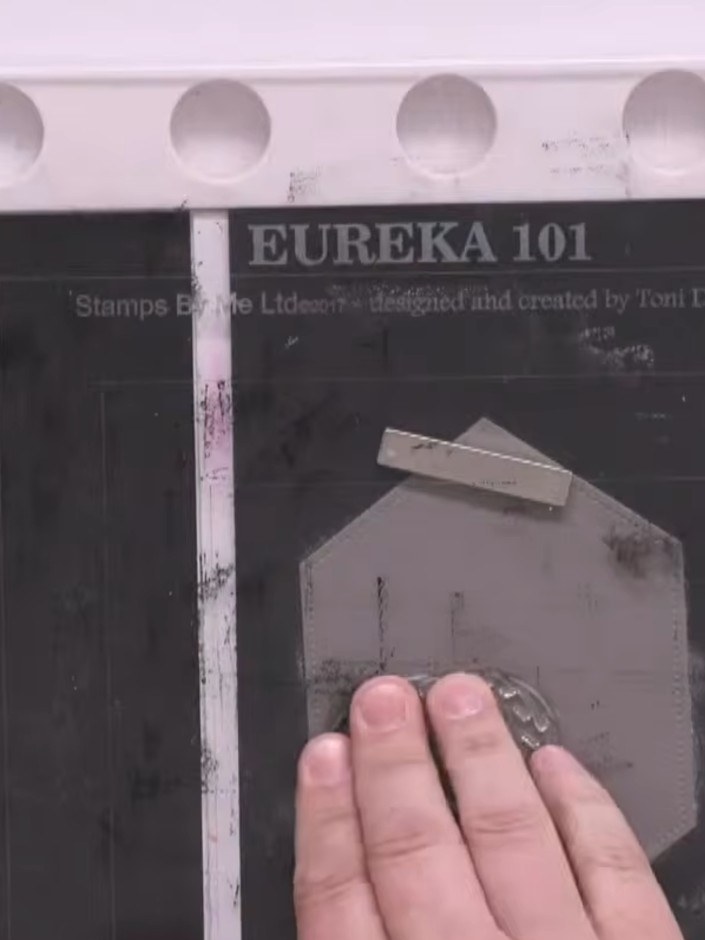
Stamp the donut character from the Yum Chums stamp set onto the grey card using black ink. Position the stamp carefully and press firmly to ensure a clear impression.
 3
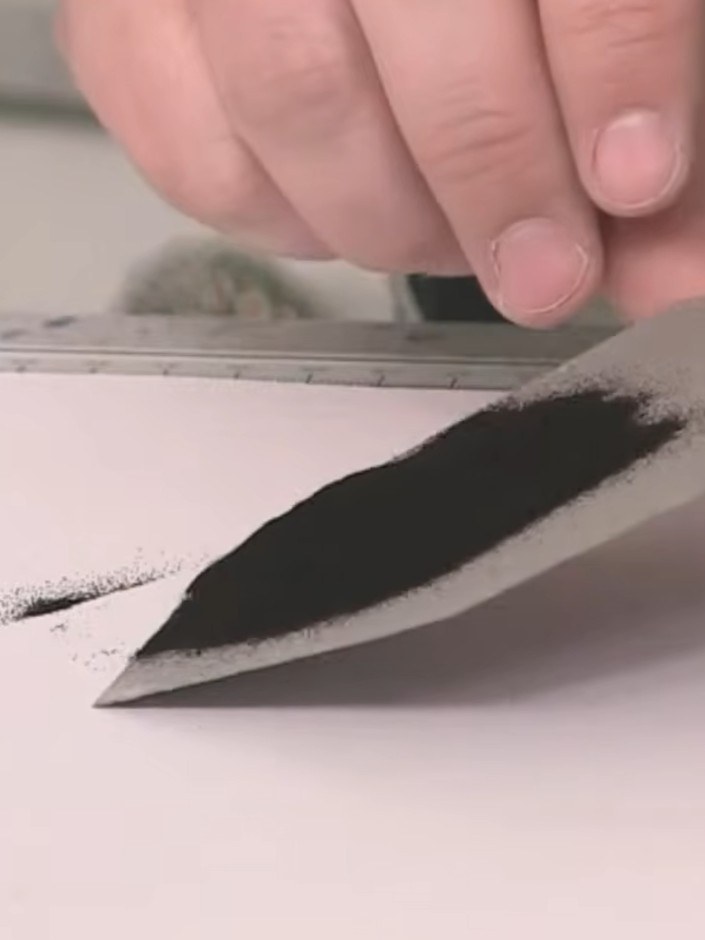
Apply black embossing powder over the stamped image. Heat the powder with a heat tool until it melts and creates a glossy, raised embossed effect.
 4
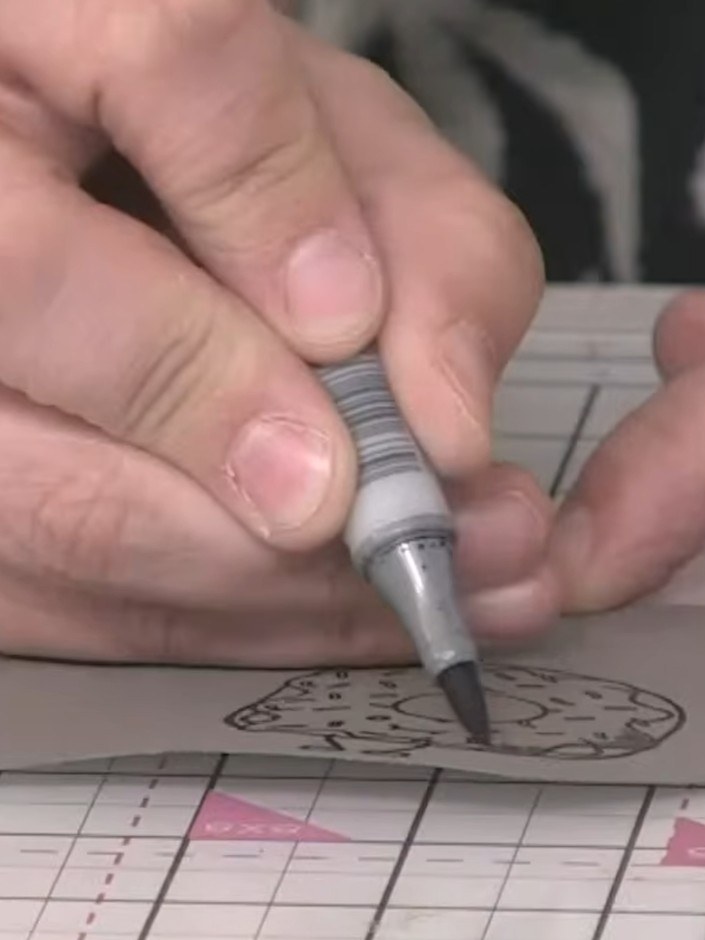
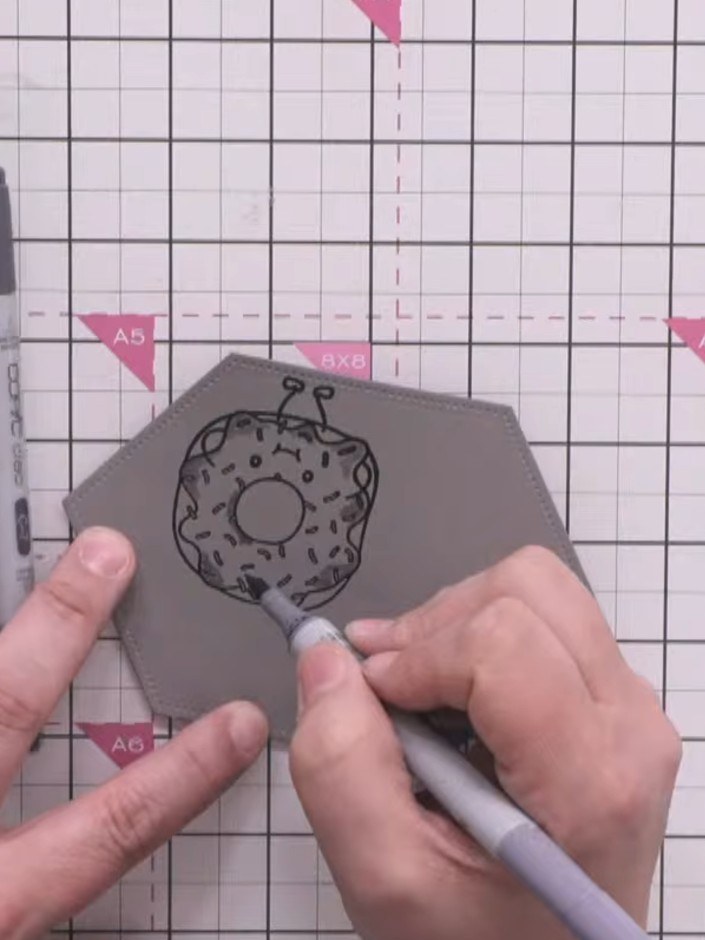
Use two shades of grey alcohol markers to colour around the icing areas on your hexagonal piece, creating shadow and depth. Apply the darker shade first, then blend with a lighter grey to create a gradient effect.
 5
Use a blender pen to go over the grey alcohol marker colouring on the donut. This will soften the transitions between shades and create lighter areas for a more natural, blended effect.
 6
Use a red alcohol marker to colour the sprinkles on the donut stamp, adding colour accents to the design.
 7
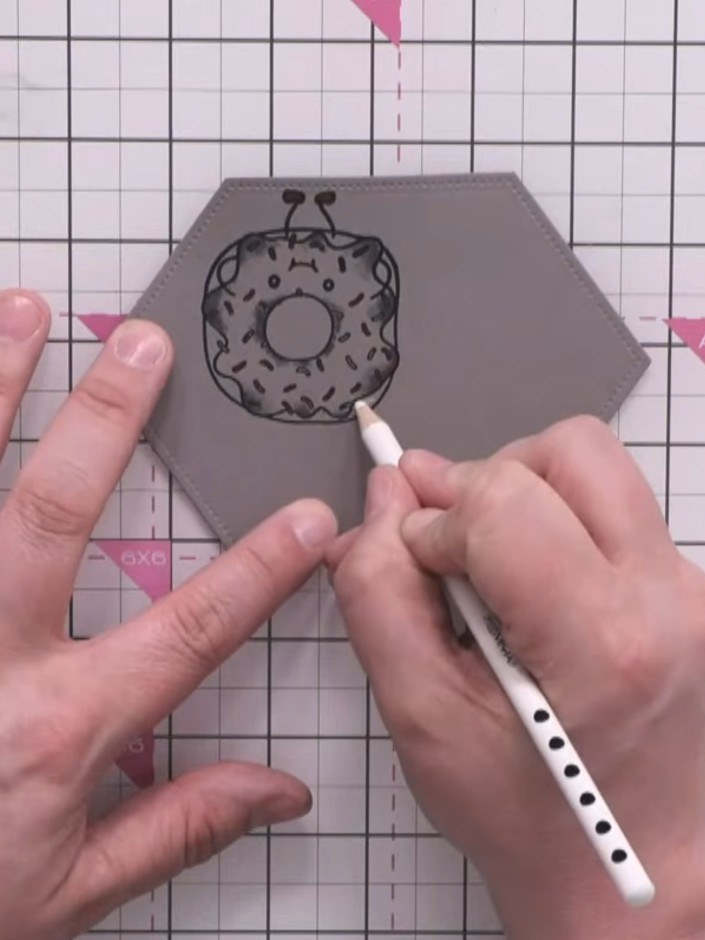
Use a white pencil to add highlights to the donut image, focusing on the unglazed areas to create dimension and shine.
 8
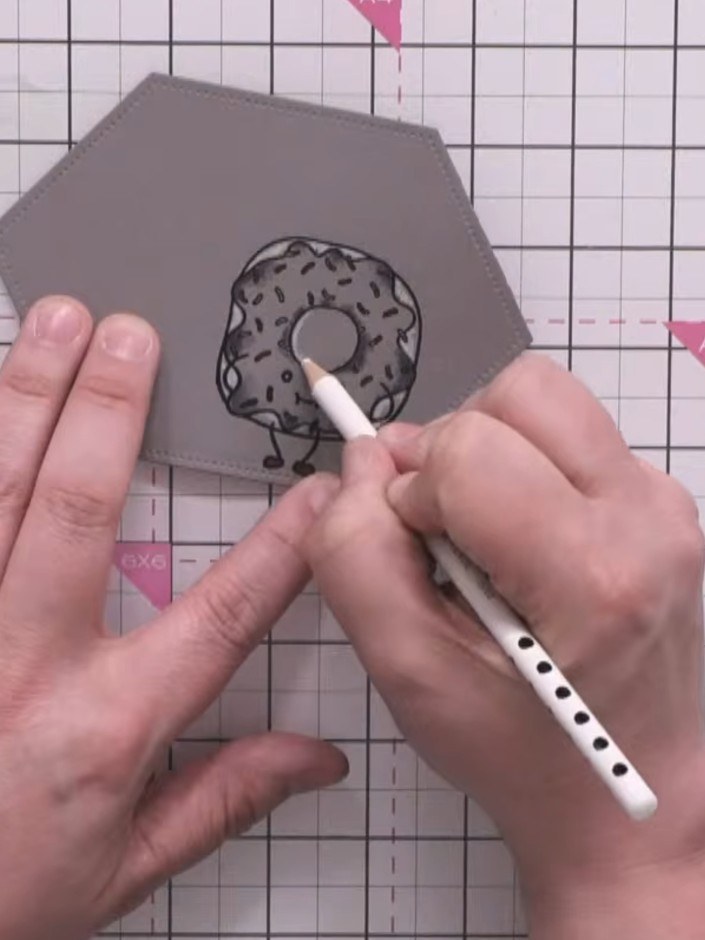
Use the darker grey marker to add a shadow in the centre hole of the donut, creating depth and dimension.
 9
Stamp a sentiment at the top of the grey hexagonal panel using the 'YOU ARE A-GLAZE-ING!' stamp from the Yum Chums collection. Position it centrally above the donut image.
 10
Apply clear Stickles or glitter glue to the sprinkles on the donut to make them sparkle and pop.
Share your make with the Stamps By Me community - and keep this guide for next time.
Written up from the show itself. See every guide from our shows · free how-to guides · watch live on My Telly · the previous layout