Give your friends £10 off their first order!
Refer a FRIEND








A project from our live show THE THURSDAY DROP - Brand New Launch from Toni - Broadcast 30th April 26 · 30/04/2026 · watch it from 49:00
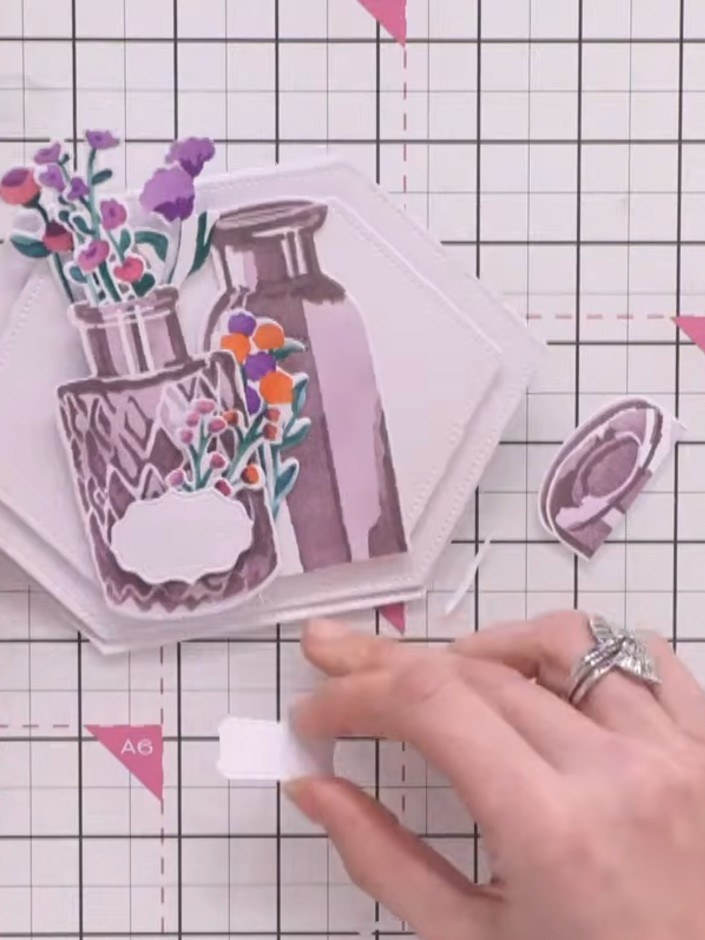
Create an elegant greeting card featuring delicate floral arrangements in decorative glass vases. Using layering stencils and coordinating dies, you'll build up beautiful purple and pink flower sprigs with teal foliage against soft lilac backgrounds. The design combines stencilling techniques with dimensional die-cutting to create depth and interest, with embossed plaques adding a sophisticated finishing touch.
 Stamps By Me - Antique Bouquets - Layering Stencils and Dies - 070425BSEE IT
 Stamps By Me Die Set - Perfect Pots - 070425CSEE IT
 Stamps By Me - White Blank Cards & Envelopes 7 X 7 - 240323ASEE IT
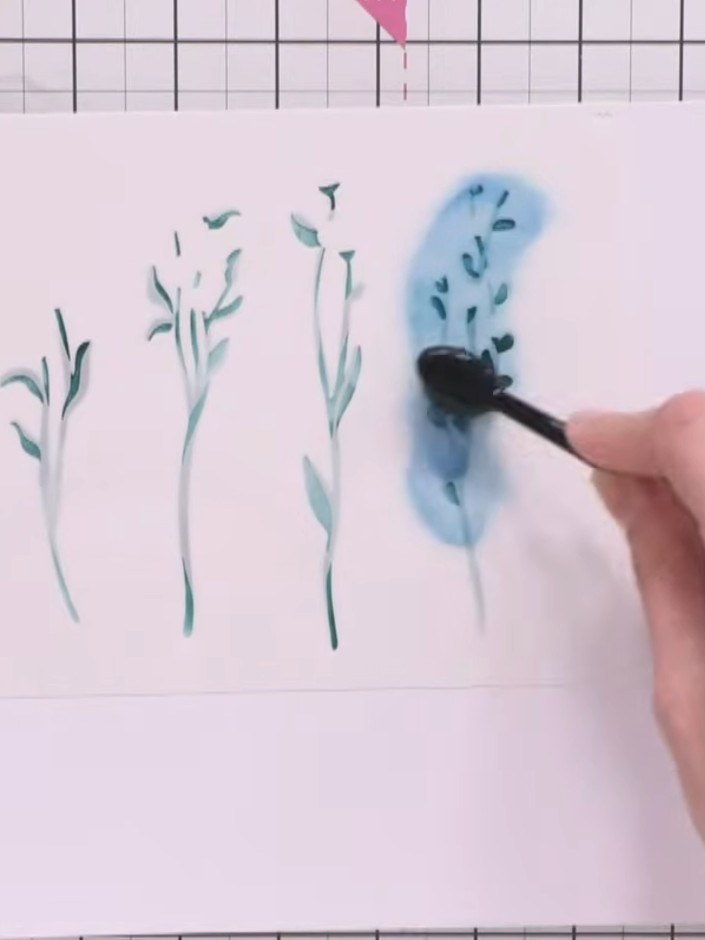
Clean the stencil and position stencil number 2 over the card. Apply a slightly darker shade of green ink using a blending sponge to add dimension to the foliage.
▶ watch this step (56:45)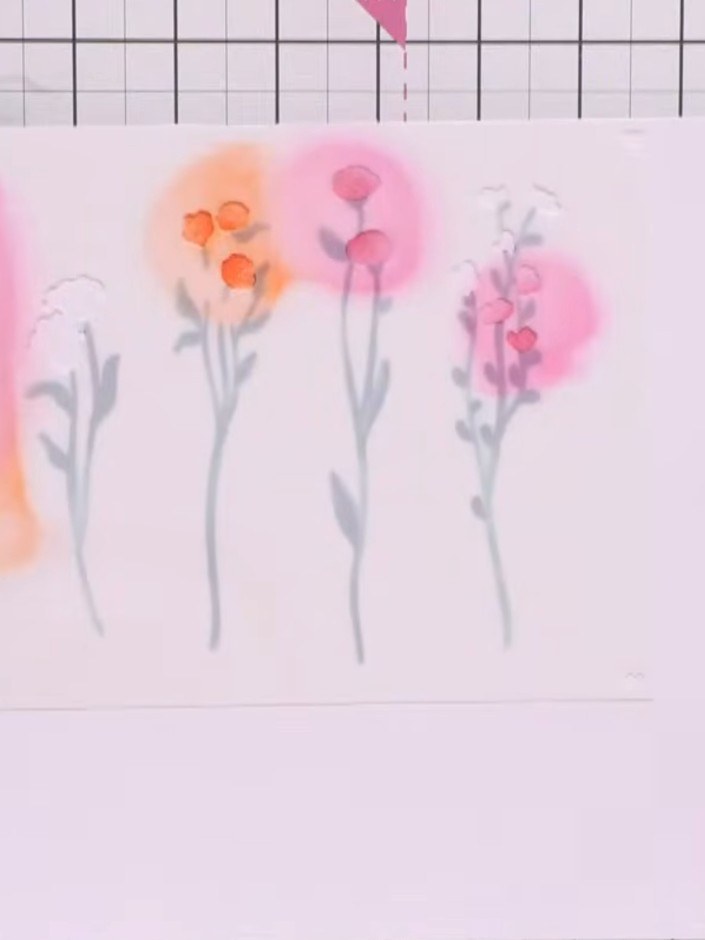
Apply stencil number 4 using purple ink to add definition and enhance the flower heads. Dab the ink gently over the stencil to build up colour on the blooms.
▶ watch this step (58:30)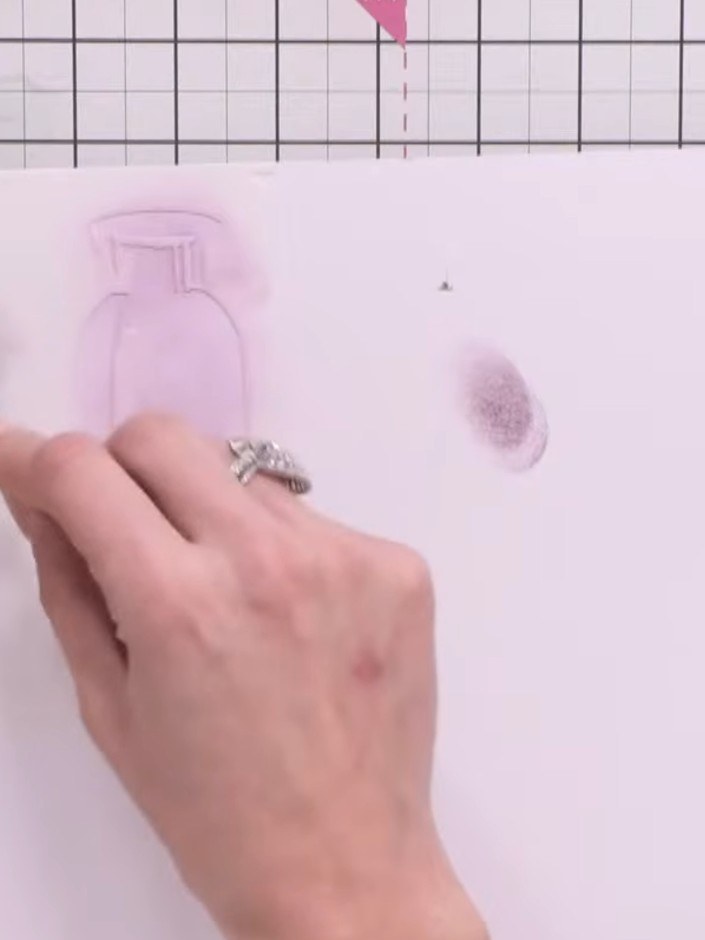
Position the second vase stencil over the first layer and apply ink using a blending tool, pressing slightly harder to add depth and shading to the vessel.
▶ watch this step (1:01:30)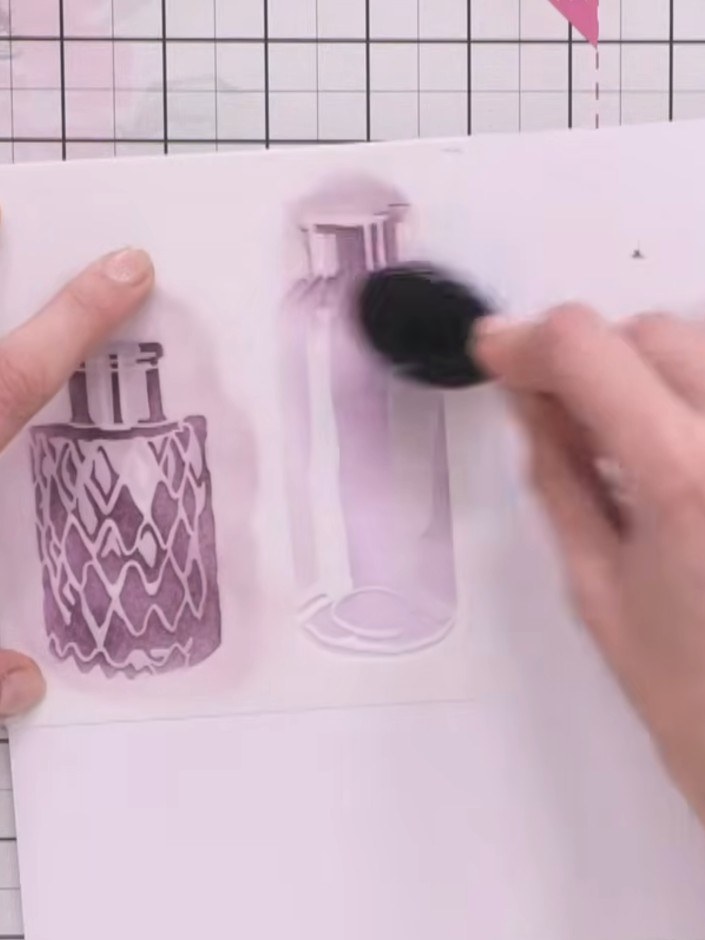
Apply the third vase stencil over the middle bottle image. Use the blending brush to press firmly and create the darkest areas, emphasising the glass effect and adding detail to the design.
▶ watch this step (1:03:00)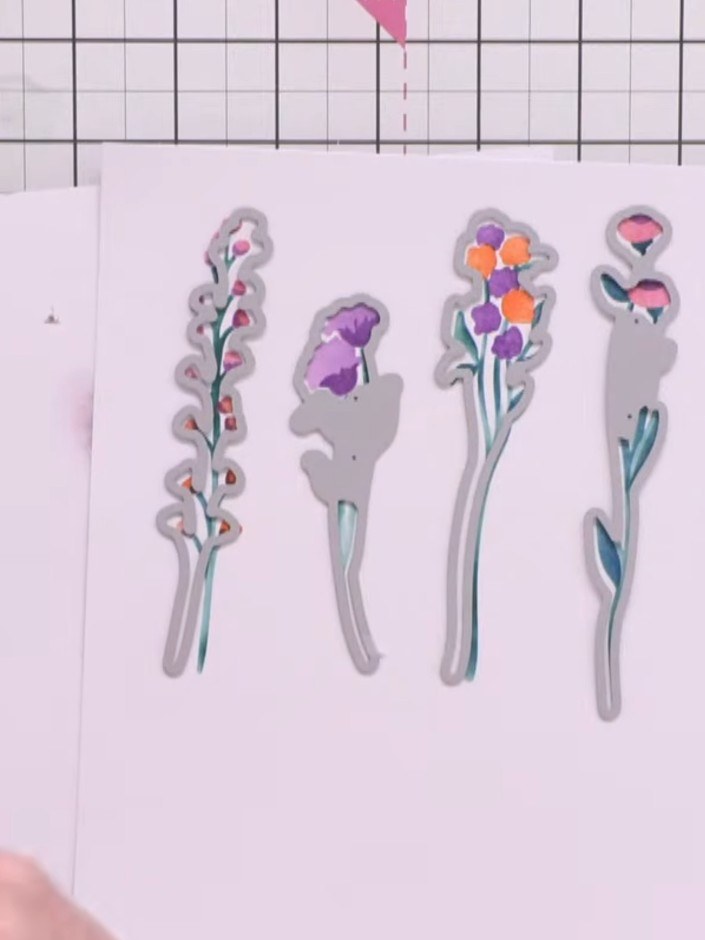
Die-cut the embossed plaque pieces using the coordinating dies from the Antique Bouquets set to create debossed sentiment panels.
▶ watch this step (1:05:30)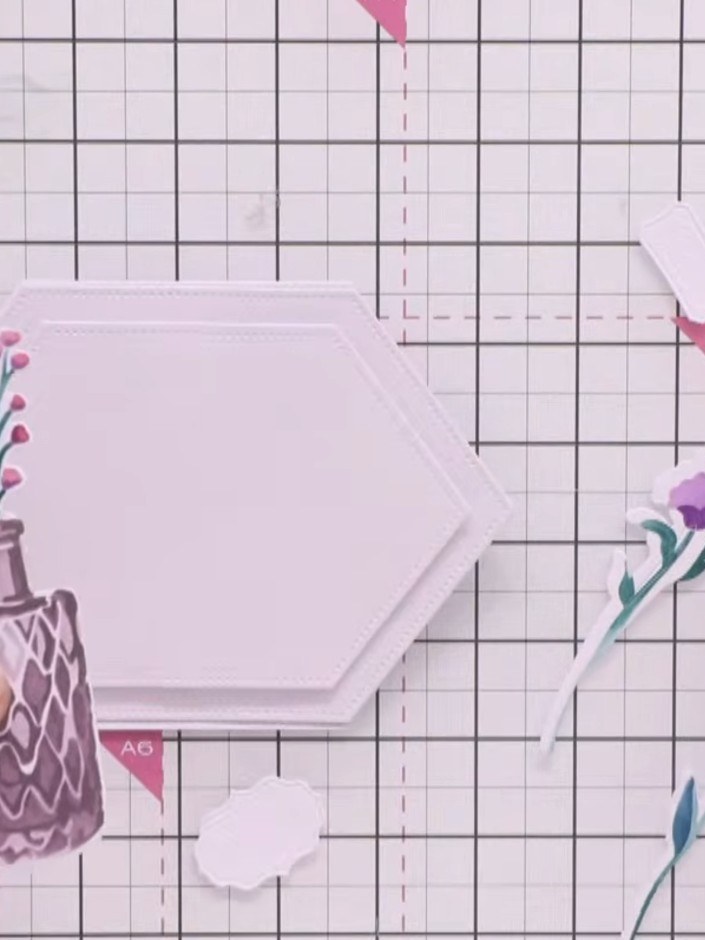
Trim the vase die-cuts to fit your card layout. You can shorten or lengthen the stems as needed to adjust the positioning of the floral elements for your design.
▶ watch this step (1:16:00)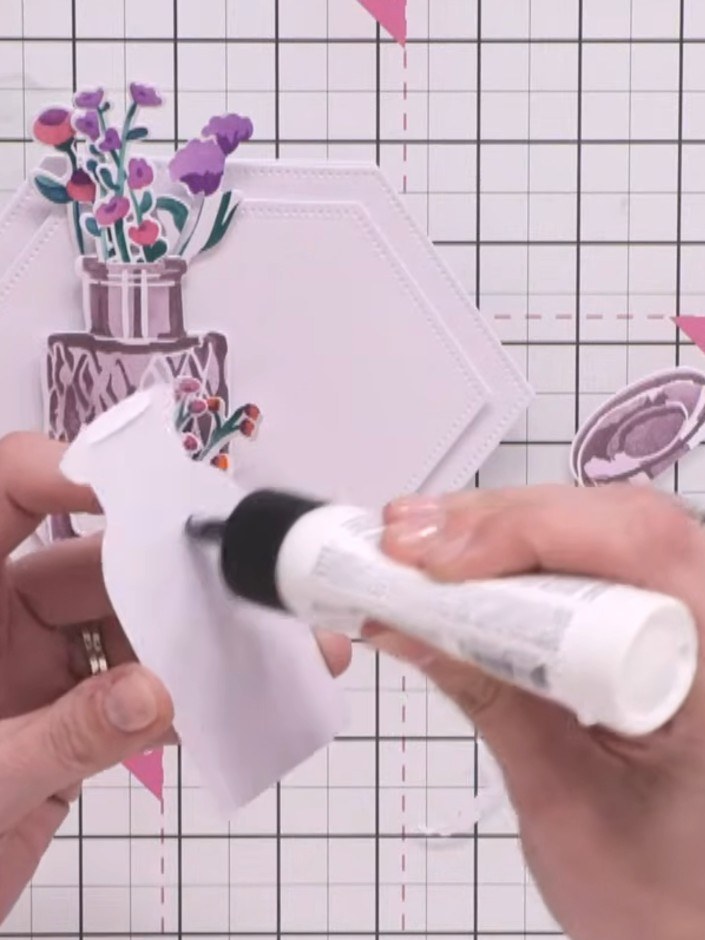
Apply foam pads to the back of the embossed plaque. Attach the plaque to the front of the card, ensuring it stands proud from the surface.
▶ watch this step (1:20:00)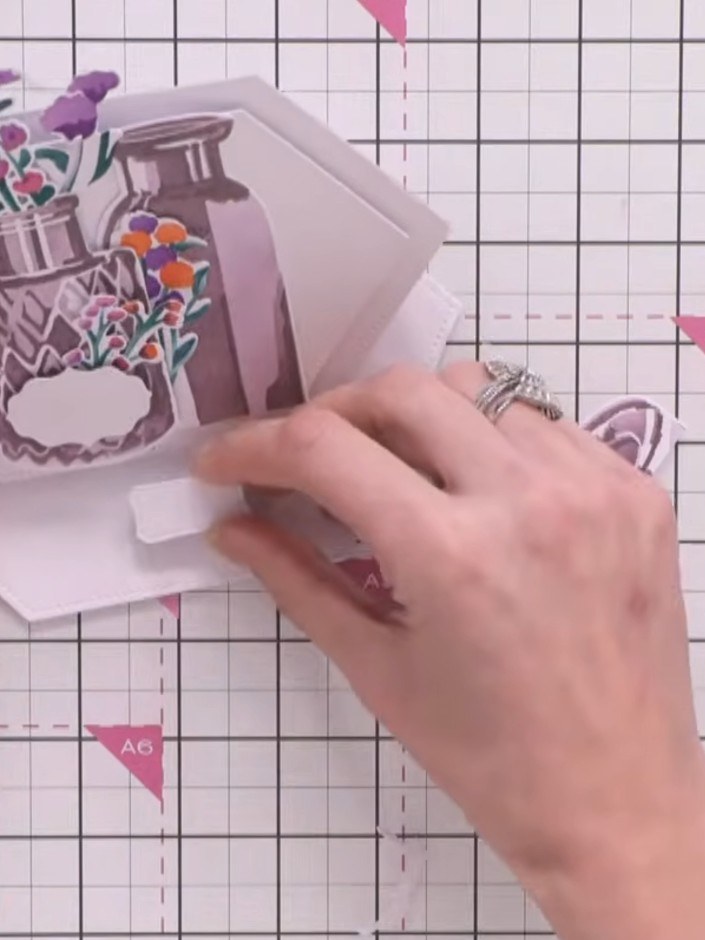
Glue additional flower sprigs around the plaque to create a full bouquet effect emerging from the vase. Position the sprigs to fill out the arrangement and add dimension to your card design.
▶ watch this step (1:21:30)Written up from the show itself. See every guide from our shows · free how-to guides · watch live on My Telly