Give your friends £10 off their first order!
Refer a FRIEND








A project from our live show THE THURSDAY DROP - Brand New Launch from Toni - Broadcast 30th April 26 · 30/04/2026 · watch it from 25:45
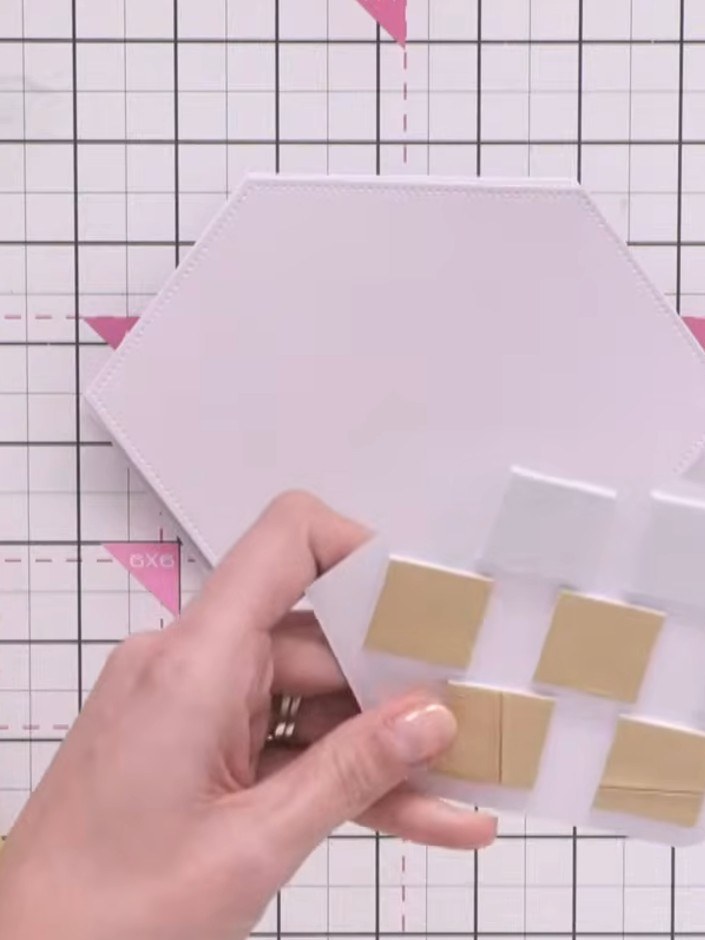
Create an elegant landscape-oriented shaped easel card that folds flat for posting. This project uses nested waste-free dies to create layered white card stock shapes, with foam pads providing dimension and an easel mechanism that allows the decorative front panel to stand proud when opened. The clever design maximises your materials whilst creating a stunning three-dimensional effect.
 Stamps By Me Waste Free Die Set- Dotty Framework - 260424BSEE IT
 Stamps By Me - White Blank Cards & Envelopes 7 X 7 - 240323ASEE IT
 Stamps By Me Tab Punch 1 - 190822A - 290422ASEE IT
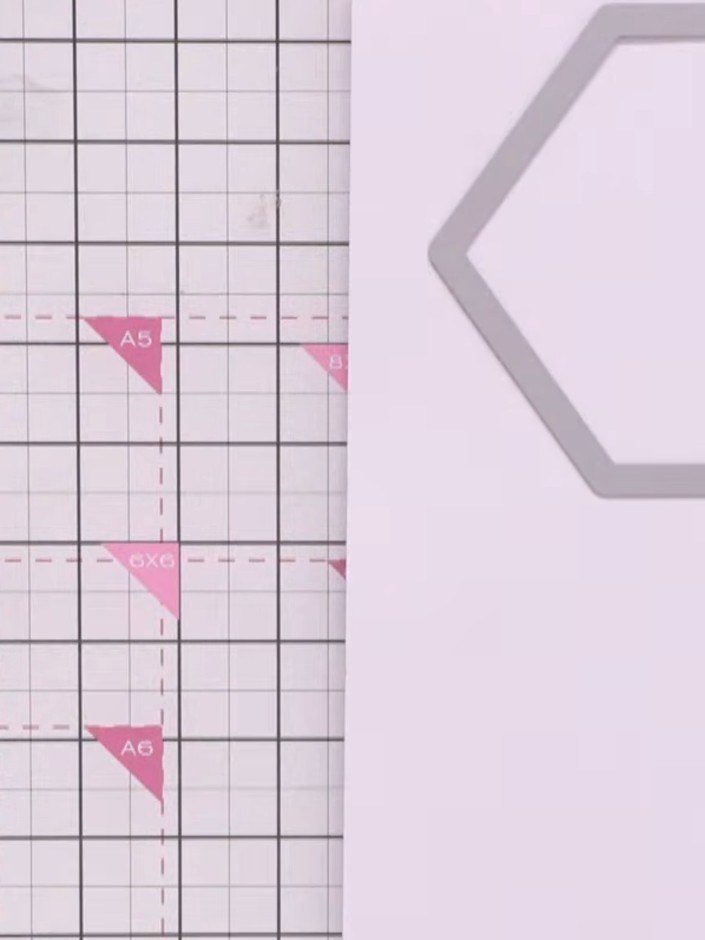
Cut three identical shaped pieces from white card using the largest waste-free die from the Dotty Framework set, running the die through your machine three times.
▶ watch this step (26:15)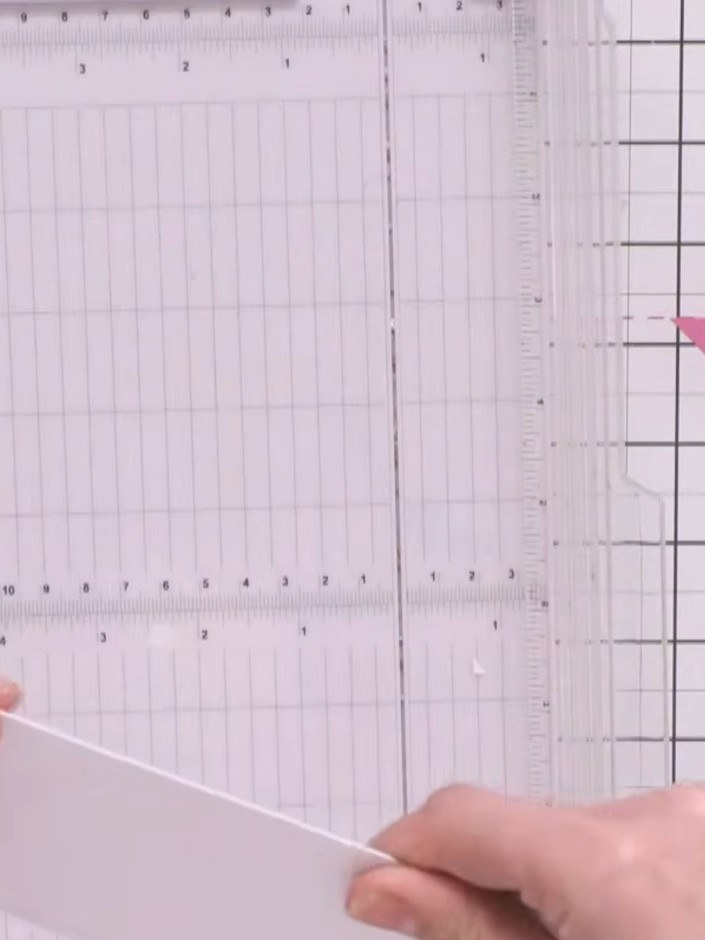
Score a second line down the centre of the back of the folded piece to create the hinge mechanism for your easel card.
▶ watch this step (36:30)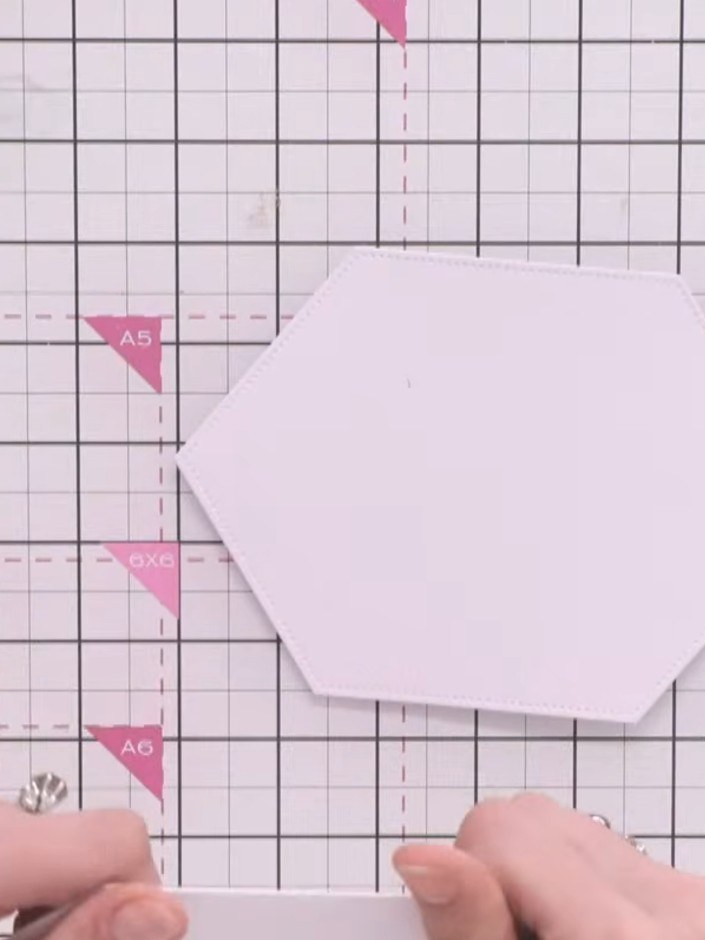
Glue the hinge strip to the inside front of your base card, ensuring it is lined up straight and positioned correctly.
▶ watch this step (43:00)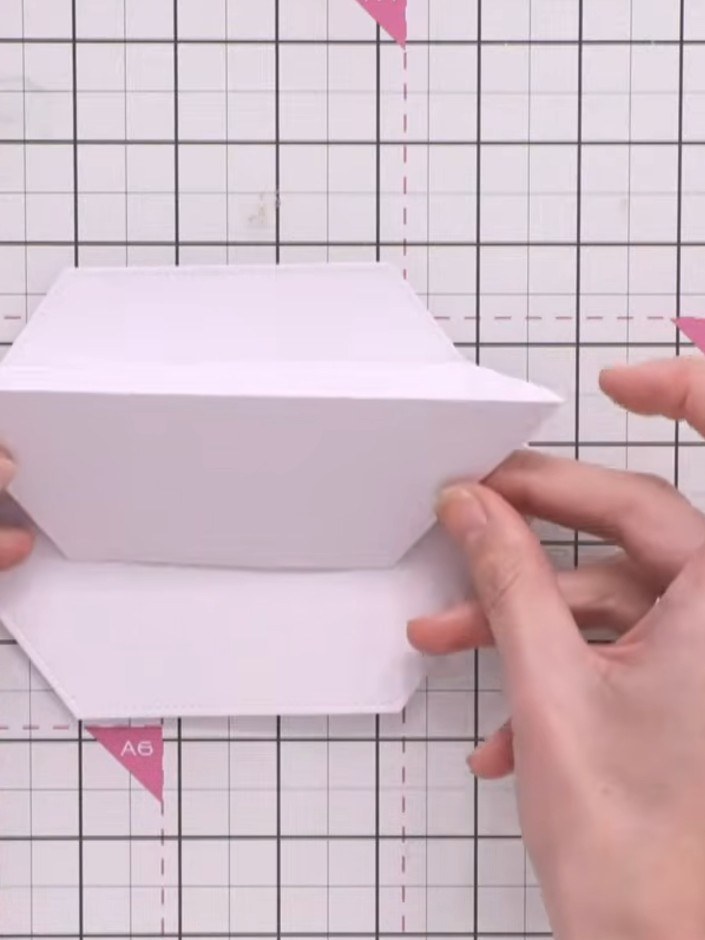
Fold the second-largest shaped piece upwards and glue it to the front of the hinged section to create the stand-up element of the easel card.
▶ watch this step (45:00)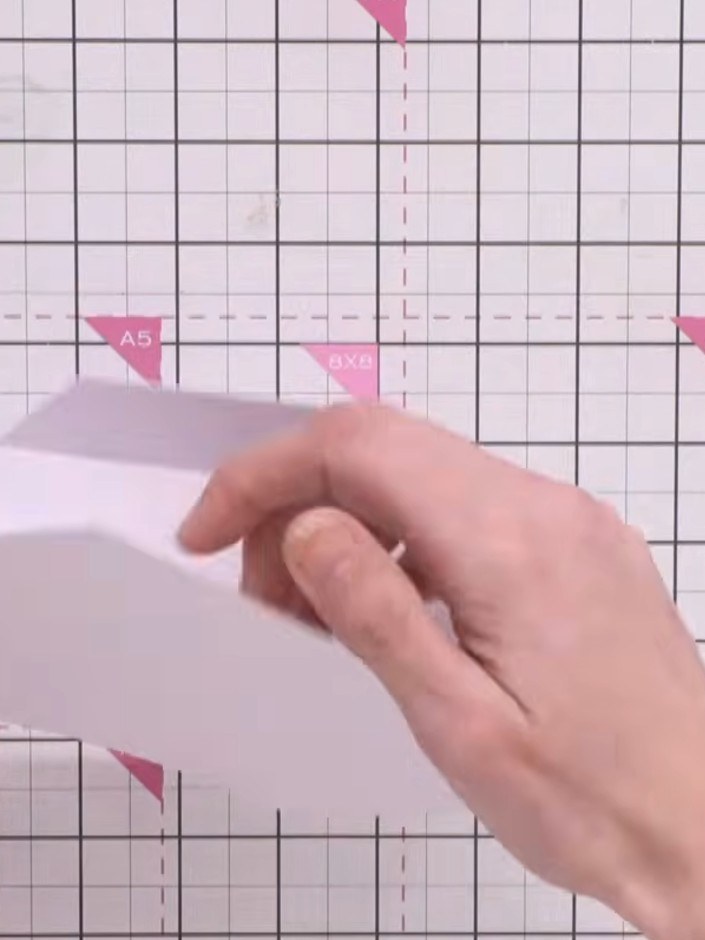
Apply foam pads to the back of the smallest shaped piece. Attach it to the front of the stand-up piece to create dimension.
▶ watch this step (45:30)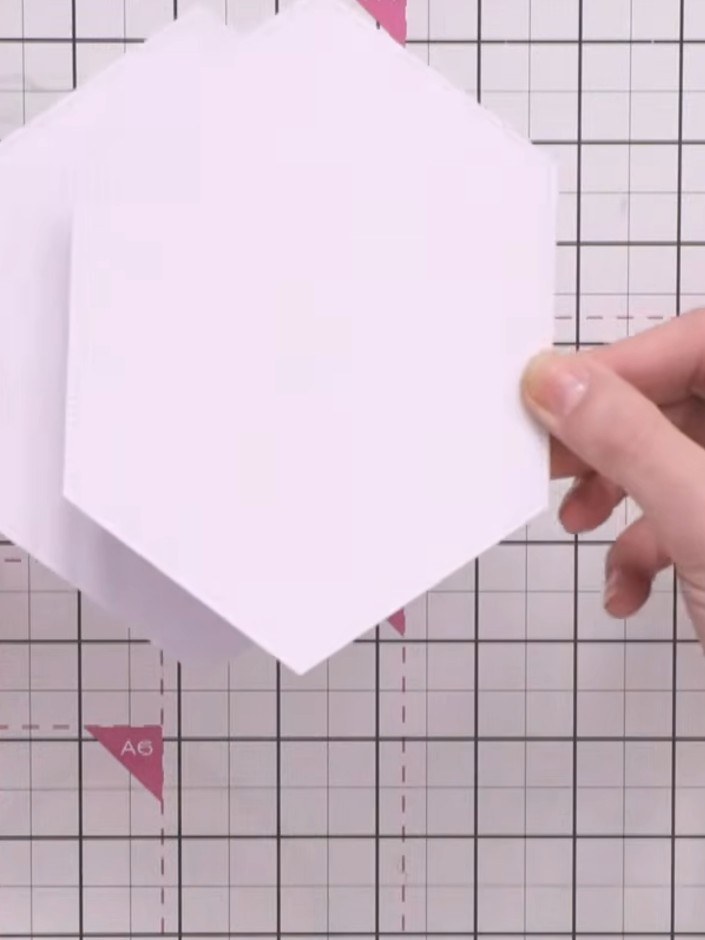
Fold the card closed to check it folds flat and will fit in an envelope.
▶ watch this step (46:45)Written up from the show itself. See every guide from our shows · free how-to guides · watch live on My Telly