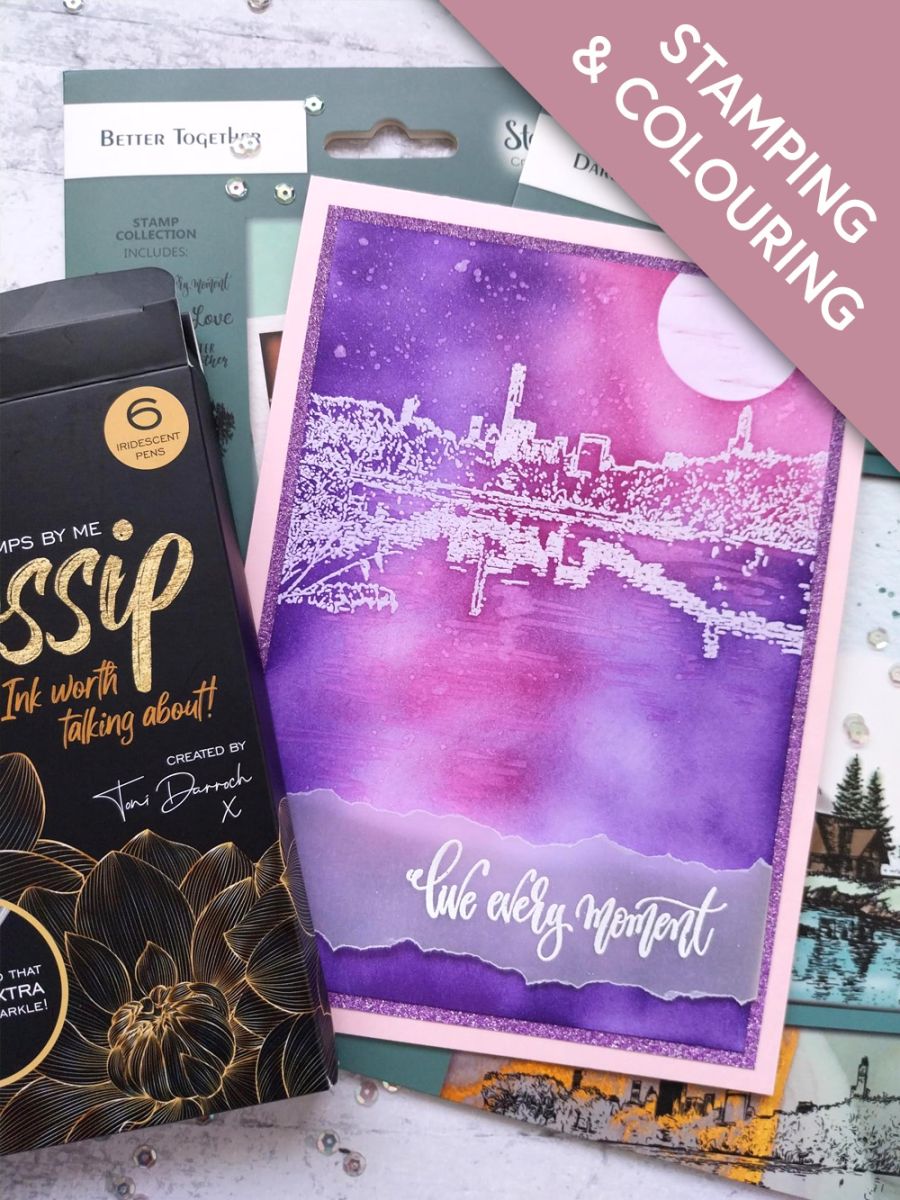
tap a picture to see it big · tap DONE as you go - this device remembers
Step 1 of 10
Wipe over the white card with your anti-static bag, before inking up this cityscape stamp from the Dare To Dream Collection, with the WOW sticky ink pad. Stamp across the top third of the card, as shown here.
Cover the stamped image with clear embossing powder, then heat set with your heat tool, moving the tool as soon as the powder starts to turn.
Tip: Get the heat tool hot, before setting the powder, as this will minimise any warping of your card.
Step 2 of 10
Secure a circle mask off the top right edge of the card, with a magnet or low tack tape.
Step 3 of 10
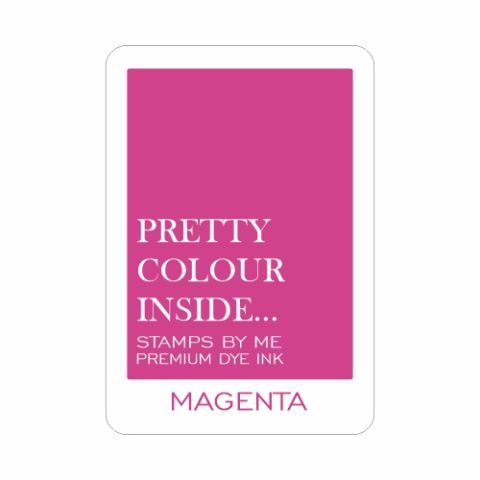
Using your blending tools, apply the Magenta and Indigo inks over your card and embossed image.
Buff off any excess ink sitting on top of your embossed image, with a paper towel or dry cloth. This brings back the detail and clarity of your embossed image.
Step 4 of 10
Remove the circle mask and lightly blend the Magenta, to take away the harshness of the white card. Use the side of your blending tool to drag a little ink across your Moon, depicting wispy clouds floating by...that sounded poetical ha ha!!
Step 5 of 10
Swirl the Gossip Gold iridescent pen, to activate the glitter, before squeezing a little on to your glass mat. Use a paint brush to splatter the glitter in the "sky", above your stamped skyline.
Step 6 of 10
Activate the glitter, in the purple Gossip pen, then add glitter highlights to the reflections in the water.
Step 7 of 10
Using your sentiment stamp as a guide, tear a strip of vellum, long enough to lay across your artwork and secure on the reverse.
Wipe the vellum with your anti-static bag before inking the sentiment stamp, from Better Together, with the WOW sticky embossing ink. Stamp on to the vellum, cover with white embossing powder then, once your heat tool is hot, heat set the powder as before. You need to move the heat tool as soon as the powder starts to turn, as vellum easily burns!
Step 8 of 10
Place the stamped vellum across your artwork, tucking the edges over the sides and securing on the reverse, with double sided adhesive tape.
Step 9 of 10
Adhere your artwork on to the Gossip glitter card.
Step 10 of 10
Finally, adhere to the front of your pink card blank.
You made it!
Share your make with the Stamps By Me community - and keep this guide for next time.
Hello! I'm Toni's AI craft helper - I know the projects from Toni's shows, our guides and everything in the shop. Ask me anything, like "which dies go with this stamp set?" or "what do I need to start ink blending?"
An AI helper (not Toni herself), answering from Toni's shows and our shop - please check the product page before you buy.