Cochez ce que vous avez - cet appareil s’en souvient.
Étape par étape
touchez une image pour l’agrandir · touchez TERMINÉ au fur et à mesure - cet appareil s’en souvient
Étape 1 sur 10
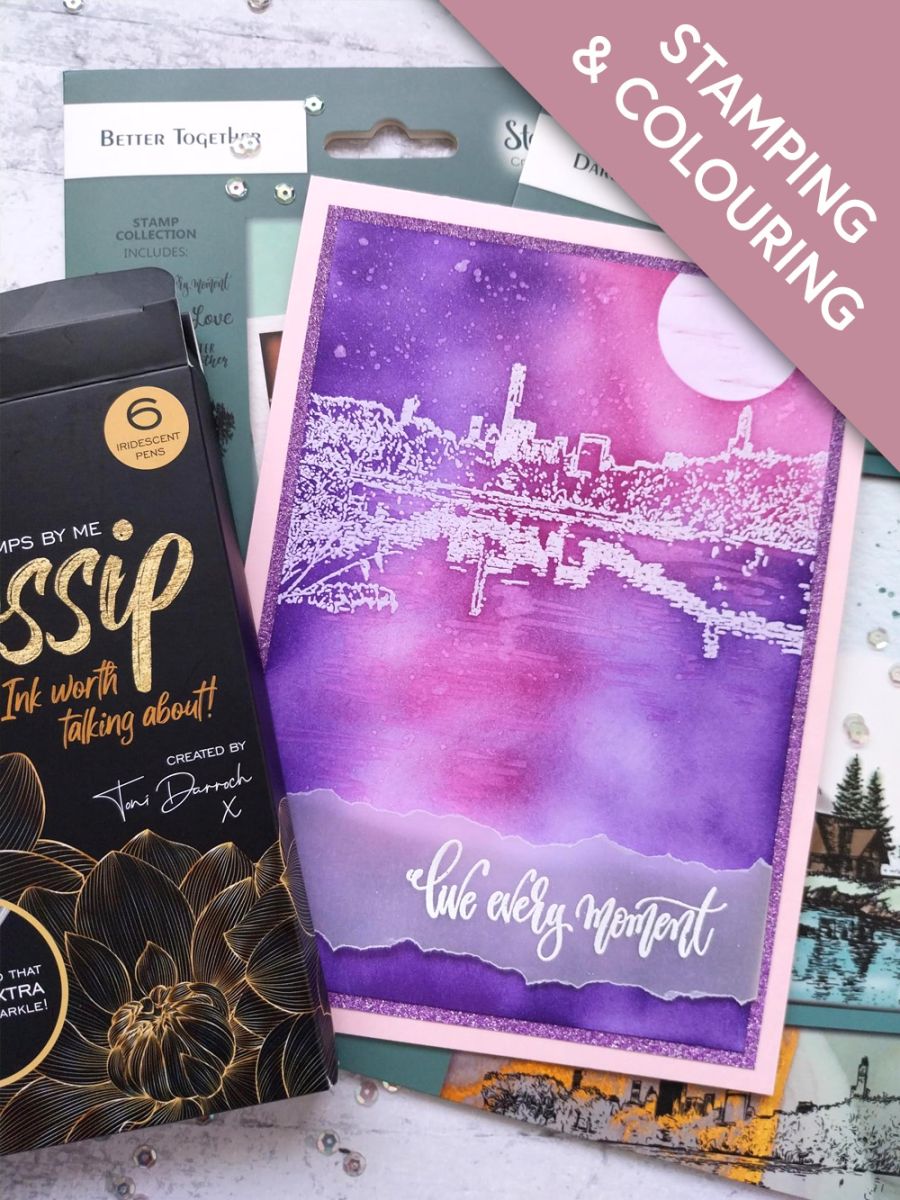
Wipe over the white card with your anti-static bag, before inking up this cityscape stamp from the Dare To Dream Collection, with the WOW sticky ink pad. Stamp across the top third of the card, as shown here.
Cover the stamped image with clear embossing powder, then heat set with your heat tool, moving the tool as soon as the powder starts to turn.
Tip: Get the heat tool hot, before setting the powder, as this will minimise any warping of your card.
Étape 2 sur 10
Secure a circle mask off the top right edge of the card, with a magnet or low tack tape.
Étape 3 sur 10
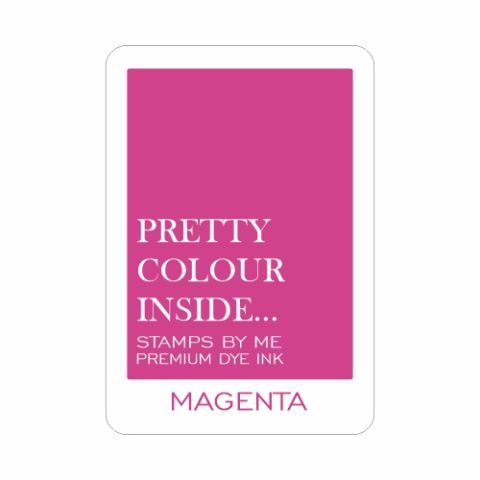
Using your blending tools, apply the Magenta and Indigo inks over your card and embossed image.
Buff off any excess ink sitting on top of your embossed image, with a paper towel or dry cloth. This brings back the detail and clarity of your embossed image.
Étape 4 sur 10
Remove the circle mask and lightly blend the Magenta, to take away the harshness of the white card. Use the side of your blending tool to drag a little ink across your Moon, depicting wispy clouds floating by...that sounded poetical ha ha!!
Étape 5 sur 10
Swirl the Gossip Gold iridescent pen, to activate the glitter, before squeezing a little on to your glass mat. Use a paint brush to splatter the glitter in the "sky", above your stamped skyline.
Étape 6 sur 10
Activate the glitter, in the purple Gossip pen, then add glitter highlights to the reflections in the water.
Étape 7 sur 10
Using your sentiment stamp as a guide, tear a strip of vellum, long enough to lay across your artwork and secure on the reverse.
Wipe the vellum with your anti-static bag before inking the sentiment stamp, from Better Together, with the WOW sticky embossing ink. Stamp on to the vellum, cover with white embossing powder then, once your heat tool is hot, heat set the powder as before. You need to move the heat tool as soon as the powder starts to turn, as vellum easily burns!
Étape 8 sur 10
Place the stamped vellum across your artwork, tucking the edges over the sides and securing on the reverse, with double sided adhesive tape.
Étape 9 sur 10
Adhere your artwork on to the Gossip glitter card.
Étape 10 sur 10
Finally, adhere to the front of your pink card blank.
Bravo, c’est fait !
Partagez votre création avec la communauté Stamps By Me - et gardez ce tutoriel pour la prochaine fois.
Demandez à Toni L'assistante créative IA de ToniTAILLE
Bonjour ! Je suis l'assistante créative IA de Toni : je connais les projets des émissions de Toni, nos tutoriels et tout ce qui se trouve dans la boutique. Posez-moi toutes vos questions, par exemple « Quelles matrices de découpe vont avec ce set de tampons ? » ou « De quoi ai-je besoin pour débuter le mélange d'encres ? »
Un assistant IA (et non Toni en personne), qui répond à partir des émissions de Toni et de notre boutique – merci de vérifier la fiche produit avant d'acheter.