tap a picture to see it big · tap DONE as you go - this device remembers
Step 1 of 10
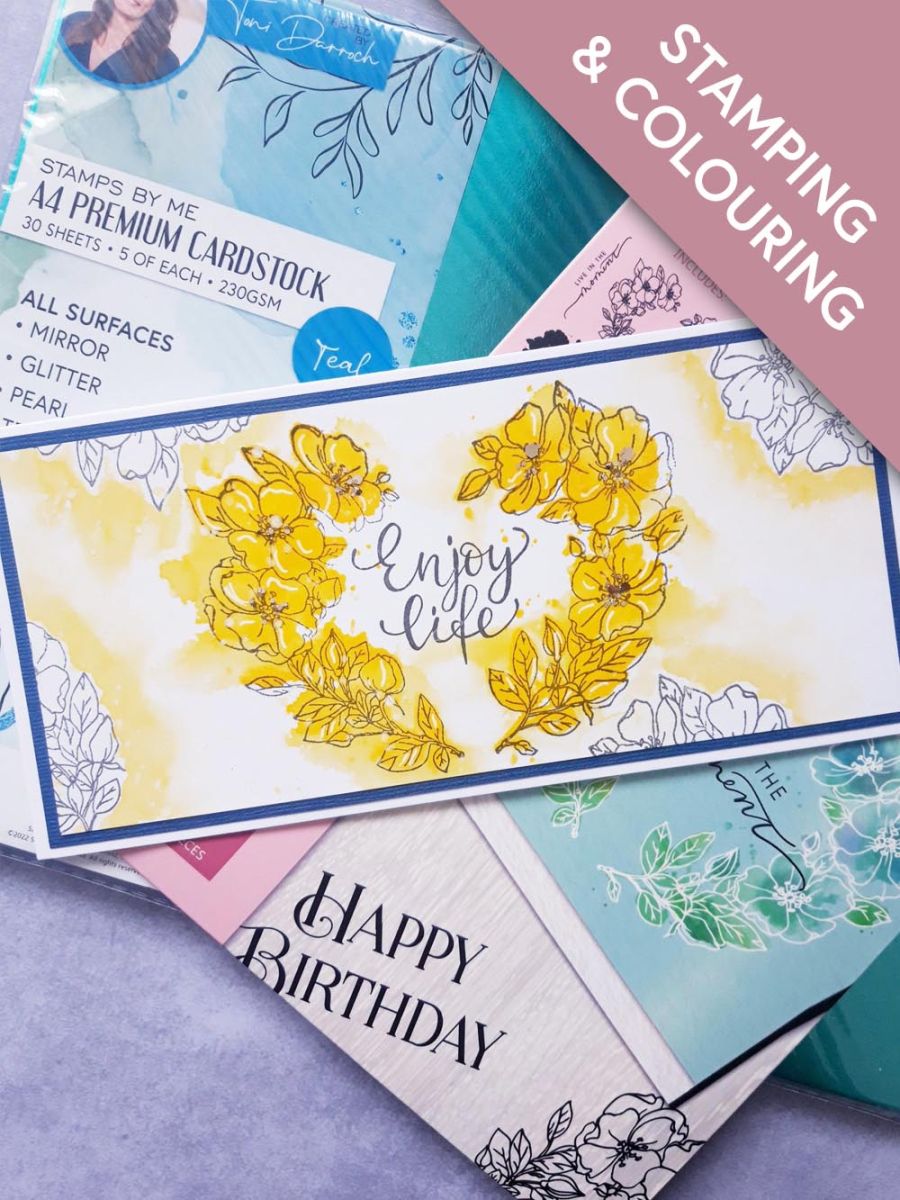
Ink up the solid stamp, from Enjoy Life Lamination Collection, with the Sherbet ink pad. Spritz the stamp with water and stamp in the centre of the white, landscape card.
Spritz the stamped image, allowing the ink to bleed. Mop up any excess water and ink, with a paper towel and then dry off the ink with your heat tool.
Step 2 of 10
Ink up the coordinating detailed stamp, with the Smoky Grey Versafine and stamp over the stamped ink.
Step 3 of 10
Ink up the stamp again and stamp randomly, off the edges of the card.
Step 4 of 10
Apply the Sherbet ink pad to your craft mat and spritz liberally with water.
Using your paint brush and clear water, apply water around the edge of one of the stamped images, drop in the Sherbet ink and allow it to do it's own thing. Blend the edges of the ink to disperse any harsh lines. This is known as the "wet in wet " technique.
Repeat this around each of your stamped images.
Tip: Whilst the ink is still wet, you can go back in adding and blending more colour, until you are happy with the effect.
Step 5 of 10
Add water to your Confetti paint and once your artwork is dry, splatter as required...I like lots of splats!!!
Step 6 of 10
Ink up the sentiment stamp, from the same collection, with the Versafine and stamp in the centre of your heart wreath.
Step 7 of 10
Use a white gel pen to add accents and highlights to your artwork.
Step 8 of 10
Adhere your artwork on to the blue, textured cardstock.
Step 9 of 10
Adhere to the front of your DL card blank.
Step 10 of 10
To finish, add any of the gold glitters, from the Feras Gold Twinkle Collection, to the centres of your flowers.
You made it!
Share your make with the Stamps By Me community - and keep this guide for next time.
Hello! I'm Toni's AI craft helper - I know the projects from Toni's shows, our guides and everything in the shop. Ask me anything, like "which dies go with this stamp set?" or "what do I need to start ink blending?"
An AI helper (not Toni herself), answering from Toni's shows and our shop - please check the product page before you buy.