Cochez ce que vous avez - cet appareil s’en souvient.
Étape par étape
touchez une image pour l’agrandir · touchez TERMINÉ au fur et à mesure - cet appareil s’en souvient
Étape 1 sur 10
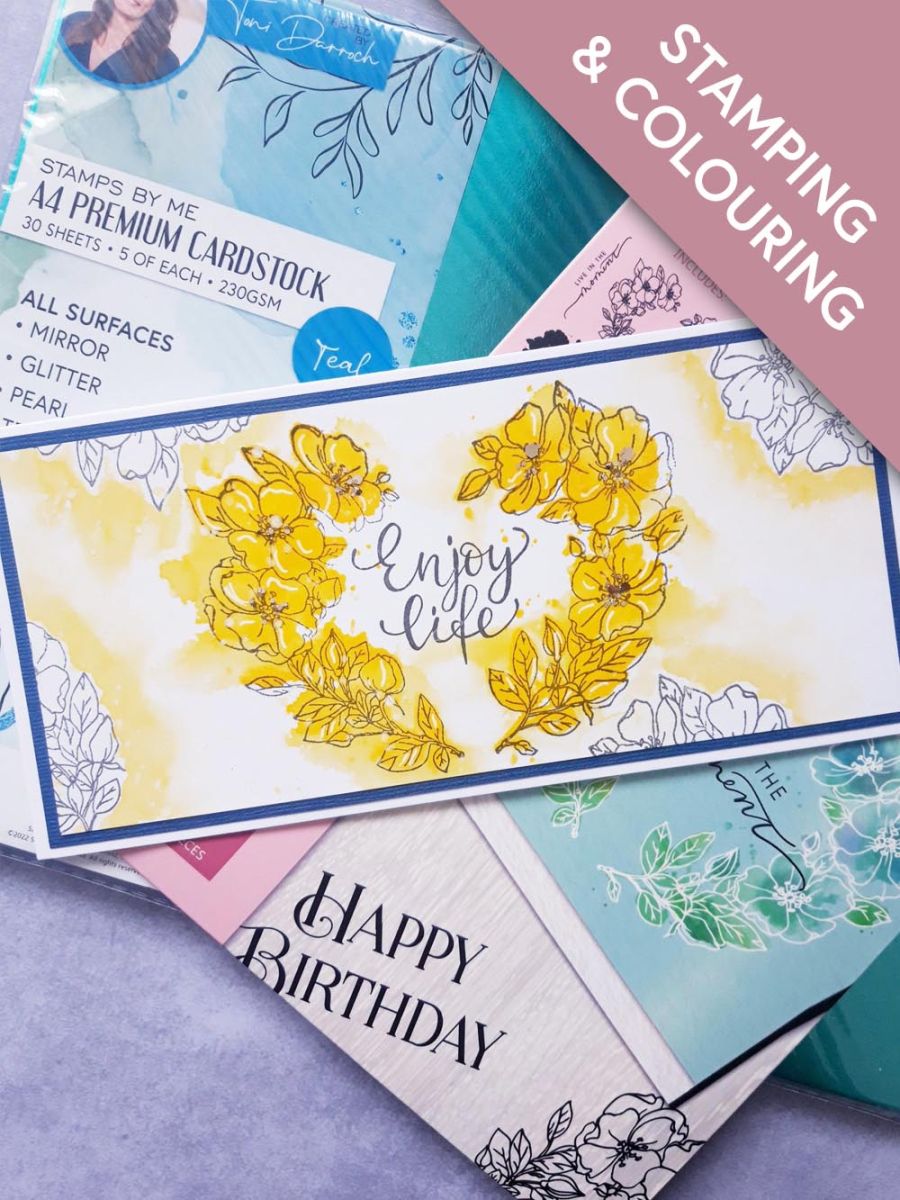
Ink up the solid stamp, from Enjoy Life Lamination Collection, with the Sherbet ink pad. Spritz the stamp with water and stamp in the centre of the white, landscape card.
Spritz the stamped image, allowing the ink to bleed. Mop up any excess water and ink, with a paper towel and then dry off the ink with your heat tool.
Étape 2 sur 10
Ink up the coordinating detailed stamp, with the Smoky Grey Versafine and stamp over the stamped ink.
Étape 3 sur 10
Ink up the stamp again and stamp randomly, off the edges of the card.
Étape 4 sur 10
Apply the Sherbet ink pad to your craft mat and spritz liberally with water.
Using your paint brush and clear water, apply water around the edge of one of the stamped images, drop in the Sherbet ink and allow it to do it's own thing. Blend the edges of the ink to disperse any harsh lines. This is known as the "wet in wet " technique.
Repeat this around each of your stamped images.
Tip: Whilst the ink is still wet, you can go back in adding and blending more colour, until you are happy with the effect.
Étape 5 sur 10
Add water to your Confetti paint and once your artwork is dry, splatter as required...I like lots of splats!!!
Étape 6 sur 10
Ink up the sentiment stamp, from the same collection, with the Versafine and stamp in the centre of your heart wreath.
Étape 7 sur 10
Use a white gel pen to add accents and highlights to your artwork.
Étape 8 sur 10
Adhere your artwork on to the blue, textured cardstock.
Étape 9 sur 10
Adhere to the front of your DL card blank.
Étape 10 sur 10
To finish, add any of the gold glitters, from the Feras Gold Twinkle Collection, to the centres of your flowers.
Bravo, c’est fait !
Partagez votre création avec la communauté Stamps By Me - et gardez ce tutoriel pour la prochaine fois.
Demandez à Toni L'assistante créative IA de ToniTAILLE
Bonjour ! Je suis l'assistante créative IA de Toni : je connais les projets des émissions de Toni, nos tutoriels et tout ce qui se trouve dans la boutique. Posez-moi toutes vos questions, par exemple « Quelles matrices de découpe vont avec ce set de tampons ? » ou « De quoi ai-je besoin pour débuter le mélange d'encres ? »
Un assistant IA (et non Toni en personne), qui répond à partir des émissions de Toni et de notre boutique – merci de vérifier la fiche produit avant d'acheter.