Offrez à vos amis 10 £ de réduction sur leur première commande !
Parrainez un AMI








 The Friday Final Cutven. 6 nov. 10 h 00
 Community Showcaselun. 9 nov. 10 h 00
 Hobbymaker TVlun. 9 nov. 14 h 00
Les prix sont mis à jour immédiatement. Chaque langue est notre propre traduction, pas Google.
Une création de notre émission en direct ONE DAY SPECIAL - Retrouvez Toni pour son tout nouveau lancement - Diffusion du 5 décembre 2025 · 05/12/2025
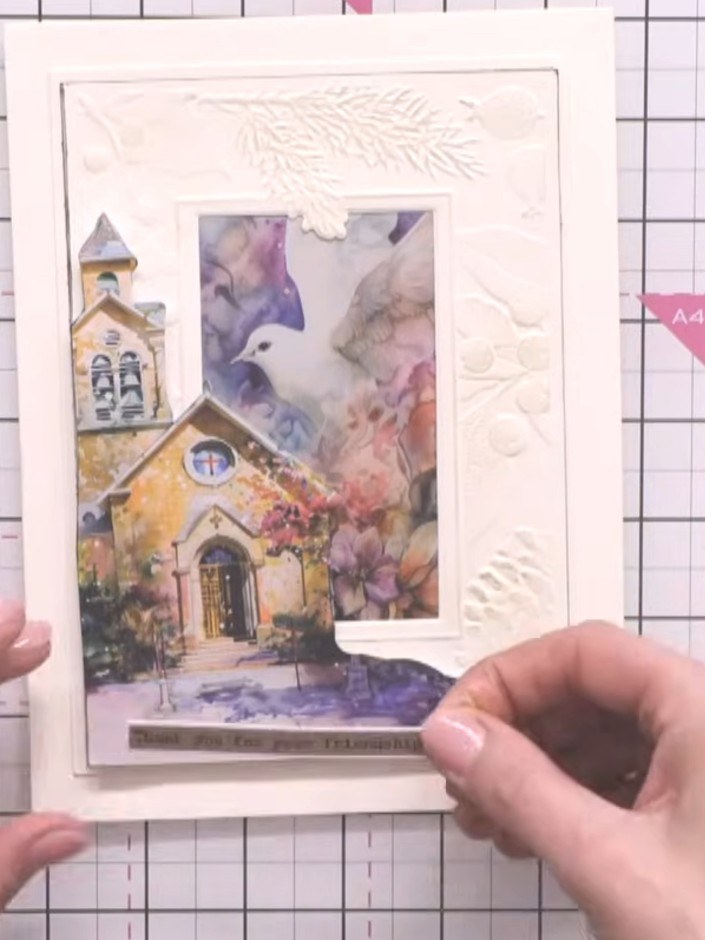
Réalisez une élégante carte de Noël ornée d’une magnifique église et de son vitrail. Ce projet associe l’embossage et des éléments floraux minutieusement détourés sur du papier cartonné crème, sublimés par de chaleureux tons aquarelle et des touches métallisées. Le relief du motif donne une carte de vœux festive et intemporelle, au charme rétro.
 1
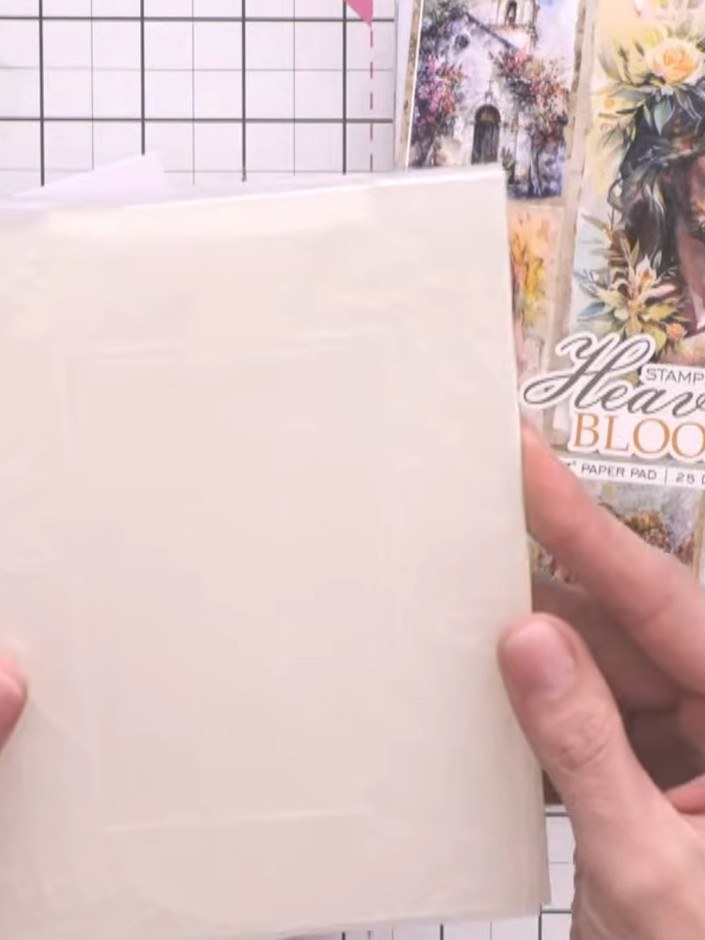
Recoupez un morceau de papier cartonné crème aux dimensions de votre machine de découpe A4.
 2
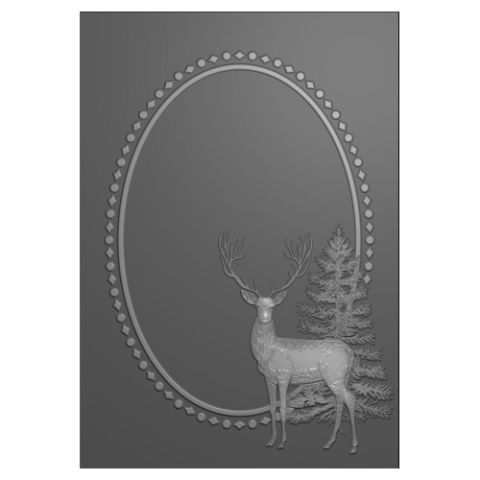
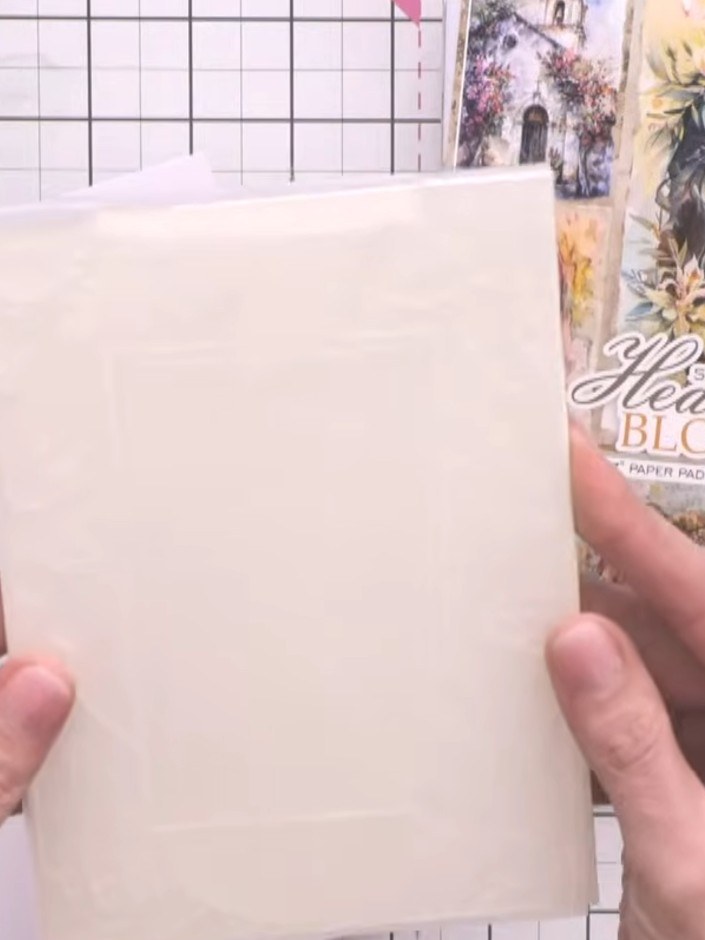
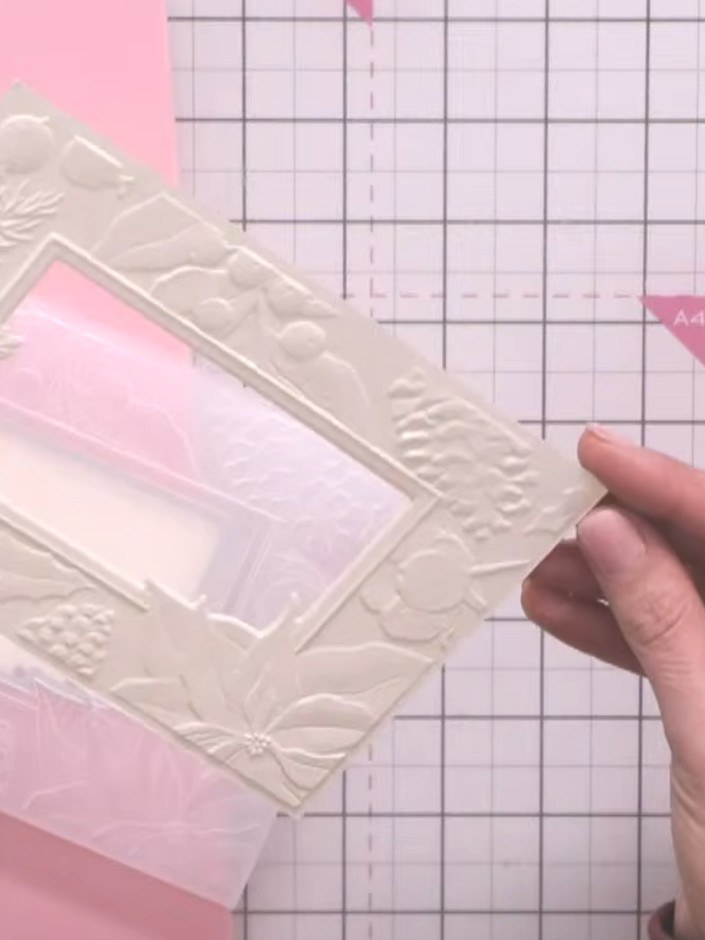
Run the cream card through the embossing folder using the clear plates on your die-cutting machine to create the embossed design.
 3
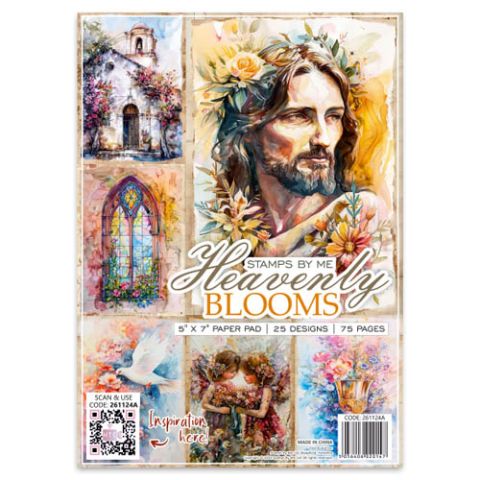
Select a floral design from the Heavenly Blooms paper pad that complements the embossed window design. The debossed (reverse) side of the embossing is equally beautiful and can be used for your card.
 4
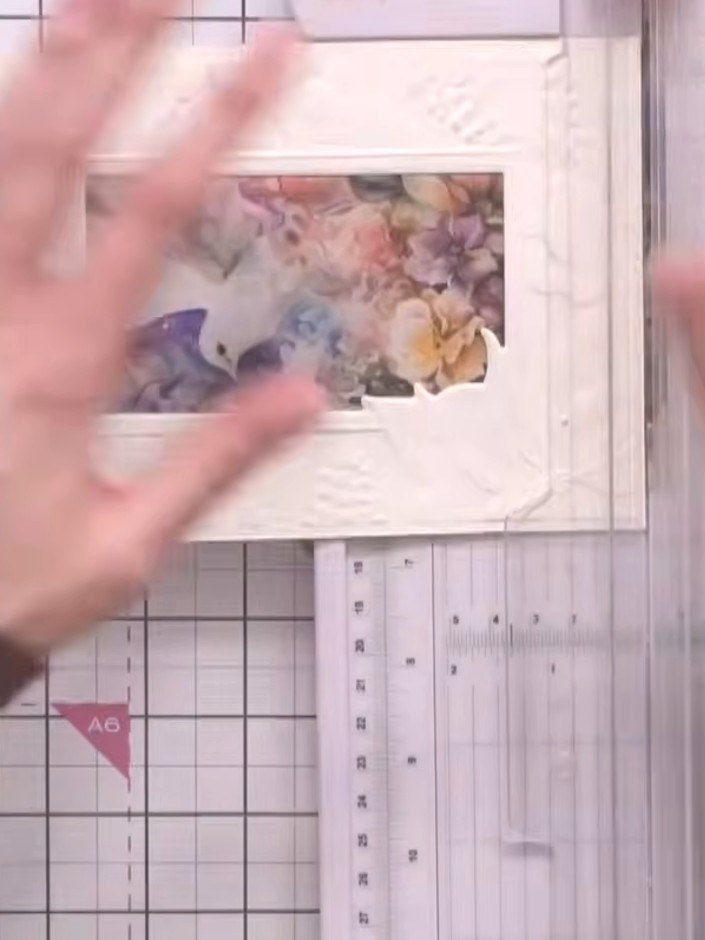
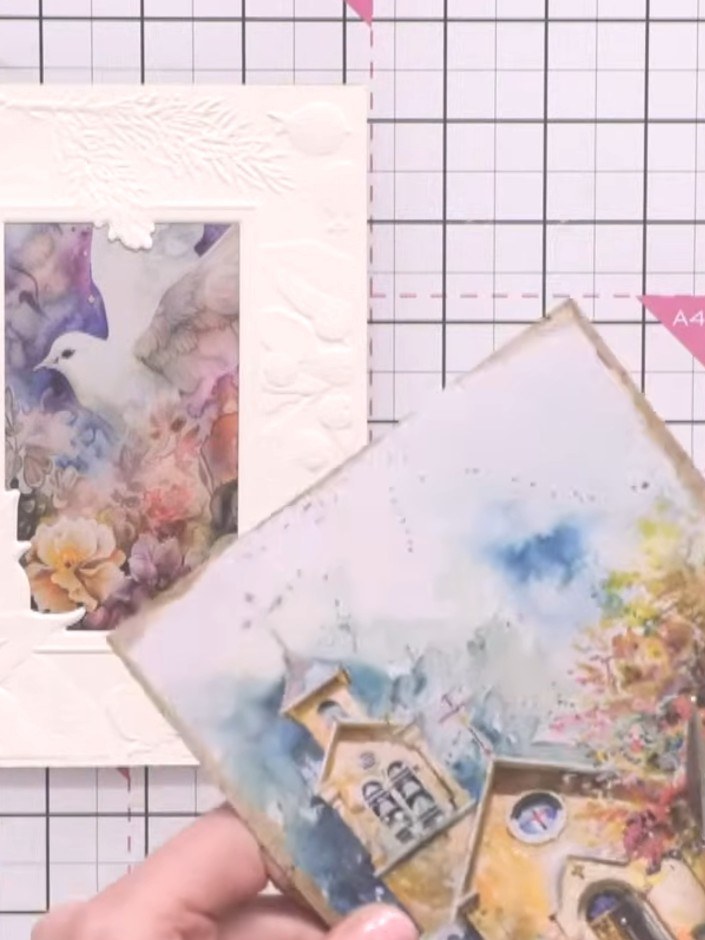
Carefully fussy-cut around the floral elements from the Heavenly Blooms paper using scissors, preserving all the design details.
 5
Adhere the fussy-cut floral elements from the Heavenly Blooms paper collection to the embossed card using glue. Position the florals to complement the embossed design on the card front.
 6
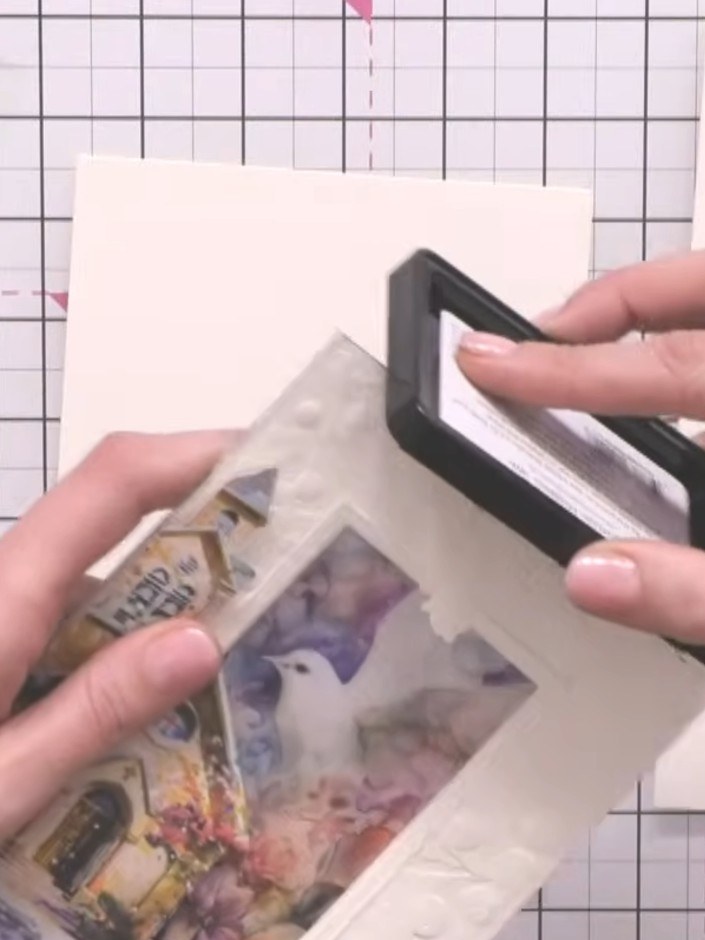
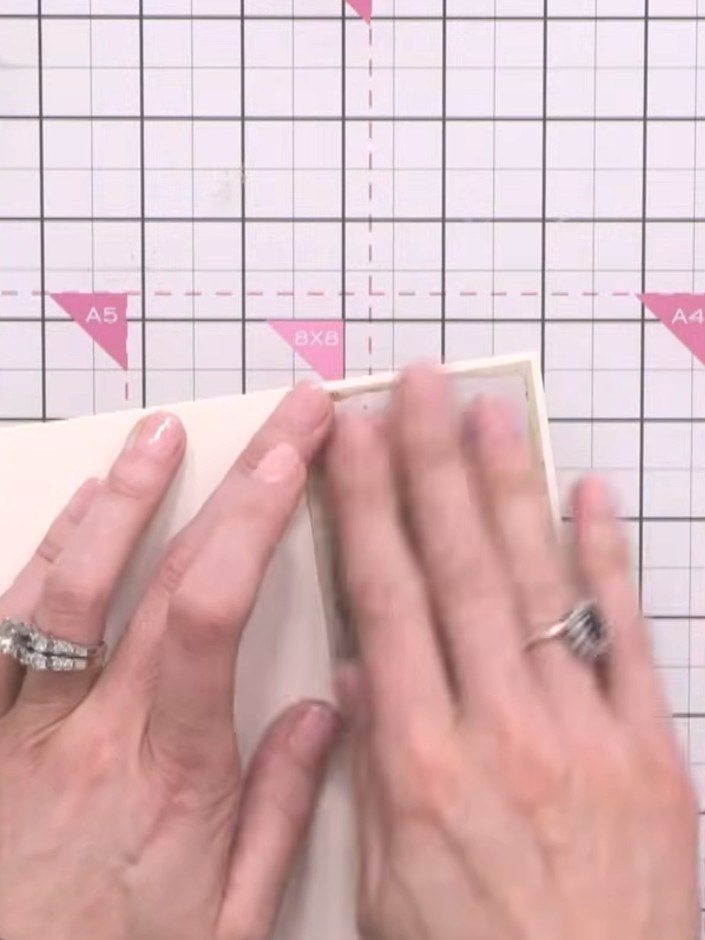
Edge the embossed panel with black ink using an ink pad, angling it along the raised edges of the embossing to create subtle definition and enhance the design.
 7
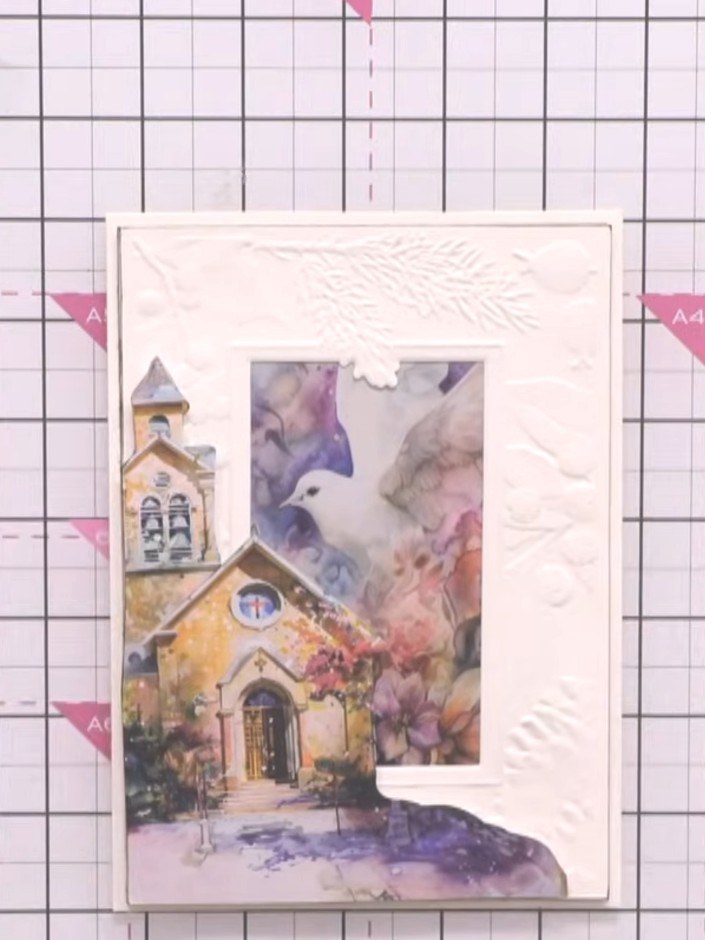
Mount the embossed and inked panel onto a cream card blank using adhesive. Position it centrally to create your base layer for the card.
 8
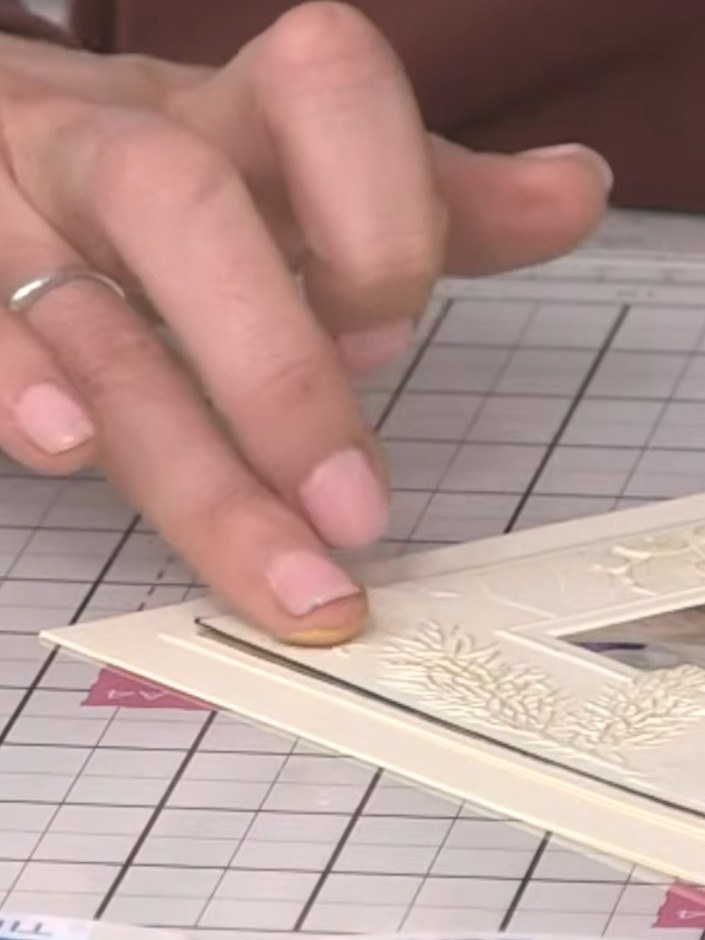
Apply gold blending wax to your finger and gently rub it onto select details of the watercolour church design to add metallic accents.
 9
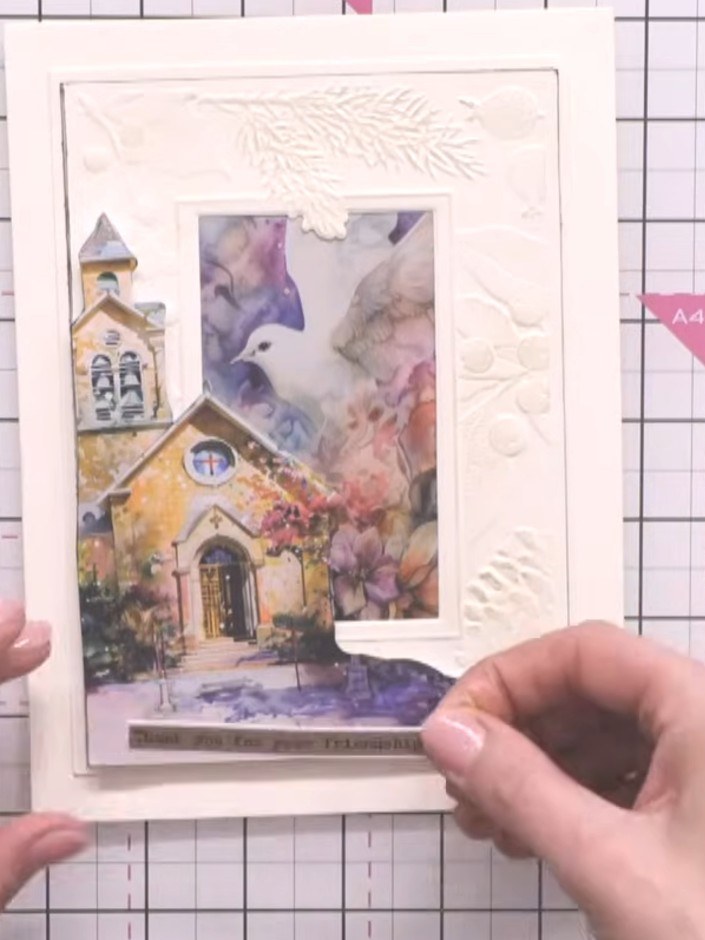
Ajoutez un texte avec du masking tape (washi tape), en bas à gauche de la carte, just off to the left of the church image.
 10
Collez un élément en papier assorti à l’intérieur de la carte pour une finition soignée. This completes your embossed stained glass window Christmas card.
Partagez votre création avec la communauté Stamps By Me - et gardez ce tutoriel pour la prochaine fois.
Rédigé à partir de l’émission elle-même. Tous les tutoriels de nos émissions · tutoriels gratuits · en direct sur My Telly · l’ancienne présentation