Give your friends £10 off their first order!
Refer a FRIEND








 Hidden GemsWed 18 Nov 10am
 The Thursday DropThu 19 Nov 6pm
 The Friday Final CutFri 20 Nov 10am
Prices change straight away. Every language is our own translation, not Google.
A project from our live show HOBBYMAKER TV - Join us for the latest show - Broadcast 4 p.m. (UK) 7th May 2026 · 07/05/2026 · watch it from 52:00
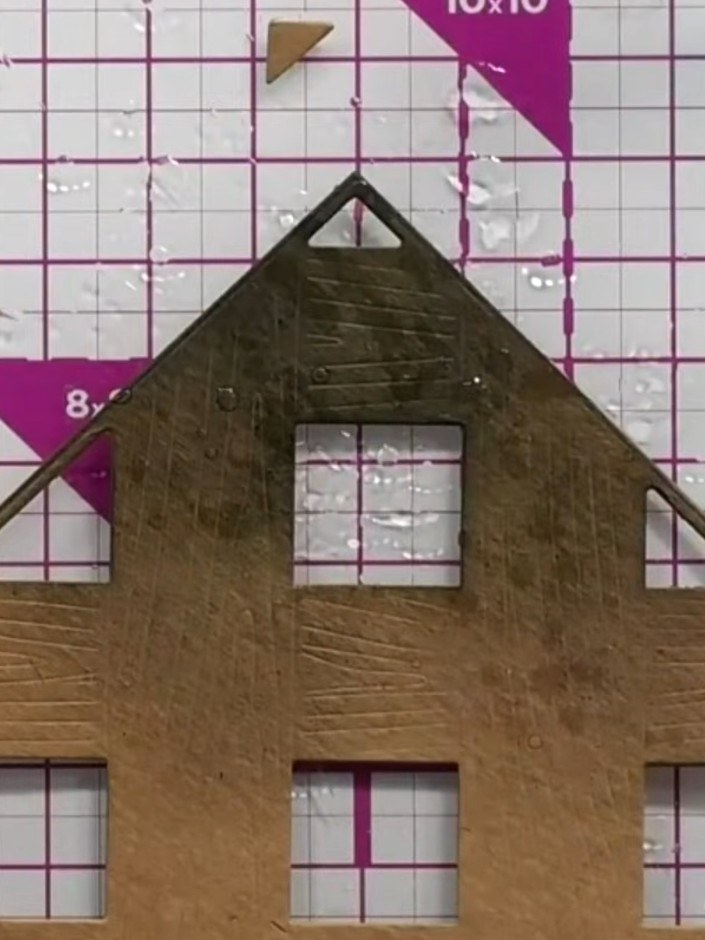
Create a charming card with an embossed timber wood texture effect in warm brown tones. Using a large embossing die, you'll achieve a realistic wood grain pattern with raised detail that's enhanced through selective inking. This dimensional technique creates a beautiful rustic finish perfect for handmade greetings.
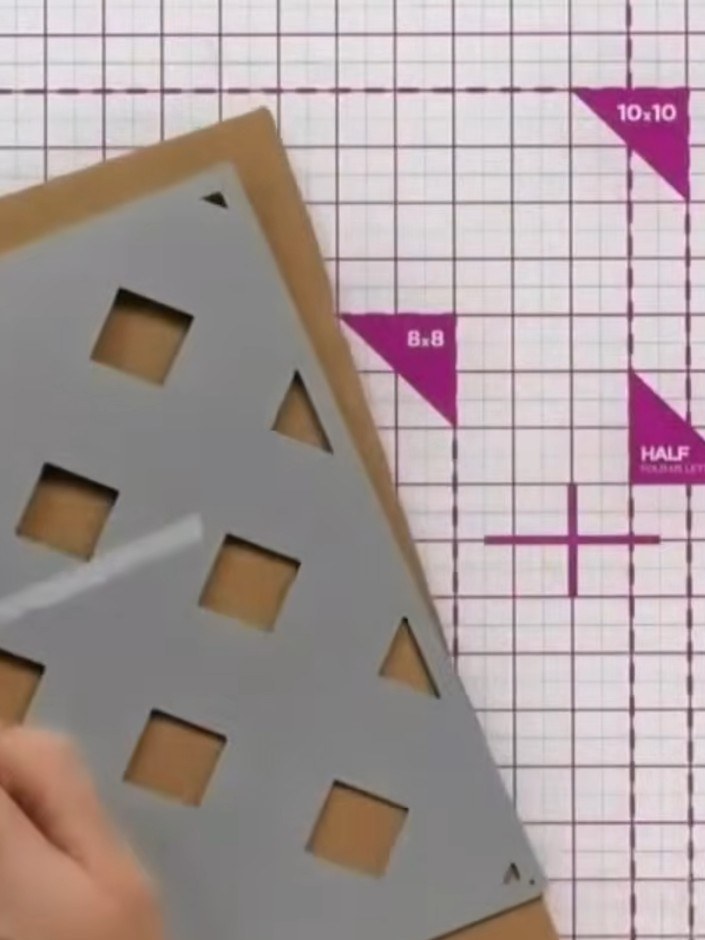
Place your craft card into the die-cutting machine along with the timber embossing die. Ensure the die is positioned correctly with the card ready to be run through the machine.
▶ watch this step (52:30)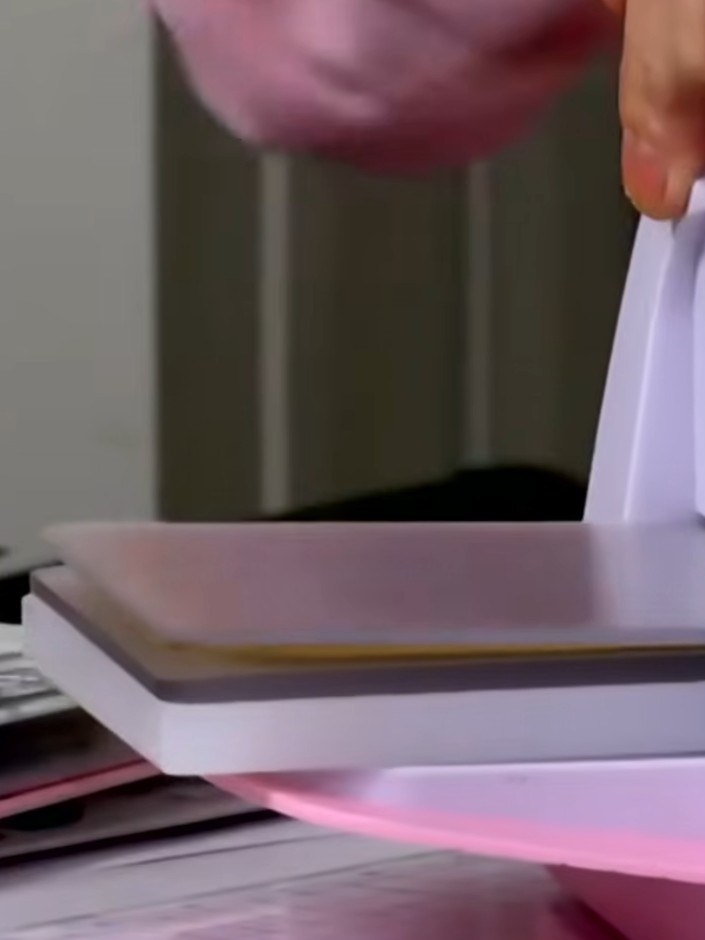
Feed your card through the pink die-cutting machine with the wood texture embossing folder to cut and emboss the timber pattern onto the card in one pass.
▶ watch this step (53:00)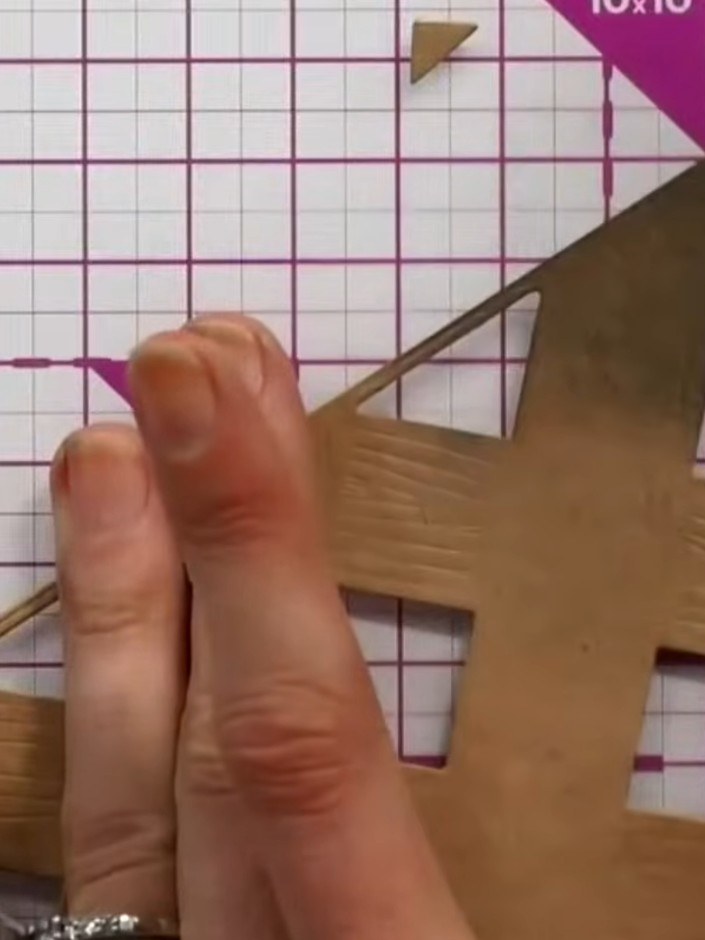
Apply teal or brown ink selectively to the embossed areas using your finger. Dampen your finger with a little water to help blend and highlight the wood grain texture on the card.
▶ watch this step (53:30)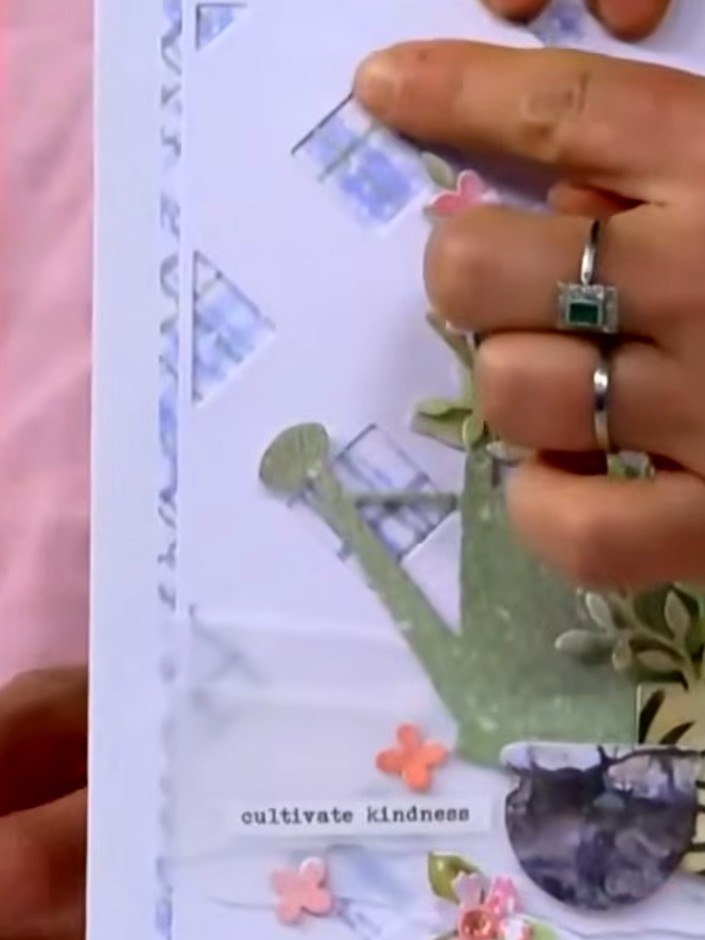
Lightly spray or dab water onto the inked embossed design to create a weathered, aged timber effect. The water will soften and blend the ink, revealing the embossed detail beneath.
▶ watch this step (54:00)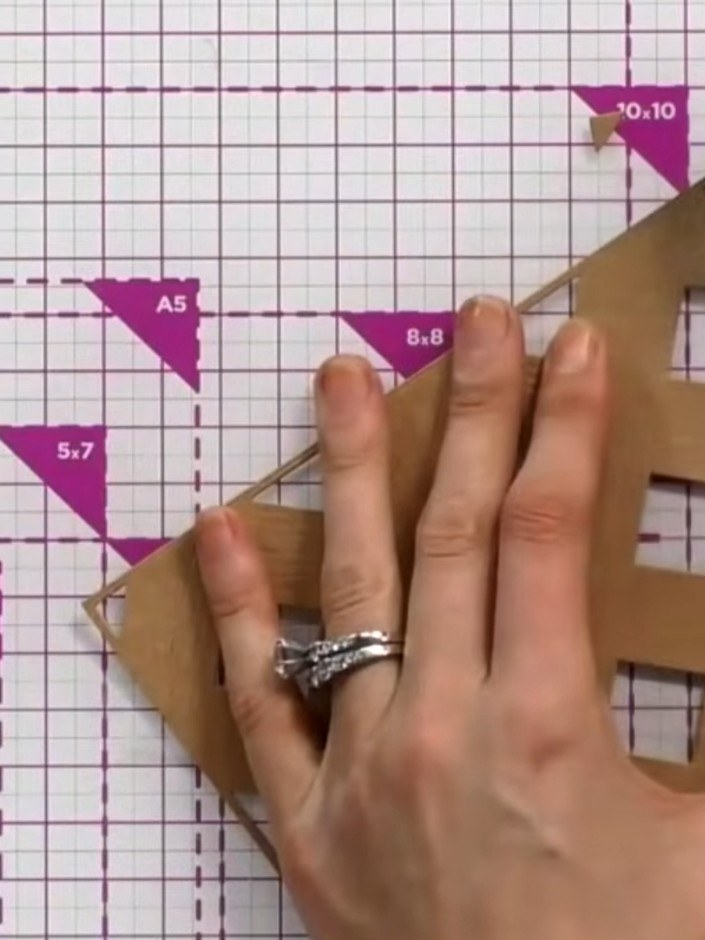
Mount the embossed house die-cut onto your chosen card base. Position it centrally and secure with adhesive, ensuring all edges are firmly attached.
▶ watch this step (54:30)Written up from the show itself. See every guide from our shows · free how-to guides · watch live on My Telly