Give your friends £10 off their first order!
Refer a FRIEND








A project from our live show HOBBYMAKER TV - Join us for the latest show - Broadcast 4 p.m. (UK) 7th May 2026 · 07/05/2026 · watch it from 52:00
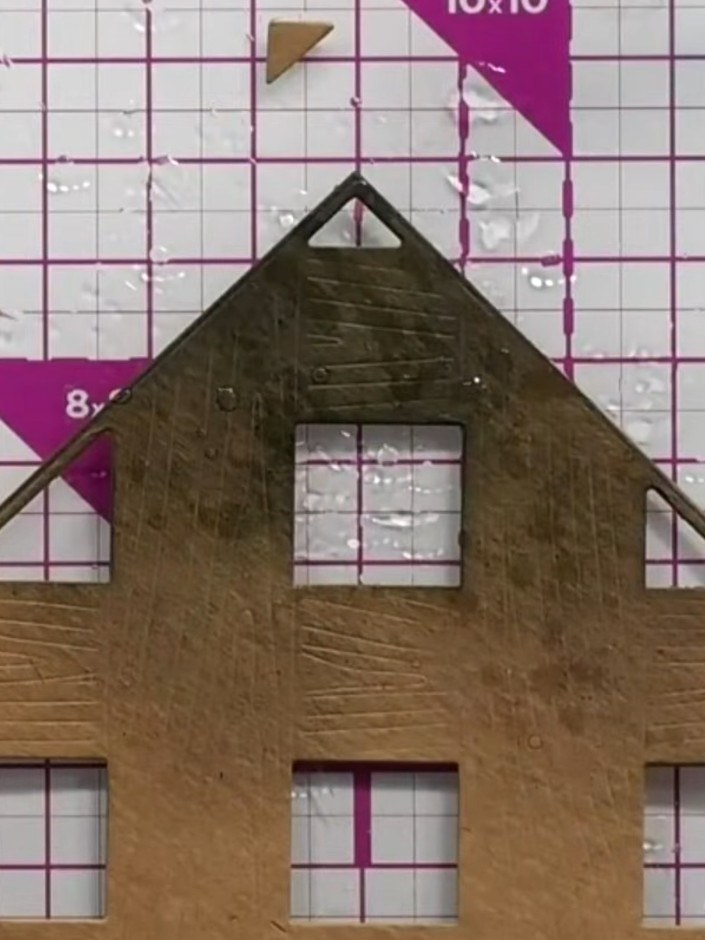
Create a charming card with an embossed timber wood texture effect in warm brown tones. Using a large embossing die, you'll achieve a realistic wood grain pattern with raised detail that's enhanced through selective inking. This dimensional technique creates a beautiful rustic finish perfect for handmade greetings.
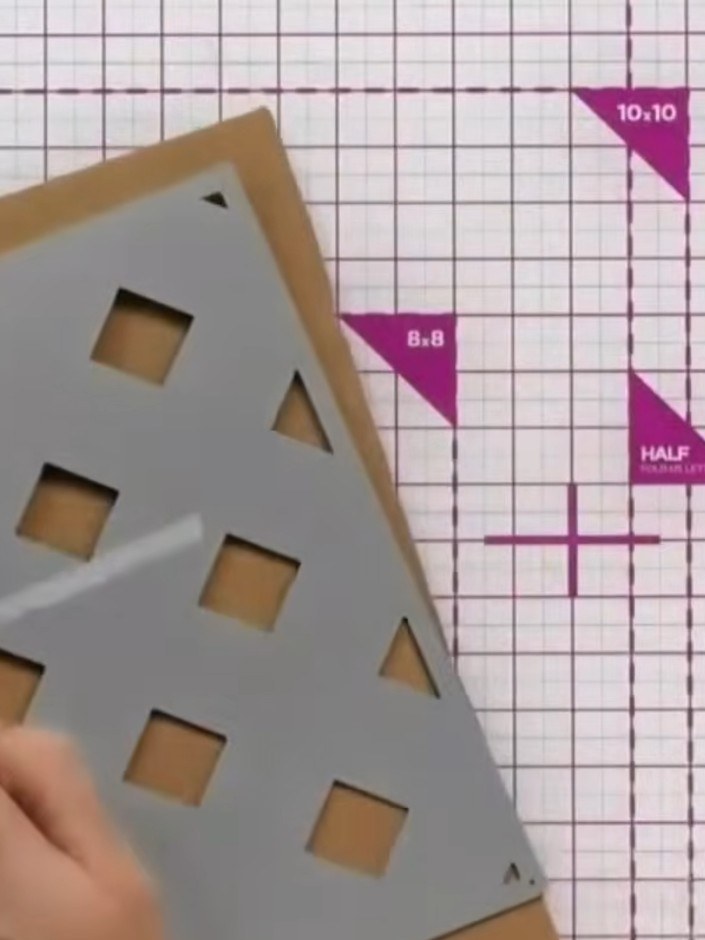
Place your craft card into the die-cutting machine along with the timber embossing die. Ensure the die is positioned correctly with the card ready to be run through the machine.
▶ watch this step (52:30)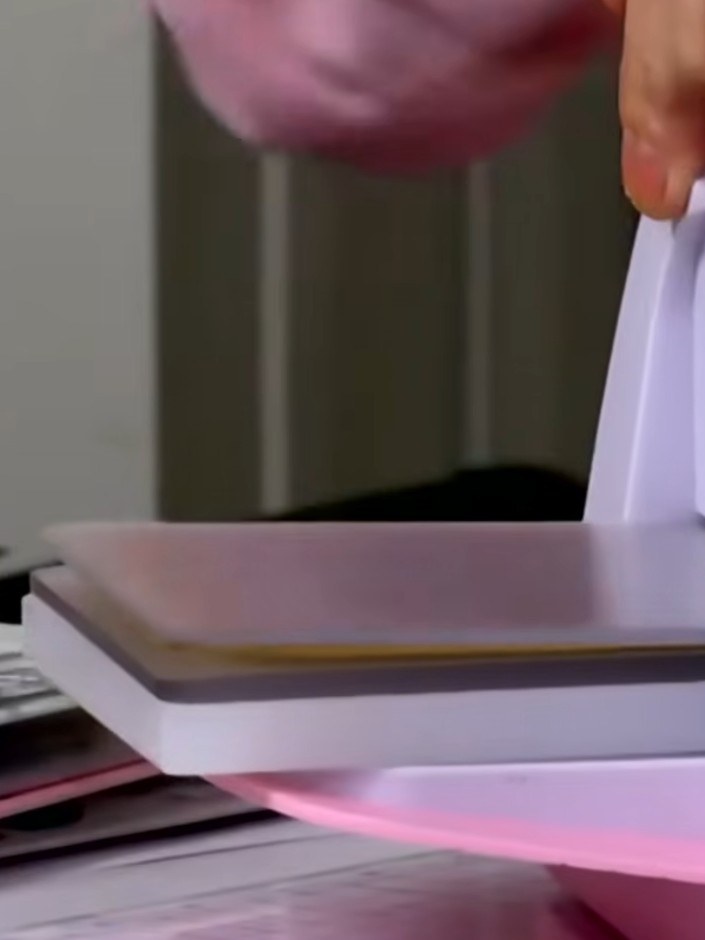
Feed your card through the pink die-cutting machine with the wood texture embossing folder to cut and emboss the timber pattern onto the card in one pass.
▶ watch this step (53:00)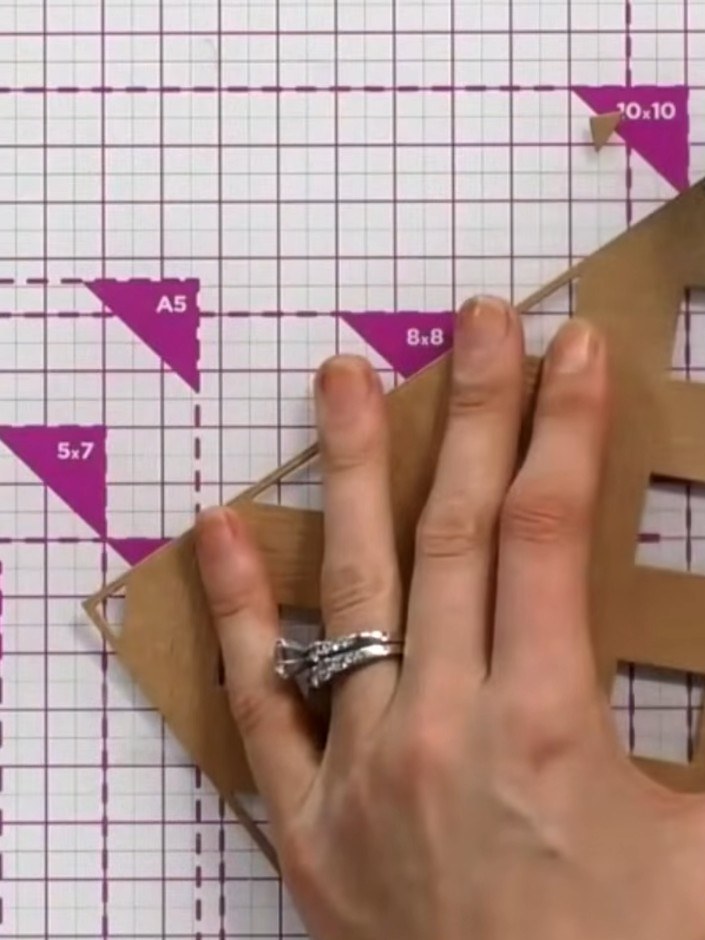
Mount the embossed house die-cut onto your chosen card base. Position it centrally and secure with adhesive, ensuring all edges are firmly attached.
▶ watch this step (54:30)Written up from the show itself. See every guide from our shows · free how-to guides · watch live on My Telly