Give your friends £10 off their first order!
Refer a FRIEND








 Hidden GemsWed 18 Nov 10am
 The Thursday DropThu 19 Nov 6pm
 The Friday Final CutFri 20 Nov 10am
Prices change straight away. Every language is our own translation, not Google.
A project from our live show HOBBYMAKER TV - Join us for the latest show - Broadcast 4 p.m. (UK) 7th May 2026 · 07/05/2026 · watch it from 22:30
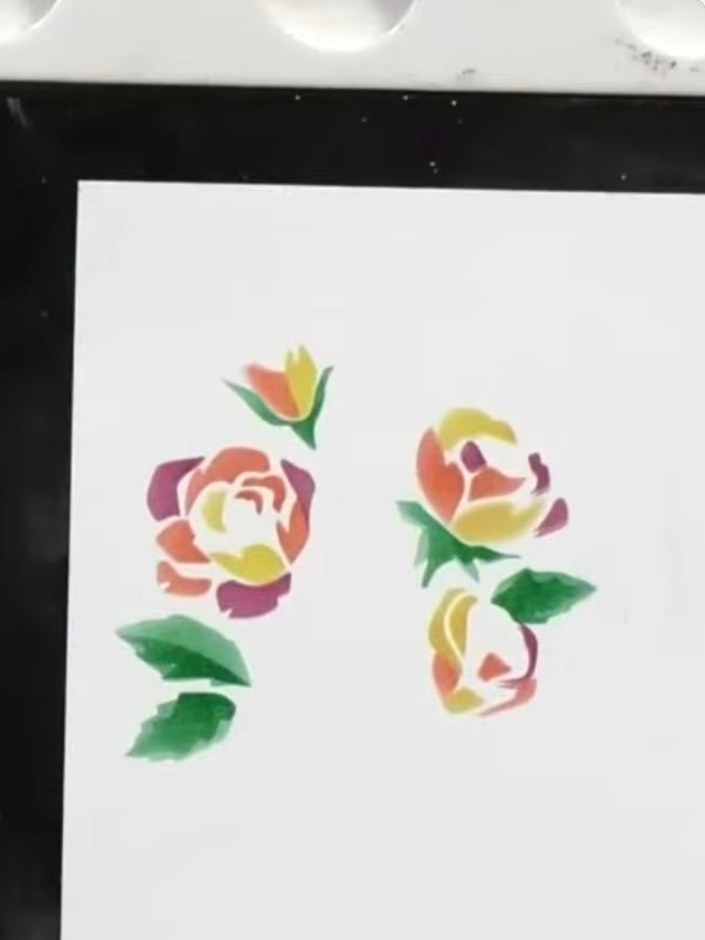
Create a stunning Quattrad card featuring the iconic Eiffel Tower adorned with vibrant rainbow-coloured roses and green leaves. This elegant design combines stamping, die-cutting, and embossing techniques with decorative splat details for a contemporary Parisian-themed greeting card. The finished piece showcases beautiful dimensional elements and a sophisticated colour palette perfect for any special occasion.
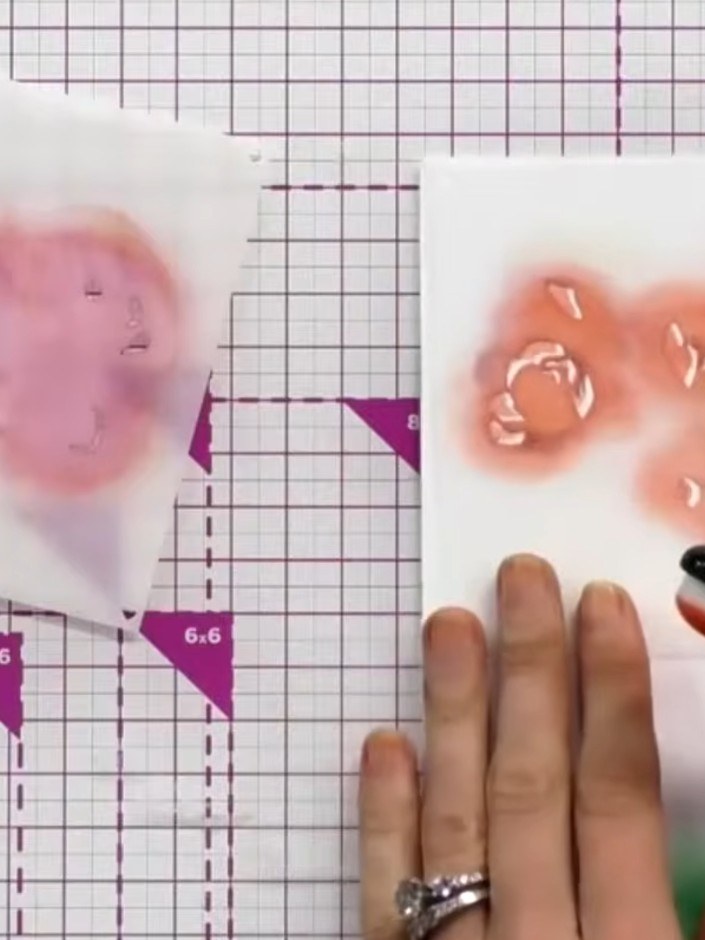
Position stencil one over your card base and apply orange ink using a blending tool. Hold the stencil firmly in place whilst applying the ink to create the first flower layer. Repeat with stencil two to build up the flower design.
▶ watch this step (25:15)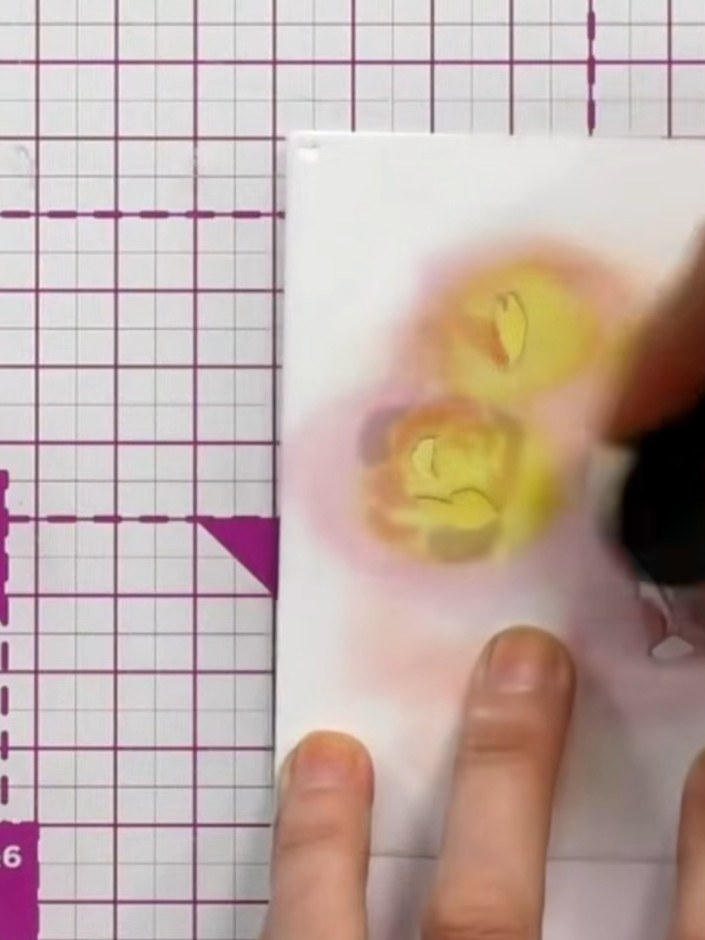
Apply the third stencil using yellow ink to add variation and depth to the flower petals.
▶ watch this step (26:30)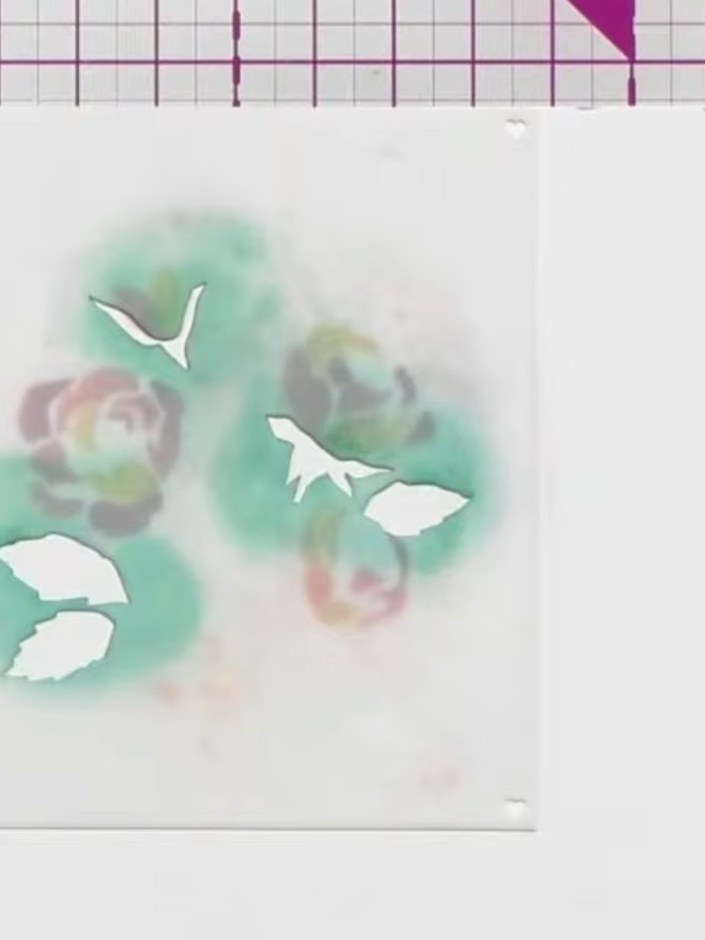
Apply the fourth stencil to your card using green ink to create foliage and leaf details around the flowers.
▶ watch this step (27:00)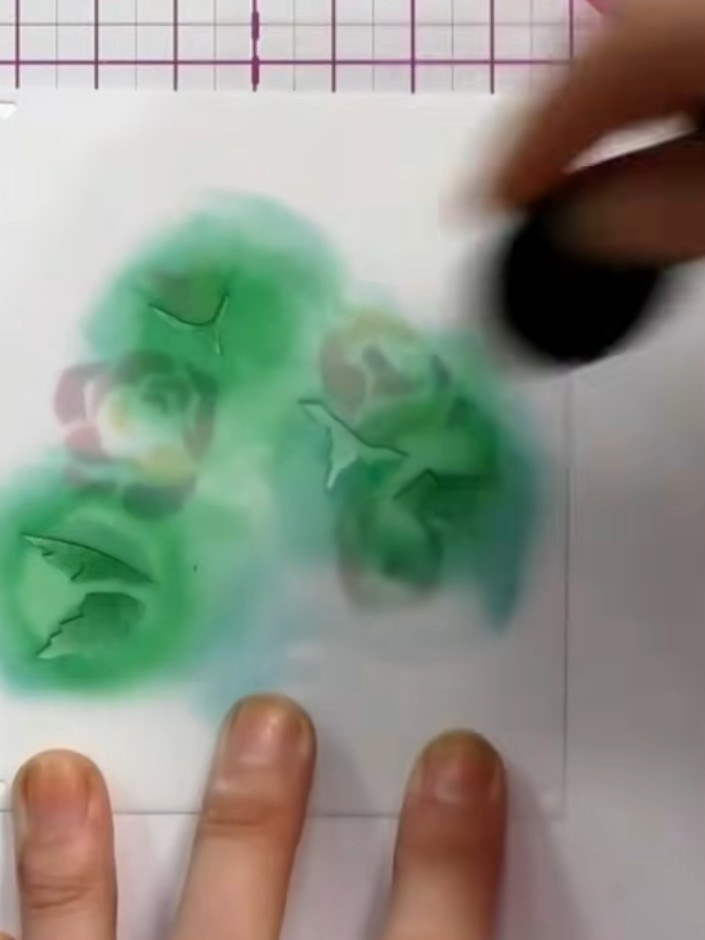
Apply stencil five to add detail to the flower petals, using a dauber or sponge to apply green ink. Then apply stencil six to add the stem details to complete the flower structure.
▶ watch this step (28:00)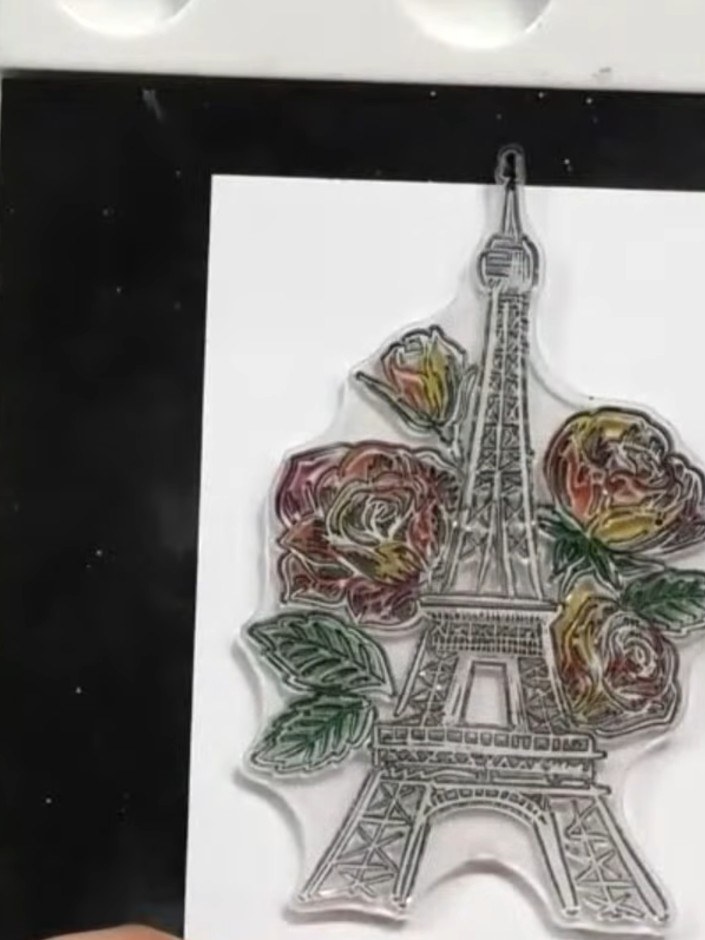
Stamp the Paris tower outline in black ink onto white cardstock to add architectural detail. The Eiffel Tower stamp should be positioned centrally, with the coloured floral elements already stamped behind it.
▶ watch this step (28:30)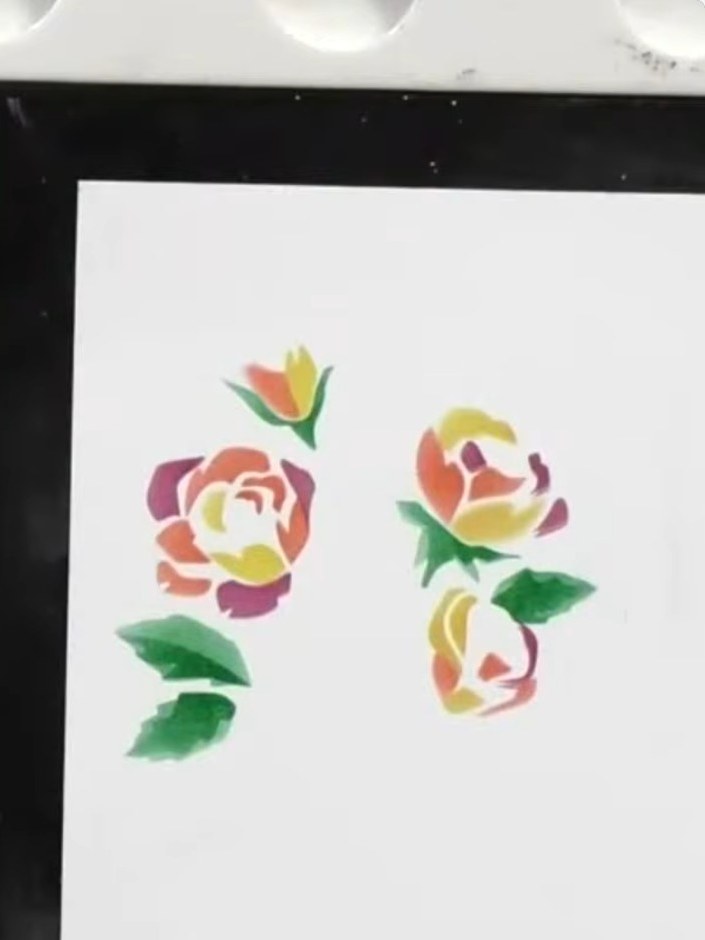
Die-cut the completed design, ensuring the tower and all flower elements are cleanly cut out.
▶ watch this step (29:15)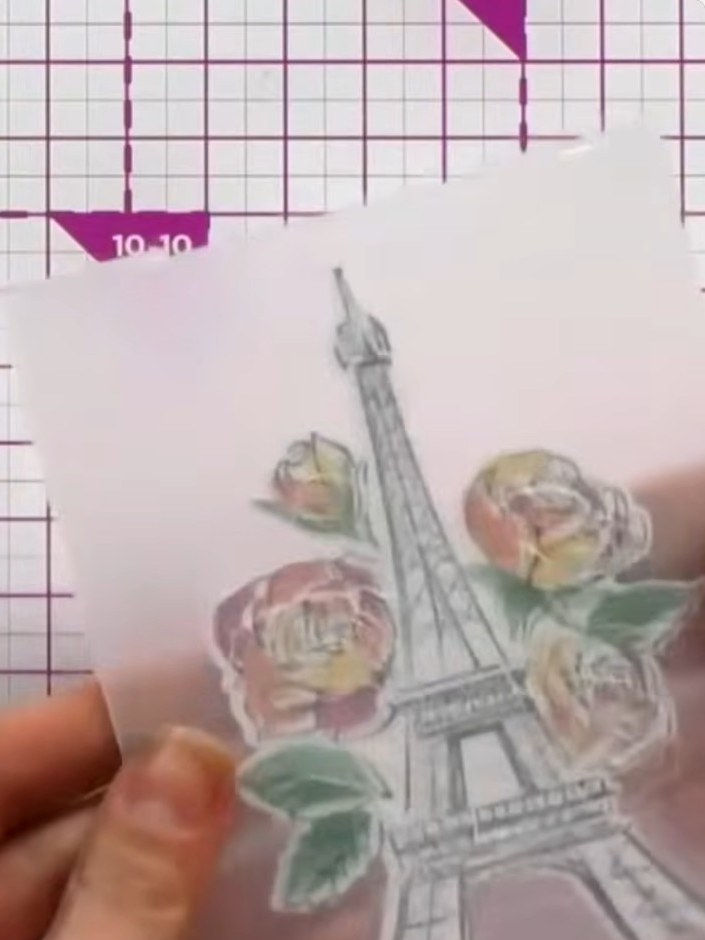
Place the die-cut Paris tower and floral image into the embossing folder. Run through your die-cutting machine to emboss the design and add dimensional texture to the image.
▶ watch this step (32:15)Written up from the show itself. See every guide from our shows · free how-to guides · watch live on My Telly