Give your friends £10 off their first order!
Refer a FRIEND








 Hidden GemsWed 18 Nov 10am
 The Thursday DropThu 19 Nov 6pm
 The Friday Final CutFri 20 Nov 10am
Prices change straight away. Every language is our own translation, not Google.
A project from our live show HOBBYMAKER TV - Join us for the latest show - Broadcast 1 p.m. (UK) 8th June 2026 · 08/06/2026
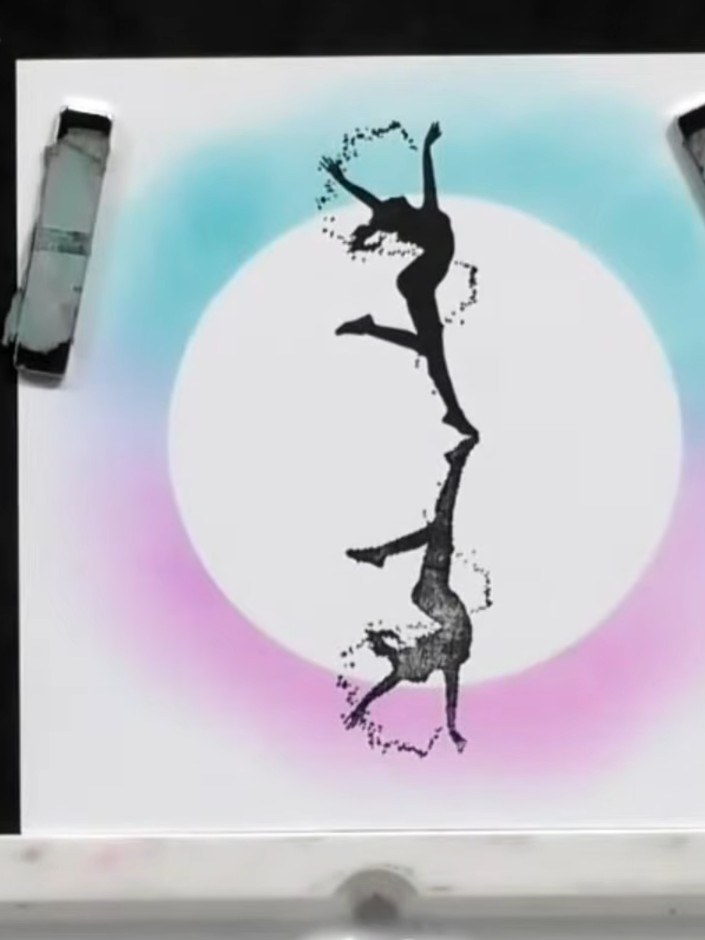
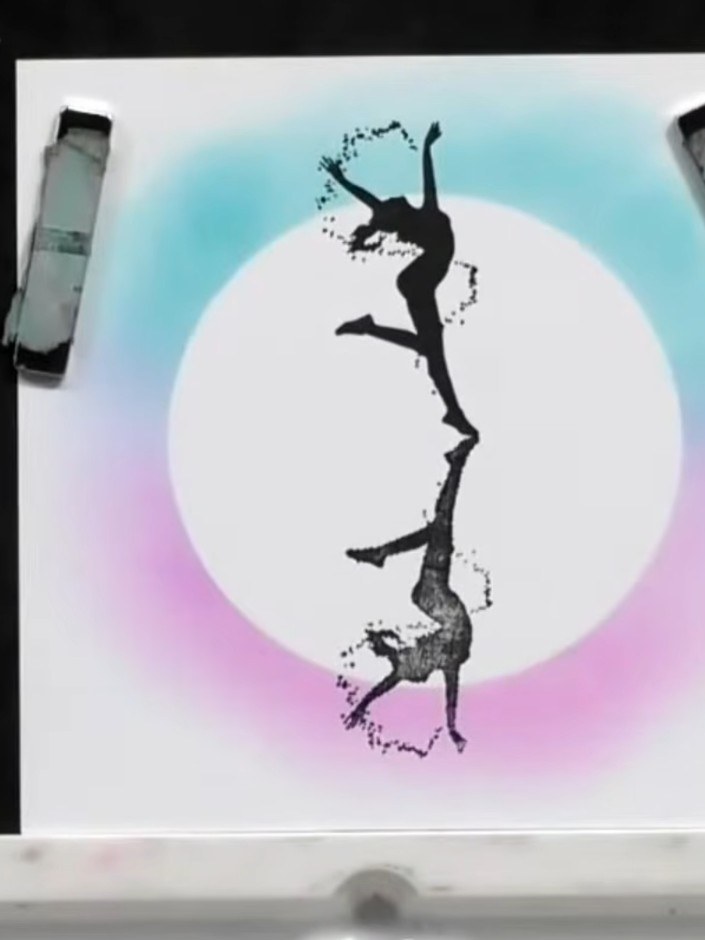
Create a striking silhouette card featuring a dancer in two poses - one upright and one reflected below - stamped in black ink on a circular gradient background. The design uses a beautiful blue-to-pink ombre effect with the reflection technique enhanced by a purple floor line and white gel pen highlights for a dynamic, modern look. This contemporary card combines stamping and ink blending techniques to produce an eye-catching piece perfect for celebrating friendship and movement.
 1
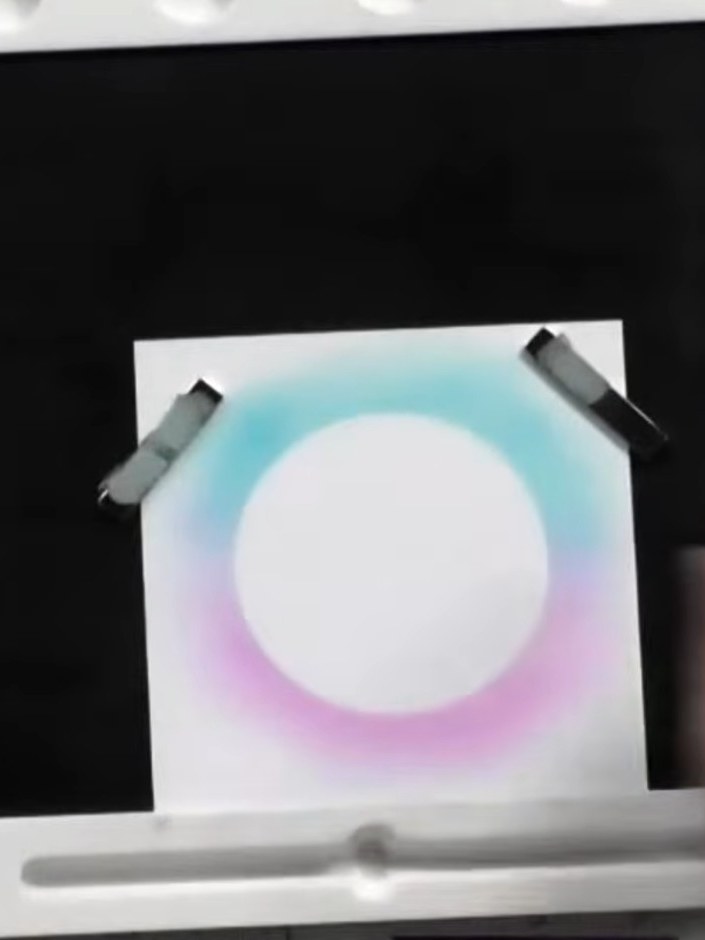
Select a background stamp featuring a circle design and stamp it onto white card. The example shows a gradient circle in blue and purple tones. Secure the stamped card to a black card mat with masking tape at the corners.
 2
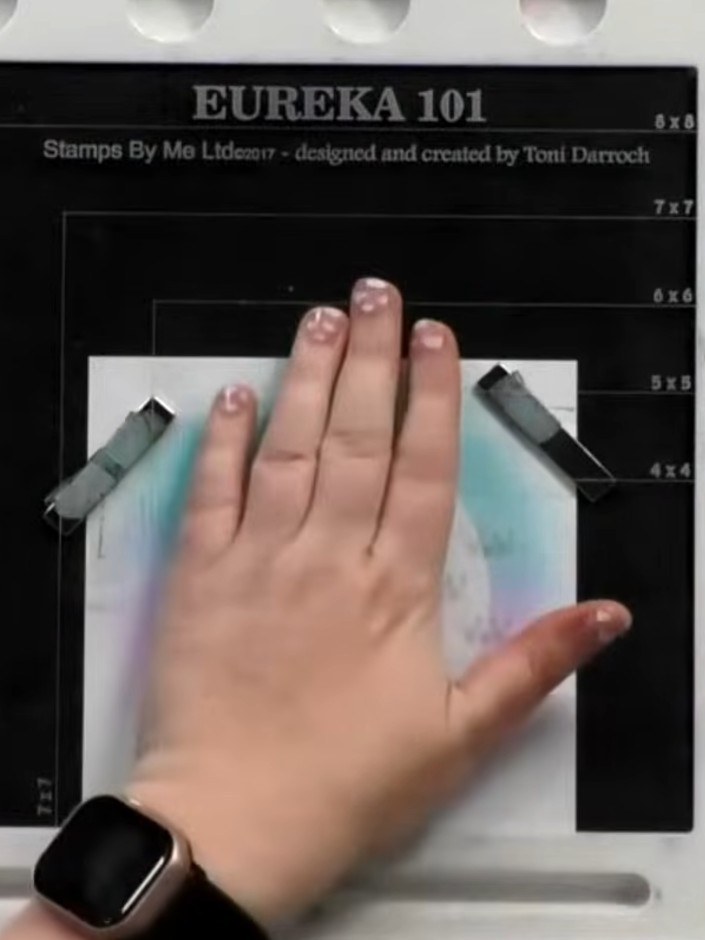
Position the reflection dancer stamp in the centre of the blended background panel. Use your hand to hold it firmly in place on the stamping platform.
 3
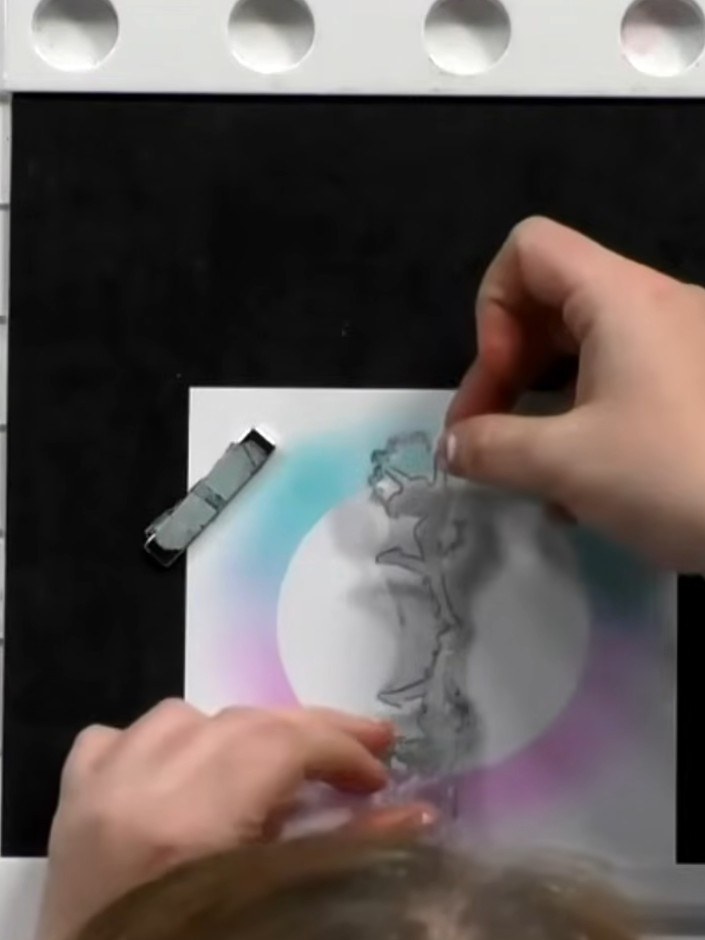
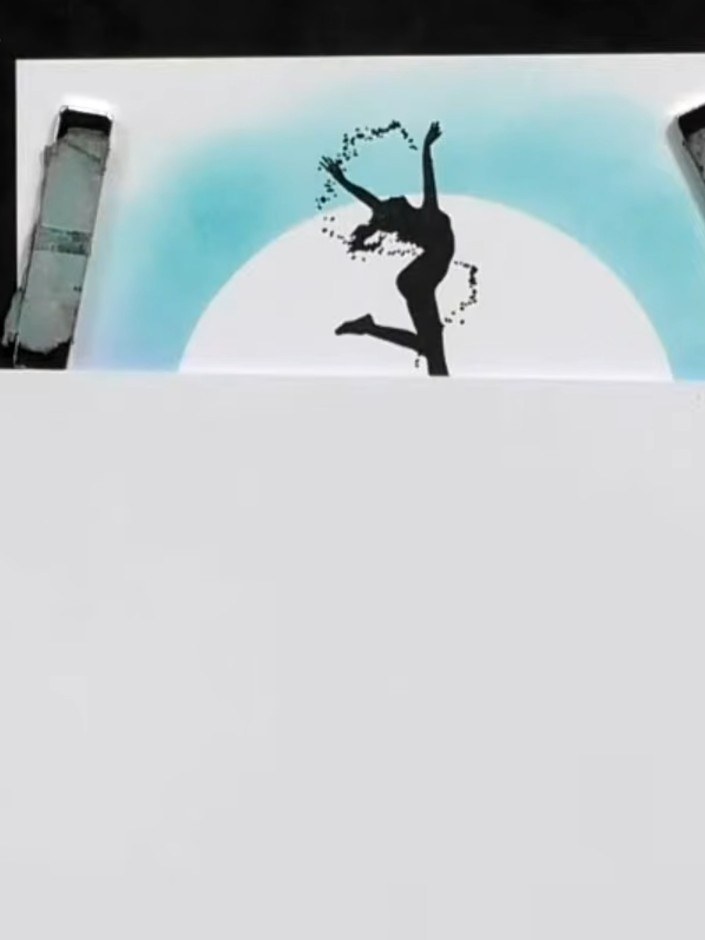
Apply black ink fully over the top dancer stamp image to create a solid silhouette effect. Use your ink applicator to cover the entire stamped design completely.
 4
Stamp the dancer silhouette clearly onto the white card panel using black ink. Position the stamp centrally over the blended circular background. Apply even pressure to ensure a crisp, complete impression.
 5
Ink the bottom reflected dancer silhouette more lightly or unevenly to create a shadow effect. This gives depth and makes it appear as a reflection rather than a duplicate image.
 6
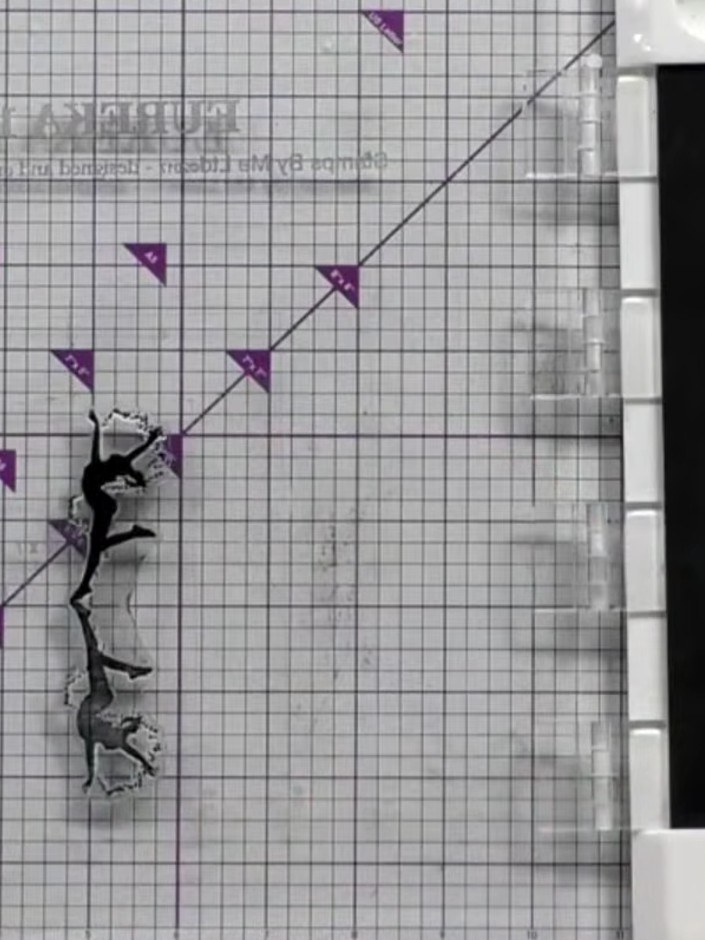
Flip the stamp over and stamp the reflected dancer image below the first dancer, creating a mirror effect. Position it carefully to align with the circular gradient background.
 7
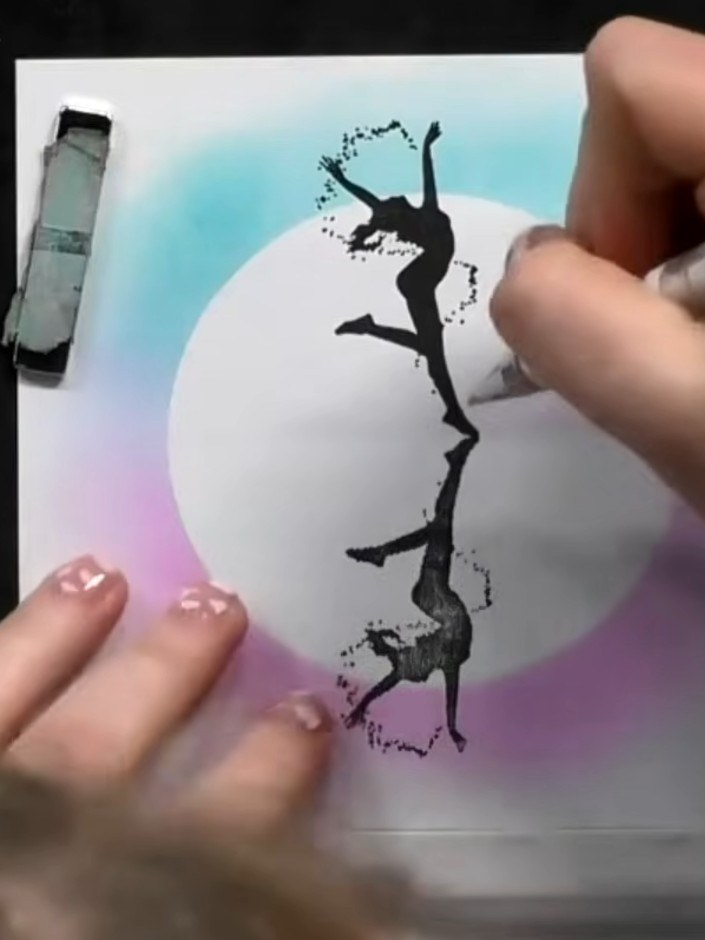
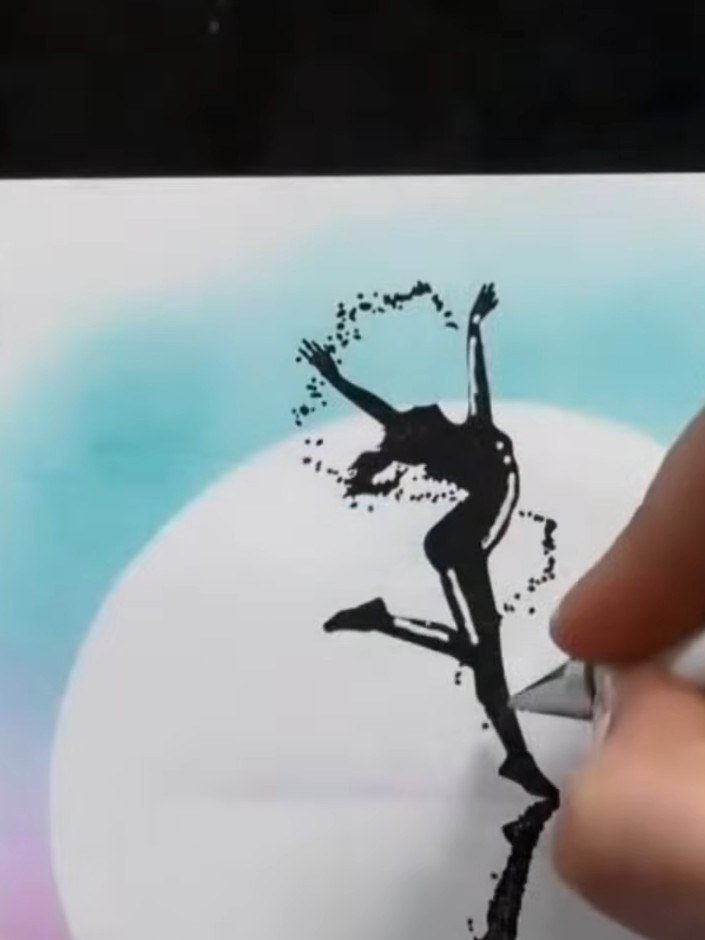
Using a white brush pen or white ink with a brush, add a faux floor line across the centre of the card between the two dancer silhouettes.
 8
Allow the stamped silhouette image and ink blended background to dry completely before proceeding to the next step.
 9
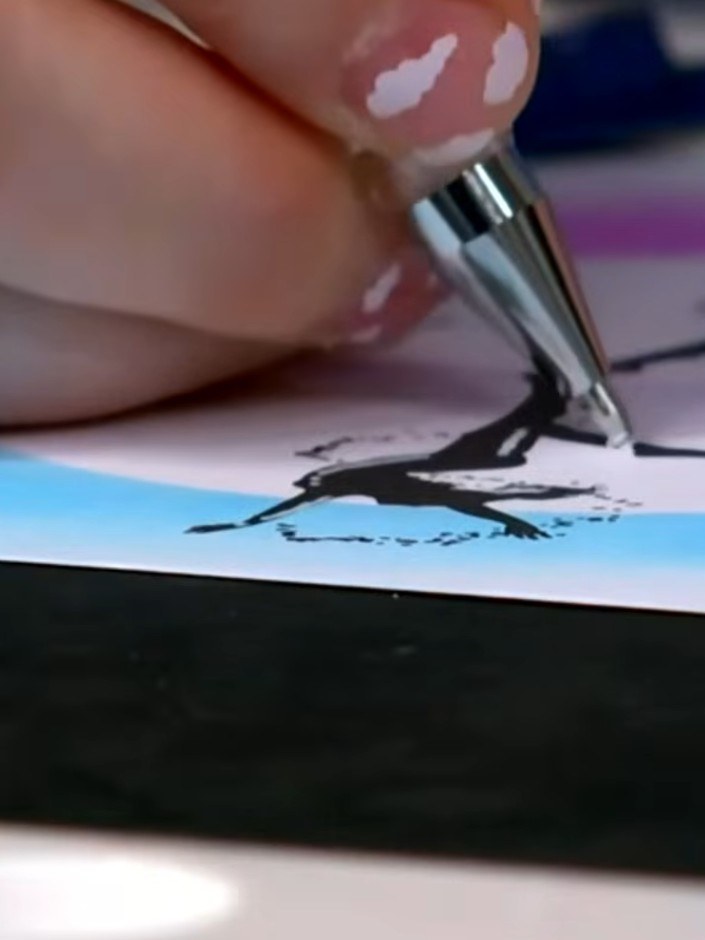
Using a white gel pen, add highlight details to the silhouettes such as shine marks and movement lines to enhance the dancing figures and create dimension.
Share your make with the Stamps By Me community - and keep this guide for next time.
Written up from the show itself. See every guide from our shows · free how-to guides · watch live on My Telly · the previous layout