Give your friends £10 off their first order!
Refer a FRIEND








A project from our live show HOBBYMAKER TV - Join us for the latest show - Broadcast 6 p.m. (UK) 19th June 2026 · 19/06/2026 · watch it from 10:30
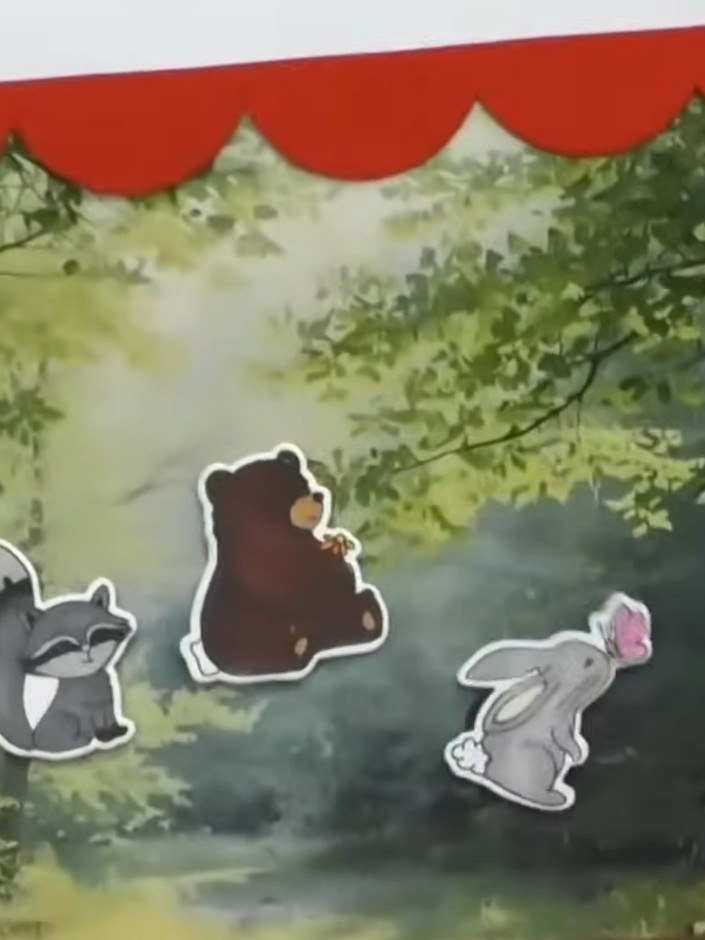
Create a charming interactive theatre for children featuring a decorative red scalloped frame with gold accents. This project uses die-cutting and magnetic strips to make moveable animal characters that can be positioned on interchangeable scenic backgrounds, combining papercraft techniques with simple magnetism for an engaging play experience.
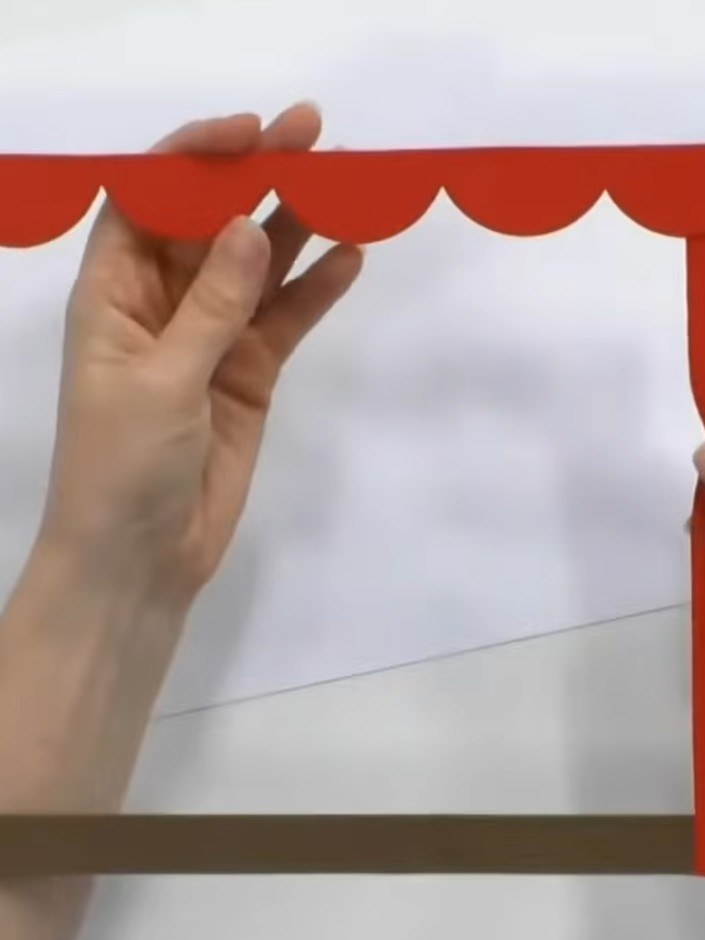
Cut a red cardstock frame with a scalloped decorative edge along the top and sides. Remove the centre piece to create a theatre frame opening.
▶ watch this step (10:30)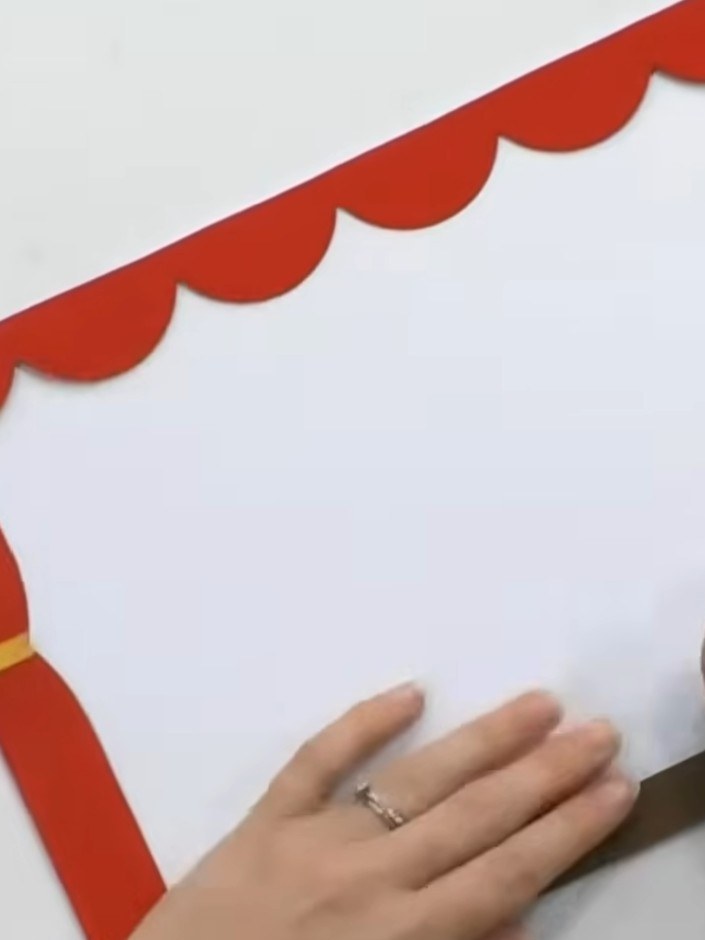
Attach the decorative frame pieces around all four sides of the white card base. Position the red scalloped strip along the top edge, the red strips with gold bands on the left and right sides, and the brown strip along the bottom edge to create a complete border.
▶ watch this step (10:45)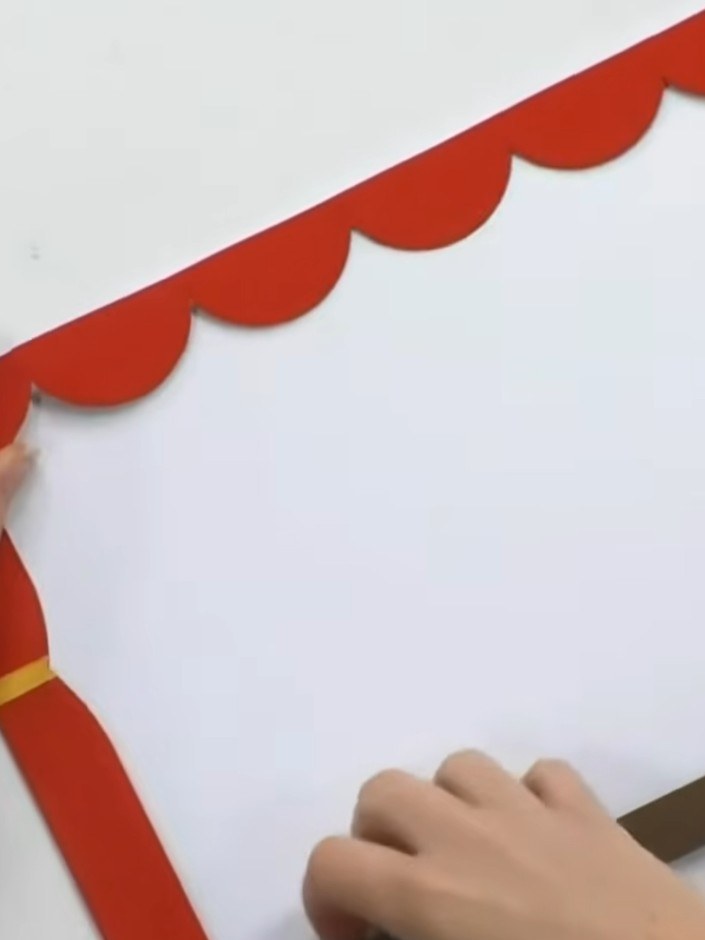
Apply double-sided tape to the left side, bottom, and right side of the red theatre frame, leaving the scalloped top edge without tape. Position the tape along the inner edges of the frame where it will attach to the backing.
▶ watch this step (11:00)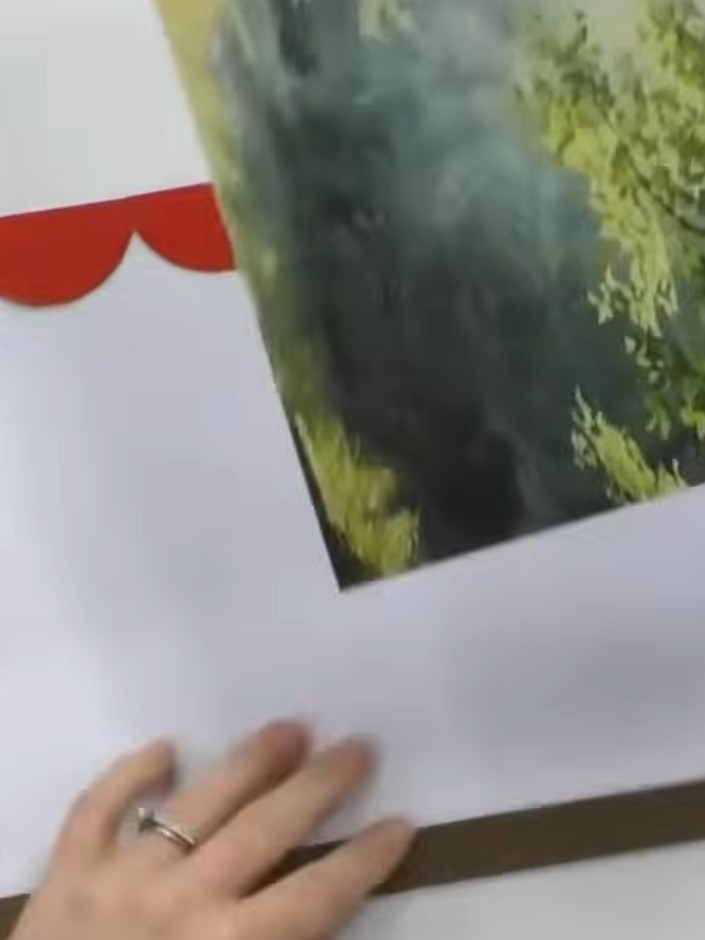
Position the red theatre frame onto a piece of white A4 card. Adhere the frame to the card to create the base of your theatre.
▶ watch this step (11:00)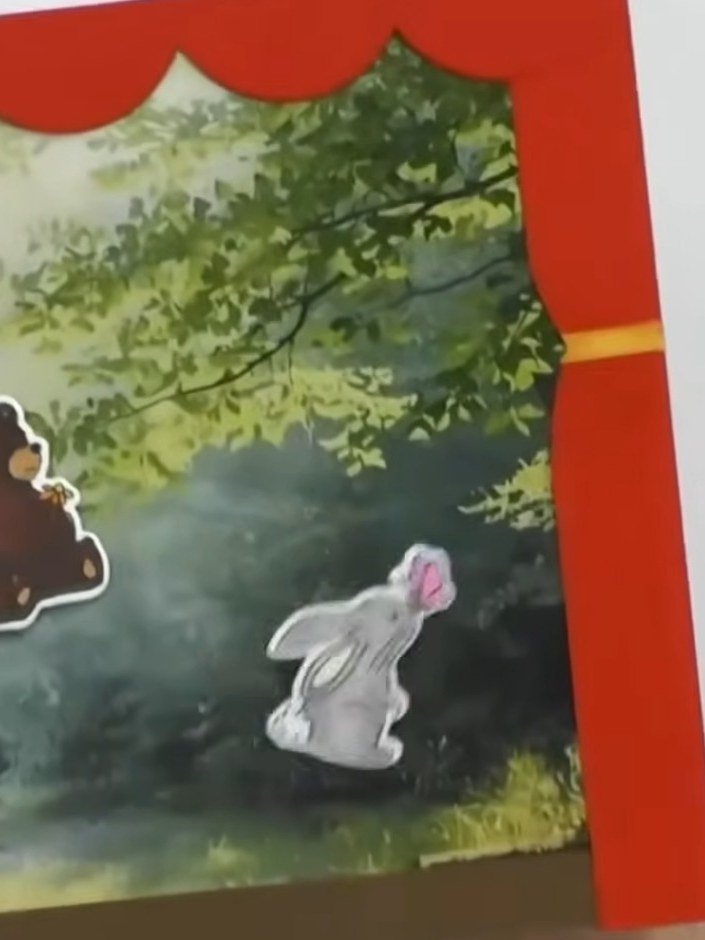
Slot the printed scene into the open top of the theatre to change the backdrop. Position your animal magnets on the scene - the raccoon, bear, and rabbit can be placed anywhere on the woodland background.
▶ watch this step (11:30)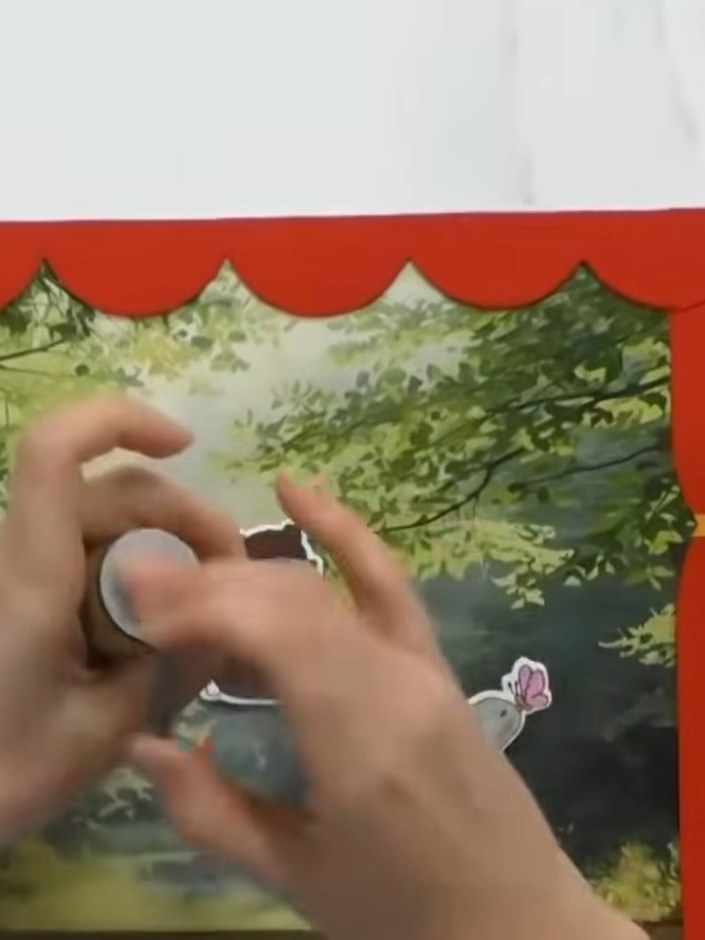
Attach small magnets to the back of your die-cut animals. Position the magnets centrally on each animal piece so they will interact with the magnetic surface of your card.
▶ watch this step (11:30)
Place the die-cut animal characters (raccoon, bear, and rabbit) onto the woodland scene background. The magnets on the back of each animal will attach to the magnetic strips behind the scene, allowing you to move them around to create different stories and arrangements.
▶ watch this step (11:45)Written up from the show itself. See every guide from our shows · free how-to guides · watch live on My Telly