Give your friends £10 off their first order!
Refer a FRIEND








A project from our live show MONDAY PODCAST - Join me for my latest news and updates - Broadcast 9th OCT 2023 · 09/10/2023 · watch it from 40:00
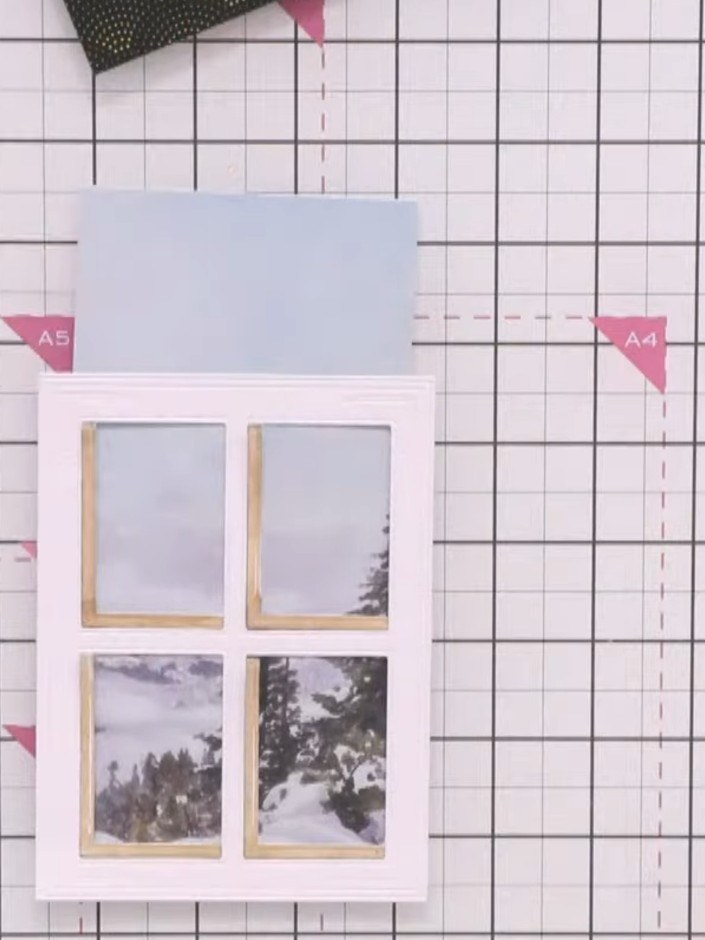
Create a stunning dimensional window card featuring a four-panel window die with shadow detail that creates a beautiful 3D effect. The design showcases a wintry scene viewed through the window, with coloured shadows on a painted mount giving the illusion of looking through glass. This elegant card combines die-cutting, layering and subtle colouring techniques to achieve a sophisticated shadow box effect.
 Christmas Window Die - Look & See - 060323DSEE IT
 Stamps By Me - in the Countryside 6 X 6 Painted Mounts - 141222BSEE IT
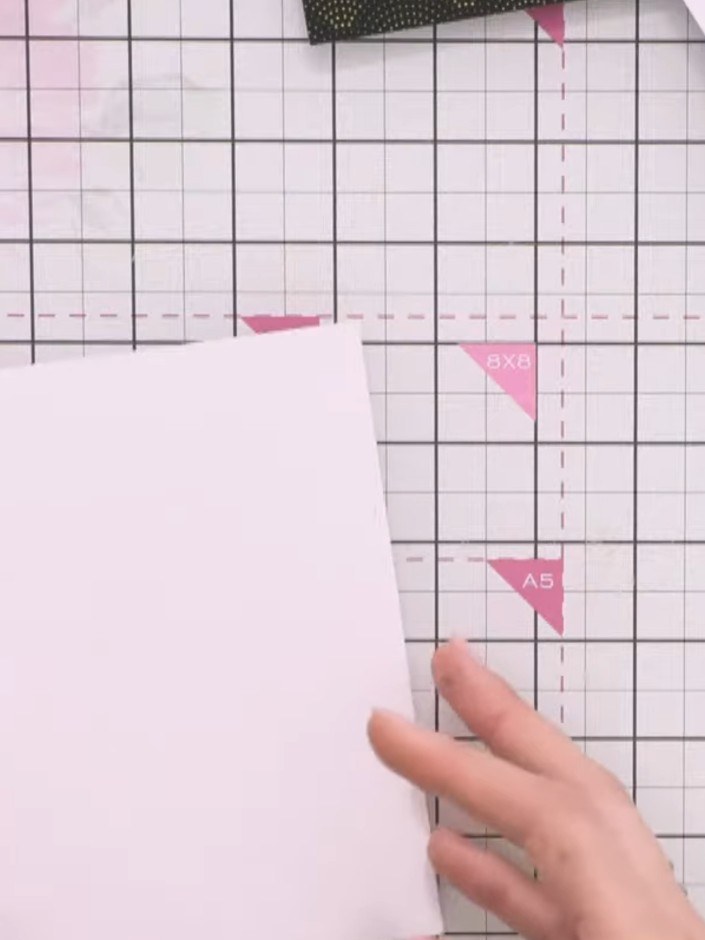
Cut your white card to size and trim it to the desired dimensions using a cutting mat and ruler. Position the card on your cutting mat and ensure it is properly aligned before trimming.
▶ watch this step (40:00)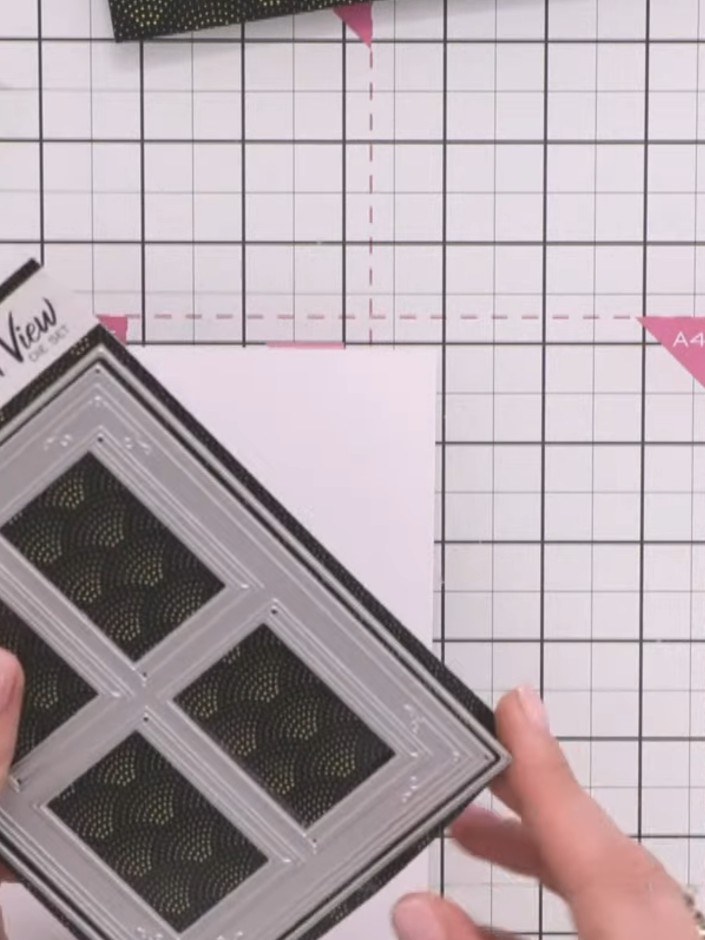
Run the four-panel window die through your die-cutting machine to cut the window frame from your card. Position the die on your chosen cardstock and follow your machine's instructions to cut the design.
▶ watch this step (40:30)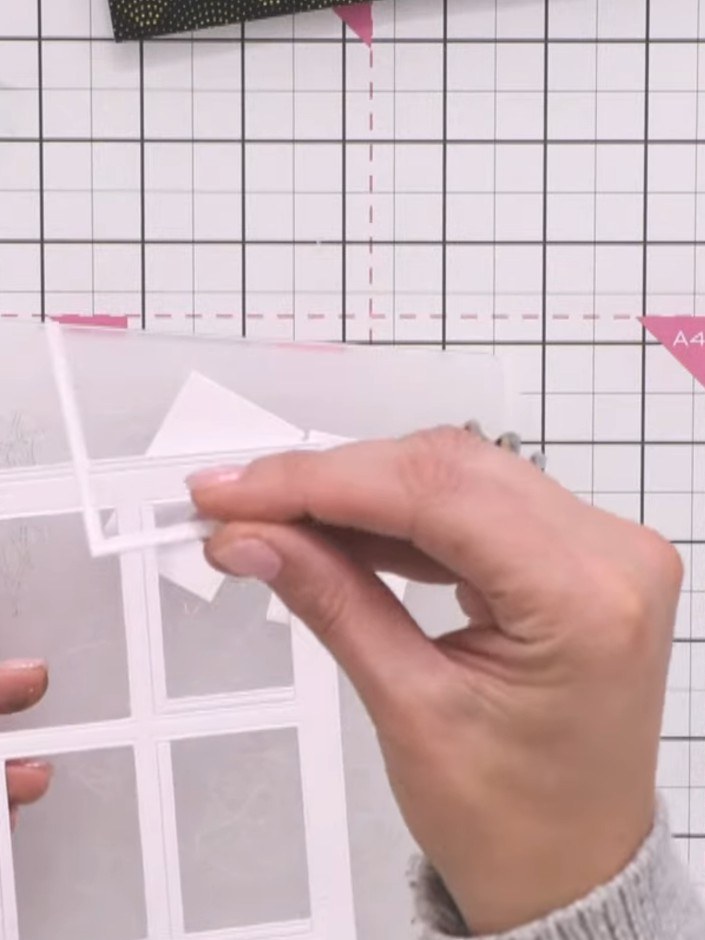
Carefully remove the window frame from the card. Observe the L-shaped shadow pieces that have dropped out from the die-cut and set them aside for later use.
▶ watch this step (42:15)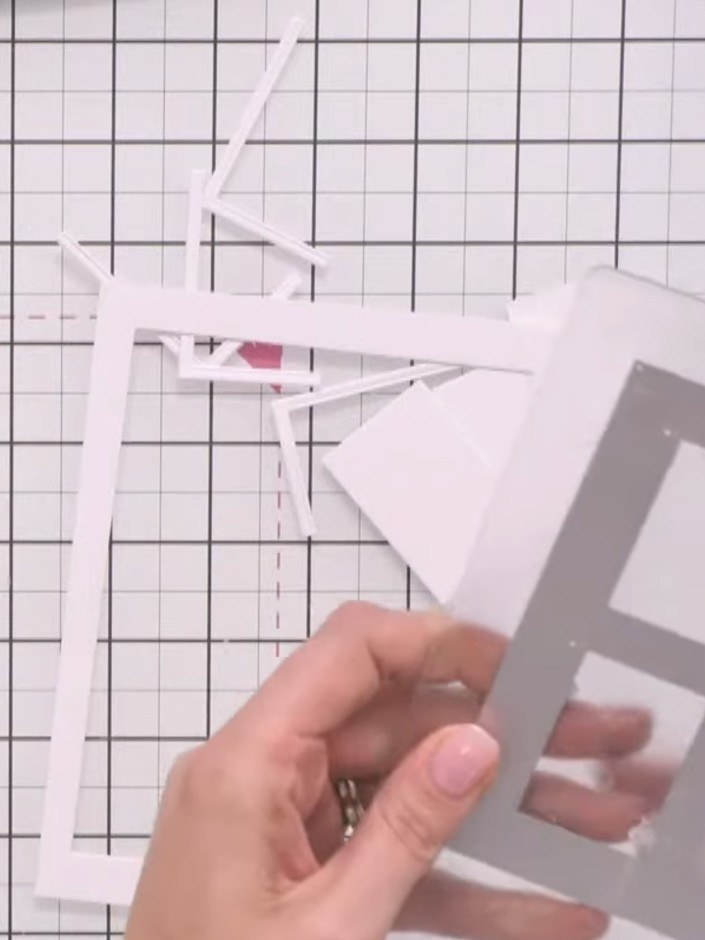
Select a painted mount from the In The Countryside collection that complements your design. Trim the painted mount to fit neatly behind your window aperture if needed.
▶ watch this step (43:00)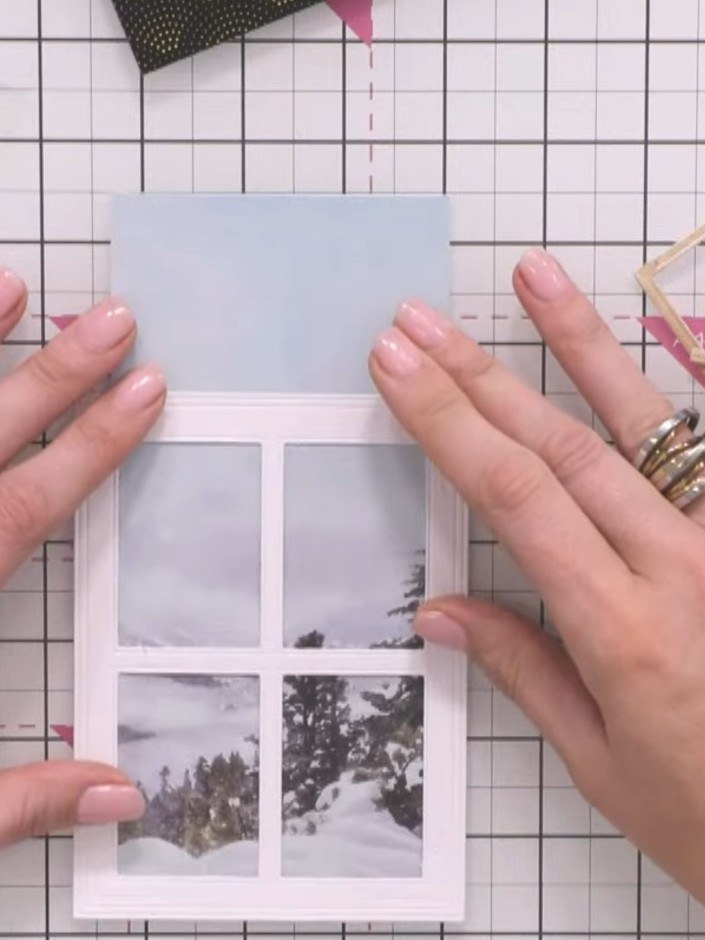
Position the coloured shadow pieces back into the window frame. Ensure all pieces face the same direction to create a cohesive 3D effect behind the white window frame.
▶ watch this step (44:30)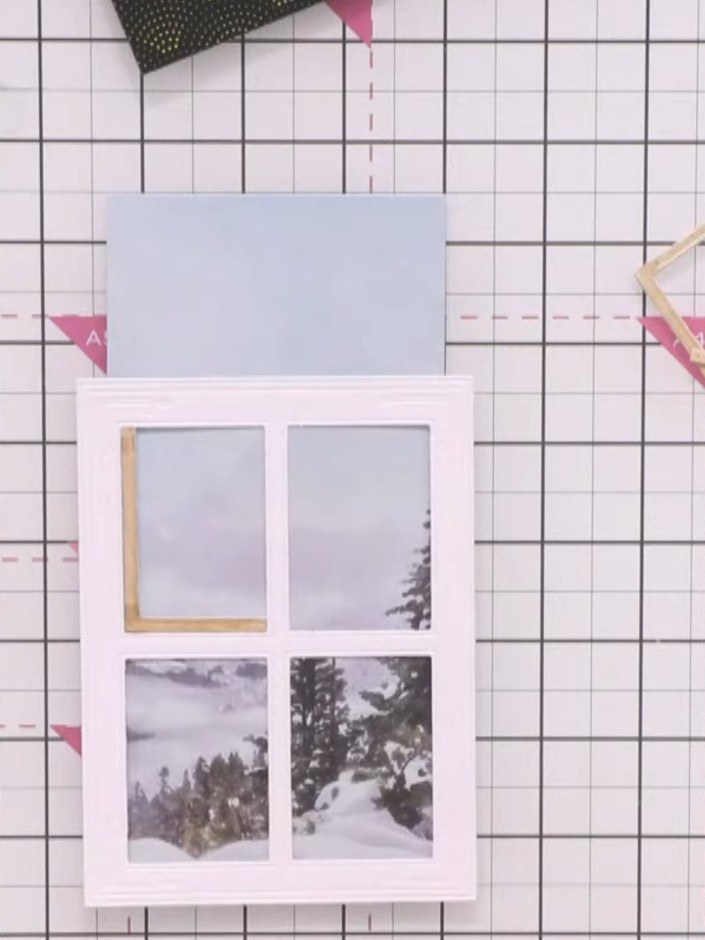
Position the painted mount (with the grey winter scene images) behind the white window card frame. Align it so the painted images show through the die-cut apertures, creating a layered view effect.
▶ watch this step (45:00)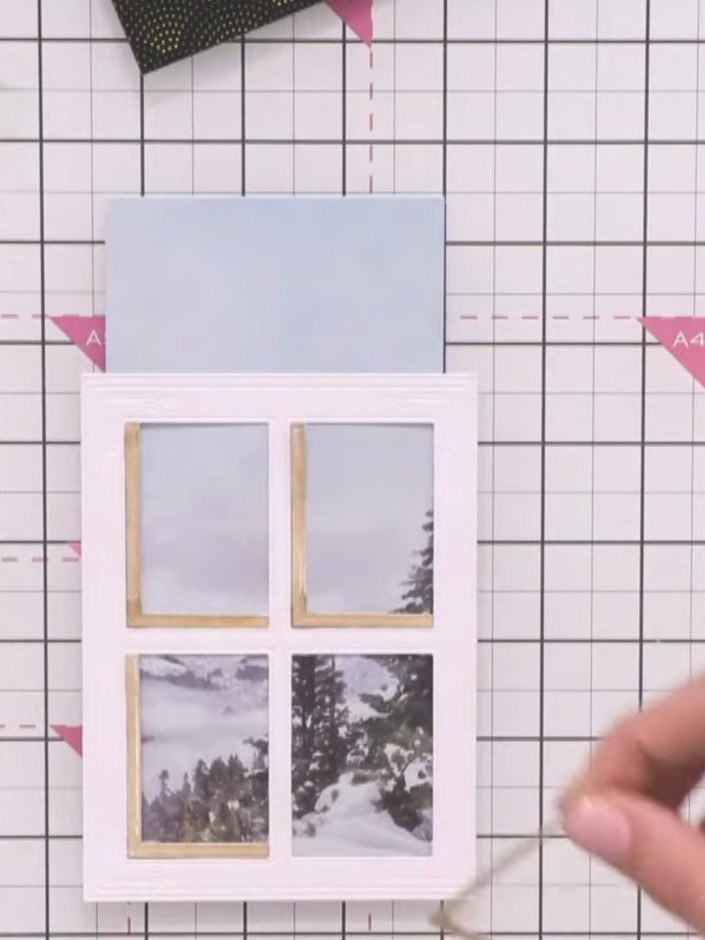
Adhere all the shadow elements flat to the card base. Mount the window frame on foam tape and position it over the shadows to create dimension. Ensure all pieces are aligned properly before securing.
▶ watch this step (45:30)Written up from the show itself. See every guide from our shows · free how-to guides · watch live on My Telly