Give your friends £10 off their first order!
Refer a FRIEND








A project from our live show MONDAY PODCAST - Join me for my latest news and updates - Broadcast 9th OCT 2023 · 09/10/2023 · watch it from 22:30
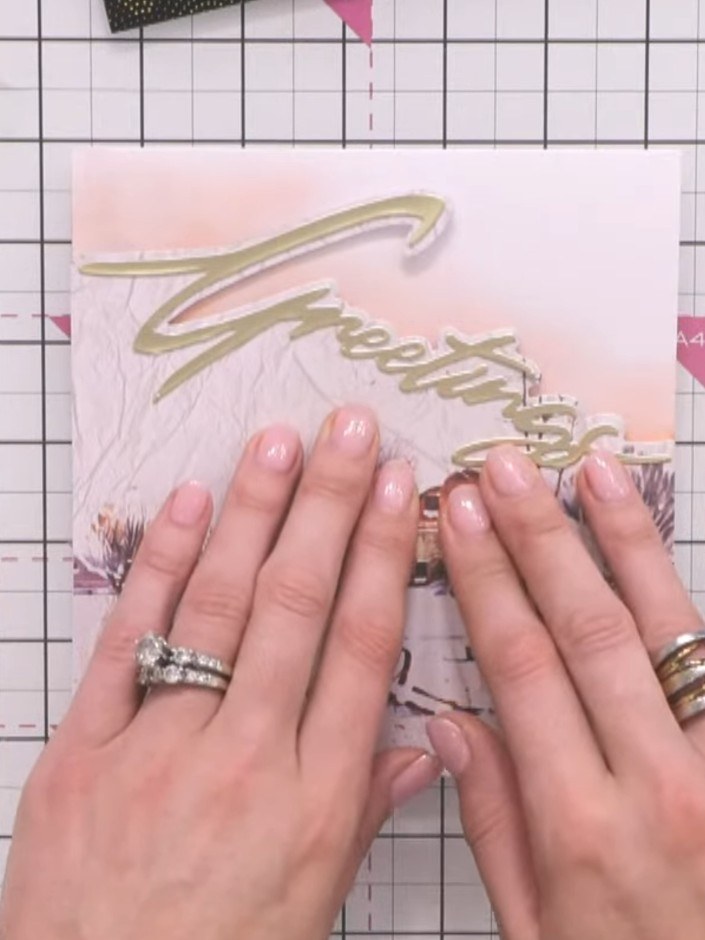
Create a beautiful festive card featuring a countryside winter scene with a dimensional 'Greetings' sentiment die-cut. The design showcases a painted mount with a snowy landscape and cottage, enhanced by a soft pink and peach halo glow effect behind the gold sentiment. This elegant card combines layering techniques with watercolour painting to achieve a warm, sunset-inspired backdrop.
 Christmas Snow Drift Die - Greetings - 060323BSEE IT
 Stamps By Me - in the Countryside 6 X 6 Painted Mounts - 141222BSEE IT
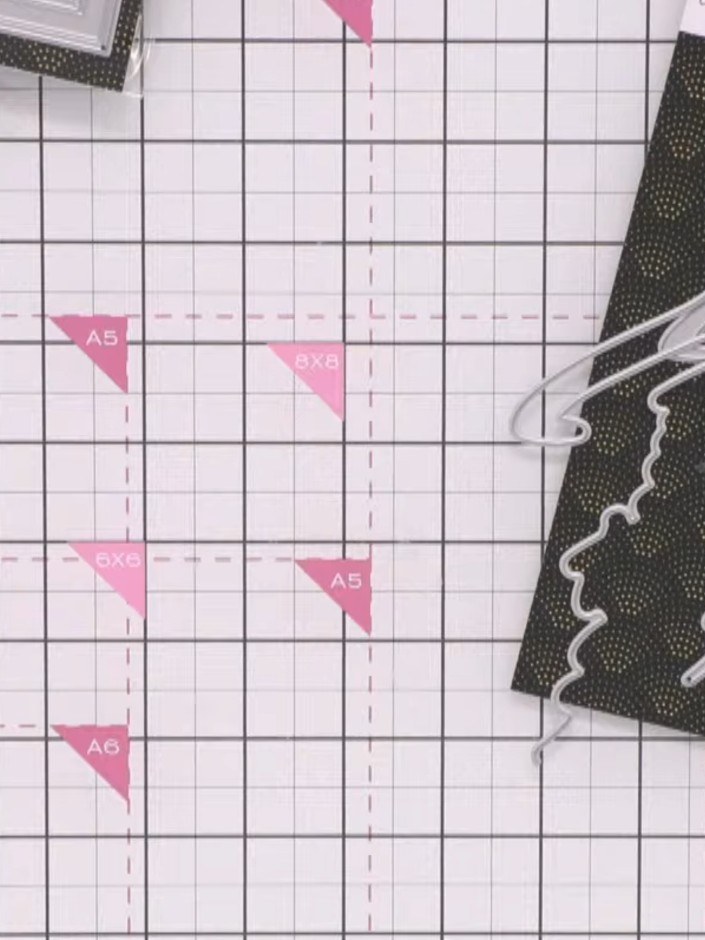
Cut a piece of dark green patterned card and trim it to your desired card size using a trimmer or cutting mat and ruler.
▶ watch this step (22:30)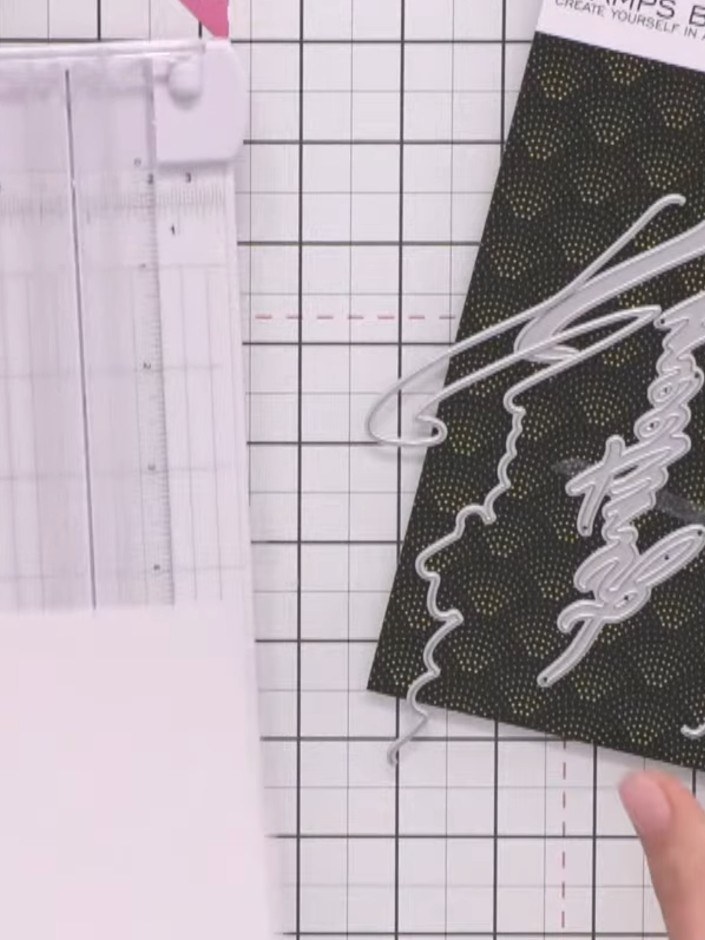
Select one of the painted mounts with the countryside design and position it on your card base.
▶ watch this step (23:00)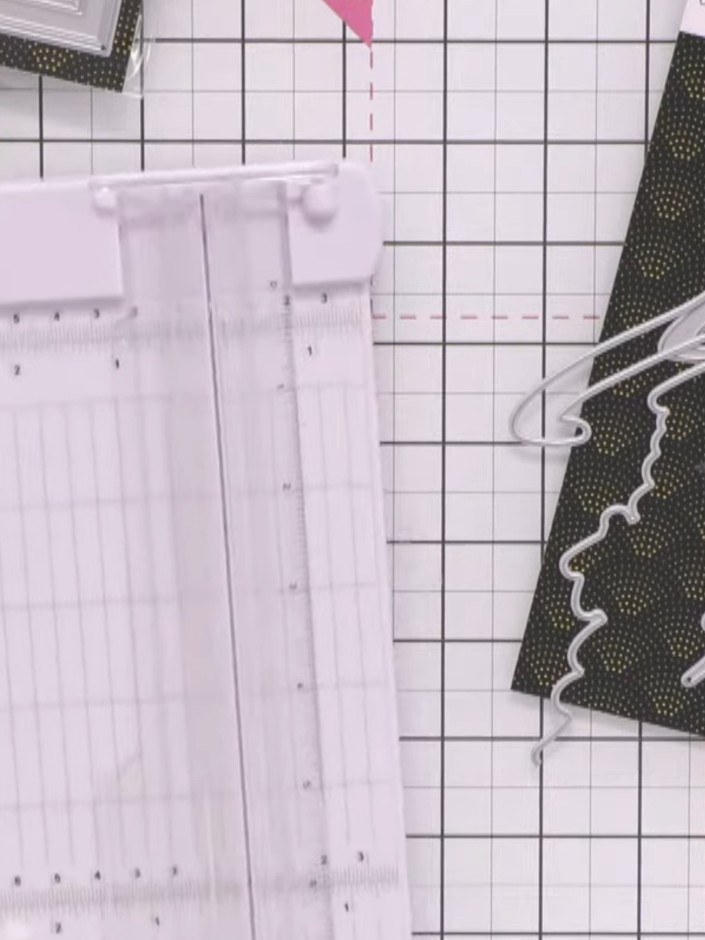
Take the Greetings snow drift die and position it on your card base, angling it diagonally from corner to corner if desired to create an interesting composition.
▶ watch this step (23:15)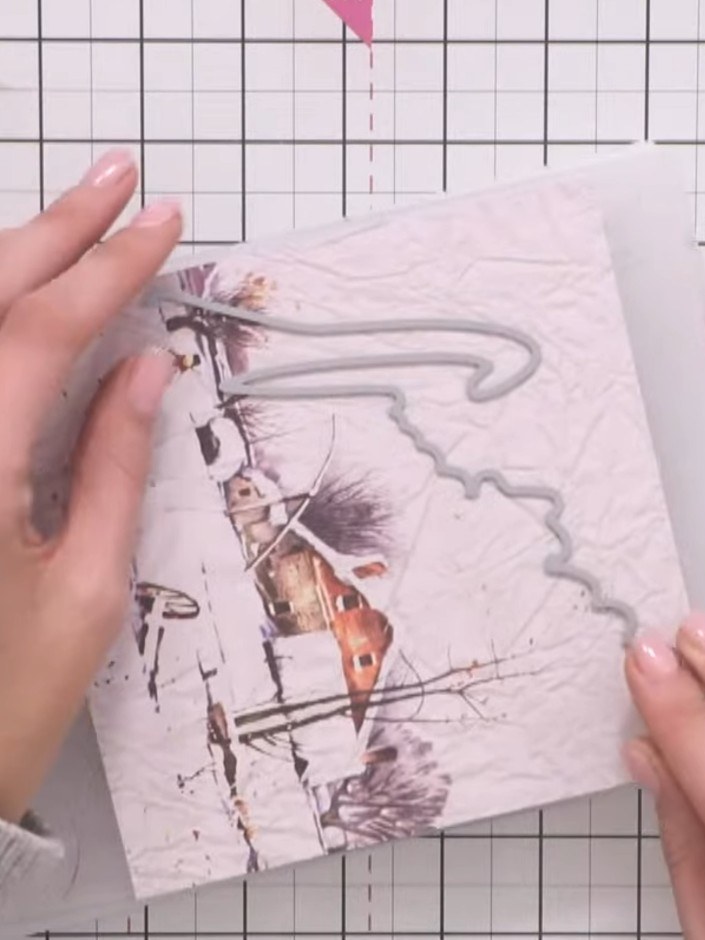
Run the Greetings die through your die-cutting machine to cut the word from your chosen cardstock. Gold or metallic card works well for this element.
▶ watch this step (24:30)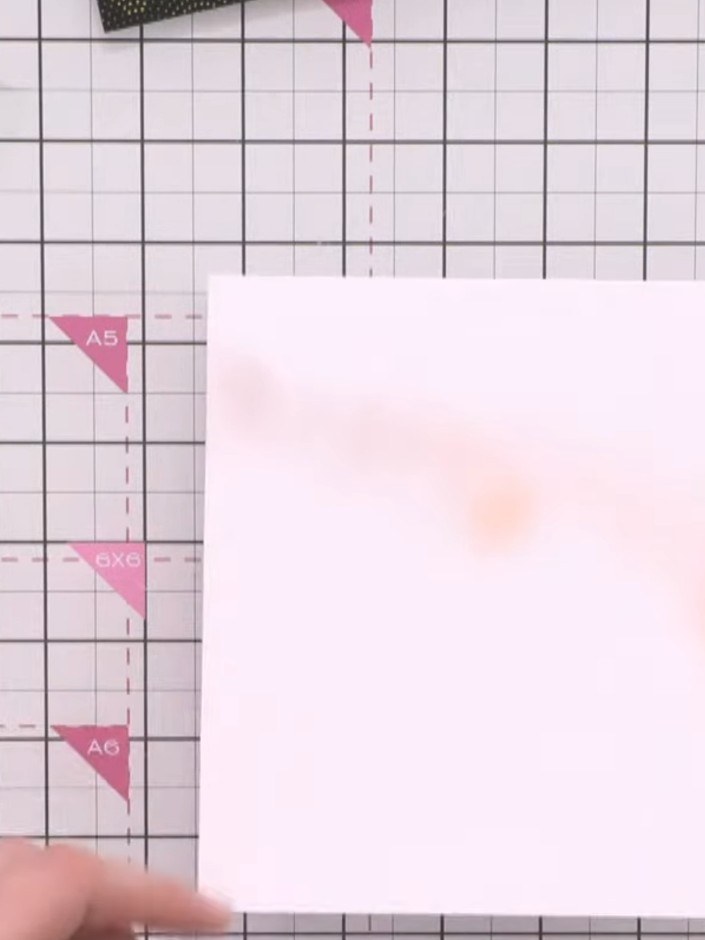
Using a distress ink pad in a warm burnt orange or brown tone, apply a halo glow effect above where your Greetings sentiment will sit on the white card, creating a sunset-like backdrop.
▶ watch this step (31:00)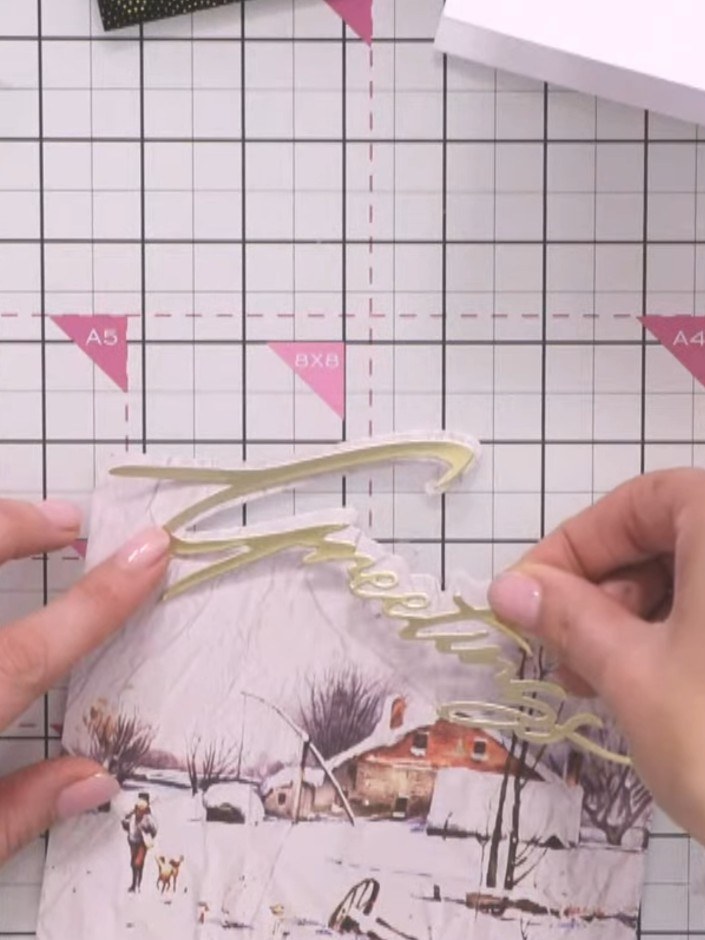
Adhere the cut gold Greetings sentiment onto your card using glue, positioning it over the painted mount at the top of the winter scene.
▶ watch this step (35:00)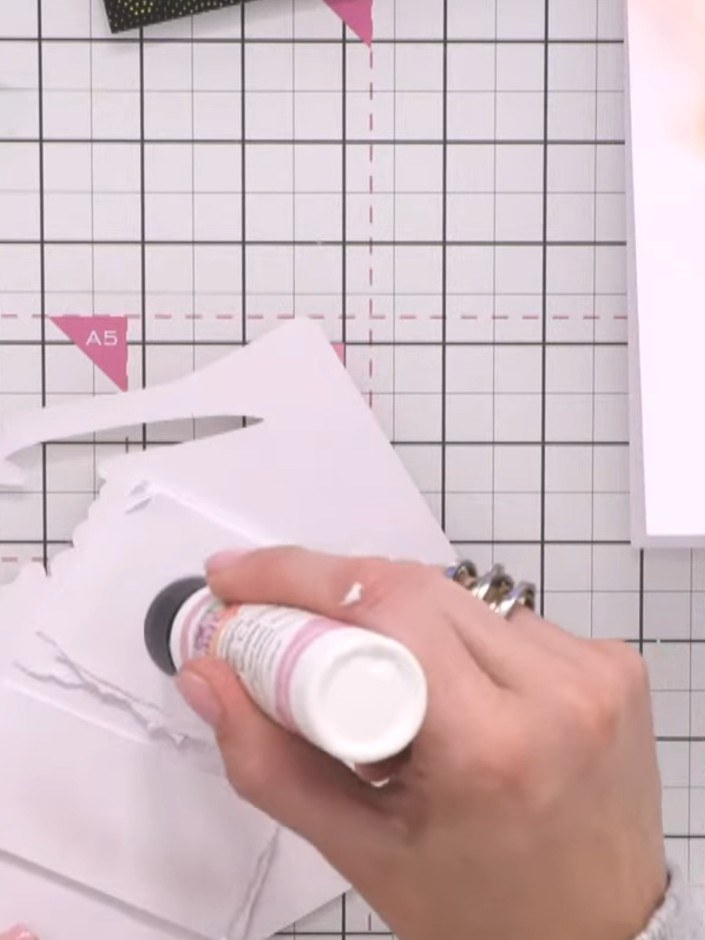
Create foam tape pads by tearing small pieces of white card and stacking them together. Use these to raise the Greetings sentiment die-cut for added dimension on your card.
▶ watch this step (36:00)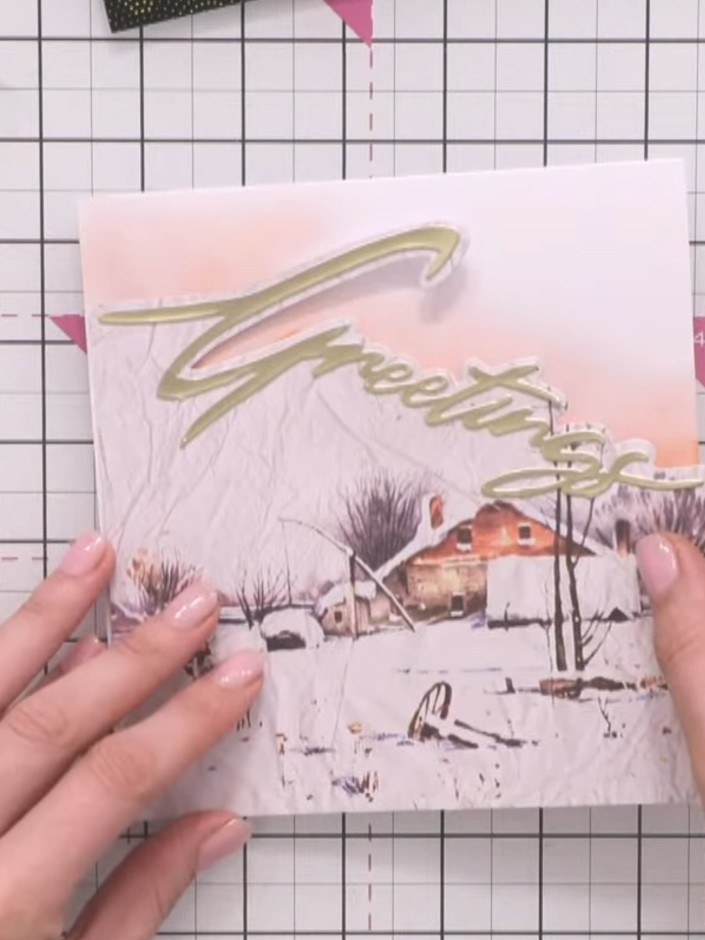
Attach foam tape pads to the back of the gold 'Greetings' die-cut word. Position and adhere it to the top of your card front, creating a raised dimensional effect.
▶ watch this step (37:30)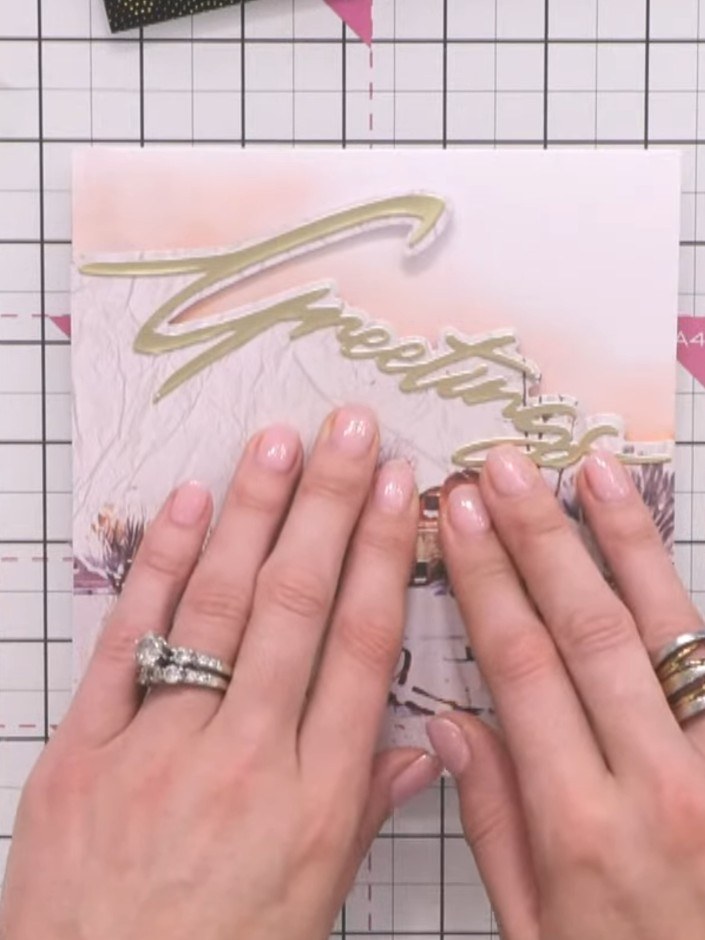
Add any final sparkle or embellishments to your card as desired. Allow the glue to dry completely before handling.
▶ watch this step (38:00)Written up from the show itself. See every guide from our shows · free how-to guides · watch live on My Telly